About
This article explains how to configure a Live webcast session in a multi-session event.
This article pertains only to multi-session events.
Access session settings
There are two ways to reach session settings:
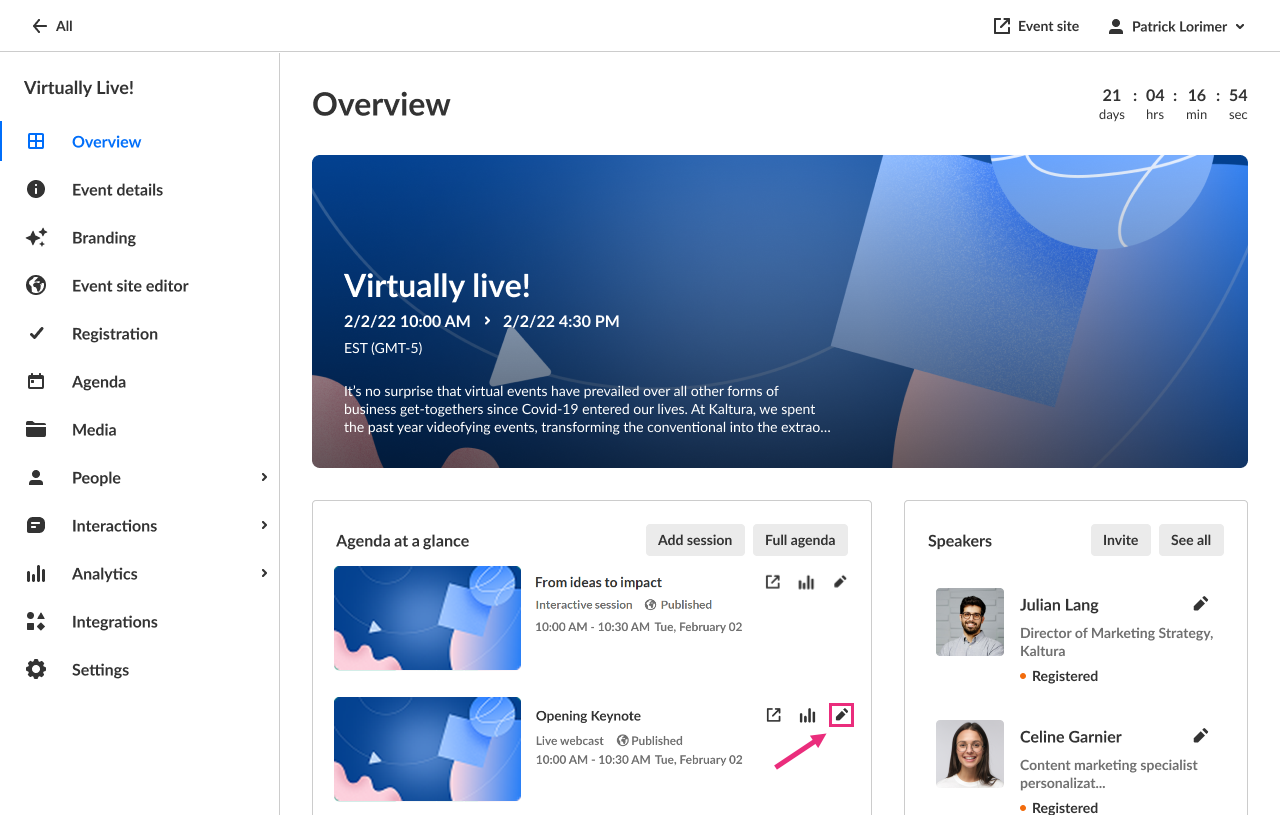
- On the Overview page, in the Agenda at a glance section, click the pencil icon next to the session.
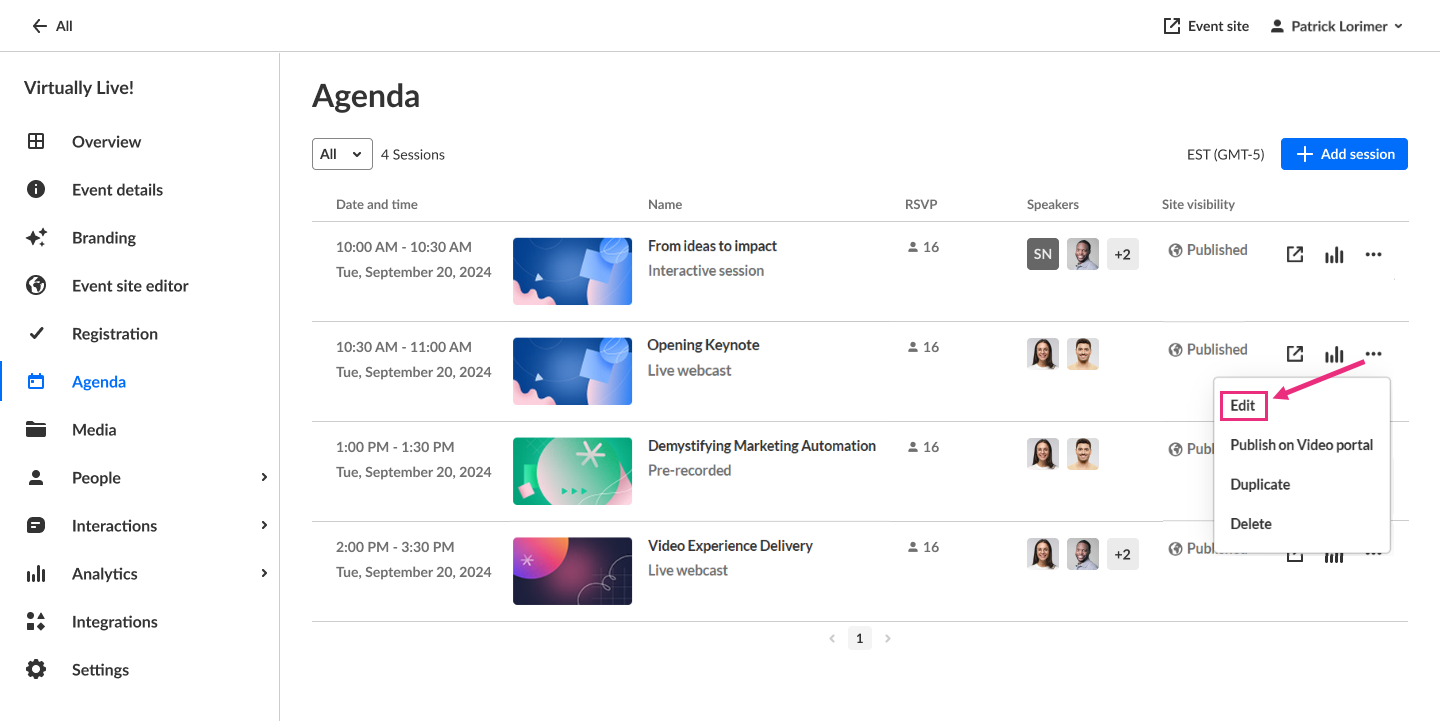
- On the Agenda page, click the three dots to the right of the session and choose Edit.


The session settings open in a side panel with the Basics tab selected by default.

When a tab is open, you’ll also see a Create with AI button and a three-dot menu. These actions are available across all tabs. For details, see Global actions below.
Basics tab
Use the Basics tab to manage the core settings for the session. From this tab, you can:
- Launch Kaltura Webcast studio and copy studio link to share
- Visit session page and copy session page link to share
- Edit session details
- Obtain live stream details
- Assign resource location
- Activate AI assistant
- Set site visibility
- Manage recordings
Captions tab
Use the Captions tab to manage captions and translations, if these services are enabled on your account. From this tab, you can:
- Order live captions
- Order live translation
- Order captions for session recording or video source
- Upload captions for session recording or video source
- Set as default, edit, download, and delete captions for a session recording
Attachments tab
Use this tab to add downloadable files (such as slides or documents) to your sessions. For workflow details, see Upload and manage attachments.
Share & Embed tab
Looking for more information about this feature? Feel free to contact your Kaltura representative.
Use the Share & Embed tab to distribute your live session outside the event site. From this tab, you can:
- Embed the player on an external site
- Share (restream) your session on social media channel
- Edit an existing stream
- Delete an existing stream
You can share and embed future sessions only.
Global actions
The following actions appear in every tab.
Create with AI
Use the Create with AI button to generate highlight clips, summaries, and chapters after your session. This button is active only when applicable media is uploaded. See Create highlight clips with AI and Create a summary and chapters with AI for more information.
More actions
Click the three-dot menu to access additional options:

- View analytics - See Session analytics for details.
- Publish on Video portal - See Session publishing capabilities for details.
- Duplicate session - See Duplicate session for more details.
- Delete session - Permanently delete the session.
Additional resources
See the following additional articles for reference:
- Configure the firewall
- Monitor your webcast through real-time analytics
- Live encoding best practices guide
- Standards and best practices for streaming to Kaltura
