About
Live sessions include the automated transition from live to VOD (meaning, once the live session is finished, the recording is automatically published to the event site). In some cases, Event organizers may not want a VOD available after the session, or they may want to take down the recording, go through some post-production, and then re-upload the recording. These tasks are handled via the Basics tab in the session settings panel.
Single-session events
Access session settings
- From the Events homepage, click the event you want to manage.
- In the Event controls area, select the edit icon next to Basics.

The Overview page displays.


Multi-session events
Access session settings
There are two ways to reach session settings:
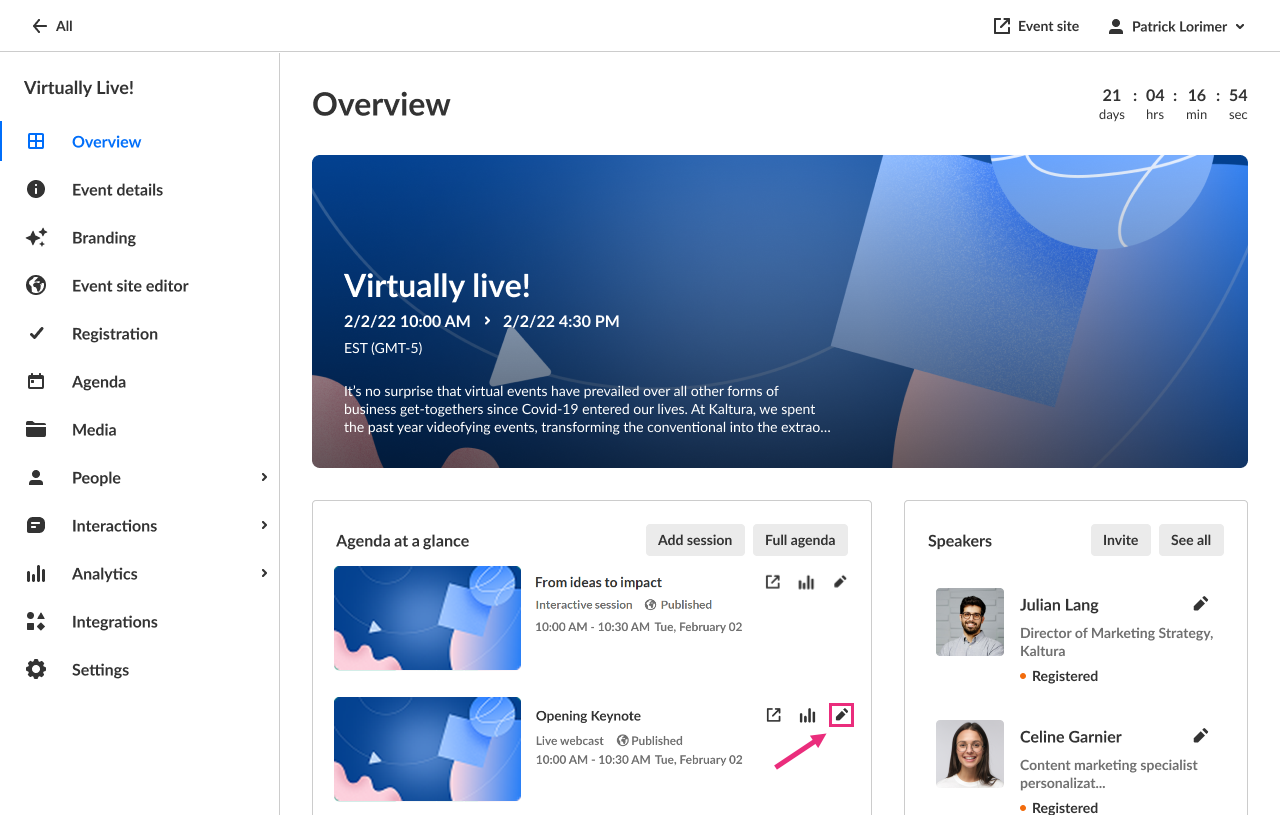
- On the Overview page, in the Agenda at a glance section, click the pencil icon next to the session.
- On the Agenda page, click the three-dot actions meu to the right of the session and choose Edit.
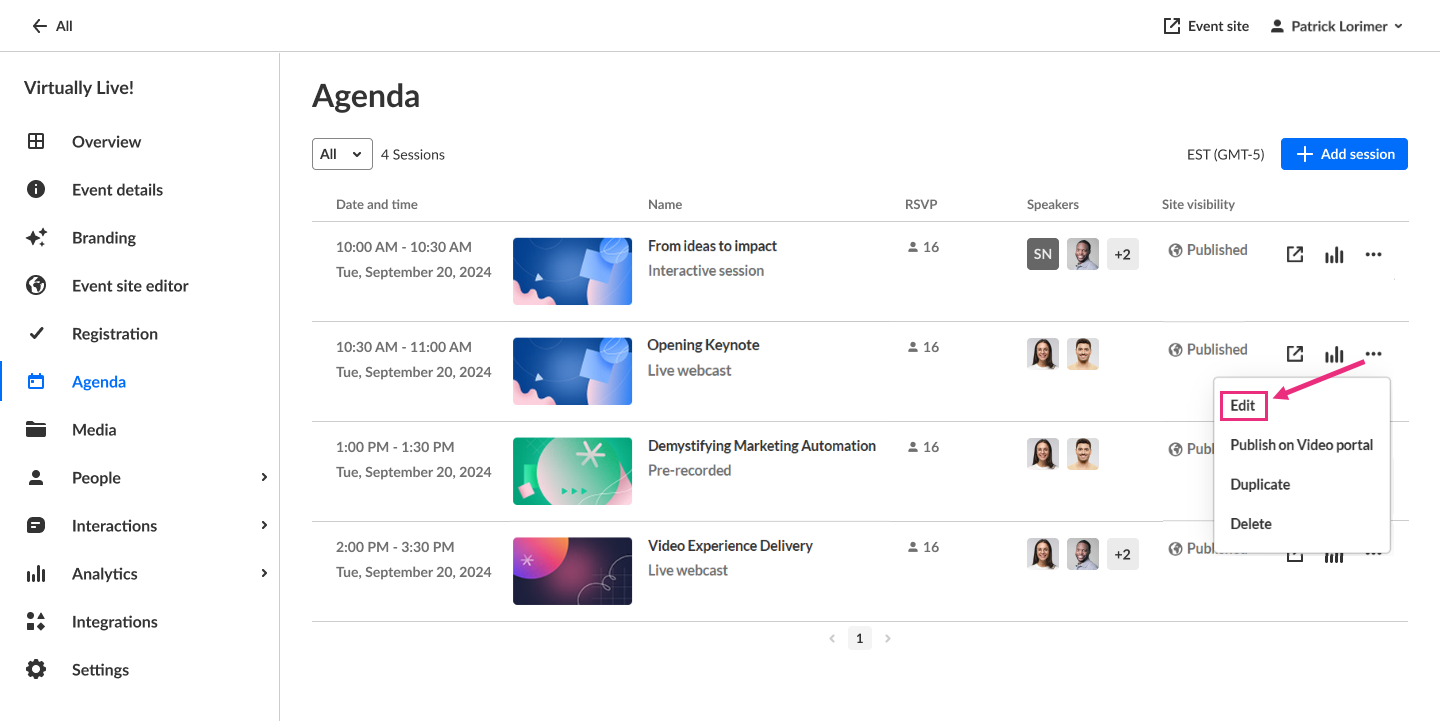
The session settings open in a side panel with the Basics tab selected by default.

Unpublish or download a recording
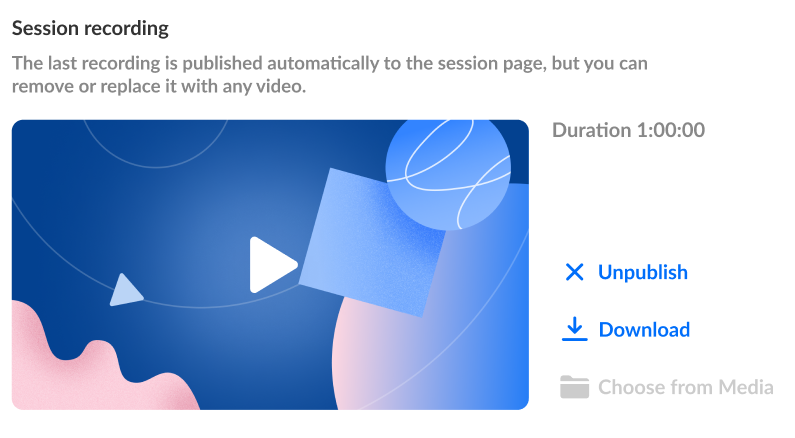
- Click Unpublish to unpublish the recording from the event site. You are prompted to confirm your action. Once the recording is unpublished, it will display on the Media page.
- Click Download to download the recording. It is downloaded to your local machine.
Publish a new recording
- Click Choose from Media.
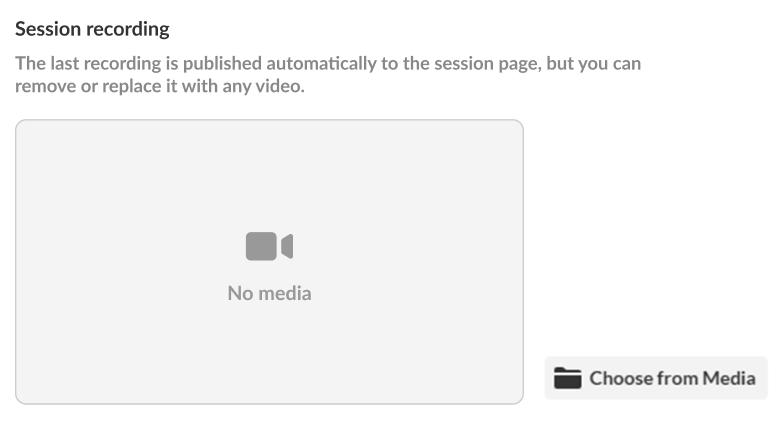
The Media page displays (if you need to upload a new file, upload it first to the media page).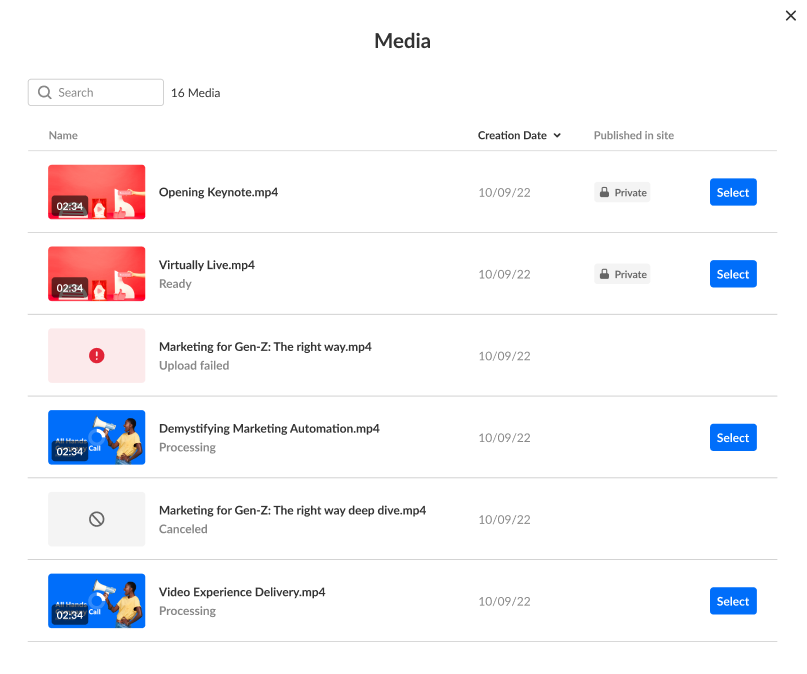
- Click Select next to the media you would like to upload to the session. You receive confirmation that the recording was published on the session page and removed from the Media page.
- When you are finished making your edits, click Save changes.
