This guide is intended for KMS and KAF administrators who want to enable the InPlayer Paywall for their users.
Overview of the InPlayer Integration with Kaltura MediaSpace
Kaltura legacy Video Portal
Kaltura legacy Video Portal aka MediaSpace is a fully customizable media destination site for your organization. MediaSpace is an out-of-the-box video-centric site that can serve as a repository for media collections across the organization or a full-featured "Corporate YouTube.” MediaSpace enables community, collaboration and social activities by leveraging the power of online video. MediaSpace enables true collaboration with many contributors, moderators and viewers in a multitude of channels, projects and communities. Depending on your setup, the site can be either public or restricted to authorized end users. In addition, sections of the site may be restricted to members only. You can check more details on the official Kaltura MediaSpace legacy Video Portal site.
InPlayer Integration
InPlayer's monetization platform features a fully developed integration with Kaltura MediaSpace and you may run this integration on a Demo or Live environment.
It is advantageous for administrators to have their own Demo account to experience the solution and options using a "test" credit card, instead of live currency. The following "test" credit card is provided for use in the Demo environment.

Note that you can only connect one Kaltura account with an InPlayer account and the InPlayer MediaSpace App URL is different depending on which environment you are currently running (Demo or Live). The URL differences are documented herein.
The user experience is the same for Demo and Live environments; the difference is in the back end - once a client is signed, a completely new Live account is created for them.
Click here for the InPlayer product updates.
Monetizing Channels Versus Monetizing a Specific Video
Content owners can monetize channels and/or specific videos in Kaltura MediaSpace. Instructions for both use cases are included herein.
Connecting InPlayer and Kaltura
Kaltura MediaSpace Setup for Integrating InPlayer
Kaltura MediaSpace Setup for Monetizing a Specific Video (Only applicable for monetizing videos.)
Adding a Custom Tab to your MediaSpace Menu
Linking an Asset with a Kaltura MediaSpace Channel
Linking an Asset with a Kaltura MediaSpace Video (Only applicable for monetizing videos.)
Removing the InPlayer Integration
Prerequisites
Prerequisites depend on whether you are monetizing a channel or a specific video and are as follows:
- Understanding of Kaltura MediaSpace - see Kaltura MediaSpace User Guide
- MediaSpace Channels - see Kaltura MediaSpace Setup Guide
- Understanding of MediaSpace Entitlements – see Kaltura MediaSpace Channels and Permissions Planning Guide
- Navigating the InPlayer Merchant Panel – see InPlayer Merchant Panel Guide
If you are monetizing a channel, the InPlayer integration requires that you create “Private” channels so that only viewers with permissions will be able to view the media.
Connecting InPlayer and Kaltura
- Login to your InPlayer dashboard.

- Click on the Settings button on the left side of your screen.
 The Social Auth screen displays.
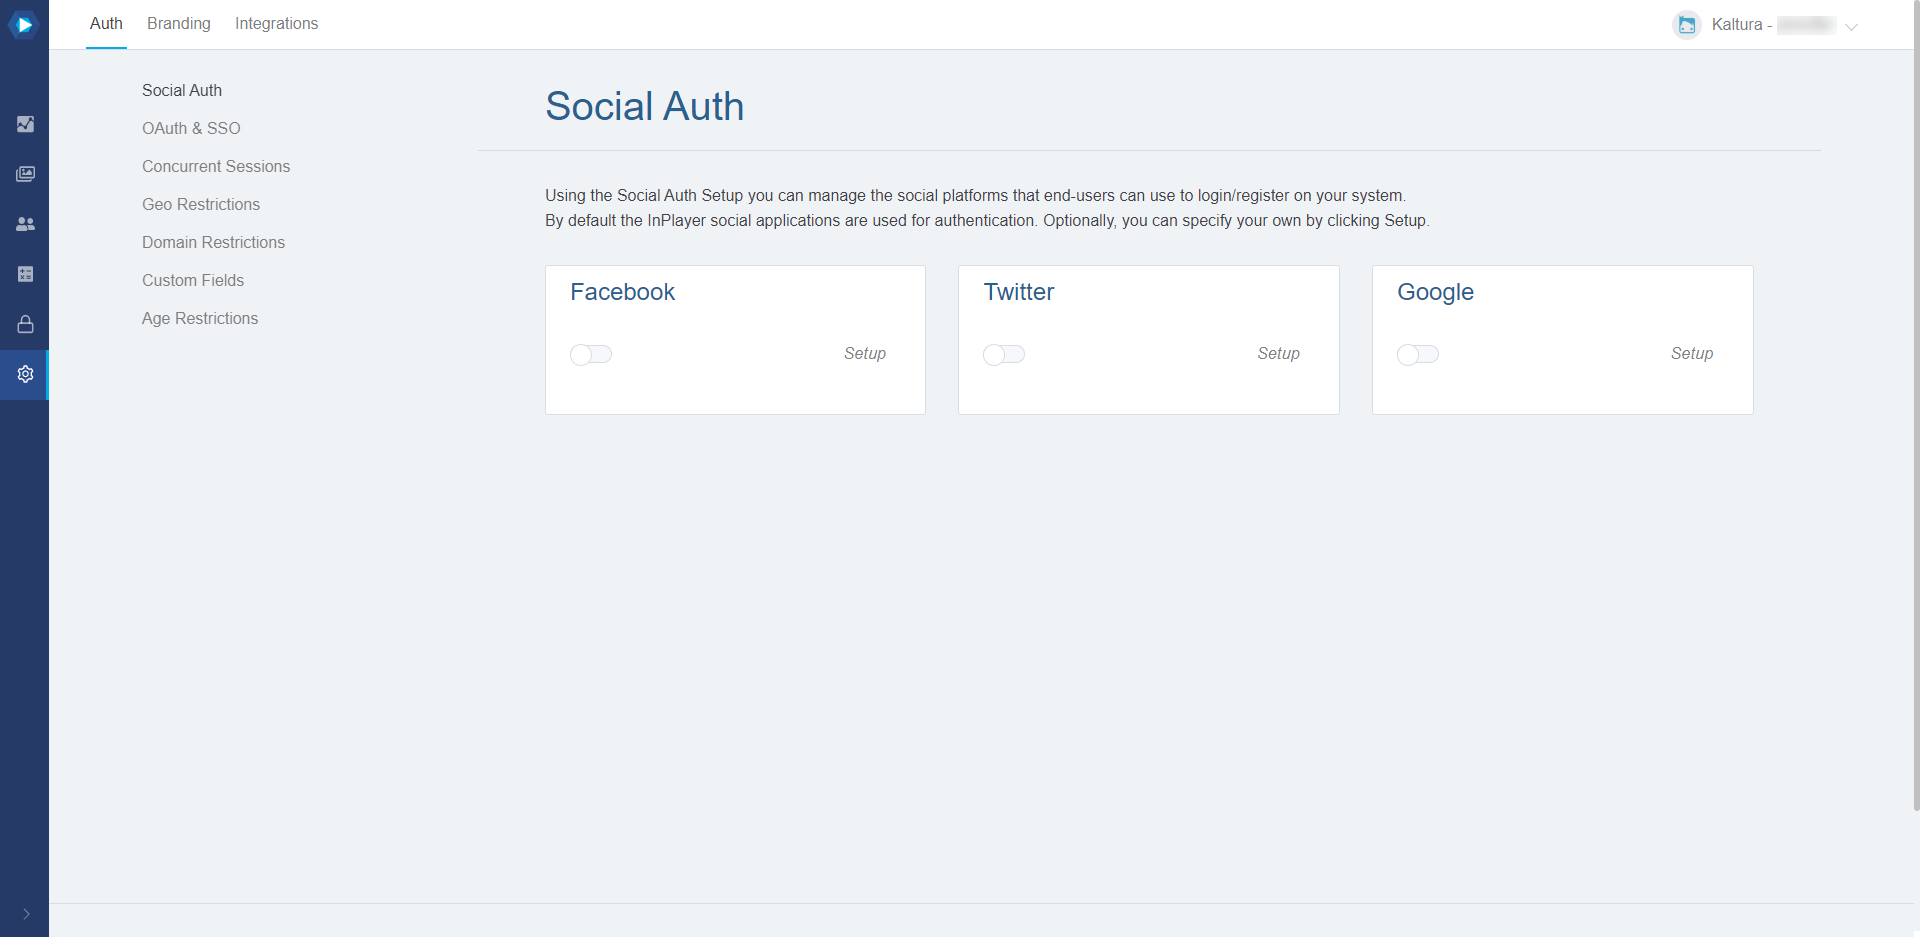
- Click on the Integrations tab. The OVP Integrations screen displays.
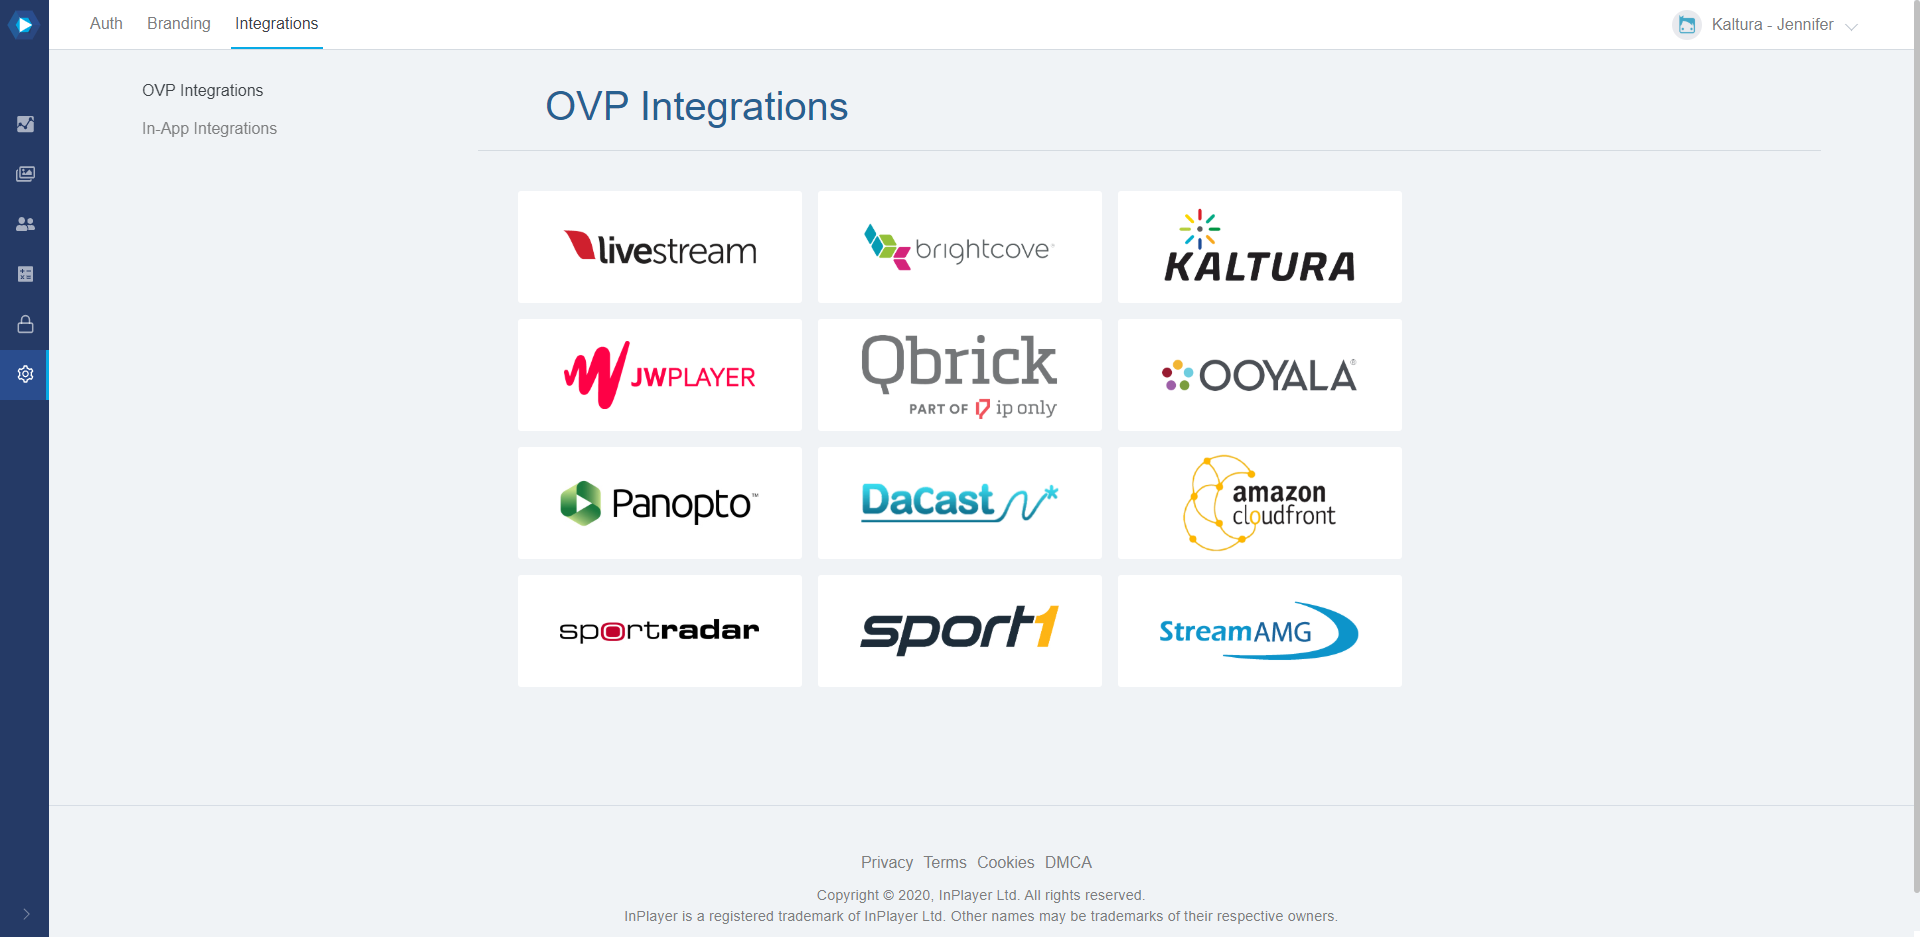
- Click on Kaltura. The Connect to your account screen displays.
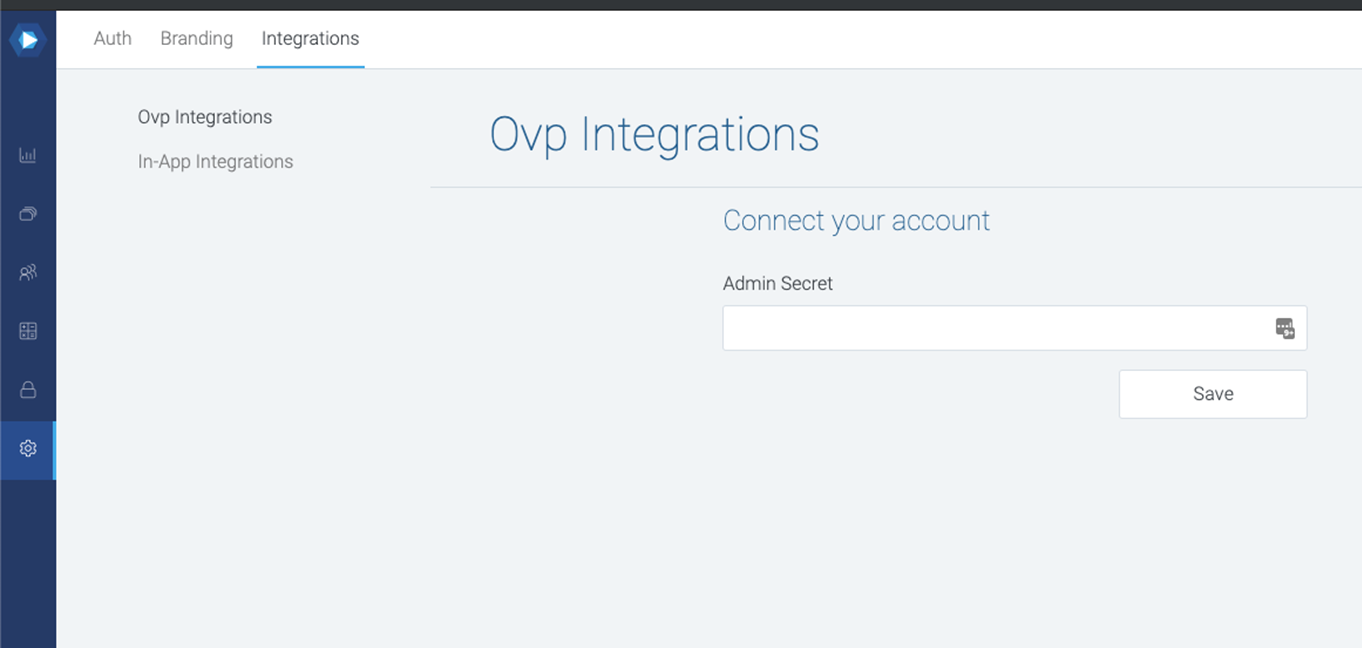
- Type your Admin Secret in the Admin Secret field.
To find your Admin Secret, login to your Rich Media Content Management System (Rich Media CMS) and go to the Settings > Integration Settings tab. The Administrator Secret is the Admin Secret.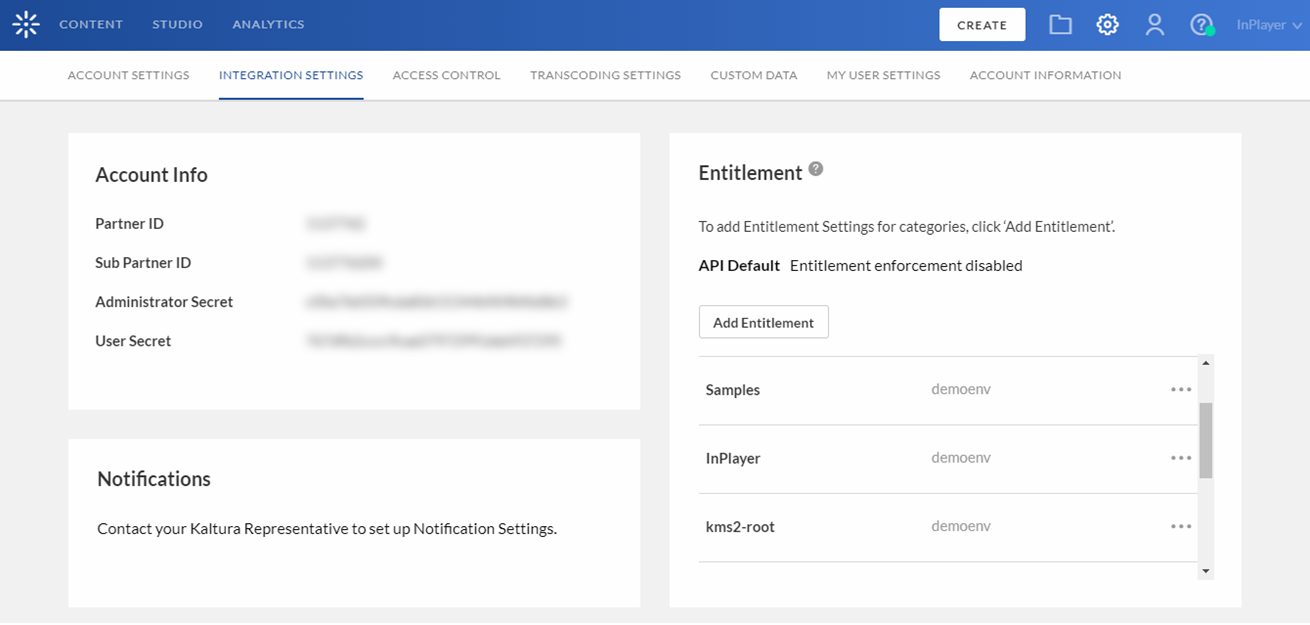
- Click Save.

 The Social Auth screen displays.


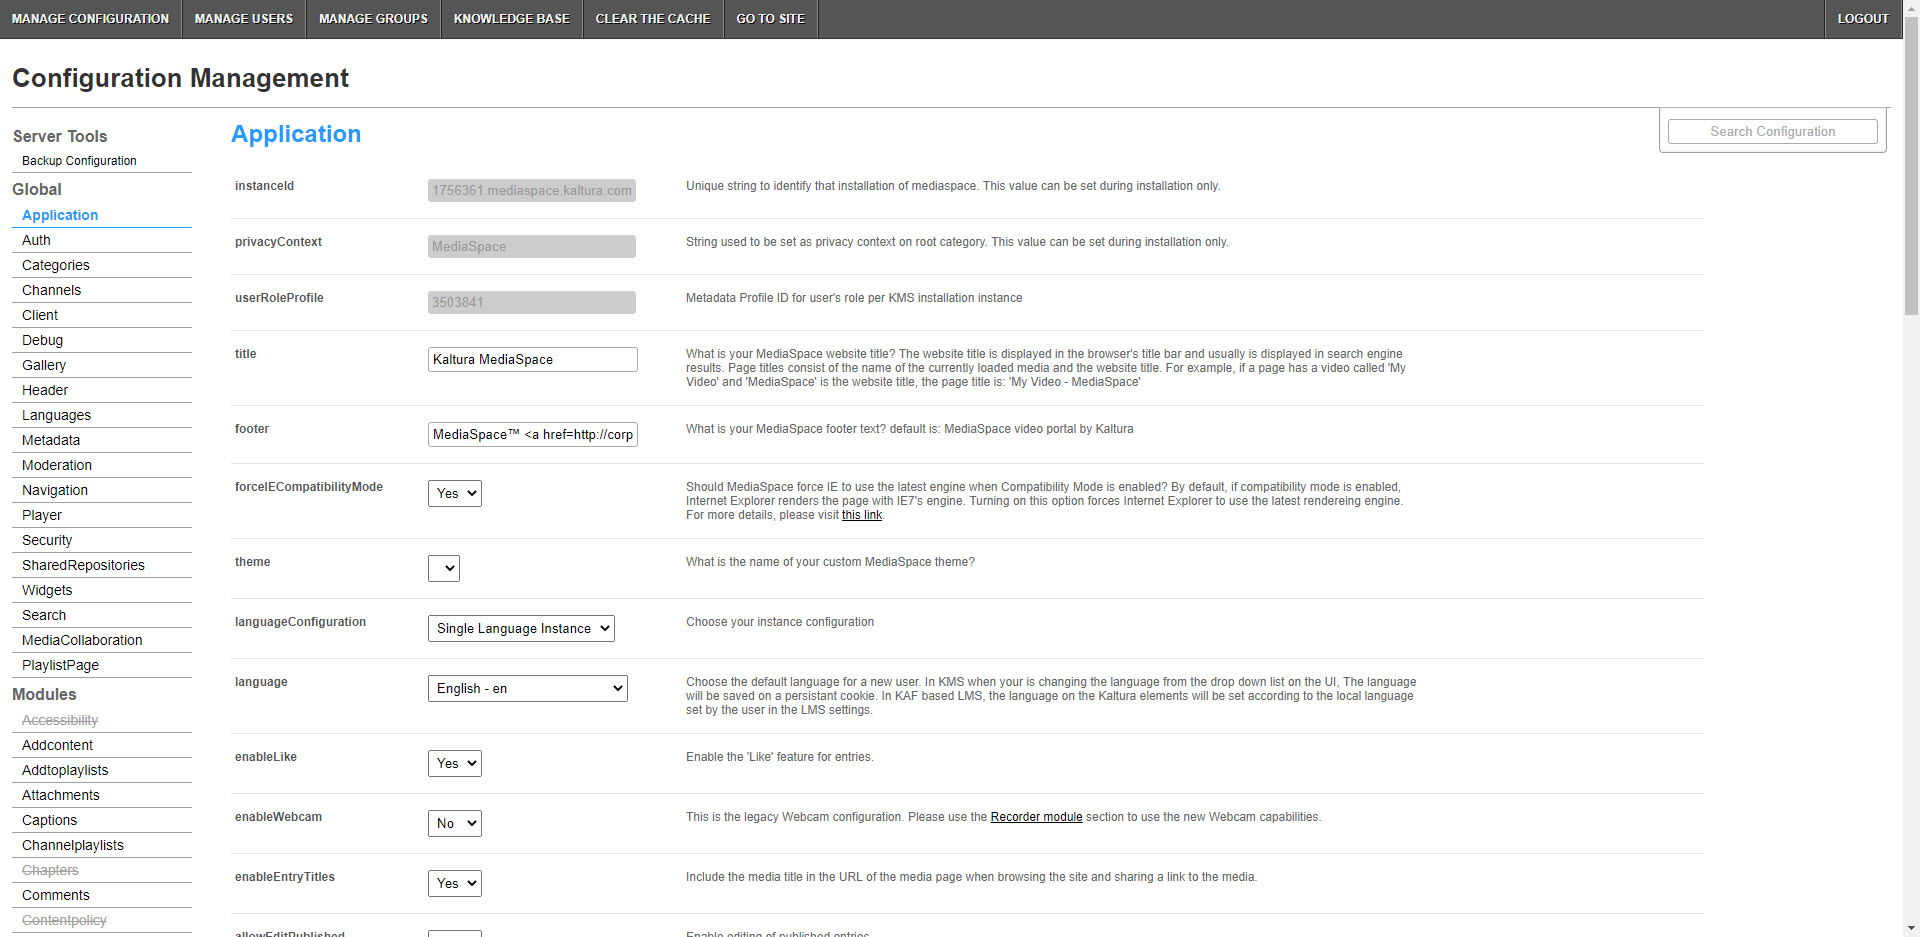
Kaltura MediaSpace Setup
Login to the Configuration Management Section of Kaltura MediaSpace
Login to your MediaSpace Configuration Management admin site at: https://[your_partner_id].mediaspace.kaltura.com/admin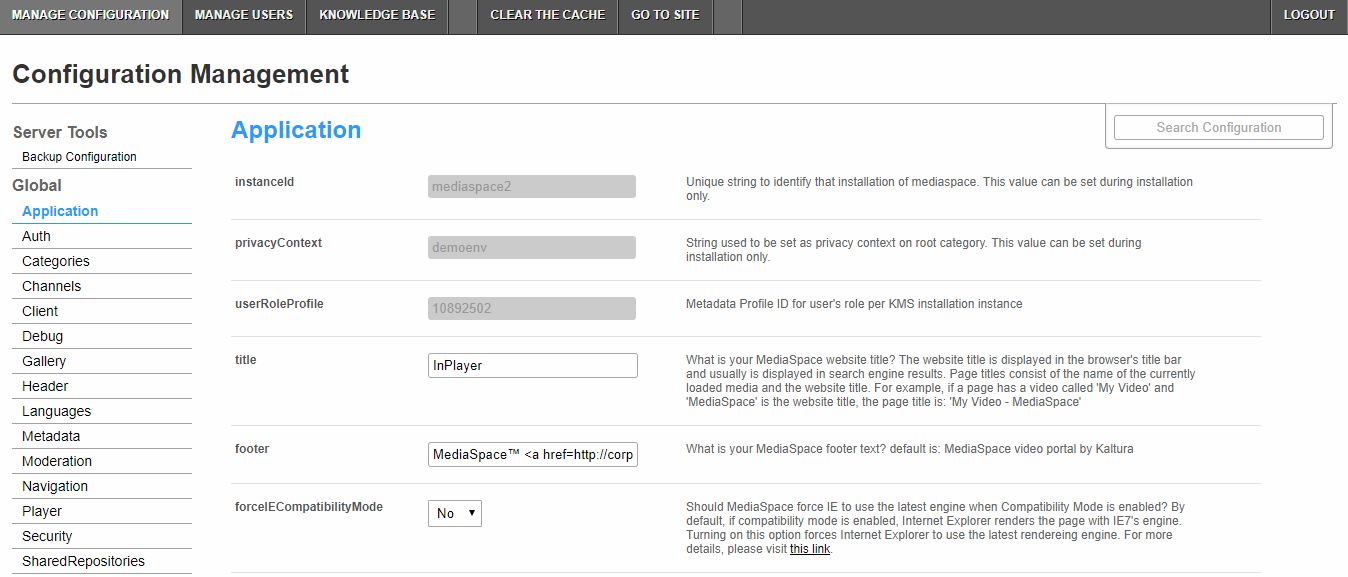
Configure the Auth Module
- In the list of configurable items on the left of your screen, locate and click on Auth.If you want to create two login options (one for user and one for administrator) so that you can create and configure channels in MediaSpace, you must enable and configure MultiAuth. If you would rather do so in the Rich Media CMS, MultiAuth configuration is not necessary.In the enableMultiAuth pull down list, select Yes. Additional configuration options display.
- Scroll to the authMethods section. You will set up two authMethods here.
- For the first authMethod:
- Under the authMethods section, click + Add "authMethods".
- In the method pull down list, select SSO Gateway AuthN.
- For the second authMethod:
- Under the authMethods section click + Add "authMethods" again.
- In the method pull down list, select KalturaAuthN.
These settings prevent users who authenticate via the InPlayer SSO to add/edit content to channels. Only admin users who authenticate via the Kaltura authentication will be able to do so.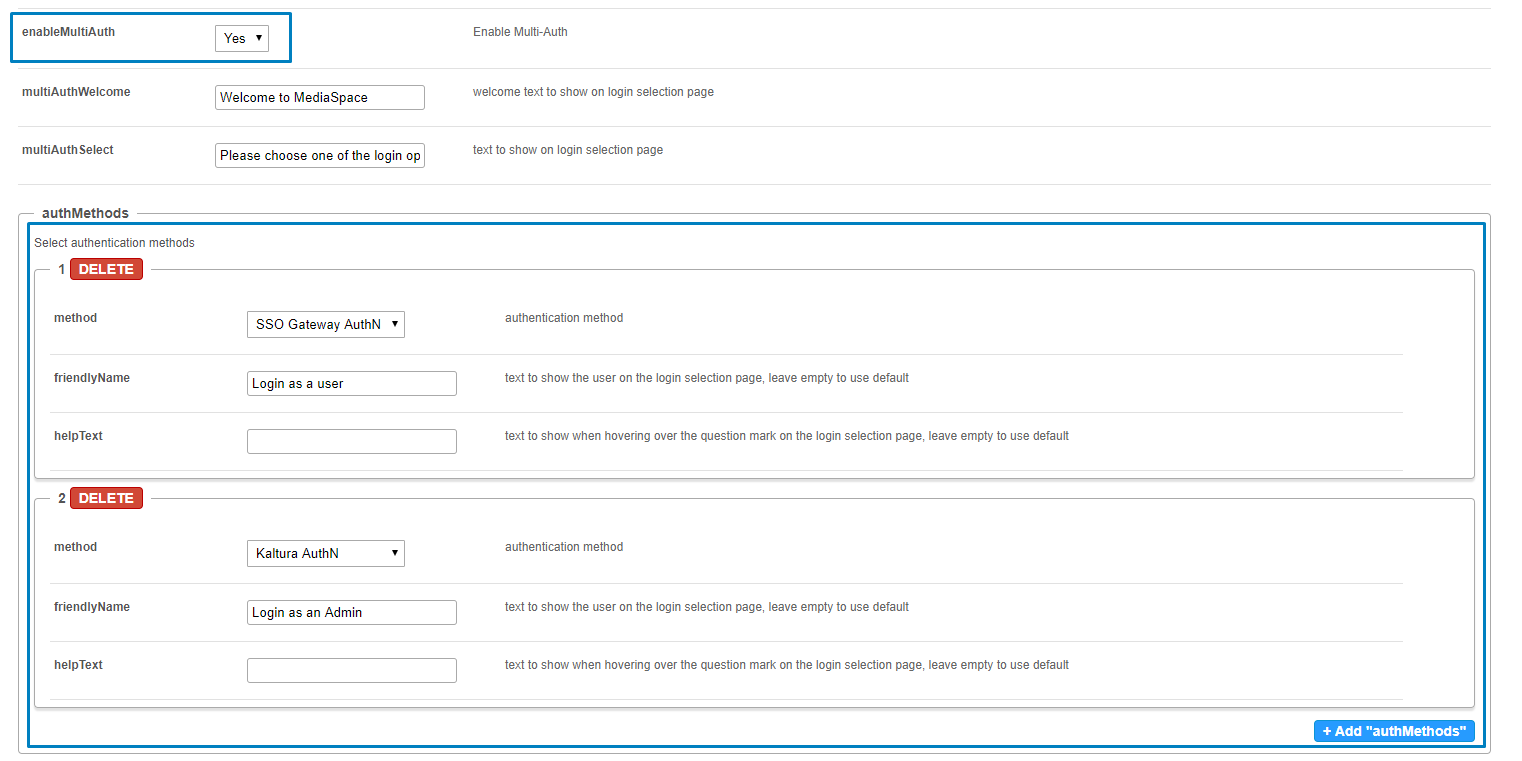
Once you are finished creating and configuring channels in MediaSpace using your two login options, go back to the MediaSpace Configuration Management admin site and disable multiAuth (set the enable multiAuth setting to No). Set the authNAdapter with ’SSO Gateway AuthN’ and set the authZAdapter with ’SSO Gateway AuthZ’.
- Scroll down to the sso section. You will complete two fields here.
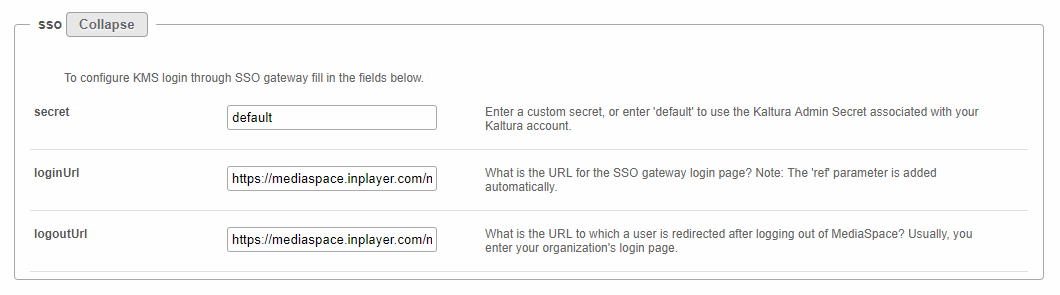
In the loginURL field, enter the InPlayer MediaSpace App URL, making sure to first edit the parts in bold with your InPlayer merchant UUID and your MediaSpace domain URL.
Depending on which environment you are currently running (Demo or Live), the InPlayer MediaSpace App URL is as follows:
Demo Environment: https://staging-mediaspace.inplayer.com/merchant-uuid?mediaspace=domain-url
Live Environment: https://mediaspace.inplayer.com/merchant-uuid?mediaspace=domain-url- The domain-url is the URL where your MediaSpace portal is hosted.
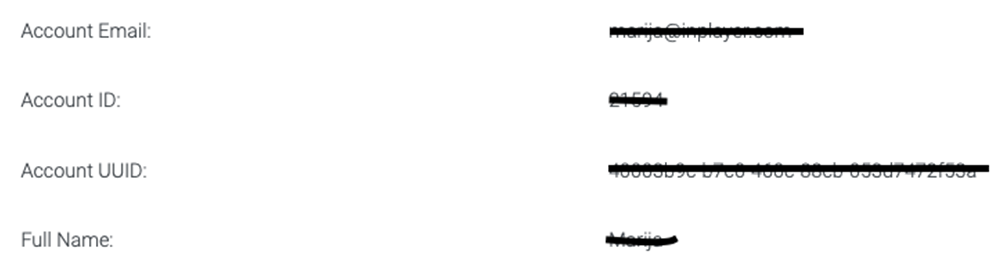
- To find your InPlayer merchant UUID, go to your InPlayer account at https://dashboard.inplayer.com/account/details/details and copy it from there.
- In the logoutURL enter the following:
Demo Environment: https://staging-mediaspace.inplayer.com/merchant-uuid?mediaspace=domain-url&logout=true
Live Environment: https://mediaspace.inplayer.com/merchant-uuid?mediaspace=domain-url&logout=true Click Save. A message displays confirming your configuration for Auth was saved.
Click OK.


Configure the Ssogroupsync Module
- In the list of configurable items on the left of your screen, locate and click on t he Ssogroupsync module.
- In the enabled pull down list, select Yes.
- Click + Add "privileges".
- In the privilege field, enter offerIds.
- Leave the valueMappingType as Use privilege value as group.
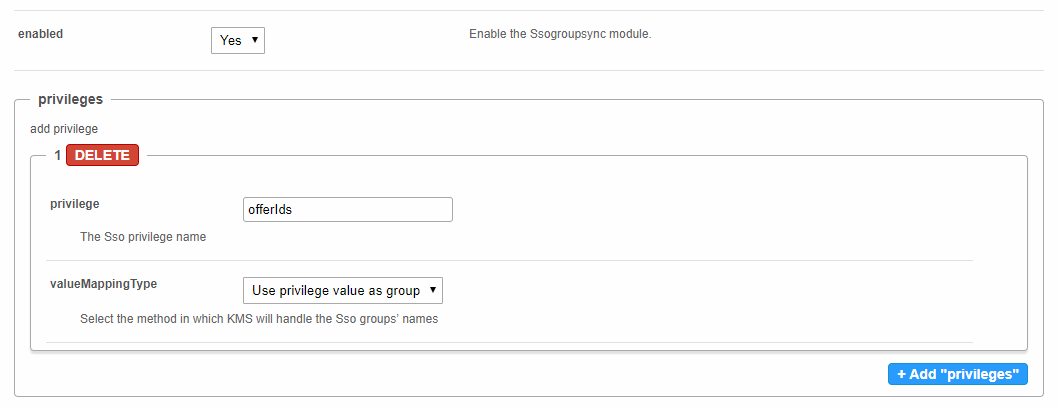
- Click Save. A message displays confirming your configuration for Ssogroupsync was saved.
- Click OK.

Kaltura MediaSpace Setup for Monetizing a Specific Video
This section is only applicable for monetizing specific videos.
Using the InPlayer Module, content owners can monetize per title within their MediaSpace instance via both PPV and SVoD models. This article describes how to enable and configure the InPlayer module.
- Follow instructions in Section 1 of Kaltura MediaSpace User Manual to log into KMS Admin (by going to your KMS URL and adding /admin at the end).
- Login using your Kaltura user ID and password.
- Click Sign In. The Configuration Management Section of KMS displays.
- In the list of configurable items on the left of your screen, locate and click on Inplayer. The Inplayer module will be crossed out because it is disabled by default.
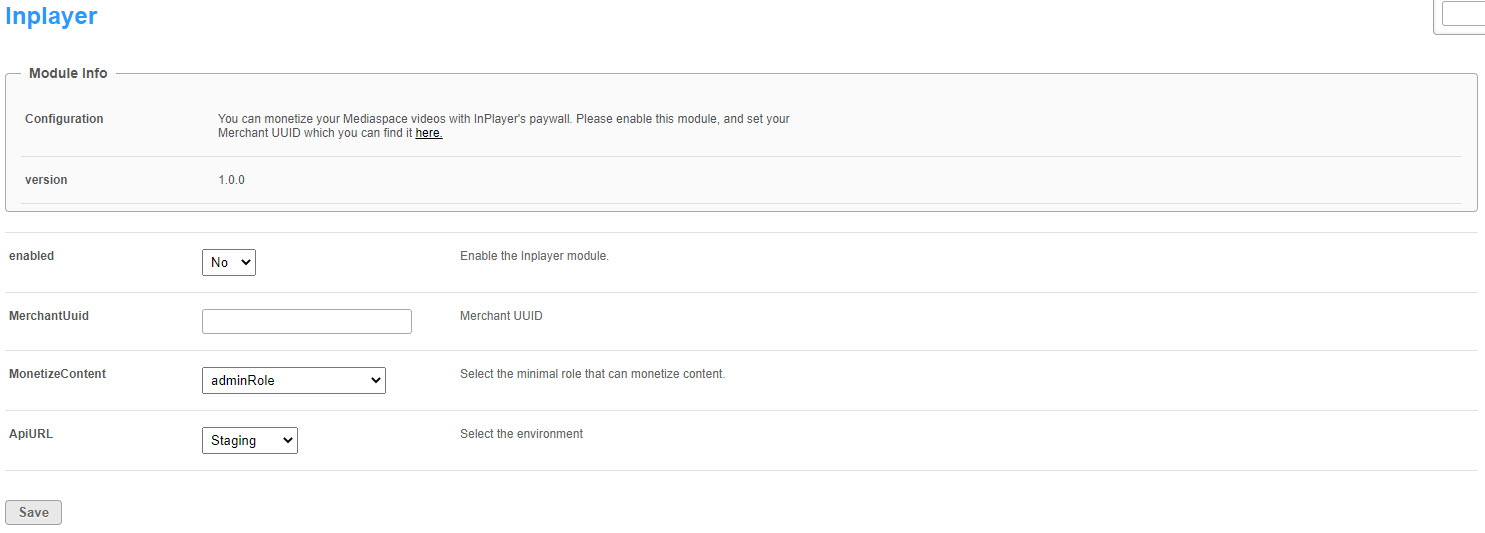 If this module is not in your KMS application, please contact your Kaltura representative about adding it.
 - In the enabled pull down list, select Yes.
- In the MerchantUuid field, type your InPlayer merchant UUID. To find your InPlayer merchant UUID, go to your InPlayer account at https://dashboard.inplayer.com/account/details/details and copy it from there.
- In the MonetizeContent pull down list, select the minimal role that can monetize content, or choose a specific user(s) or user group(s).
- In the ApIURL pull down list, select Staging or Production based on the environment you use with InPlayer (demo or live account).
- Click Save. You receive a notice that your configuration for Inplayer was saved and the cache was cleared.


Adding a Custom Tab to Your MediaSpace Menu
To make sure your customers have quick access to the page where all of your assets are embedded, you can add a custom tab in your MediaSpace menu.
- Login to your MediaSpace Configuration Management admin site at: https://[your_partner_id].mediaspace.kaltura.com/admin
- In the list of configurable items on the left of your screen, locate and click on Navigation.
- Scroll down to the bottom of the page and click on + Add post.
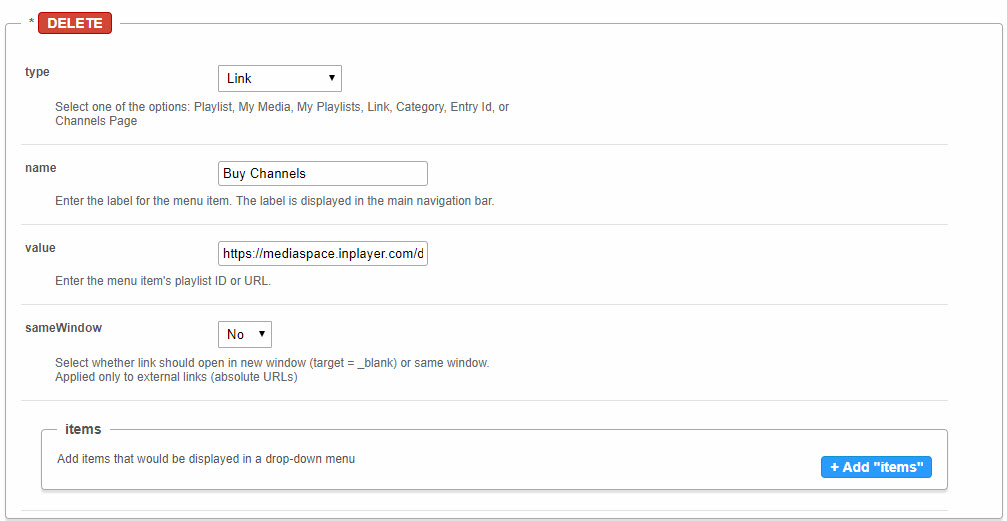
- Select Link from the type drop down menu.
- Type a name that will act as the label for the menu item. This label is displayed in the main navigation bar.
- Enter the InPlayer MediaSpace App URL in the value field (the same link you previously entered in the SSO settings of your MediaSpace Admin panel). Make sure to first edit the parts in bold with your InPlayer merchant UUID and your MediaSpace domain URL.
InPlayer MediaSpace App URL = https://mediaspace.inplayer.com/merchant-uuid?mediaspace=domain-url - Set sameWindow to No.
- Click Save. The new tab now displays on your MediaSpace menu.


Creating Assets
- Login to your InPlayer dashboard.
- Click on the Assets button on the left side of your screen.
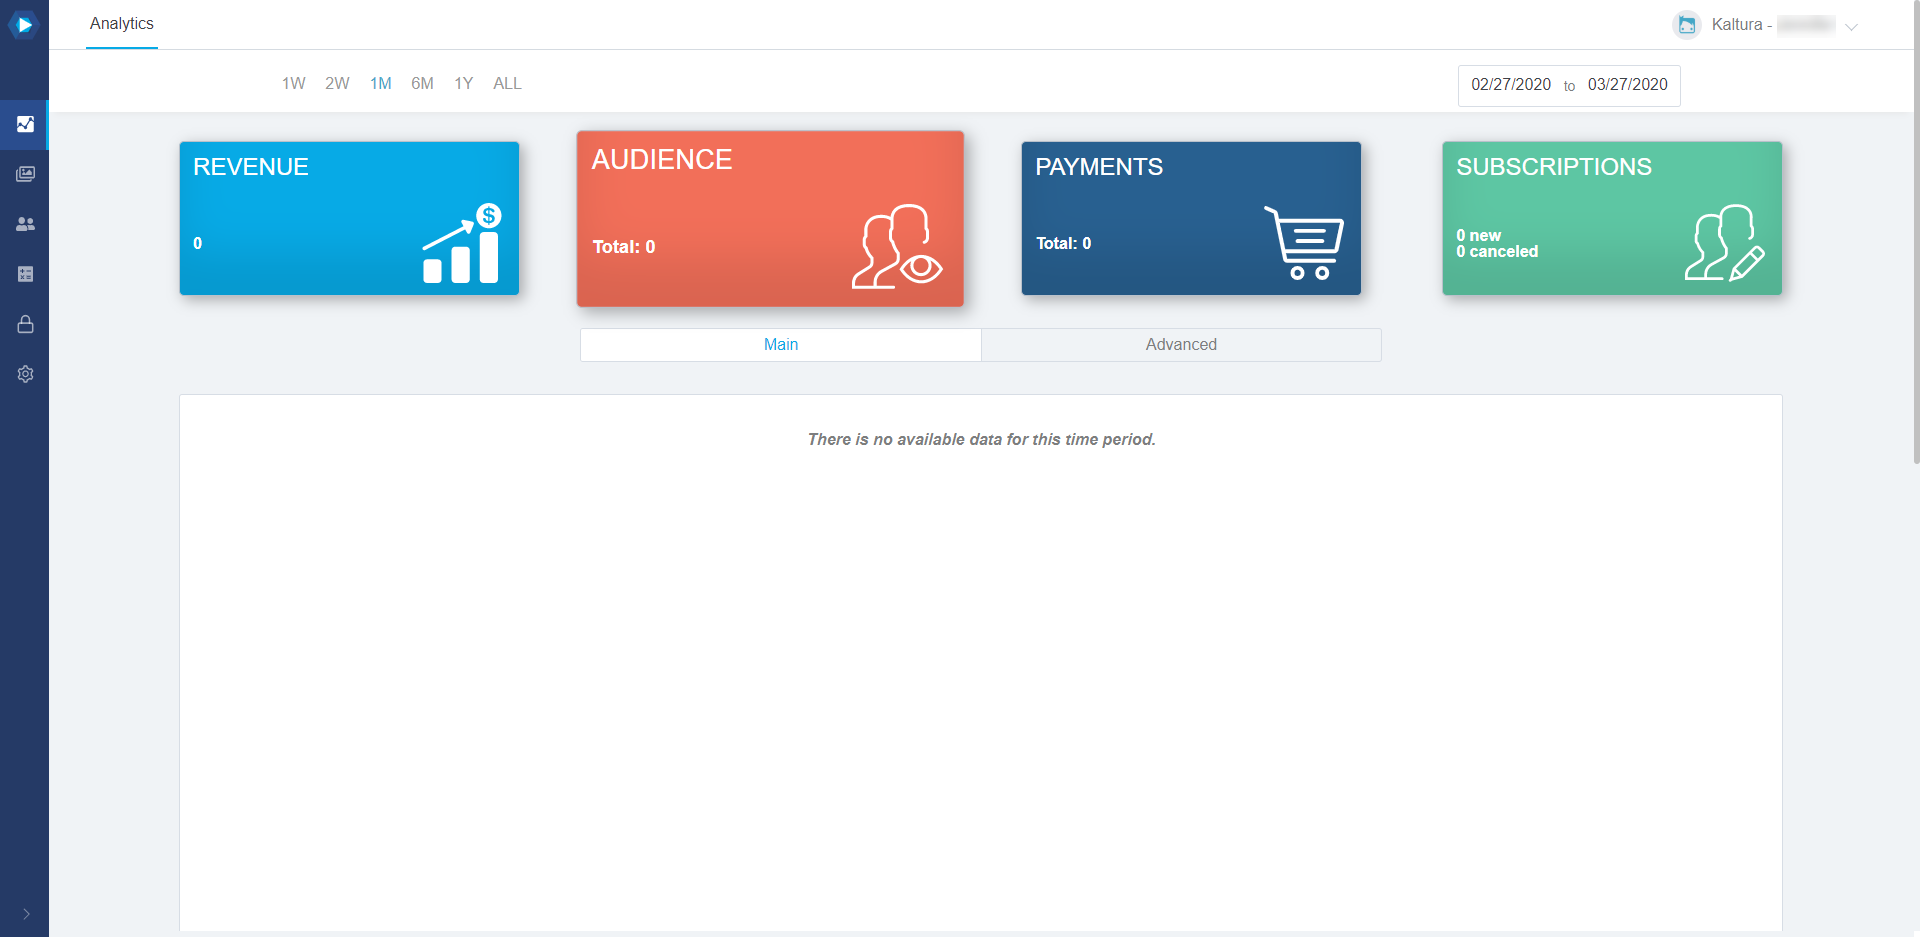
 Your assets screen displays.
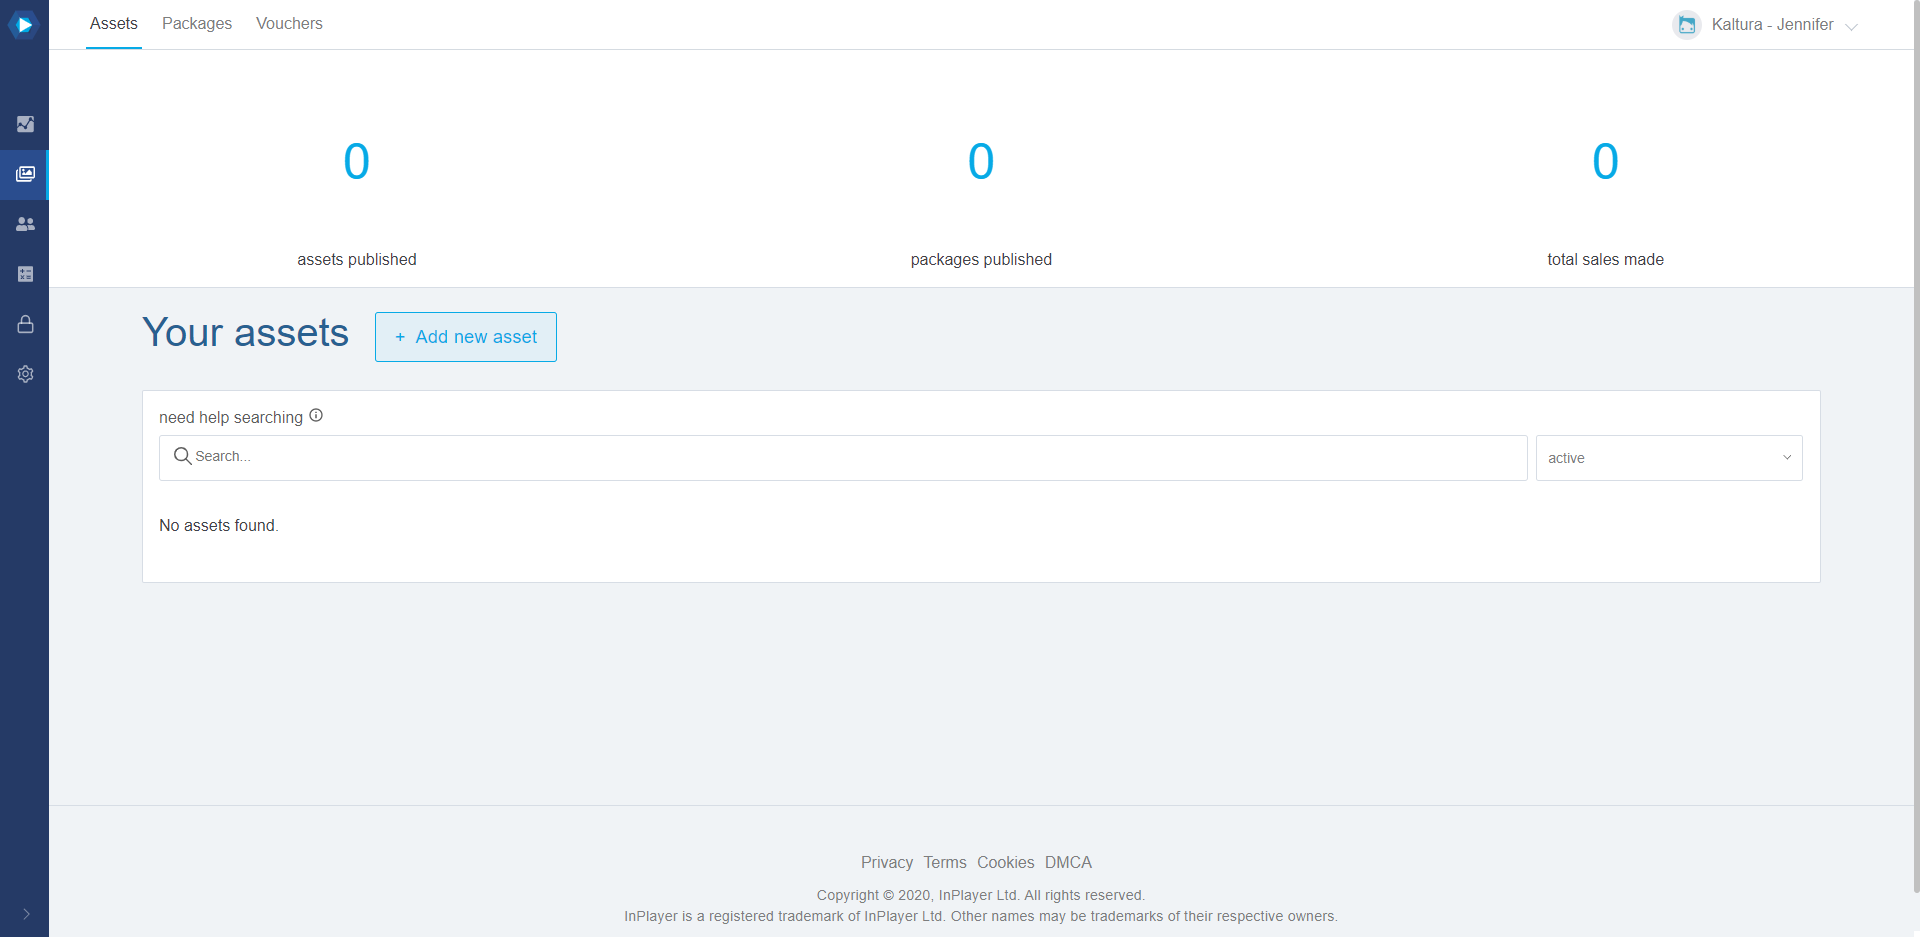
- Click on + Add new asset. The Create asset screen displays.
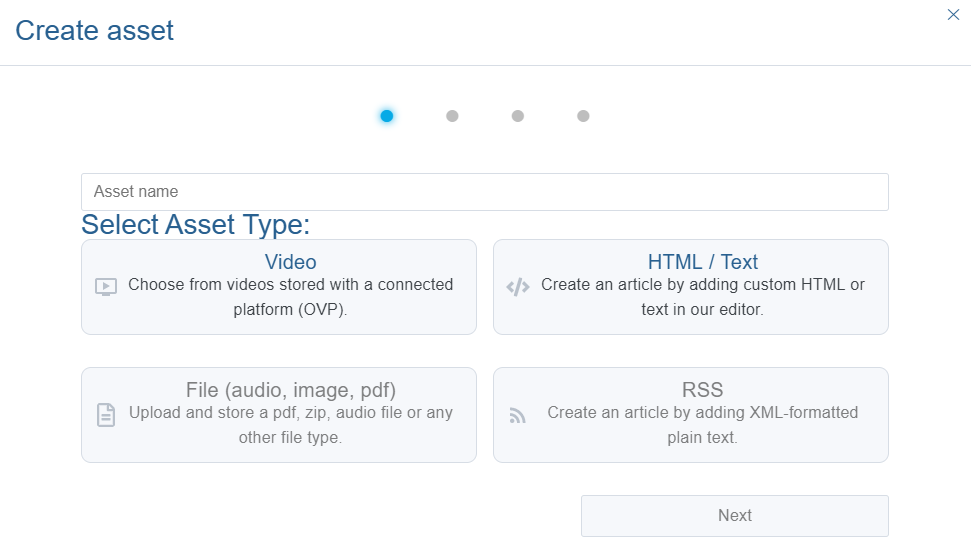
- Type an asset name in the Asset name field. This will be the name of the asset in your InPlayer Dashboard. Customers will not see this.
- Click on Video as the asset type.
- Click Next. The Choose pricing type screen displays.
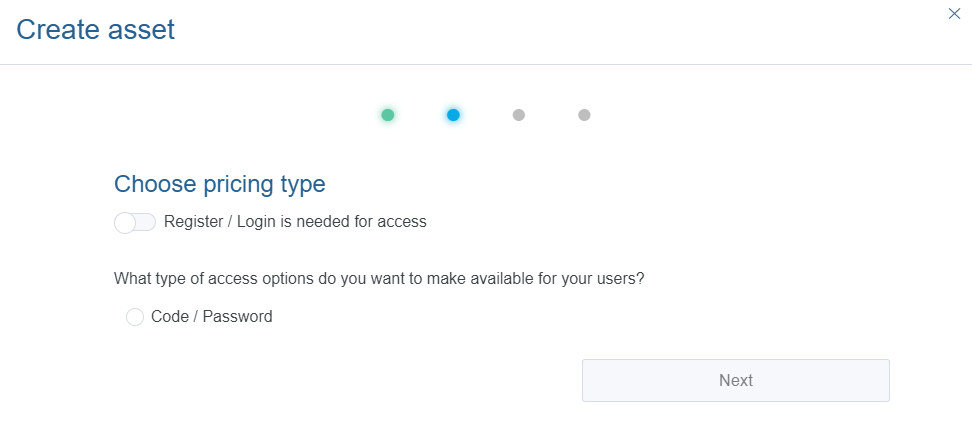
- Choose pricing type:
- If Register/Login is needed for access is enabled, customers will have to register an account before they can access the content. With this login type, the following two pricing types are available:
- Paid - Customers will have to register an account, and they pay so they can see the content.
- Data Capture - Customers will have to register an account, but will not have to pay anything. They will be granted access to the content as soon as they complete their registration.
- If Register/Login is needed for access is disabled, customers will not have to register an account. Instead, they will login with a password or code that they have received or purchased beforehand. The way in which you distribute or sell codes or passwords is up to you, but you must contact support@inplayer.com for management of the codes. With this login type, the only available option is to select Code/Password.
- If Register/Login is needed for access is enabled, customers will have to register an account before they can access the content. With this login type, the following two pricing types are available:
- Click Next. The Choose Ovp screen displays.
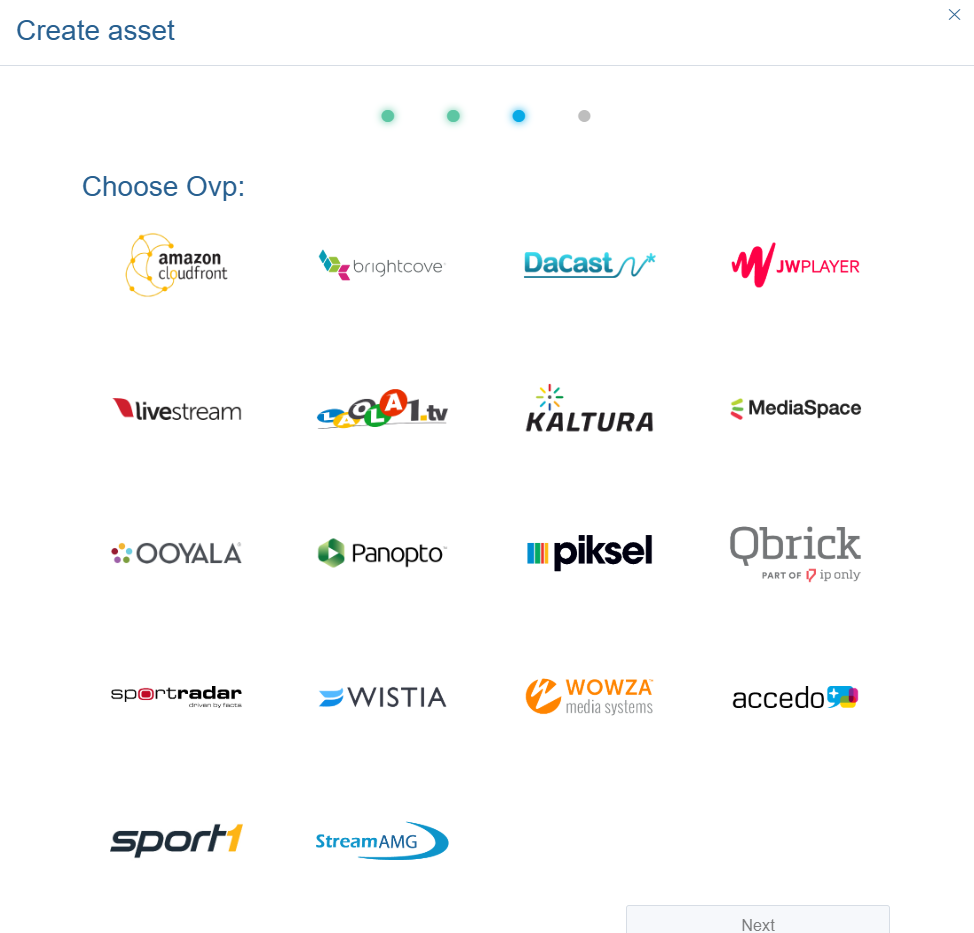
- Hover over MediaSpace and click on add one video.
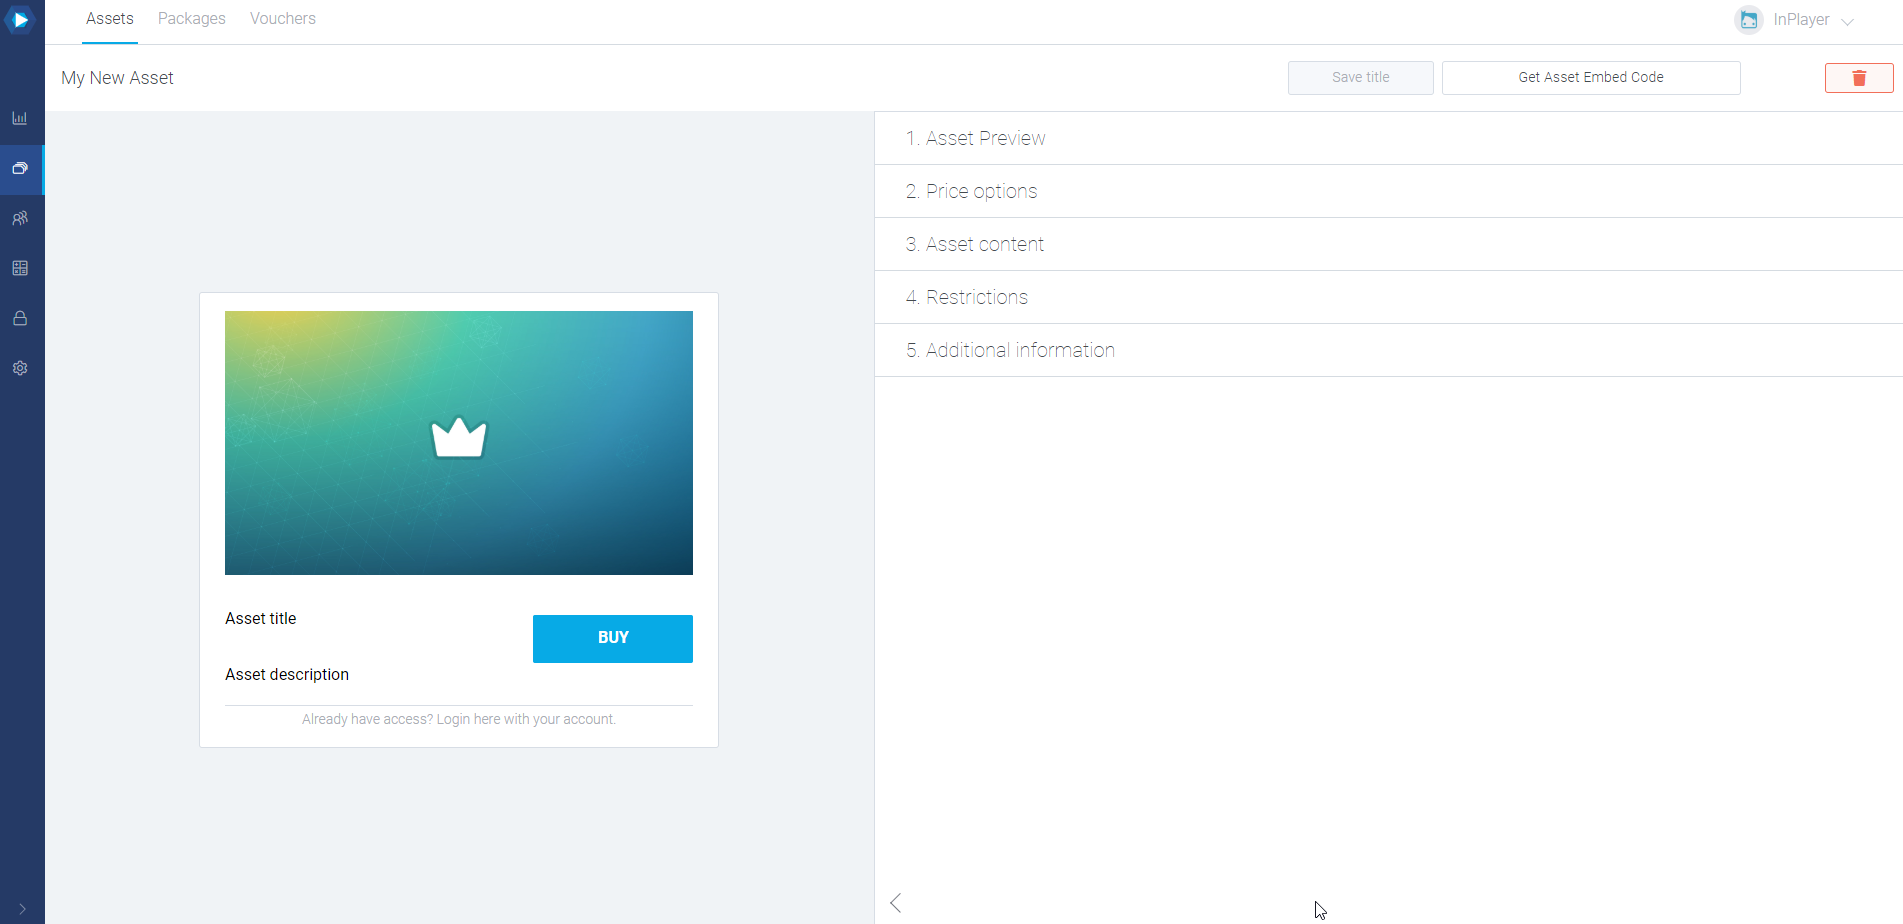
- Click Next. Your newly created asset now displays with additional configuration options on the right of your screen, and a preview pane on the left, showing how the asset will display on your web page.

 Your assets screen displays.


Asset Preview
Click on the 1. Asset Preview item to expand.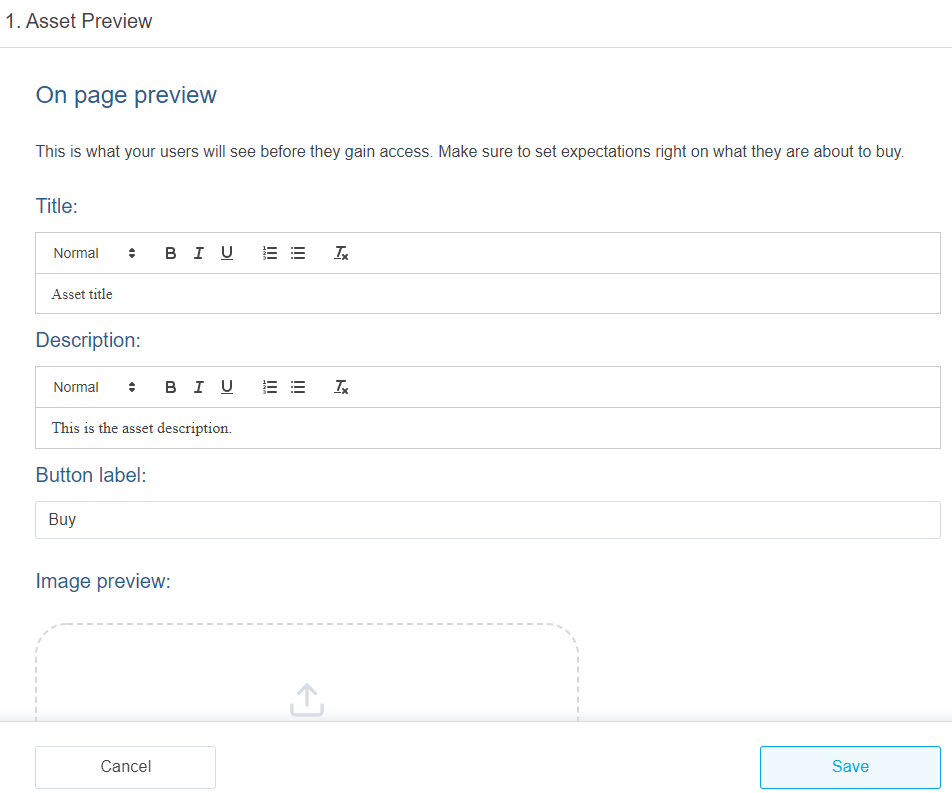 Here you may type a title, description, text for the Buy button, and add a preview image. These are the details that will appear on the actual asset preview when you embed it on your web page. Note that the Title will also display on the final payment form on the paywall, as well as the notification email that your customers receive. Click Save. The item collapses.
Price Options
Click on the 2. Price Options item to expand.
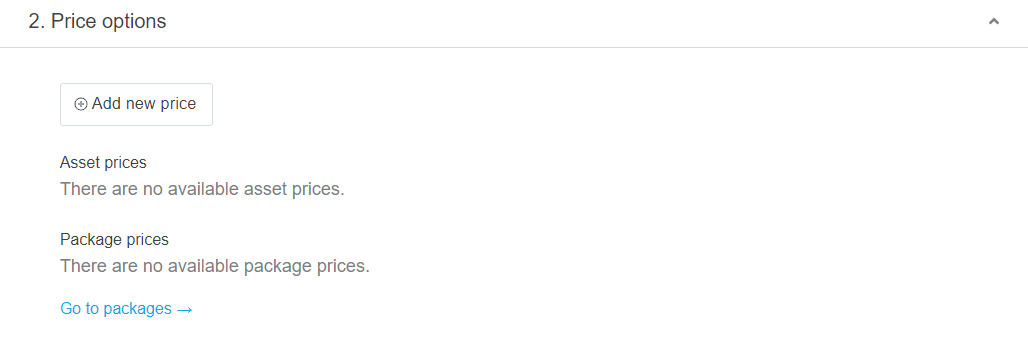 You can set up three different pricing types - ppv, subscription, and season.
Setting up a ppv price
This pricing type allows the customer to make a one-time payment and gain access for a limited time.
- Click Add new price.
- In the General Info tab of the price option, set up the following:
- In the Price description field, enter the price description that will appear on the paywall. Make it concise so your customers know exactly what they are buying.
- In the Payment type field, select ppv.
This is a one-time payment which grants access that expires after the end of the specified period counter either from the moment of purchase, or if using the Scheduled start feature, from the date set in the Scheduled start field. (More on this below.)
The access period can be selected from the drop down menu.
You can pick one of the pre-made periods, or use the custom period option.
When using the custom period option, you can specify the exact date and time at which the customers' access will expire. This is very useful for doing pre-sales since the customers’ access will expire on the date you have set up, regardless of when they have purchased their pass. An alternative way to set up pre-sales is by using the Schedule start option from the Additional Info tab. (More on this below.) - In the Amount field, enter the price.
The minimum price when using USD, EUR, or GBP is 1. When using all other currencies, the minimum is the equivalent converted amount of 1 USD.
The currency can be selected from the drop down menu. If you wish to use a currency that is not in the list, you can contact us at support@inplayer.com and we will make sure to add the currency for you as soon as possible. We support all currencies listed here.
- In the Additional Info tab, set up the following:
- Schedule start: This is the date and time at which the customers' access period will start after they have purchased the asset. Until that time, they will see a message informing them to come back on the scheduled date.
This is a useful option for setting up pre-sales. You can select the access period from the Payment type section in the General Info tab, and then set up when will that access period begin. It works for both the pre-defined access periods (24 hours, 48 hours, etc), and for the custom period.
If you leave the Schedule start field blank, the customers’ access will begin right after purchasing. - Geo-restriction: With this option, you can restrict the price option to specific countries.
You can choose to either include (whitelist) or exclude (blacklist) a single country, or use a country set you have created previously.
You can learn more about setting up country sets here. - Use external In-App IDs: With this option, you can connect the InPlayer system to monetize in-app content (Android, Apple, Roku, etc.).
- Schedule start: This is the date and time at which the customers' access period will start after they have purchased the asset. Until that time, they will see a message informing them to come back on the scheduled date.
- Click Save.
Once you set the payment type for an asset, you cannot change it. You can change the other payment fields (access period duration, price, etc.) but not the payment type. If you wish to set a new payment type, you will need to set up a new price option.
Setting up a Subscription Price
This pricing type allows the customer to incur a recurrent charge at regular intervals that can be cancelled at any time.
- Click Add new price.
- In the General Info tab of the price option, set up the following:
- In the Price description field, enter the price description that will appear on the paywall. Make it concise so your customers know exactly what they are buying.
- In the Payment type field, select subscription.
This is a recurring payment that is renewed automatically. Access is granted at each renewal. The renewal period can be selected from the drop down menu. - In the Amount field, enter the price.
The minimum price when using USD, EUR, or GBP is 1. When using all other currencies, the minimum is the equivalent converted amount of 1 USD. The currency can be selected from the drop down menu. If you wish to use a currency that is not in the list, you can contact us at support@inplayer.com and we will make sure to add the currency for you as soon as possible. We support all currencies listed here.
- In the Additional Info tab, set up the following:
- Free trial: With this, you can set up a free trial period.
- Additional fee: With this option, you can set up a one-time fee that will be charged when the customer purchases the subscription, as an addition to the regular subscription fee. The fee will only be charged once, together with the first subscription charge.
- Geo-restriction: With this option, you can restrict the price option to specific countries. You can choose to either include (whitelist) or exclude (blacklist) a single country, or use a country set you have created previously.
You can learn more about setting up country sets here. - Use external In-App IDs: With this option, you can connect the InPlayer system to monetize in-app content (Android, Apple, Roku, etc.).
- Click Save.
Once you set the payment type for an asset, you cannot change it. You can change the other payment fields (access period duration, price, etc.) but not the payment type. If you wish to set a new payment type, you will need to set up a new price option.
Setting up a Season Price
This pricing type allows the customer to make a payment and gain access for a limited period, but at the same time accept a recurrent charge for being able to watch during the next period. The date for the upcoming charge is determined by the merchant.
- Click Add new price.
- In the General Info tab of the price option, set up the following:
- In the Price description field, enter the price description that will appear on the paywall. Make it concise so your customers know exactly what they are buying.
- In the Payment type field, select season.
With this payment type, the customer purchases a season pass that lasts for a specific period, then expires, and is then renewed for a second period at a certain point in the future, upon which a new charge is taken from the customer. The payment will continue to renew in the same manner for as long as you keep scheduling upcoming seasons. A new season needs to be re-scheduled after the end of each one. You will get an automated email at the end of each season reminding you of this.The season payment type is best suited for seasonal content, like sports, where using standard back-to-back subscription payments might not be suitable, since content is only available during specific parts of the year, and in between there are periods with nothing or nothing new to watch.
A basic season cycle is represented here:
- In the Season start field, enter the start date and time of the season. This determines when the access for customers who purchase a pass will start. It is also possible for access to be granted to the customers from the moment of their purchase. This is accomplished with the Off-season access option. It will be discussed further below. Also, a season price option will not be available for purchase until the Season start has been set.
- In the Season end field, enter the end date and time of the season. This is the access cut-off date for the current season. Access will be re-granted upon the renewal of the payment for the next season. It is also possible for the access to continue beyond the end of the season, i.e. until the moment of renewal of the payment for the next season. This is, again, done with the Off-season access option, which we’ll see below. Also, a season price option will not be available for purchase until the Season end has been set.
- In the Anchor date field, enter the date and time for the renewal of the payment, i.e. the date and time when the payment for next season will be taken. Note that once you set up the first anchor date, the anchor date for the next season will be automatically set to one year after the first anchor date. You can always go back and change it if you wish.
- In the Seasonal price field, enter the amount that will be charged upon renewal for the next season, i.e. on the Anchor date. Note that this is not the price for the current season.
The minimum price when using USD, EUR, or GBP is 1. When using all other currencies, the minimum is the equivalent converted amount of 1 USD.
The currency can be selected from the drop-down menu. If you wish to use a currency that is not in the list, you can contact us at support@inplayer.com and we will make sure to add the currency for you as soon as possible. We support all currencies listed here. - In the Current price field, enter the account that will be charged for the current season. Whenever a customer goes to your page, they will see this price. You can change this price at any time. For example, you can have it be equal to the Seasonal price at the beginning of the season, and then reduce it as the season progresses.
The minimum price when using USD, EUR, or GBP is 1. When using all other currencies, the minimum is the equivalent converted amount of 1 USD.
The currency can be selected from the drop-down menu. If you wish to use a currency that is not in the list, you can contact us at support@inplayer.com and we will make sure to add the currency for you as soon as possible. We support all currencies that are listed here. - With the Off-season access option, you can decide whether the customers will only have access during a season (between the season start and end date), or also during the off-season period, so they can watch replays, for example. Note that once you set the Season start, Season end, Anchor date, and Seasonal price you cannot change them until the current season ends. You can only change the Current price amount.
- In the Additional Info tab, set up the following:
- Free trial: With this, you can set up a free trial period. If the Off-season access option is enabled, the free trial will begin right after the customer completes their purchase. If the Off-season access option is disabled, the free trial will begin on the Season start date.
- Additional fee: With this option, you can set up a one-time fee that will be charged when the customer purchases the subscription, as an addition to the regular subscription fee. The fee will only be charged once, together with the first subscription charge.
- Geo-restriction: With this option, you can restrict the price option to specific countries.
You can choose to either include (whitelist) or exclude (blacklist) a single country, or use a country set you have created previously. You can learn more about setting up country sets here. - Use external In-App IDs: With this option, you can connect the InPlayer system to monetize in-app content (Android, Apple, Roku, etc.).
- Click Save.

Once you set the payment type for an asset, you cannot change it. You can change the other payment fields (access period duration, price, etc.) but not the payment type. If you wish to set a new payment type, you will need to set up a new price option. You also cannot delete a season price option before the current season ends.
Asset Content
The instructions in this section are only applicable when monetizing channels. When monetizing a specific video, there is no need to configure the Asset Content section.
- Click on the 3. Asset Content item to expand.

- Type your MediaSpace domain URL, without the https:// or https:// part.
If you have set up a custom URL for your MediaSpace, as opposed to using the default 123456.mediaspace.com format, depending on your custom URL domain configuration, you might need to enter the full URL, along with the www. part. You can test whether you need to use the www. part by checking whether your web page is accessible without typing www. in front of it in Chrome’s guest mode. If it is, you do not have to add the www. in the MediaSpace set up, and if it is not, you do. - Click Save.

Restrictions
- Click on the 4. Restrictions item to expand.
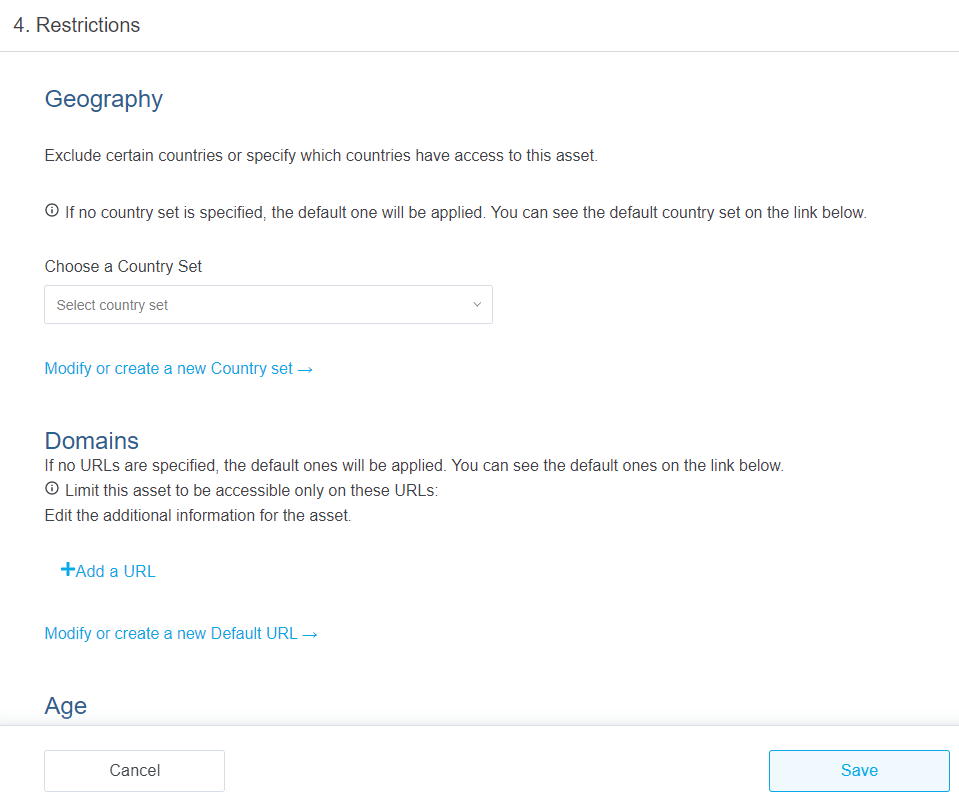
- Set up any geographic, domain, and/or age restrictions for the asset you wish to use. Click Save. The item collapses.

Additional Information
- Click on the Additional information item to expand.
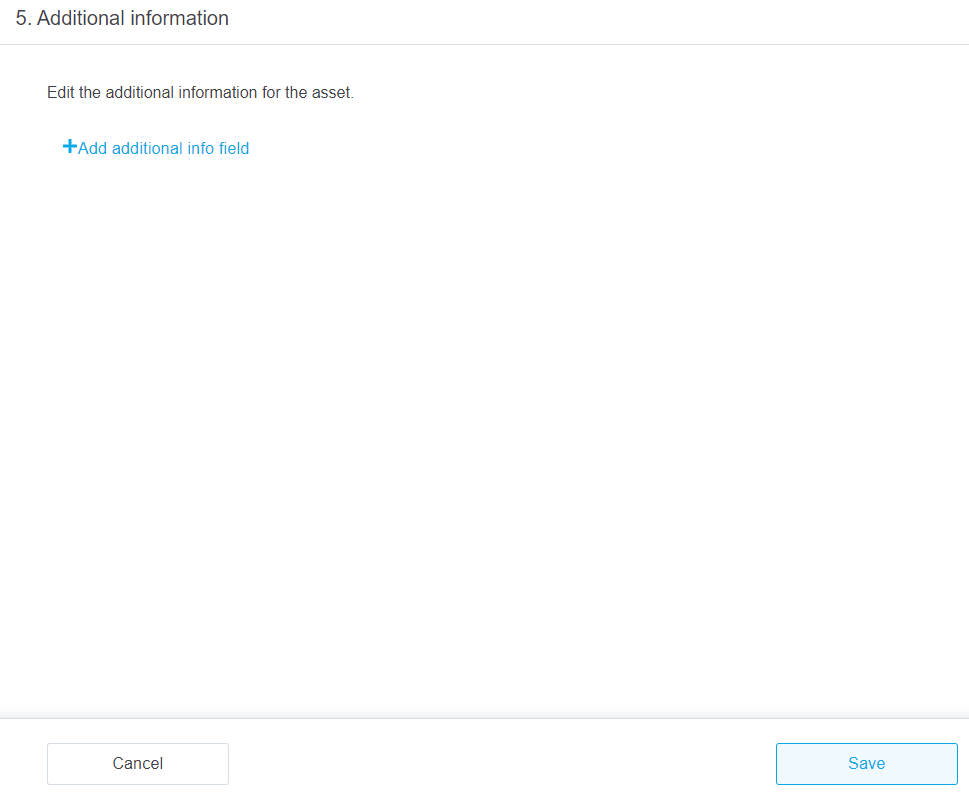
- Add additional information fields as desired.
- Click Save. The item collapses.

Preview Templates
- Click on the 6. Preview Templates item to expand.
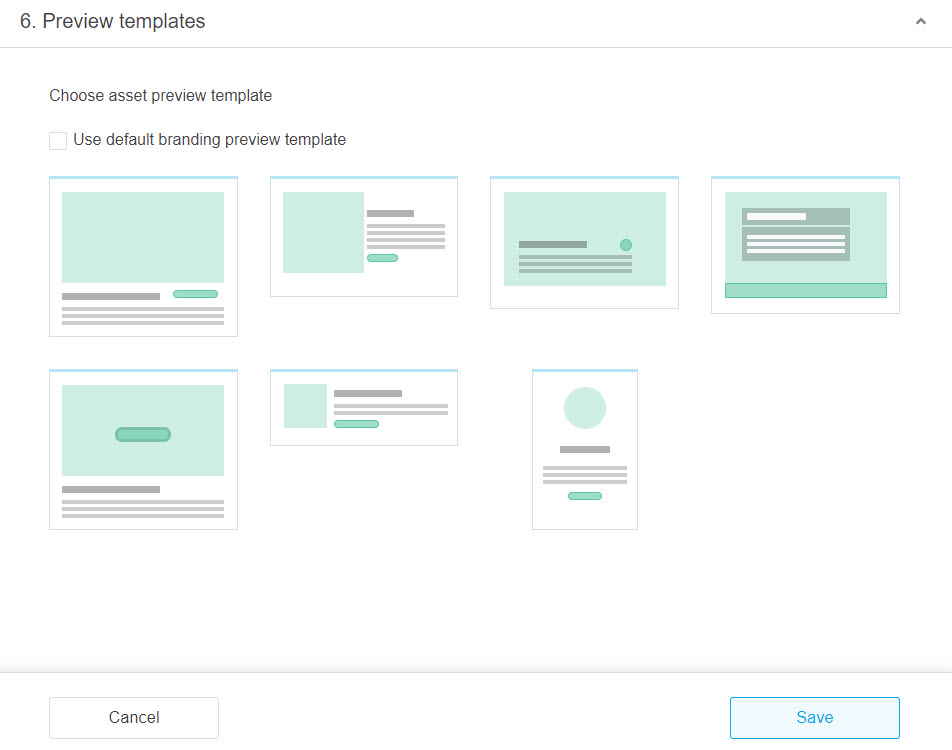
- Select a preview for your asset.
- Click Save. The item collapses.

Linking an Asset with a Kaltura Channel
Once you have your InPlayer asset, it is time to link it to a Kaltura channel.
In Kaltura MediaSpace, a channel is a collection of videos and other media that can be public or restricted in terms of who can view and contribute media to the channel. After you create a MediaSpace channel, you will need to publish into the channel the content that you want to market/sell. For information on how to set up the MediaSpace portal and create channels, see the Kaltura MediaSpace Setup Guide.
If you do not have a MediaSpace portal, contact your Kaltura representative to create one for you.
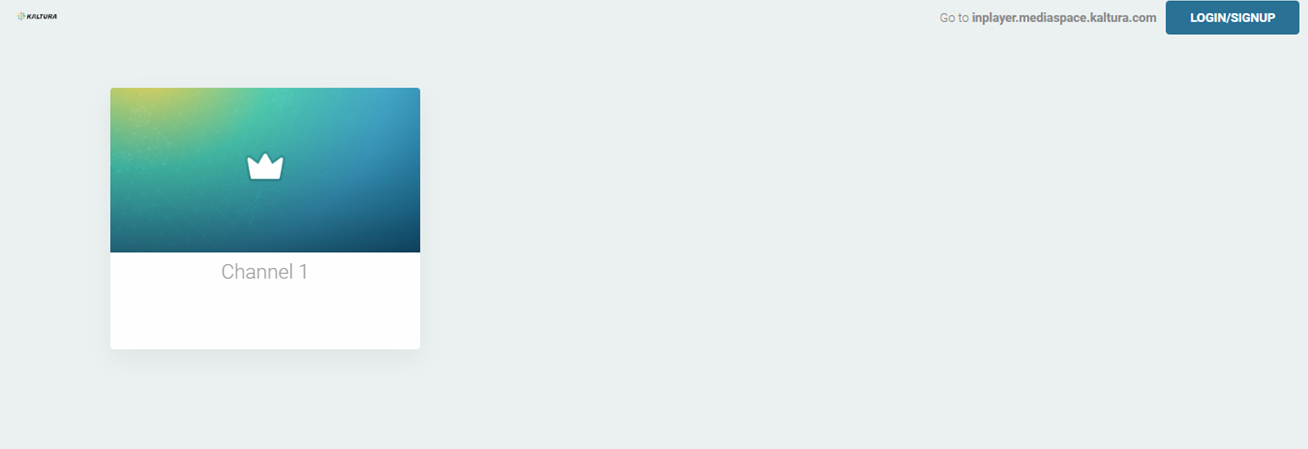
First, make sure that your channel is set as Private so that only users who register an account and make a purchase will be able to see the content. This is very important. See Publish Media in MediaSpace for instructions on publishing and setting media to be private.
Then, navigate to the InPlayer MediaSpace App URL (the same link you previously entered in the SSO settings of your MediaSpace Admin panel). Make sure to first edit the parts in bold with your InPlayer merchant UUID and your MediaSpace domain URL.
Remember, depending on which environment you are currently running (Demo or Live), the InPlayer MediaSpace App URL is as follows:
Demo Environment: https://staging-mediaspace.inplayer.com/merchant-uuid?mediaspace=domain-url
Live Environment: https://mediaspace.inplayer.com/merchant-uuid?mediaspace=domain-url
The InPlayer asset you just created is displayed.
Now, you must create a user group.
- Login to your MediaSpace Configuration Management admin site at: https://[your_partner_id].mediaspace.kaltura.com/admin
- Choose MANAGE GROUPS tab.
- Click + Add New Group.

The Add New Group screen displays.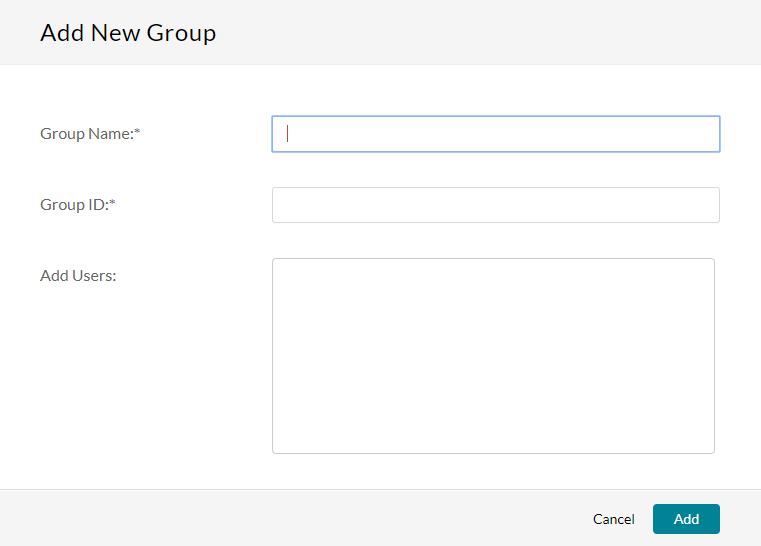
- In the Group Name and Group ID, type the Asset ID. To find the Asset ID, go to the Asset tab of your InPlayer Dashboard. The Asset ID for your asset will be listed in the asset list.
- Leave the Add Users field blank.
- Click Add.


Now you can link the asset with the channel.
- Login to the Kaltura Rich Media CMS dashboard.
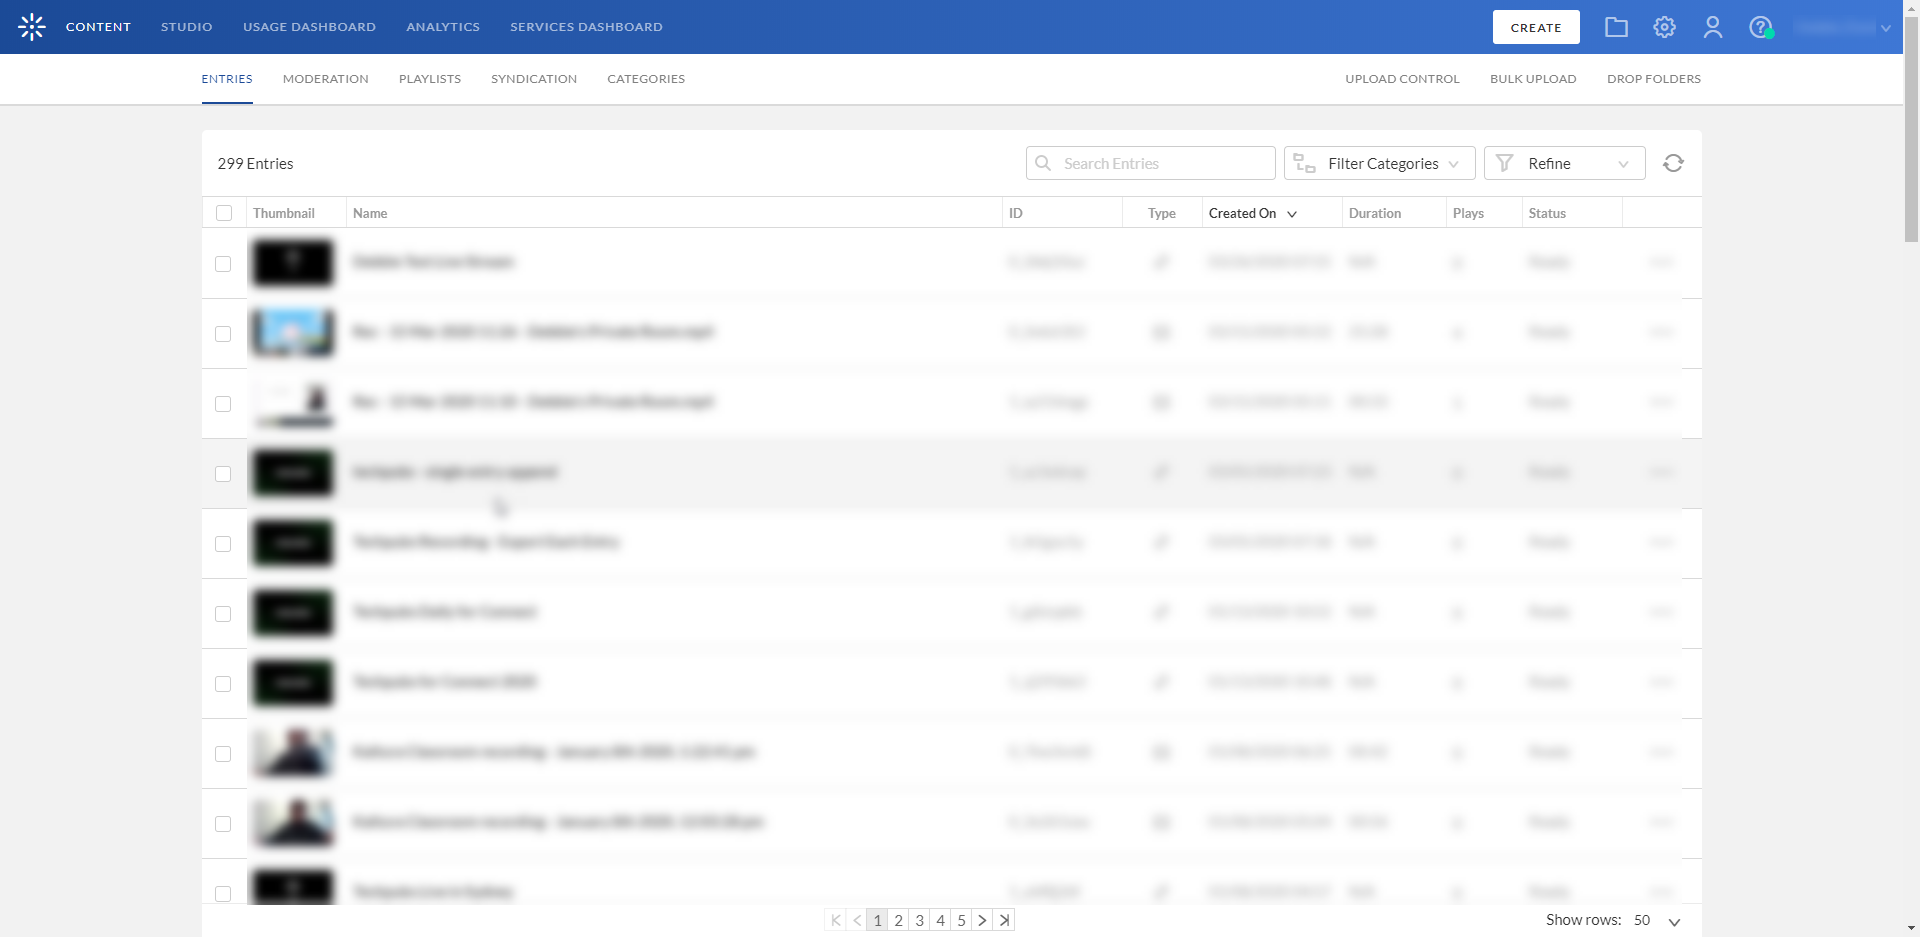
- Click on the CATEGORIES tab.
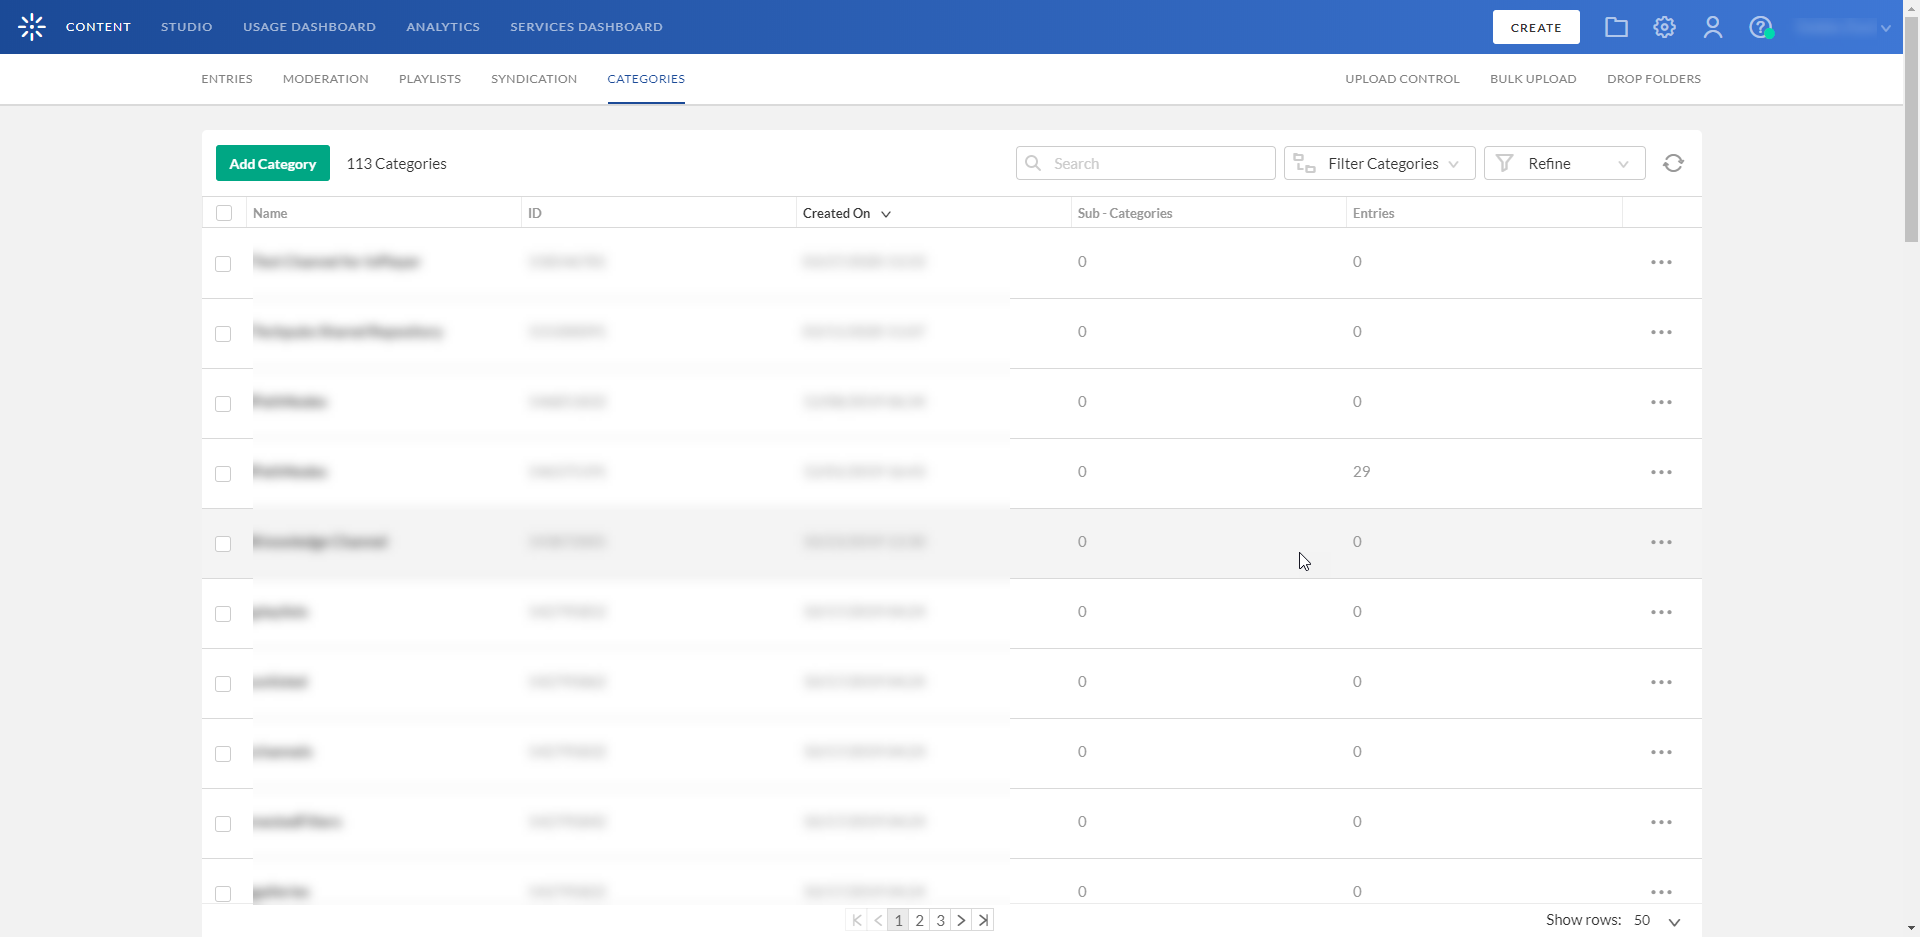
- Click the channel to which you wish to link the InPlayer asset.
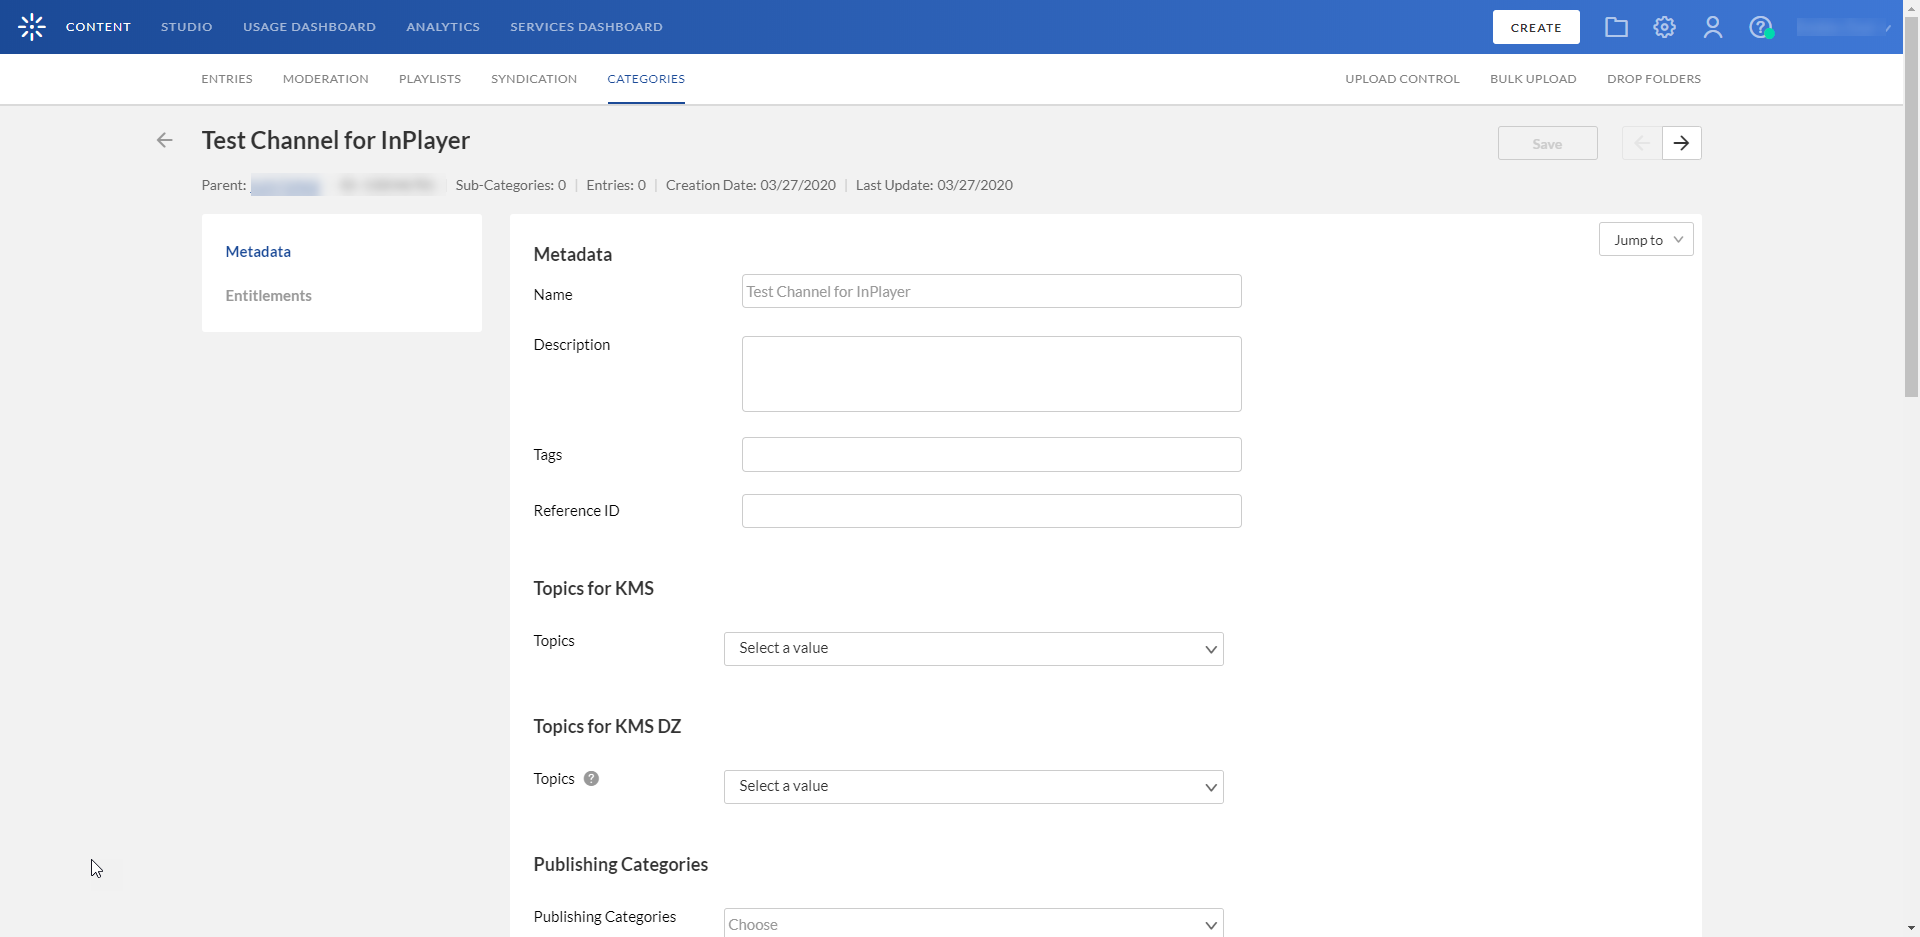
- Click Entitlements from the menu on the left side of your screen.
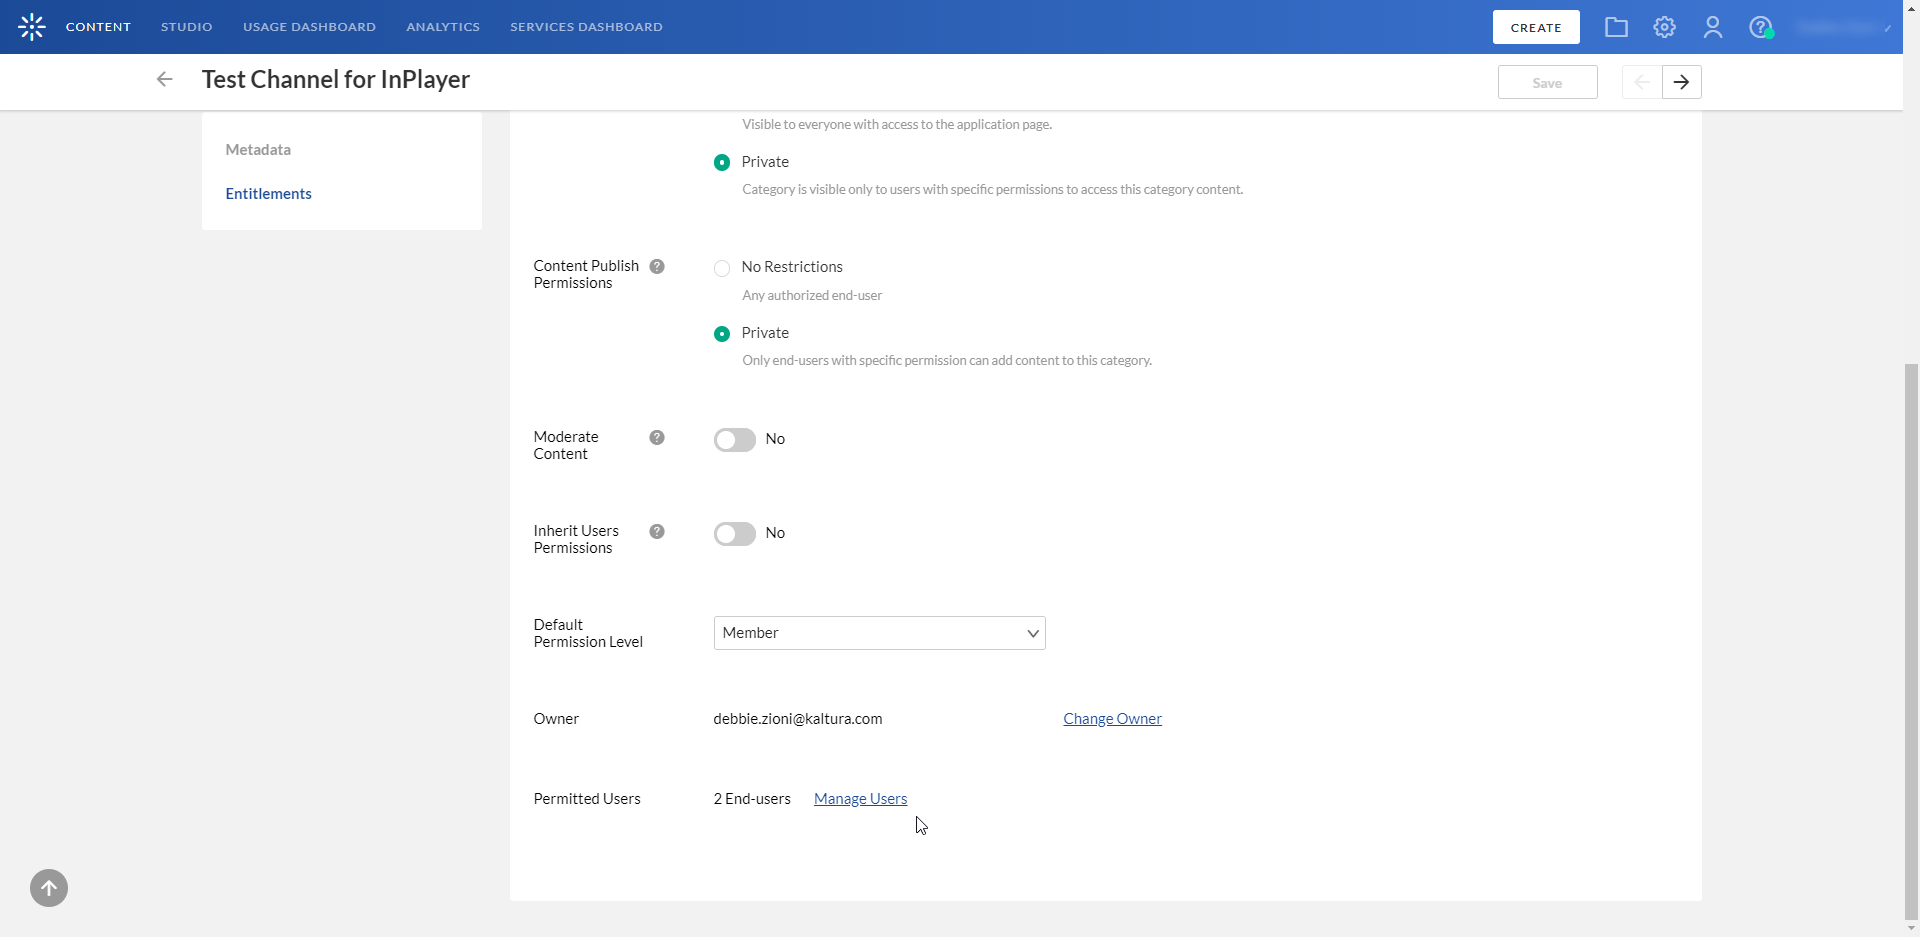
- Scroll down and click on Manage Users.
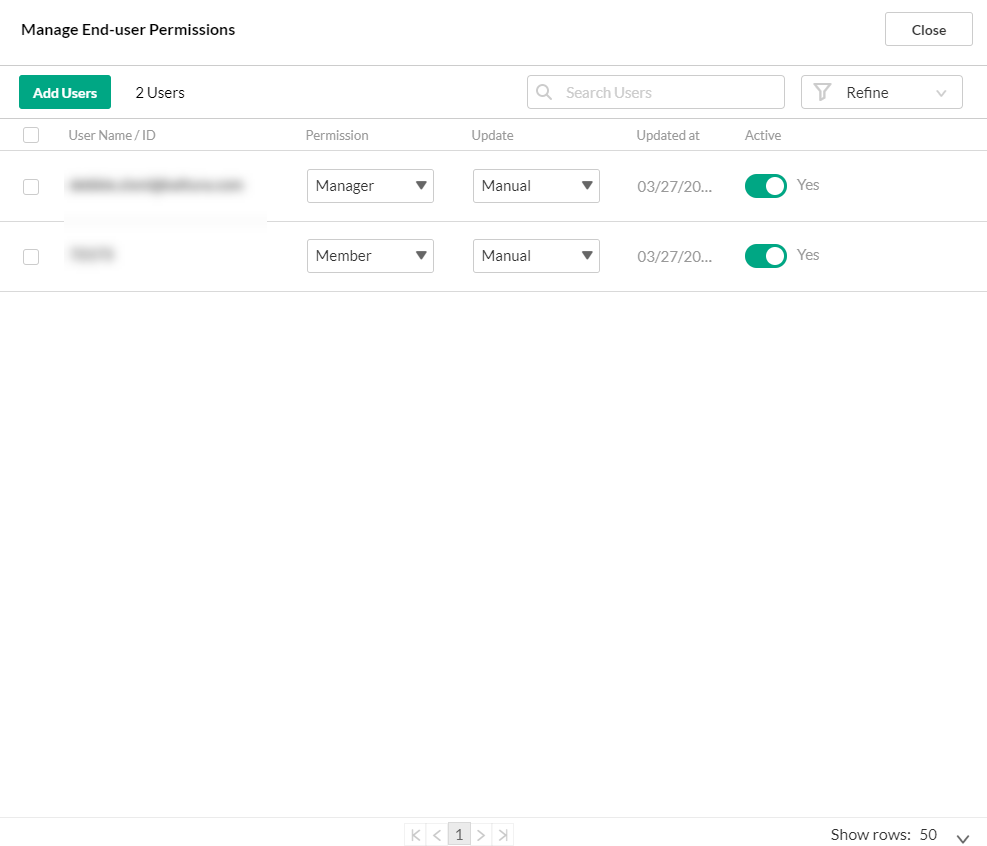
- Click Add Users.
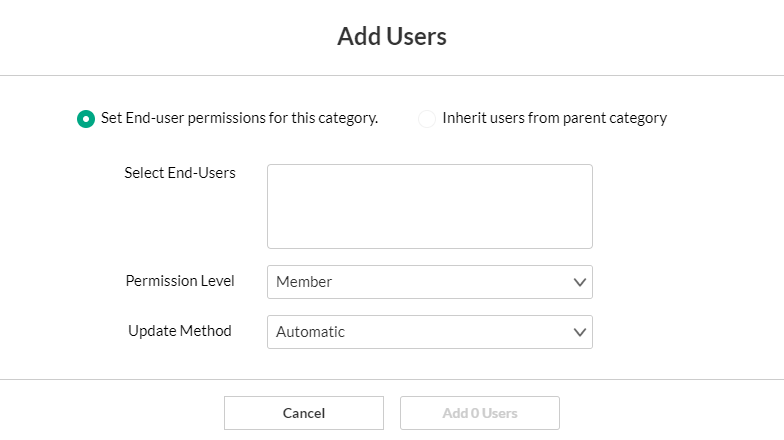
- Type the Asset ID that you wish to link to this channel in the Select End-Users field. To find the Asset ID, go to the Asset tab of your InPlayer Dashboard. The Asset ID for your asset will be listed in the asset list.The field auto-completes as you type. If it does not auto-complete, revisit the steps to create a user group.
- Click Add 1 Users.
- Repeat for every individual channel you wish to monetize.


Linking an Asset with a Kaltura MediaSpace Video
This section is only applicable for monetizing specific videos.
This article describes how to connect the InPlayer Asset with the video you want to monetize in MediaSpace.
- Login to your Kaltura MediaSpace account.
- Access the Edit Media Page of the media that you want to monetize.
- Select the InPlayer Monetization tab. The InPlayer Monetization screen displays.

- In the Asset ID field, type the Asset ID. To find the Asset ID, go to the Assets tab of your InPlayer Dashboard. The Asset ID is listed in the Asset List.
- Click Save.

If you ever wish to un-link an asset from a video, simply revisit the Edit Media Page for that video, select the InPlayer Monetization tab and delete the Asset ID from the Asset ID field. Then click Save.
Removing the InPlayer Integration
If you ever wish to remove the integration, set back all the settings in the MediaSpace Configuration Management admin site to their default states by doing the following:
- In the Auth tab, under SSO, delete the loginurl and logouturl links.
- Under Auth Adapters, set the authNAdapter and authZAdapter values to Kaltura AuthN.
- In the Ssogroupsync tab, set the module to enabled: NO
- Delete the entire offerIds privilege.
