About
By default, any media you upload is private. To share it with others, you'll need to publish it in a channel or gallery on your legacy Video Portal.
If enabled by your administrator, your institution may also require captions before media can be published. This feature supports compliance with accessibility regulations in the EU and US by ensuring all published media includes captions.
Read our step-by-step instructions or watch the video tutorial below.
You must have permission to publish to channels and/or galleries. Ask your administrator to give you the required permission.
The instructions below are for non-Theming users. If you have Theming enabled, please refer to our article Publish media - Theming.
Publish media
Don’t see the Publish option? It may be because the Publish module hasn’t been configured by your administrator. Reach out to your admin for help.
From My Media
To publish one or more entries at a time:
- Access My Media from the user menu.
- Select a media item or multiple by checking the box next to the media item(s).
- Select Publish from the Actions menu.
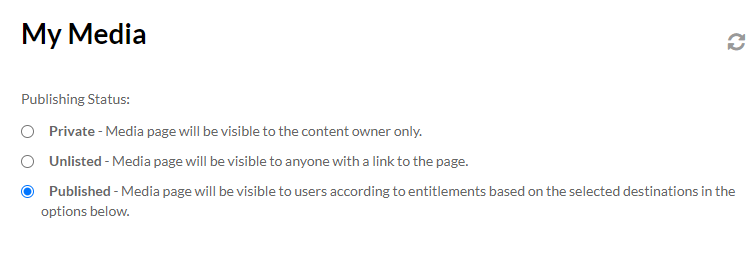
- Set the Publishing Status to Published.
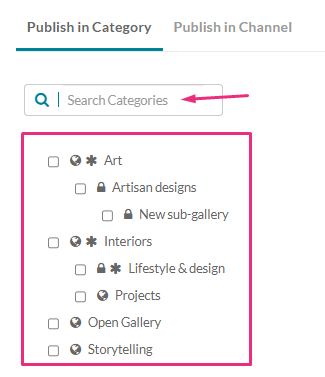
- Choose which channel(s) and/or category (gallery)(s) you want the media item published to. You can use the search box to find the desired category or channel.
- Click Save.
- A confirmation message displays: Media successfully published.

If your administrator has enabled mandatory captions (via the Captions module), you won’t be able to publish media until captions are added. If captions are missing, you’ll see a warning message: Media cannot be published without captions. For step-by-step instructions on ordering captions, see Order captions.

From the edit media page
- Click the pencil icon next to the media item you want to publish.
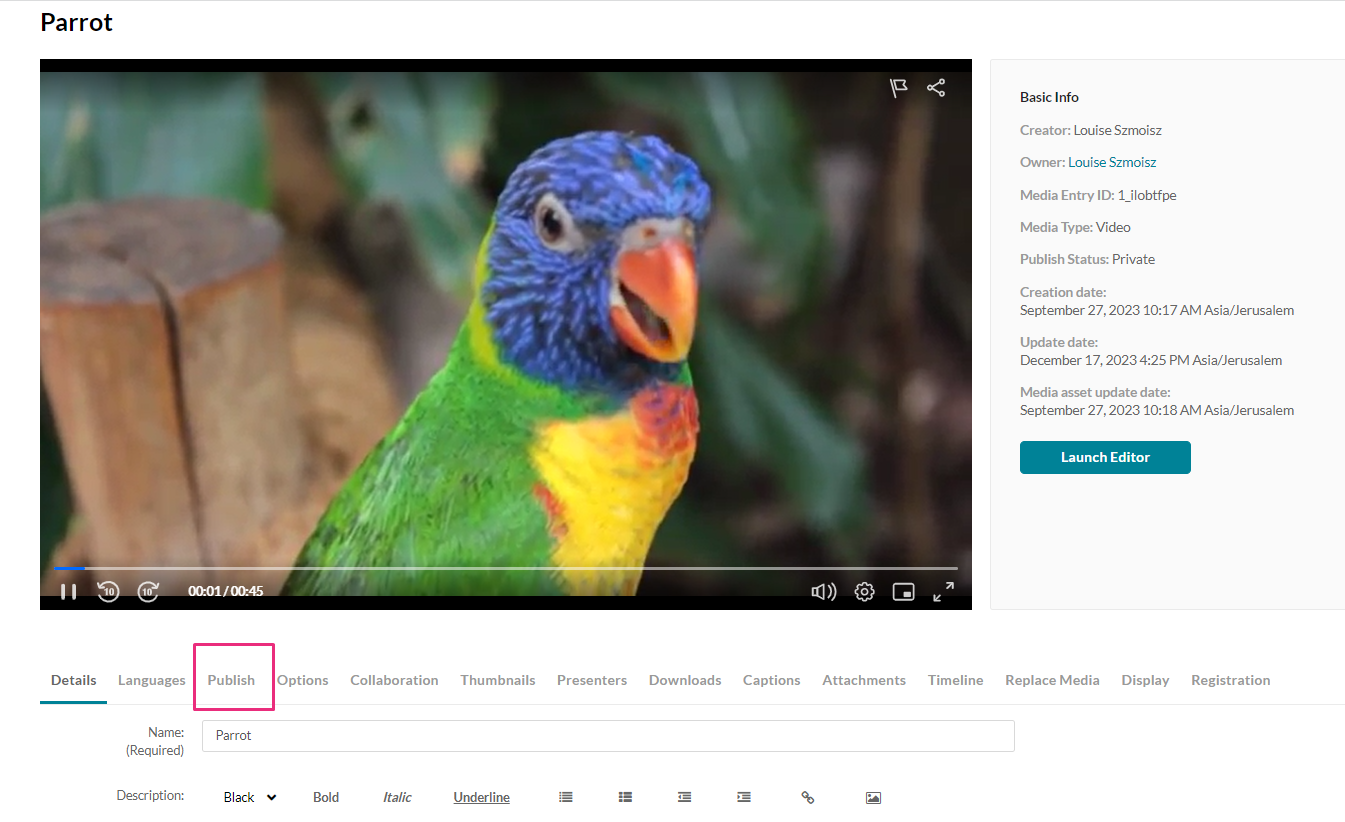
- Click on the Publish tab.
- Follow steps 4-6 above.

The edit media page displays.

From the media entry page
- Click on the thumbnail of the desired entry.
- Select Publish from the Actions menu.
- Follow steps 4-6 above.
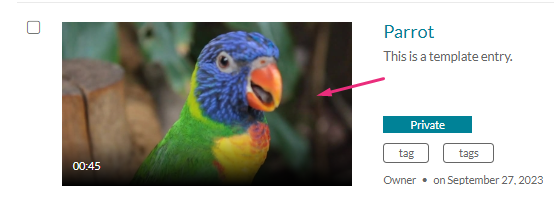
The media entry page displays.

See where media is published
From the My Media page, click the green Published button to see where the media is published.
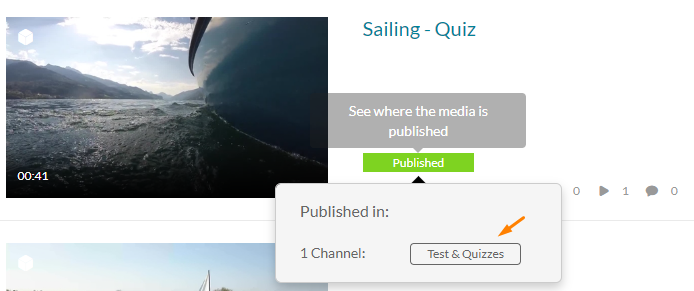
Click again to close the pop-up.
Unpublish media
- Follow any of the steps above until step 4.
- Under Publishing Status, select Private.
- Click Save.
A warning message displays: You are about to unpublish the media from all categories/channels. Are you sure you want to continue? - Click OK to unpublish the media from all categories/channels.