This article documents the legacy KME room. For our next-generation virtual classroom and collaborative meeting solution, please visit the Kaltura Room documentation.
This article describes how Administrators can add course, users, files, check session stats, adjust user access, adjust branding, and change plan/billing information.
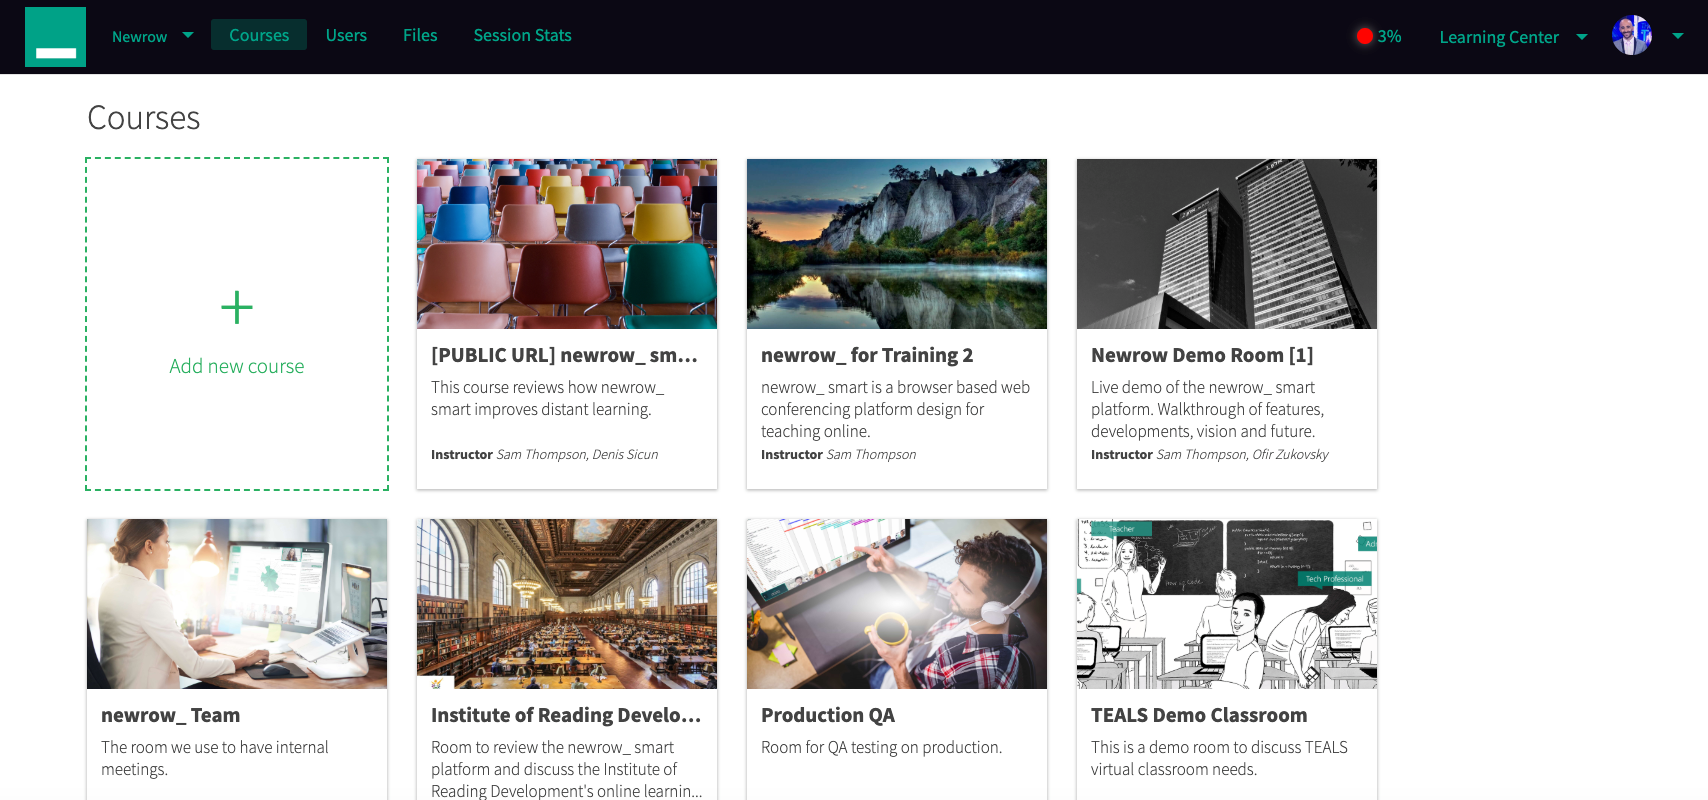
Courses
- Click +Add new course to add new courses. You will then have the option to adjust:
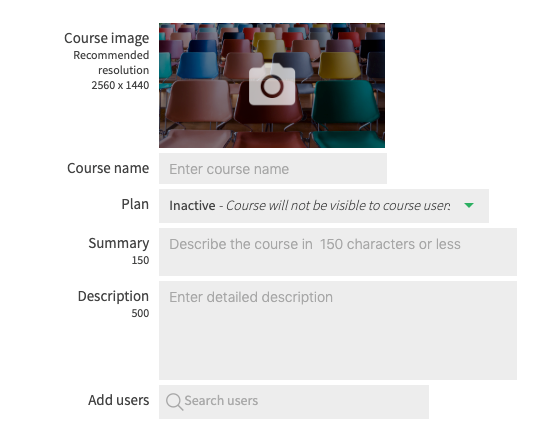
- COURSE IMAGE - This will be the image of your particular course and in turn the image users will see when they get an invite to your virtual calssroom. Click the camera image to add your desired picture. The recommended resolution is 2560X1440.
- COURSE NAME - This is the name of the course you’re teaching (i.e. Bill’s Math Class).
- PLAN - The course may either be (a):
- Inactive. This means the course will not be visible to course users. Instructors will still have the ability to enter the course to prepare their lessons ahead of time.
- Smart_15 plan. 1 virtual classroom, 2 hours cloud recording, 1 self-paced course, up to 15 webcam users per live session.
- Smart_25 plan . 1 virtual classroom, 2 hours cloud recording, 1 self-paced course, up to 15 webcam users per live session.
- Smart_custom plan. This is a custom designed plan that contain a myriad of options.
- (One purchased license/plan of Kaltura allows you to have one active course. Two purchased licenses/plans of Kaltura allows you to have two active courses, etc. An administrator can create as many courses as they like, preparing it with content or editing it, but the class can only go LIVE if it is made active with a purchased license/plan)
- SUMMARY - You must describe the course in 150 characters or less. This will be displayed in the course box, below the name and picture associated with the course.
- DESCRIPTION - You must enter a description of the course in 500 characters or less.
- ADD USERS - This is the area where you can add users to this particular course who have already been entered into the system previously. If you have not added users yet, you can save and proceed to the next section.
Users
- Click Users to add new users to your virtual classroom. You will then be asked to:
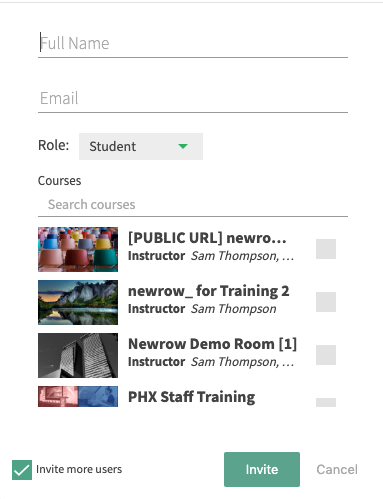
- Enter the user’s full name.
- Enter the user’s email address.
- Assign the user a role by choosing:
- Student. They will simply be able to access active rooms.
- Instructor. They will be able to access active rooms, initiate live courses, and enter inactive course for preparation purposes.
- Administrator. They will have the full capabilities as the main administrator, able to create courses, add students, change the company branding and billing information. Administrator access should be given sparingly.
- Assign the user a specific course or several.
- Click Invite.
- When you click the Invite button, a user will receive an email invitation, where they will be asked to confirm their account. (You have the option to invite more users by clicking the box in the bottom left.)
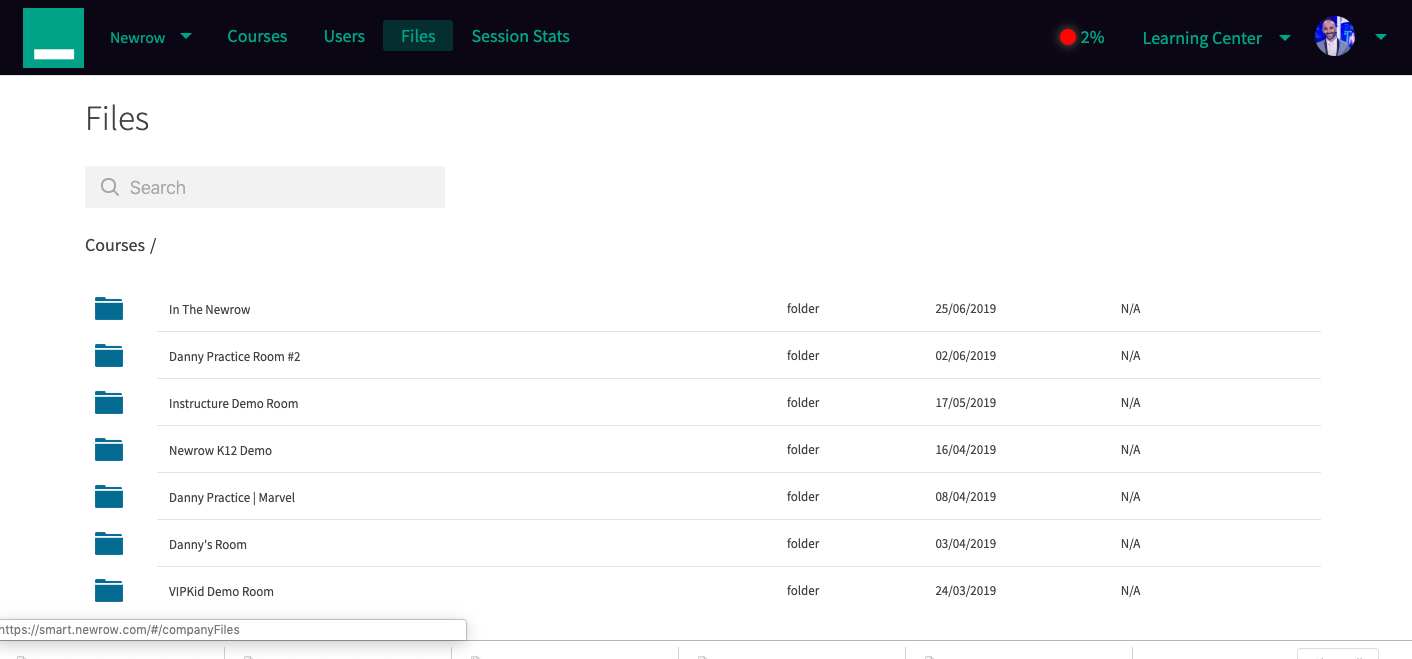
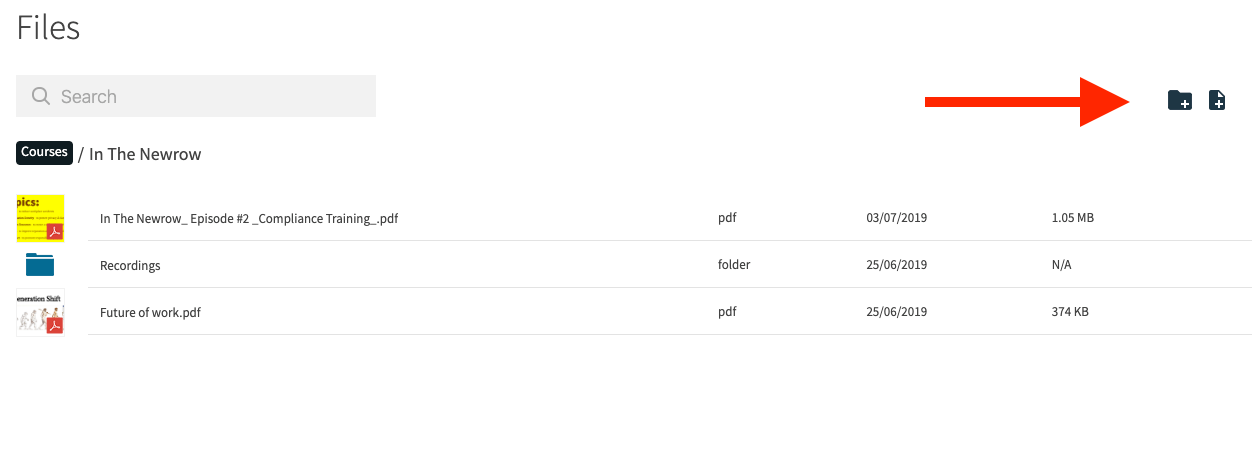
Files
Session Stats
Session Stats provide instructors and virtual classroom administrators statistics on the courses offered within their organization.
Instructors can access data related to the courses they teach while administrators can access data from all courses offered within their virtual classroom.
The first data points available are:
- Session overview - List view of live classes that took place in the specified date range with information around: Instructor/s, number of students, duration, start time, end time, and whether a recording took place.
- Recordings - Preview recordings that took place in specified sessions
- Attendance list - See a lit of participants that joined each live session: Name, role, email, time entered, time exited, and duration of attendance.
- Chat history - See a record of chat history entered throughout the session.
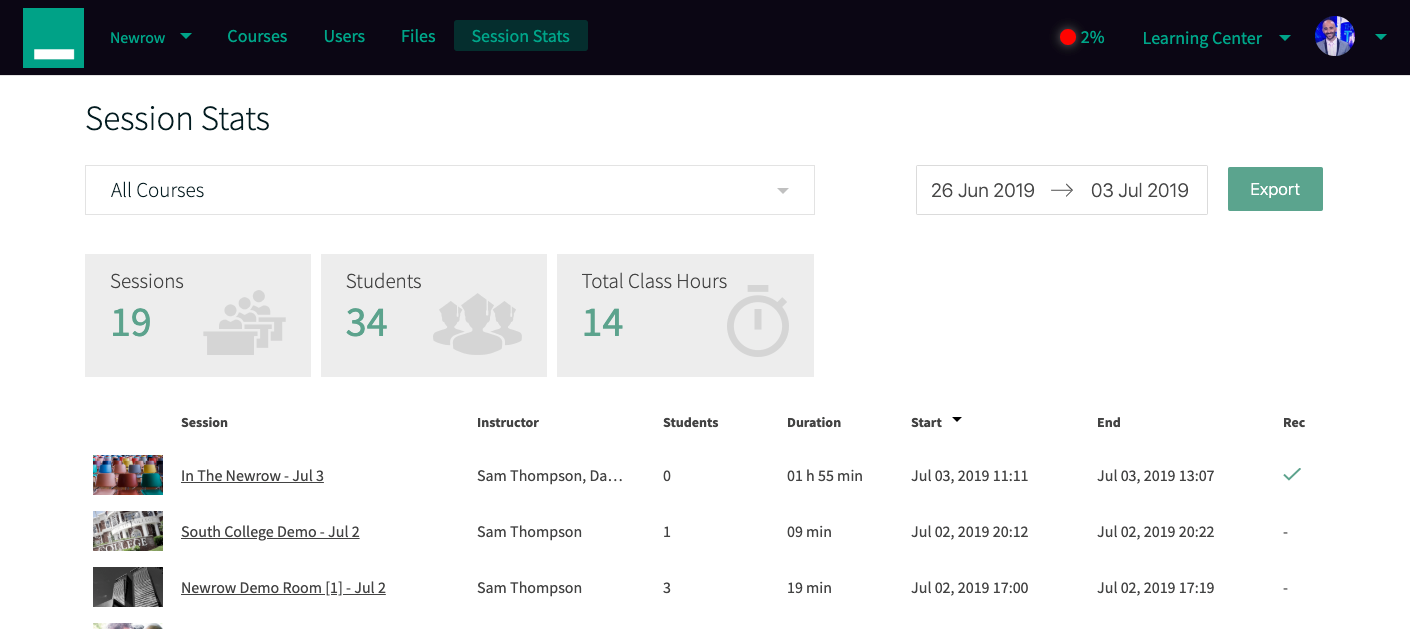
Your list of sessions conducted will include:
- Who the instructor was
- How many students attended
- The duration of the session
- The start and end time
- If a recording of the session was taken
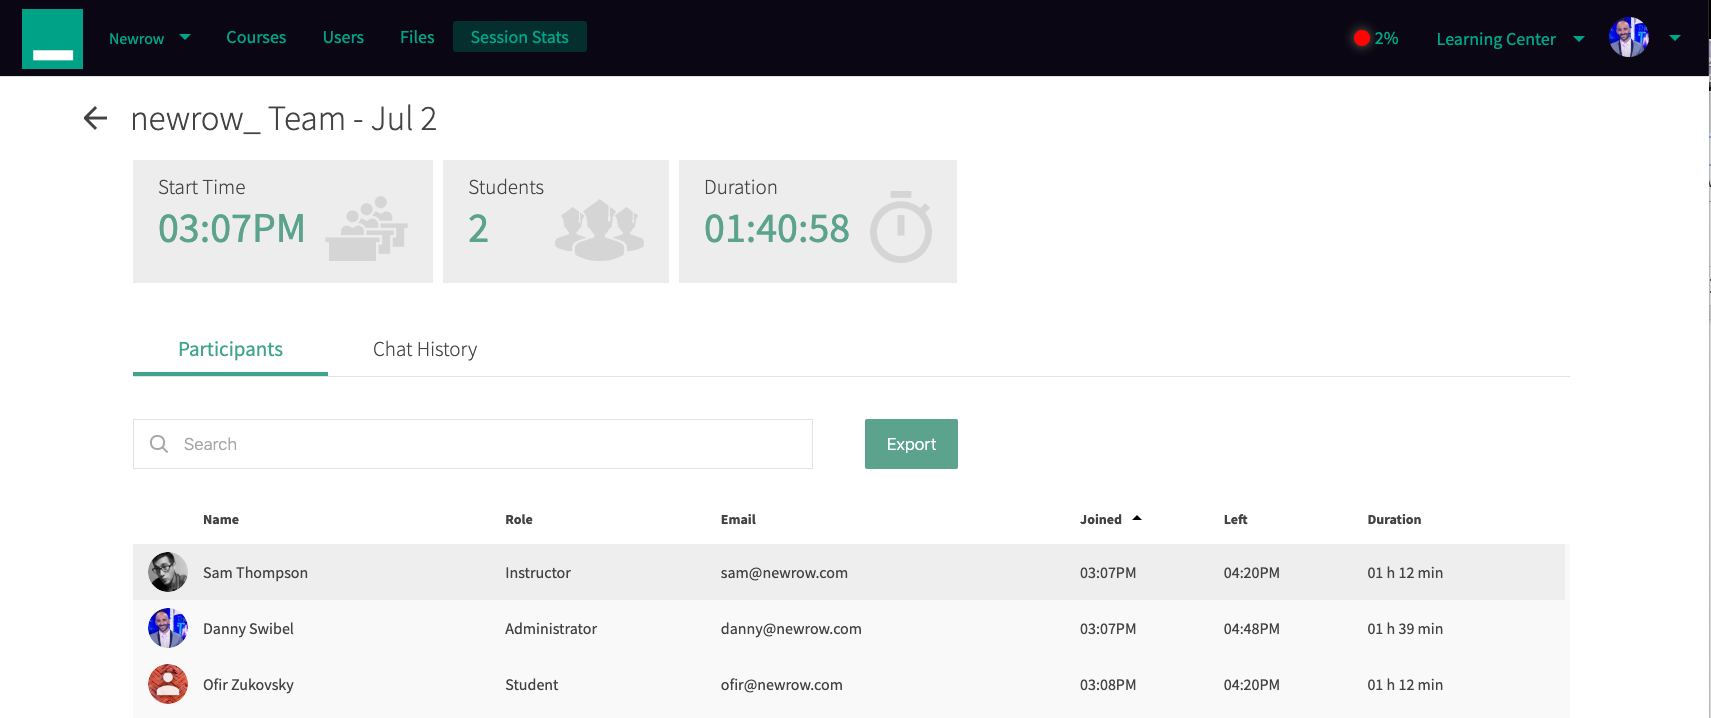
When you click into an individual session, you will be able to view:
- Student Names
- Student Email
- Instructor
- Time student joined room
- Time student left room
- Total duration spent with the room
- Recordings
- Chat History
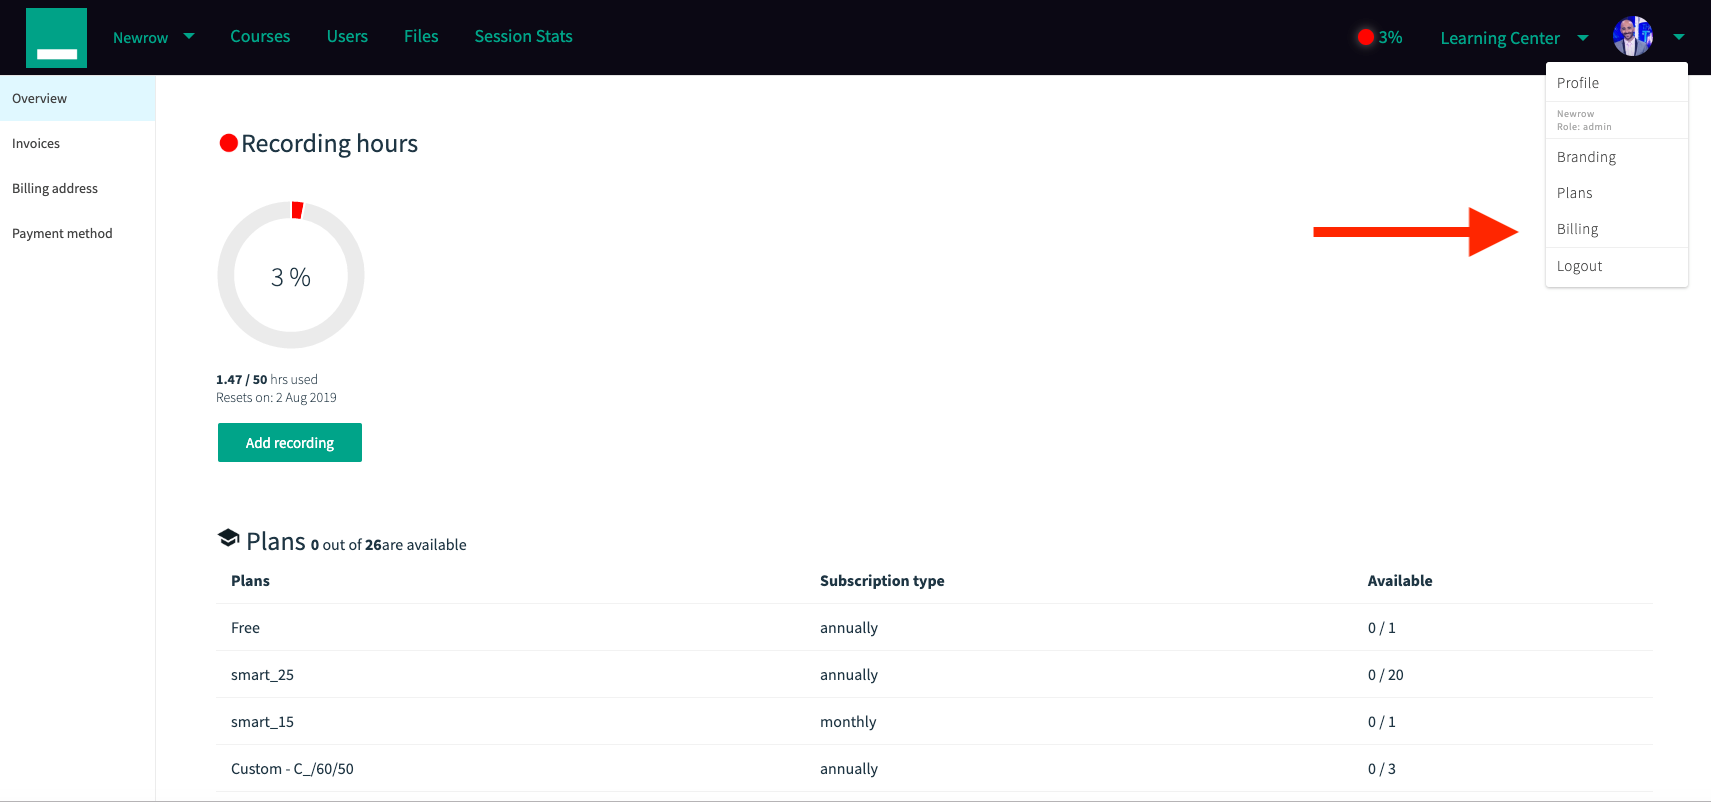
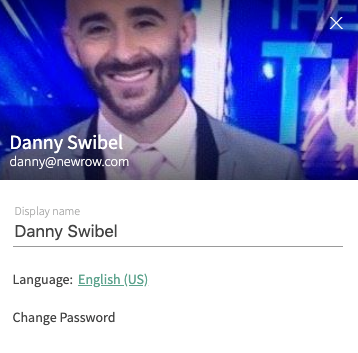
Profile
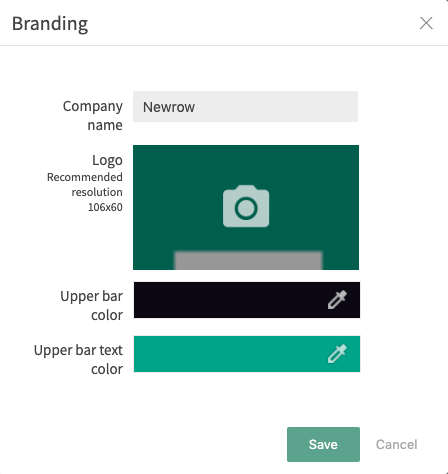
Branding
In this section, you can upload your logo and update your virtual classroom with the colors of your organization.
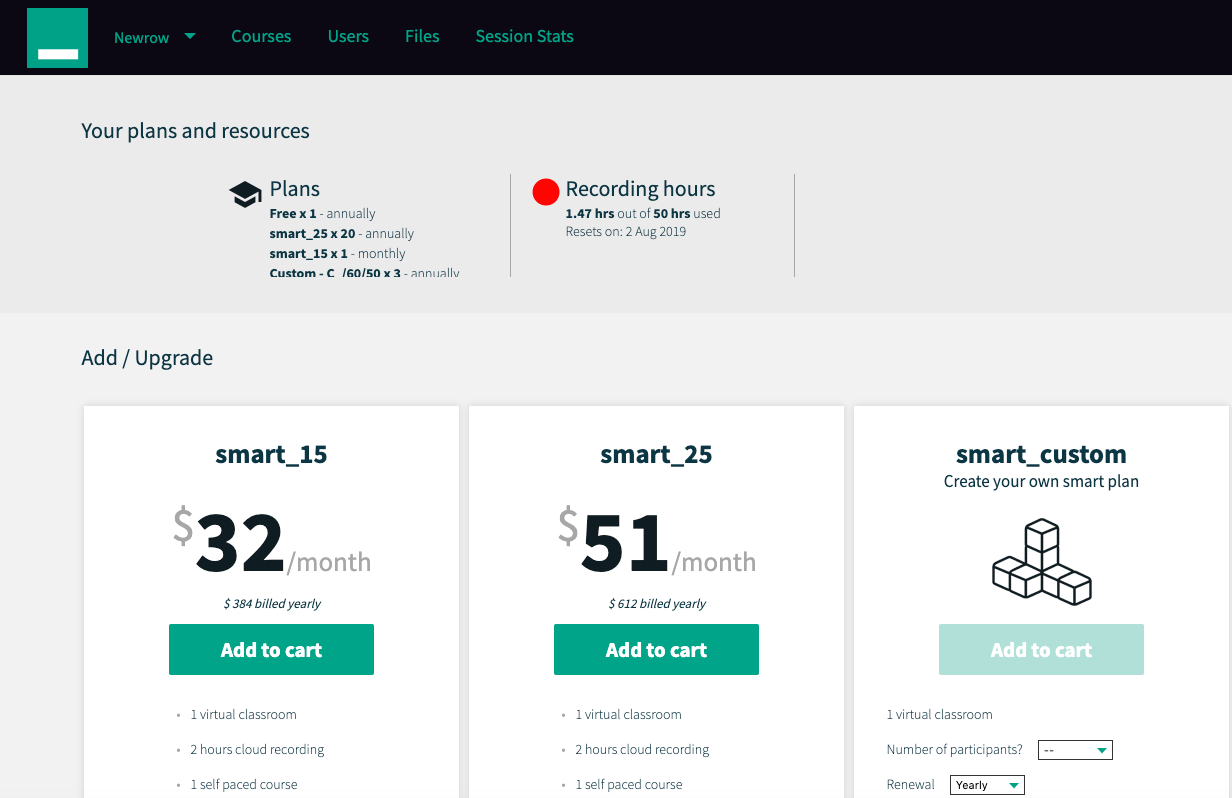
Plans
In this section, you can add/upgrade Kaltura Live rooms, as well as check remaining recording hours.
BILLING
In this section, you as a paying user you have access to Billing pages to see an overview of your plans, see a history of your invoices, update your billing address and update your payment method.