About
Event controls allow you to configure your single session Pre-recorded event.
Looking for more information about single session events? Feel free to contact your Kaltura representative.
Event controls area
On a single session Pre-recorded event, the Event controls area appears on the lower part of the Overview page.

Create with AI
Use the Create with AI button to generate highlight clips, summaries, and chapters after your session.
The Create with AI button is only enabled when the session has a recording, the recording video is ready, its duration is longer than 60 seconds, and captions are available for the recording.
See Create highlight clips with AI and Create a summary and chapters with AI for more information.
Access the editor
Select the edit icon next to any control to open the editor. In the editor, the controls appear as tabs:
- Basics
- Captions
- Attachments
- Share & embed
The tab you select will be active, and you can switch to any of the others.

When a tab is open, you’ll see the Create with AI button here as well (1), along with a three-dot menu (2). These actions are available across all tabs.

For details, see our section on Global actions.
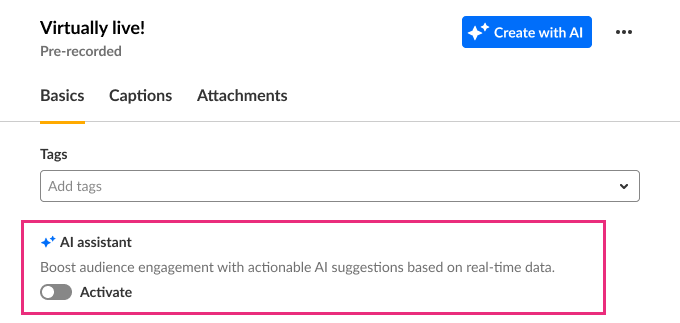
Basics tab
The Basics tab allows you to enrich and repurpose your content, add tags, and activate the AI assistant.

Tags
Apply existing or create new useful, relevant tags for your event to help categorize it.
Tags are visible to event attendees.
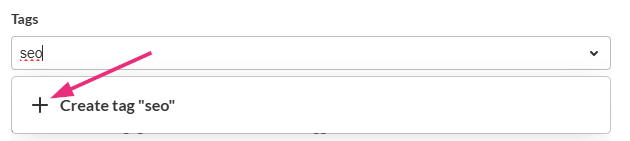
To add tags, start typing the first few letters of a tag and a list of matching tags will populate for you. Click to select the checkbox next to the desired tag.

If it's a new tag, a +Create tag [tag name] pops up. Click to + to add it.
To remove a tag from a session, click the X next to the desired tag.
For full details, see Activate AI assistant for your session.
AI Assistant
You can activate the AI assistant in the Basics tab. The 'AI assistant' provides real-time insights to help moderators understand attendee activity and engagement during the live session.
Certification
Select the checkbox to assign the session to your Continuing Professional Education (CPE) program.

Additional information
This section appears only when your account uses custom metadata. Use these fields to capture additional session details. Some fields may be required for CPE certificate generation.

Save your work
After updating any information on the Basics tab make sure to click Save changes.
Captions tab
Use the Captions tab to order captioning for your session or view the status of caption requests.

To manage captions for session recordings, use the Captions tab on the recording itself.
For complete guidance, see:
- Order captions for a session recording
- Upload captions for a session recording
- Manage caption files for a recording
Save your work
After updating any information on the Captions tab make sure to click Save changes.
Attachments tab
Use the Attachments tab to add downloadable files to your event, such as slides, documents, images, or supporting media. Attachments appear on the event page for attendees.

For full instructions, see Upload & manage attachments for your event.
Save your work
After updating any information on the Attachments tab make sure to click Save changes.
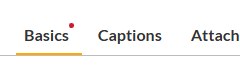
Red dot notification
If there are unsaved changes in any tab, a red dot appears next to the tab and a warning will display if you try to navigate away from the editor. Saving your changes removes the red dot and ensures your updates are applied immediately.
Global actions
The following actions appear in every tab (Basics, Captions, and Attachments).
Create with AI
Use the Create with AI button to generate highlight clips, summaries, and chapters after your session.
The Create with AI button is only enabled when the session has a recording, the recording video is ready, its duration is longer than 60 seconds, and captions are available for the recording.
See Create highlight clips with AI and Create a summary and chapters with AI for more information.
View analytics
Click the three-dot menu then select View analytics.

You are redirected to the Analytics dashboard.
Publish on Video Portal
You can publish/unpublish event to your Content Hub (formerly Video Portal) per channel.
Prerequisites and notes:
- Your Content Hub(s) must be preconfigured by Kaltura.
- You may publish a session only after the session has ended.
- Content Hub publishing entitlements apply, you need to configure your Content Hub target channels to have permissions for the Kaltura Virtual Events user so they will be able to publish.
- It may take up to 10 minutes for a session to appear in a channel on the Content Hub(s) after publishing.
- Click the three-dot menu then select Publish on Video portal.
- Click on the appropriate Content Hub.
- If you have access to only one Content Hub, you are taken directly to the Publish on [Content Hub name] screen.
- If you do not have access to any Content Hubs, you are taken to a screen which allows you to check out Content Hub and explore its main features and functions.

The 'Publish on your Kaltura Video Portal' screen displays. This screen lists all the Content Hubs to which you have access.
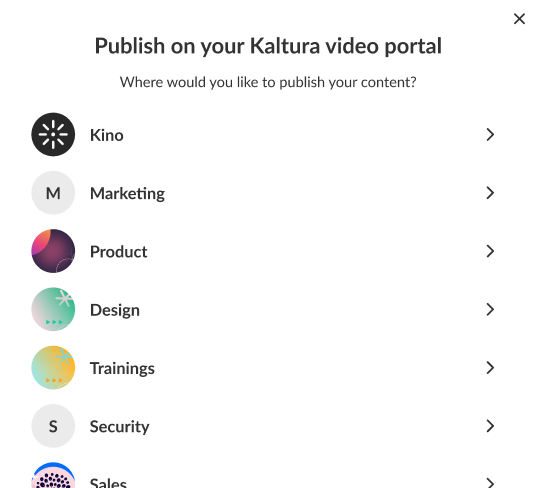
In our example above, the user has access to multiple Content Hubs.
The 'Publish on [Content Hub name]' screen displays. This screen lists all the channels to which you have access in this Content Hub.
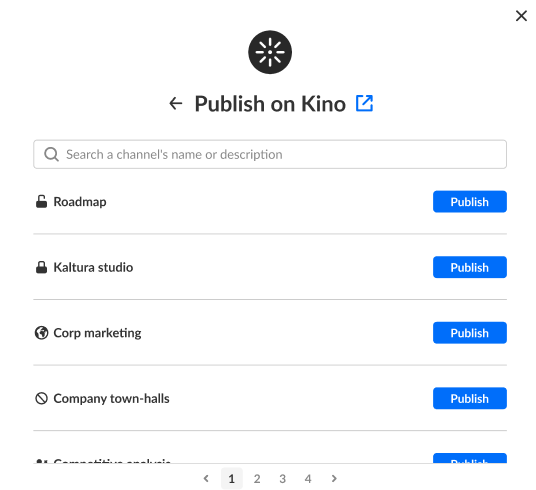
In our example above, the user has access to multiple channels in this Content Hub.
To publish the session, click the Publish button next to the appropriate channels. You may search for a channel's name or description on this screen as well.
For information about privacy controls, visit our article Channel privacy types.
As you click Publish, the channel(s) to which this session is published display in a list directly below the name of the Content Hub.
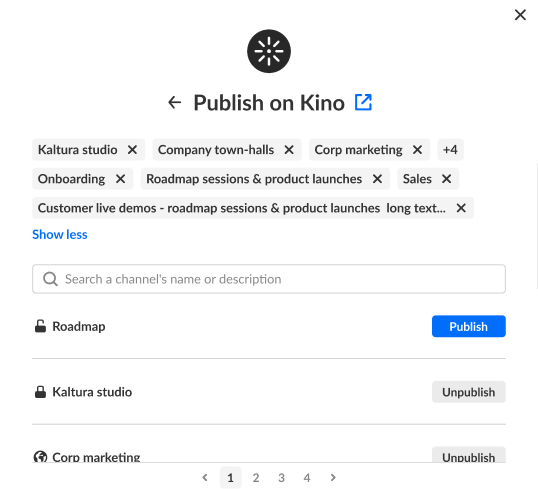
To unpublish a session from a channel, click the "X" next to the channel name in the list directly below the name of the Content Hub, or click the Unpublish button to the right of the channel name.
