About
This article describes how to add a Pre-recorded session to your multi-session event.
Pre-recorded sessions are pre-recorded videos that are broadcasted as if they were live. They are considered as if they were a live broadcast from the system's point of view (player, analytics, etc.).
This article applies only to multi-session events.
Some behavior described here applies to a non-default configuration. Customer-specific variations are highlighted where applicable.
Add a Pre-recorded session
- From the Kaltura Virtual Events home page, click on the event you want to manage.
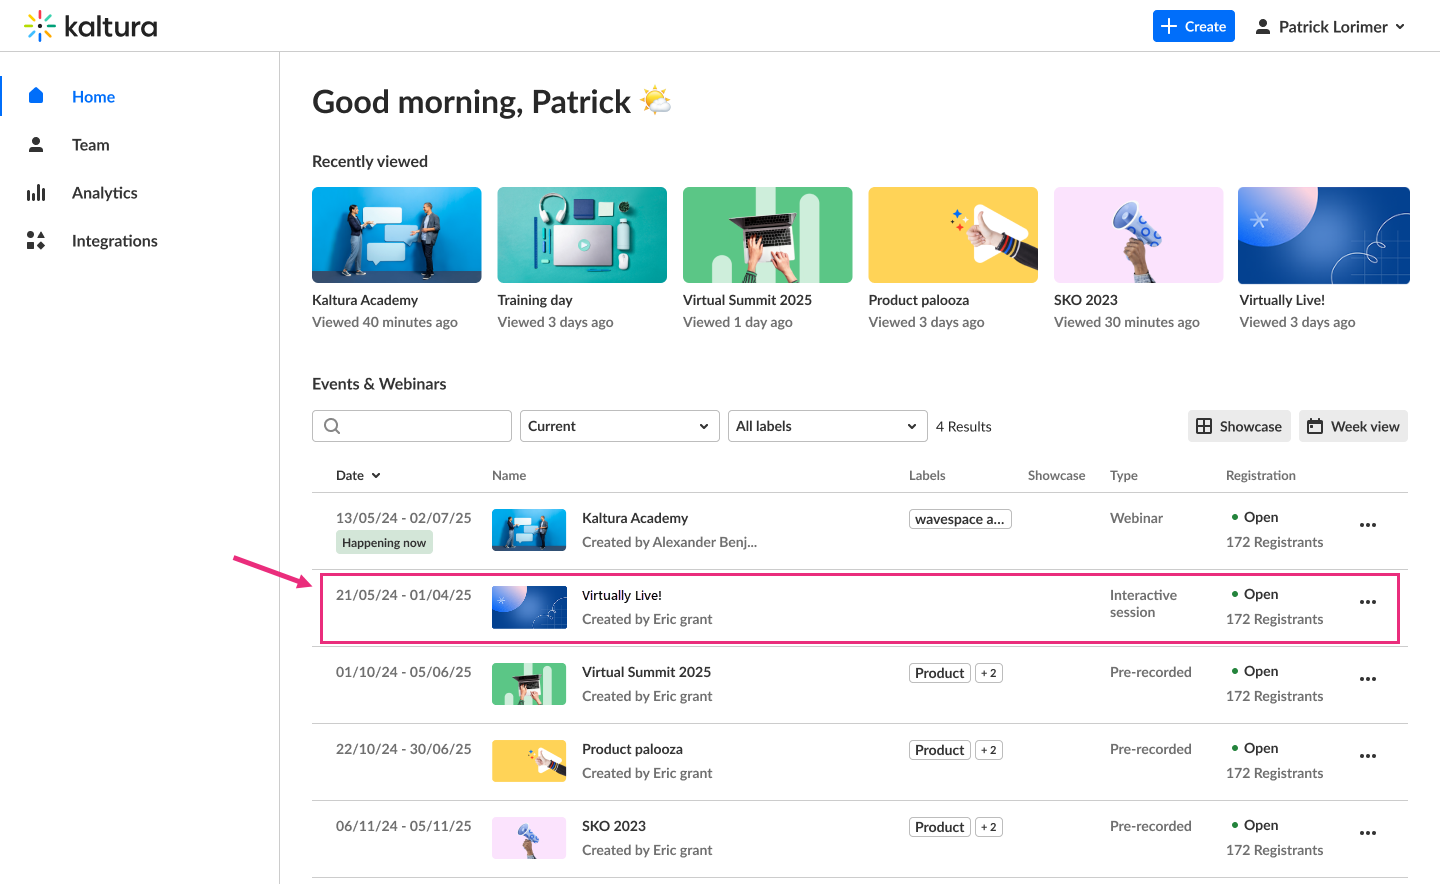 The Overview page displays.
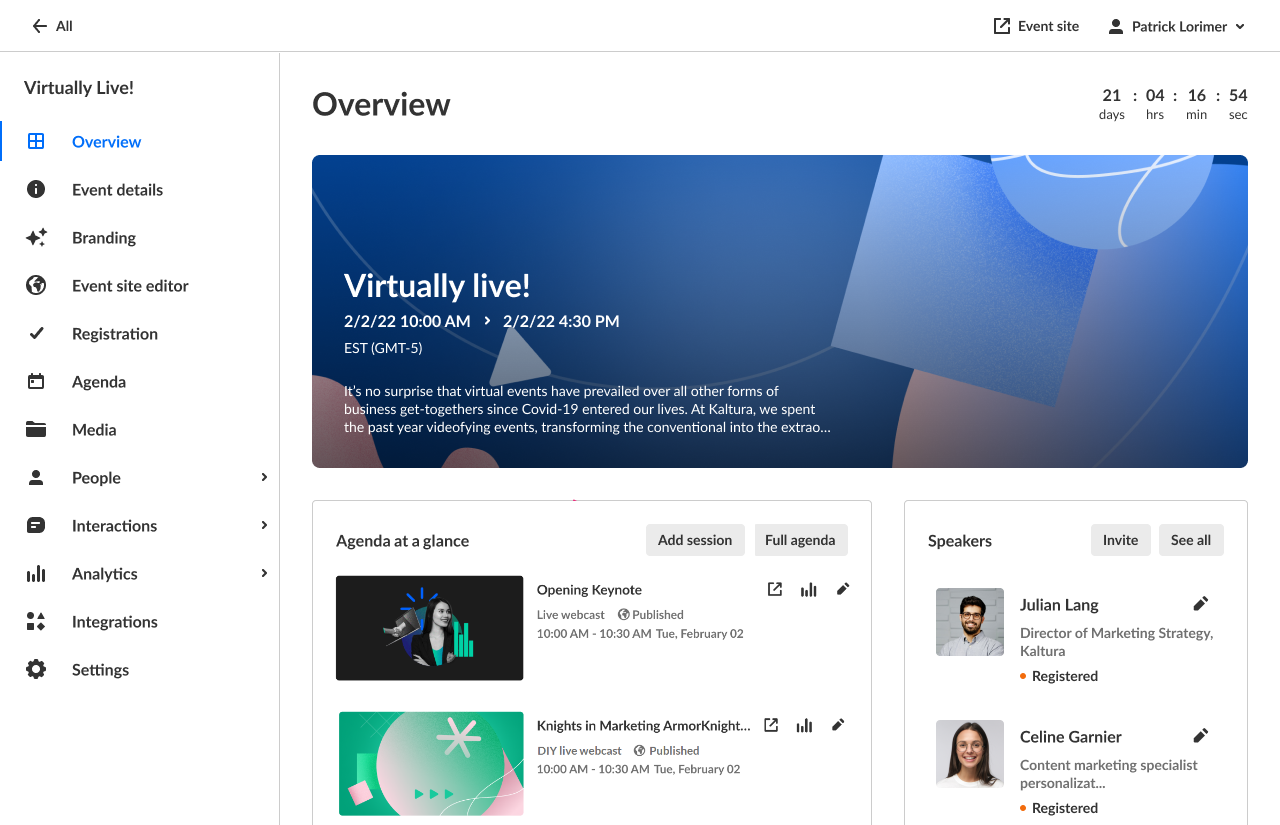 There are two ways to add a Pre-recorded session to your event:
 - On the Overview page, in the Agenda at a glance section click Add session.

- On the Agenda page click + Add session.
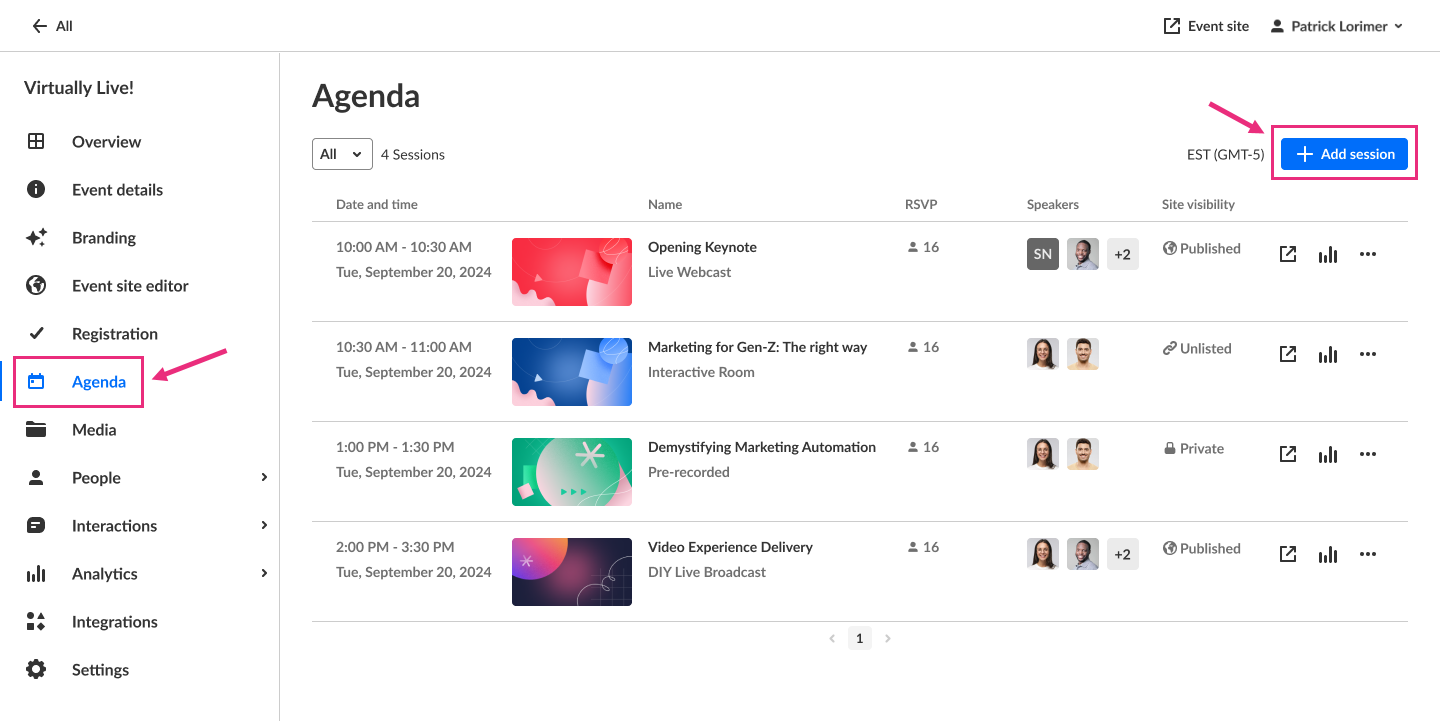 The Add session pop-up screen displays.
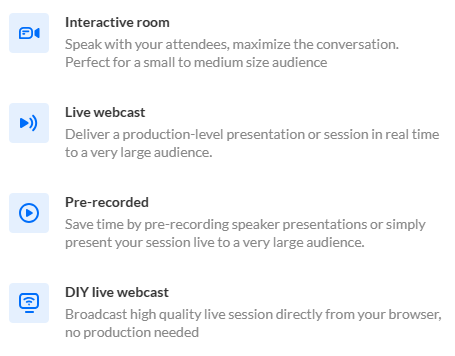
- On the Overview page, in the Agenda at a glance section click Add session.
- Select Pre-recorded. The 'New session' panel displays.
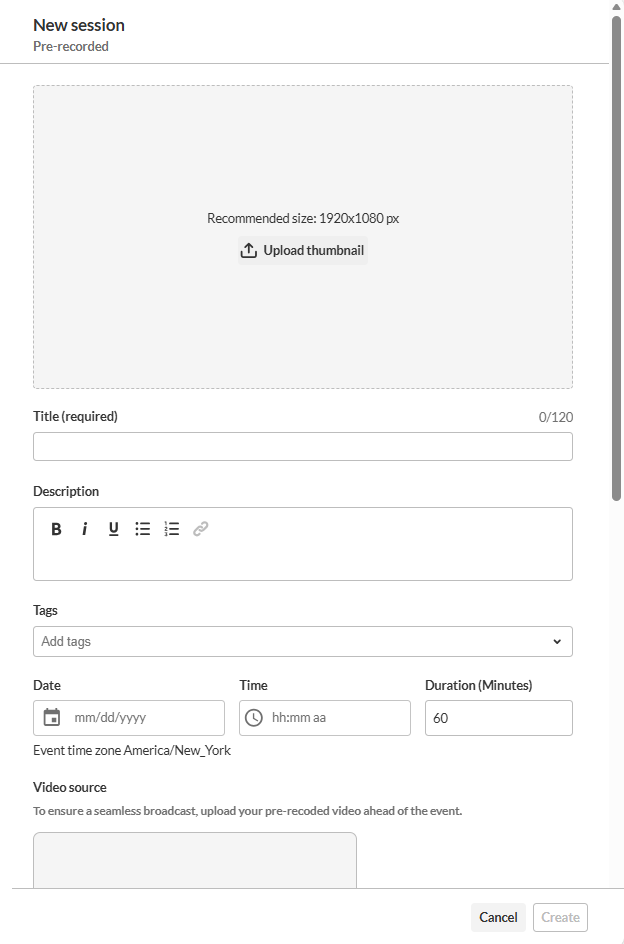
- Fill in the required fields and any additional information you want to display on the agenda (see the section below for details).
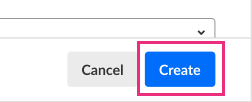
- When you're finished, click the blue Create button at the bottom right.
 The
The  There are two ways to add a Pre-recorded session to your event:
 The Add session pop-up screen displays.

Your new session is added and appears on the Overview page.

Session details
Complete the required fields and any additional information you want to show on the agenda.
Thumbnail image
Click Upload thumbnail to upload an image (recommended size: 1920 × 1080 px)
Title (required)
Type a title for your session (up to 120 characters; characters < and > aren't supported).
Description
Type a description for your session.
When entering a URL in the Description field, use http(s):// (full path) for external links.
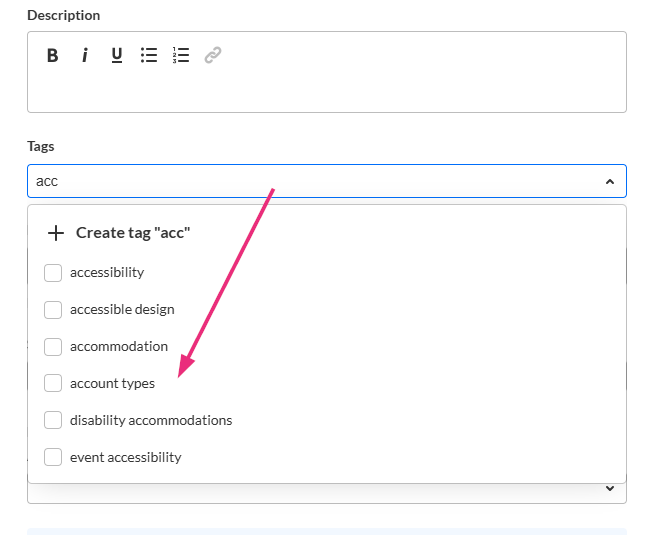
Tags
Apply existing tags or create new ones for your session. You can then filter your Agenda page and the Agenda section of Page builder based on these unique tags.
- To add an existing tag, start typing and select it from the list
- To create a new tag, type your new tag in the Add tags field, then click +Create tag "[tag name]".
- To detach a tag from a session, click "X".
Session tags are visible to event attendees.
Date and time (required)
- Date (required) - Select the session start date
- Time (required) - Select the session start time
- Duration (required) - Enter the session length in minutes (max is 1440 minutes = 24 hours).
Video source
In the Video source section, click Upload and choose the desired media from your computer (we recommend MP4 and MOV file formats), or click Choose from media and select from media that has already been uploaded to the event site via the Media page (for more information on uploading media to the event site, see Manage Media for your Event). Media upload status is displayed in this window once video source has been selected and you may choose to cancel the action while processing. Upload status is also displayed on the Agenda.
Media must be the same duration as the scheduled session time - no longer and no shorter. If the media is longer than the scheduled session time, a warning message displays. In addition, to avoid interruptions, media must complete uploading prior to the broadcast's start time. 30 minutes before broadcast start time, Upload functionality will be disabled and will remain disabled while the session is in progress. If the session is about to start, and you would like to upload media, consider postponing the start time of the broadcast.
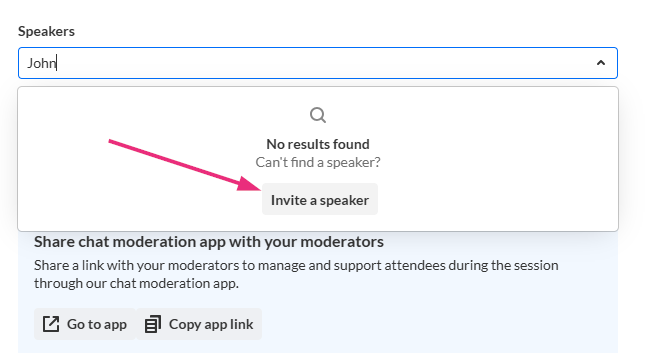
Speakers
Add speakers who have already been assigned a Speaker role in the event.
Start typing the name and select it from the list

If no results are found, click Invite a speaker. This re-directs you to the Speakers page where you can invite speakers to your event.
You can:
- Reorder speakers using the six dots to the left
- Show or hide speakers using the eye icon
- Remove speakers using the trash icon
- Set speaker permissions to Simple speaker or Advanced speaker

- To see a list of all available speakers, leave the Speakers field empty. You can browse the list and click to select speakers.
- Speakers are displayed on the event agenda in the same order you select them here.
- Click outside of the Speakers area to see the speaker line up.
Moderators (required)
To add moderators to this session, start typing the name of a user who has been assigned a Moderator role, and select the moderator from the list.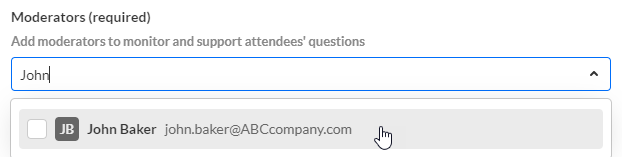
Moderation app
Use the moderation app to manage live interaction during the session.

- Click Go to app to open the moderation app.
- Click Copy app link to share access with moderators
The moderation app supports:
- Q&A management
- Polls
- Public and private chat moderation
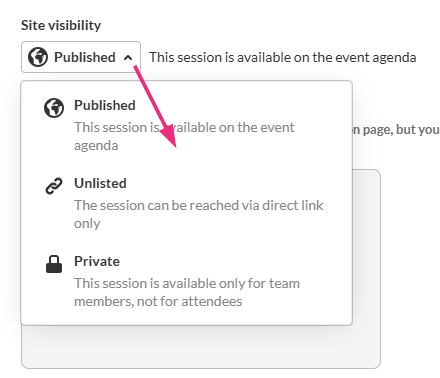
Site visibility
Choose one of the following options from the drop-down menu:
- Private – Visible to team members only
- Unlisted – Accessible via direct link only
- Published – Visible on the event agenda
Certification
Click the check box if you would like to assign this session to your Continuing Professional Education (CPE) program.
Additional information
This section appears only if your account includes custom metadata. The fields in the Additional information section can be used to:
- Capture internal session details
- Support certification or CPE requirements
