About
Your homepage is the main entry point to your site, and it creates the first impression for your visitors.
You build it with several modules: Theming sets the look of your site, Templatepages builds the page, Custompages gives it a URL and permissions, and Navigation makes it your homepage. Together, they let you create a homepage that matches your organization's branding and needs.
The following example shows a homepage with some of the available components.

To create and publish your homepage, watch the video tutorial or follow the steps in this article.
Step 1: Enable the Theming module
- Go to your Configuration Management console, locate the Theming module in the left panel, then select it. You can also navigate directly using a link:
https://{your_site_url}/admin/config/tab/theming
- The Theming page displays.
- Configure the following:
- enabled - Set to Yes to enable the module.
-
CurrentTheme - Select a theme for your homepage. There are two default themes, Dark and Light. The example homepage at the top of this article uses the dark theme. To use your own theme, create a custom theme first, as described in the next section.

- Features - Make sure header is set to Yes.
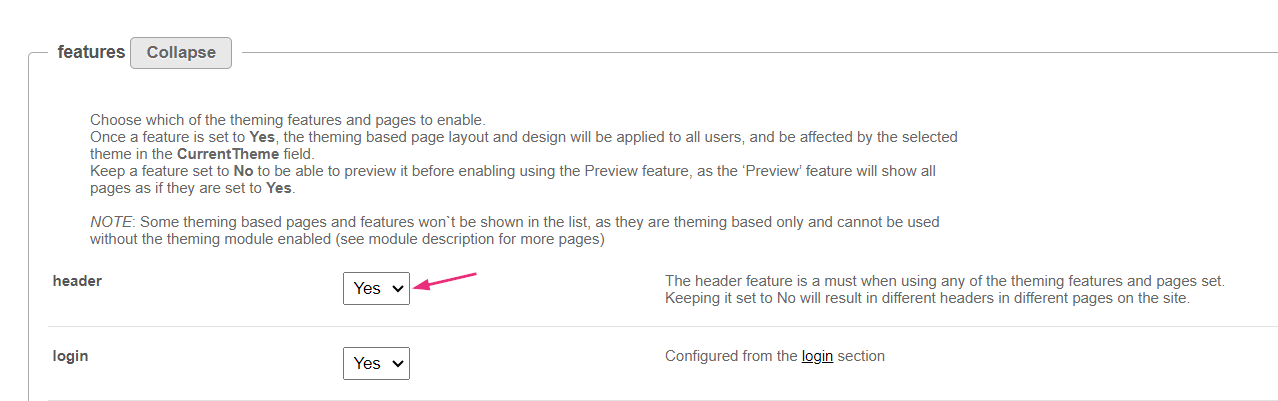
The Features section lists the Theming pages that are enabled on your site.
- Click Save.

Create a custom theme
If you don't want to use the Dark or Light theme, you can create your own.
- In the Themes section, click +Add "Themes".
 A new section displays.
- Click Edit.
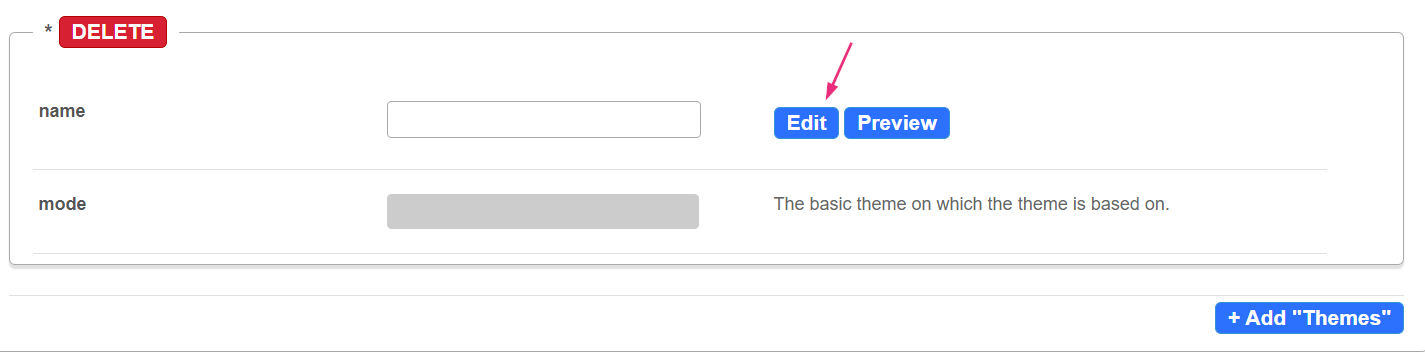 The Theme Builder opens.
- To test your theme, click Preview.
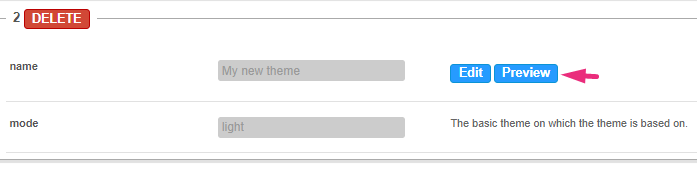 Your site opens in preview mode, with a banner at the top of the page. Preview mode affects only your current browser session, so other users don't see the preview.
- To return to the Theming module, click its tab.

- In the CurrentTheme list, select your custom theme to make it the default theme for your site.
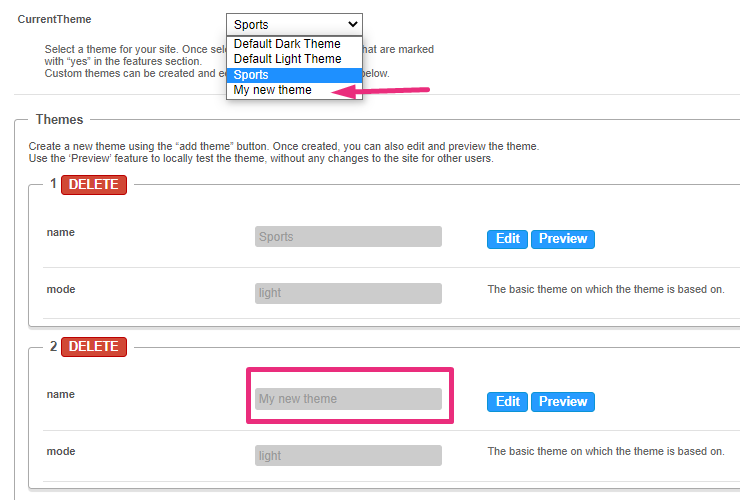
- Click Save.

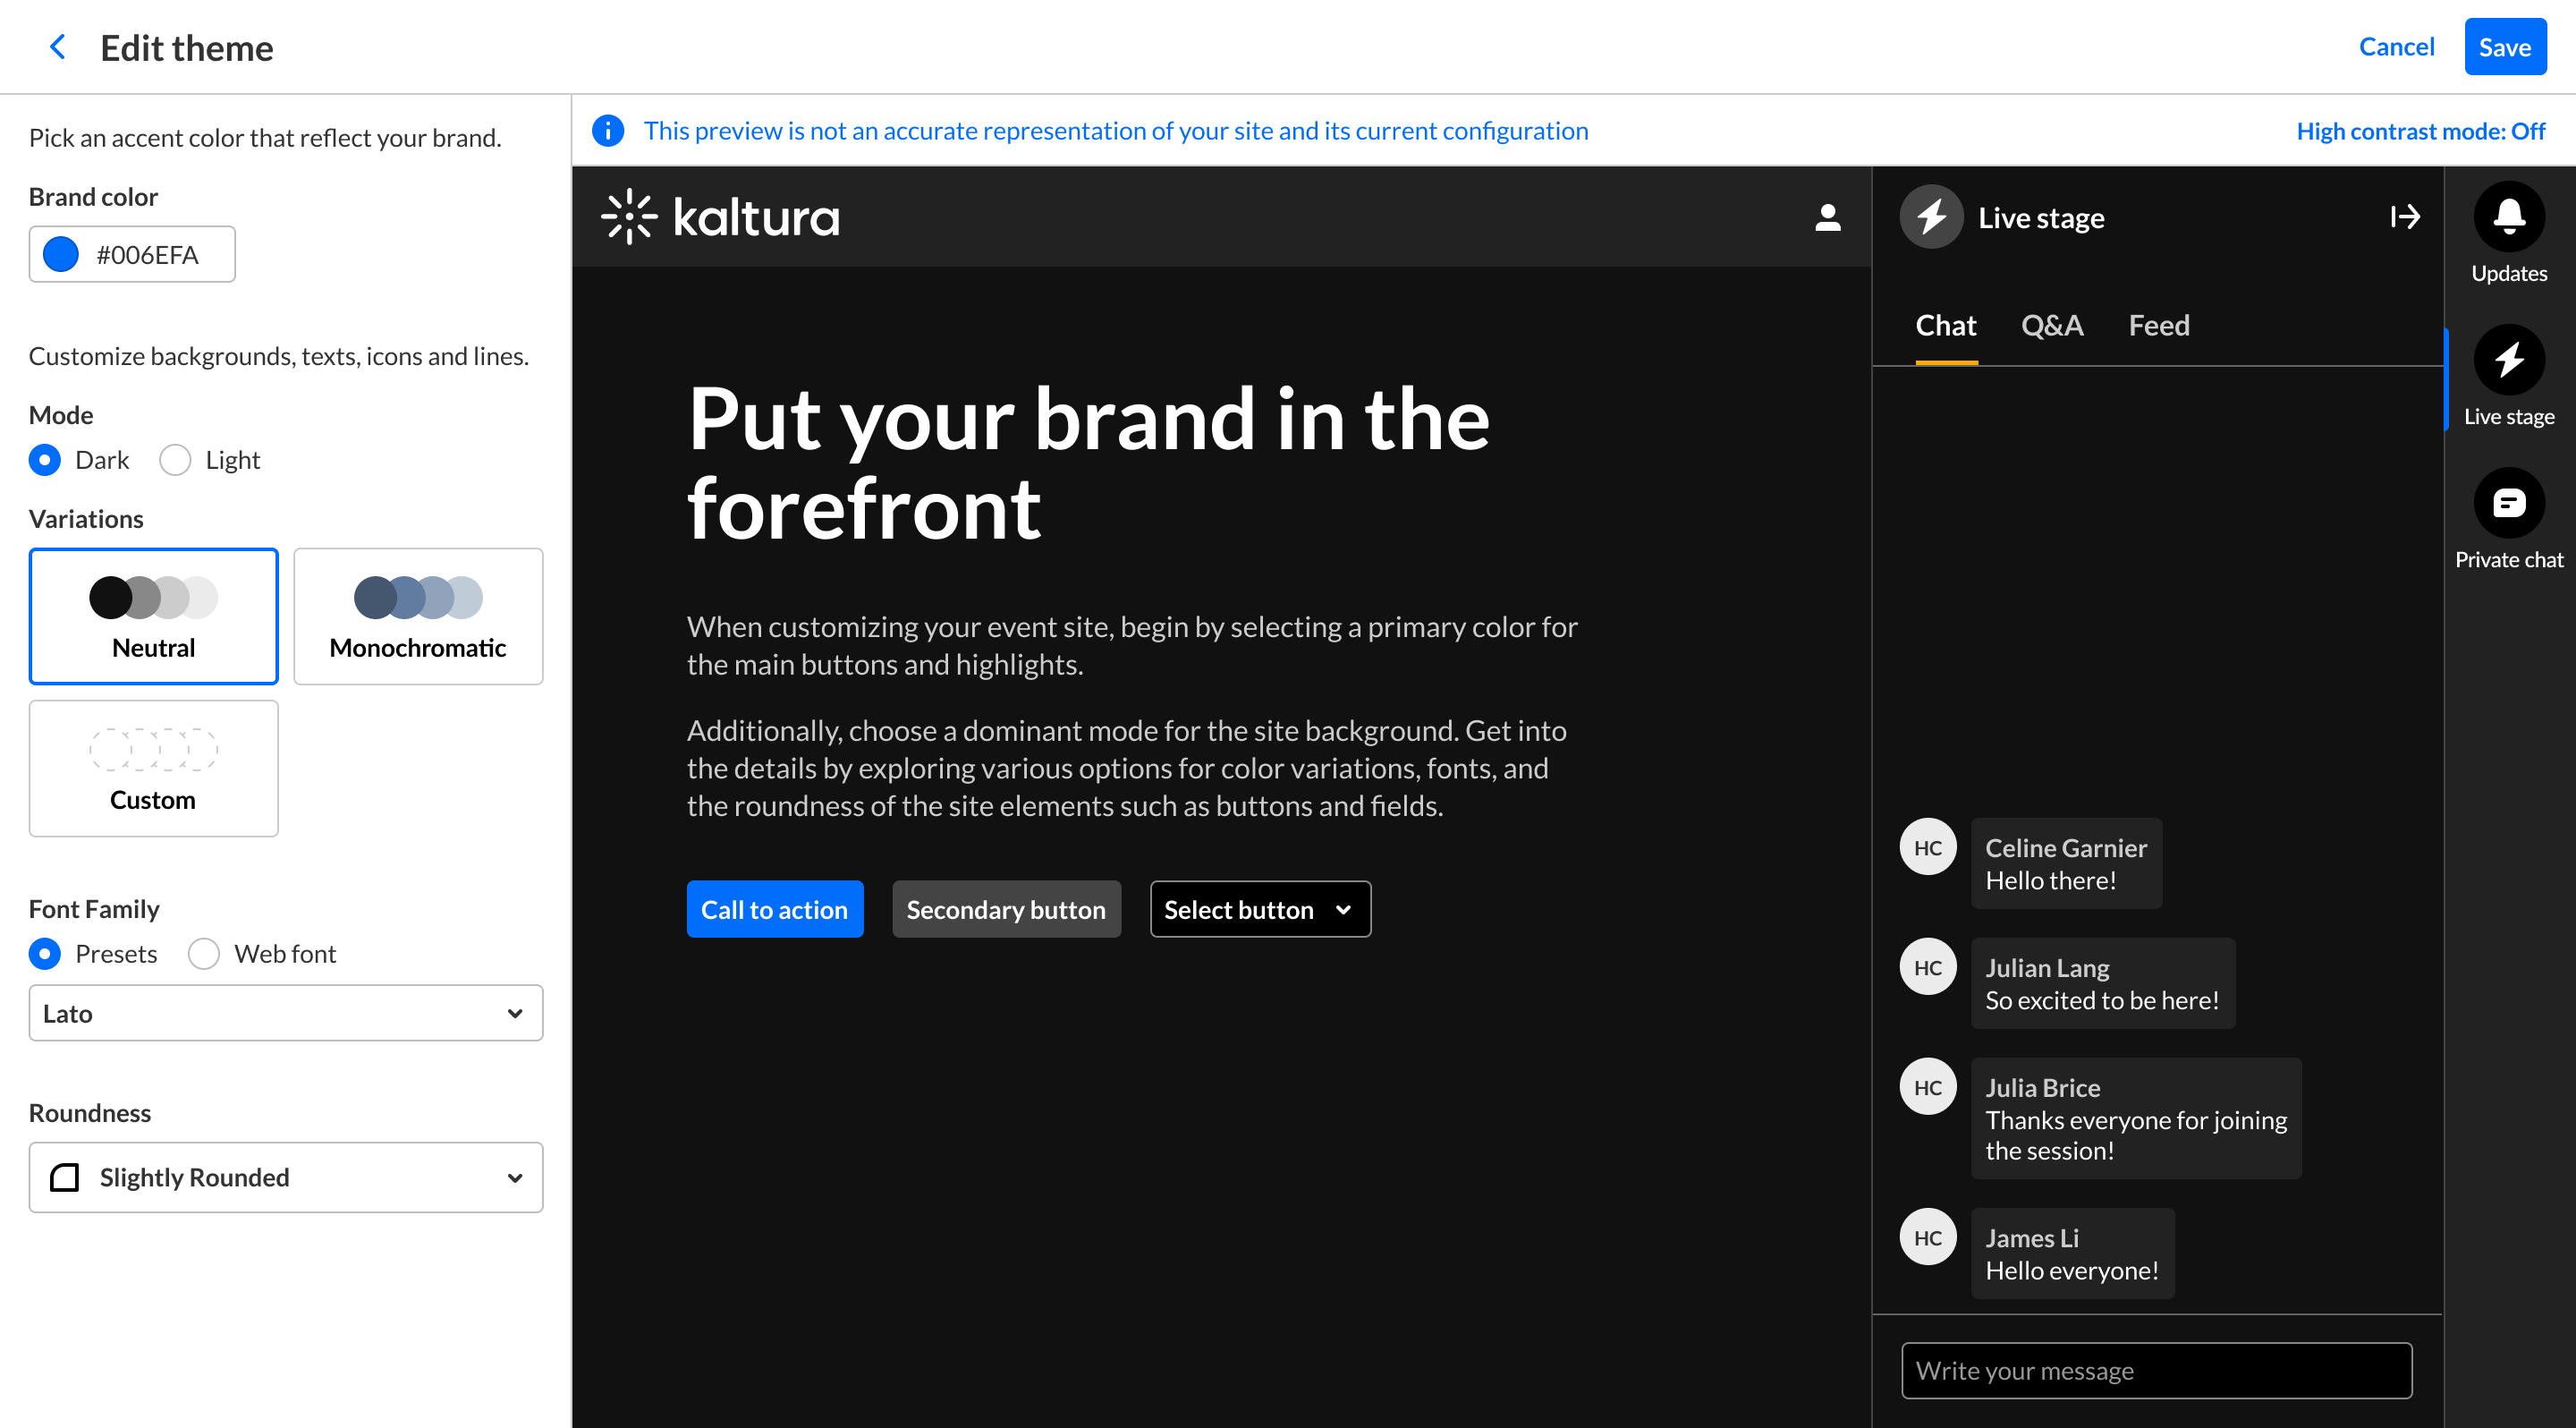
For instructions on creating and managing themes, see Customize your Content Hub with Theme Builder.

Preview mode shows all Theming pages, regardless of their settings in the Features section.
To exit preview mode, click Turn preview off.
Step 2: Create a template page
- Go to the Templatepages module.
- Set enabled to Yes.
- Create and configure your template page. For instructions, see Templatepages module.
- Click Save. The new page appears in the list of template pages.


Step 3: Add your page to the Custompages module
- Go to the Custompages module.

- Set enabled to Yes.
- Click + Add "CustomPage.
- Configure the following:
- published - When your page is ready, set to Yes, so users with the required permission can access the page.
- pageTemplate - Select the template page you created in the Templatepages module.
- pageSlug - Enter a unique URL slug for the page. The page URL uses the format
https://{your_site_url}/{slug}. For example, the slughelpcreates the URLhttps://videoportal.kaltura.com/help.
Use only lowercase letters, numbers, and underscores (
_) in the slug. - permission - Select the minimum user role needed to access the page.
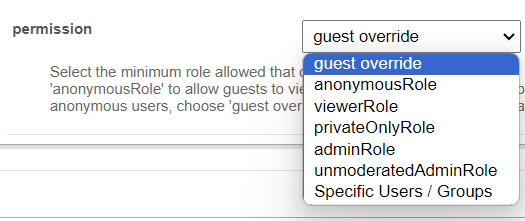
To allow guest access, select anonymousRole if anonymous users are enabled in the Auth module. Otherwise, select guest override to make the page public.
- Click Save.

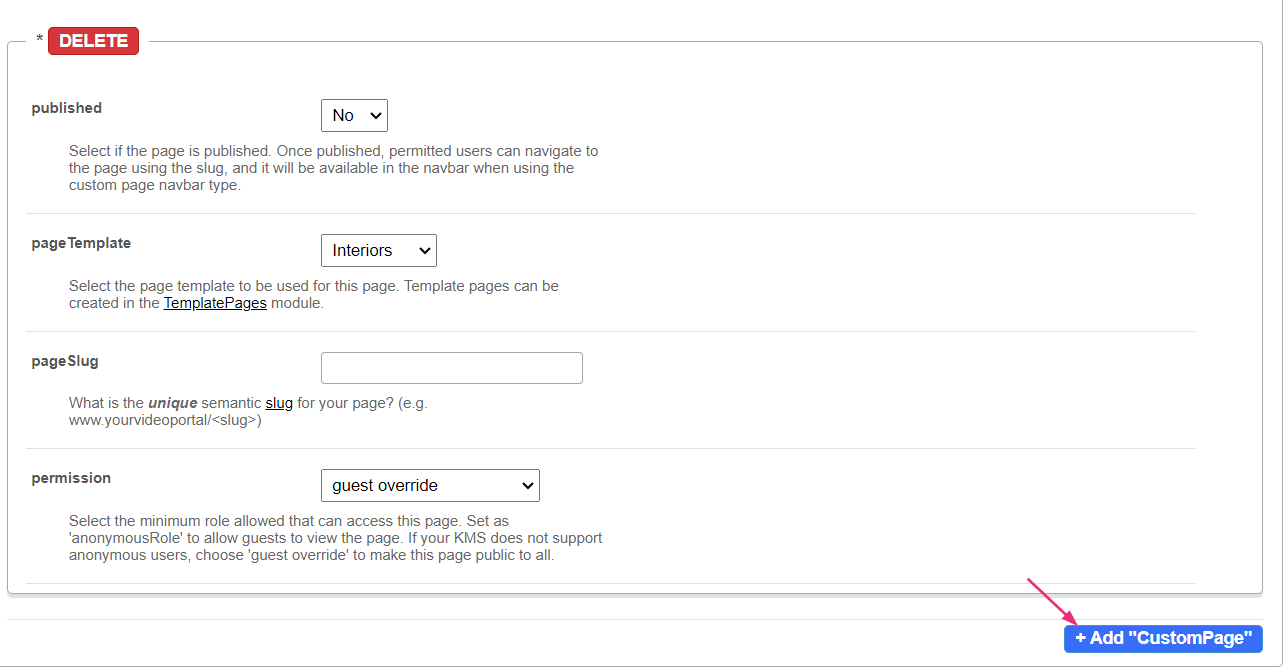
A new section displays.

Step 4: Set up the footer
Go to the Footer module.

Use this module to configure the footer shown on every page of your site. You can customize:
- The logo
- Social links
- Text and links
- The background image or background color
Step 5: Publish your homepage
- Go to the Navigation module.
- In the pre section, select Custom page as the type, and then select home from the page dropdown.
- Scroll to the bottom of the page, and click Save.
- To view your new homepage, click the Go to site tab in the Configuration Management header.



To create landing pages for guest users, or different homepages for specific user groups, see Navigation module.
