About
Kaltura's Capture is a desktop recorder that lets you record your screen, webcam, and audio. It's perfect for creating tutorials, demos, presentations, or capturing any on-screen activities.
The software has handy screen annotation features, like drawing or adding text, to make your videos more engaging. After recording, you can edit your videos, and then easily upload them to your site.
- Capture is currently not supported on mobile, tablet, or Chromebook devices.
- Capture is not compatible in VDI software such as Citrix or VMware virtual desktops.
Features
Kaltura's Capture includes:
- Screen, webcam, and audio capture in one click
- Automatic slide detection and creation of searchable chapters
- Support for software management install
- Seamless uploading to your Video Portal or LMS
- Intuitive user interface
Set up Capture
To use Capture, you need
- a Kaltura account
- Access to Content Hubs / Video Portal or LMS
Capture is available for:
- Windows - Visit our article Install Capture for Windows
- Mac - Visit our article Install Capture for Mac
Before installing Capture, make sure your device meets the requirements described in Capture prerequisites and system requirements.
Download Capture
Capture isn't available from public download sites or app stores. You download it directly from your Content Hub / Video Portal or LMS
Once your system administrator enables the app in the Kalturacapture module, it appears in your site:
- If Theming is enabled, select Capture from the +Create menu
- If Theming isn't enabled, select Kaltura Capture from the Add New menu

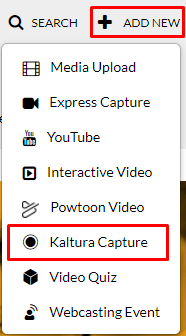
After selecting Capture in the menu, you are directed to the download page. Your page looks different depending on whether Theming is enabled:
Theming
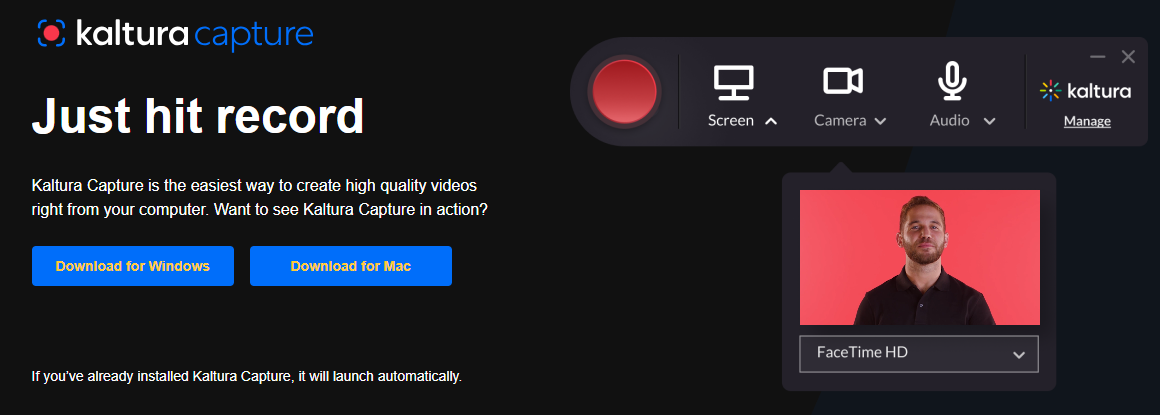
Non-Theming
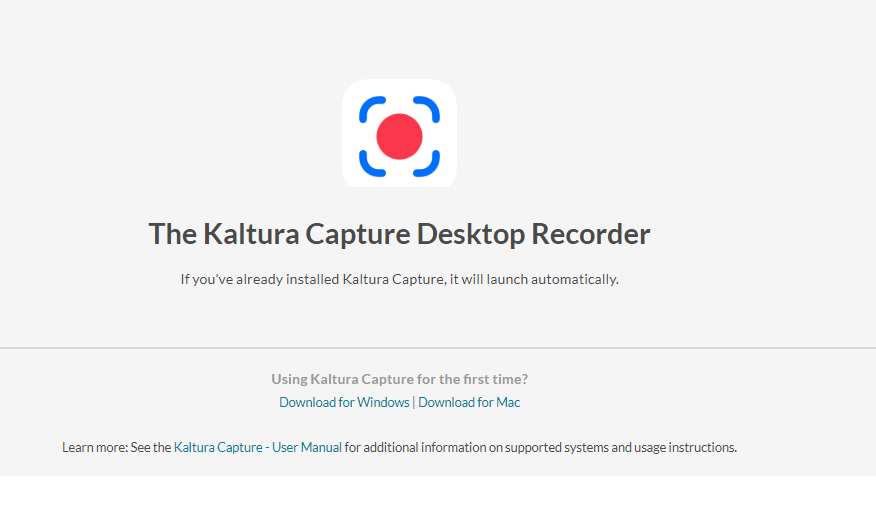
Depending on your operating system,
- click Download for Windows, then follow the instructions in Install Capture for Windows .
- click Download for Mac, then follow the instructions in Install Capture for Mac.
If you're having trouble downloading Kaltura Capture, the issue may be related to your organization's IT settings. Some networks block software downloads or installations.
If the download doesn't start or fails, try contacting your IT department to make sure the app isn't being blocked by your system’s security settings or firewall.
User interface
When Capture opens, all available recording inputs are enabled and configured for the best available quality, so you can begin recording immediately.
If you want to change the default input settings, see Input settings.
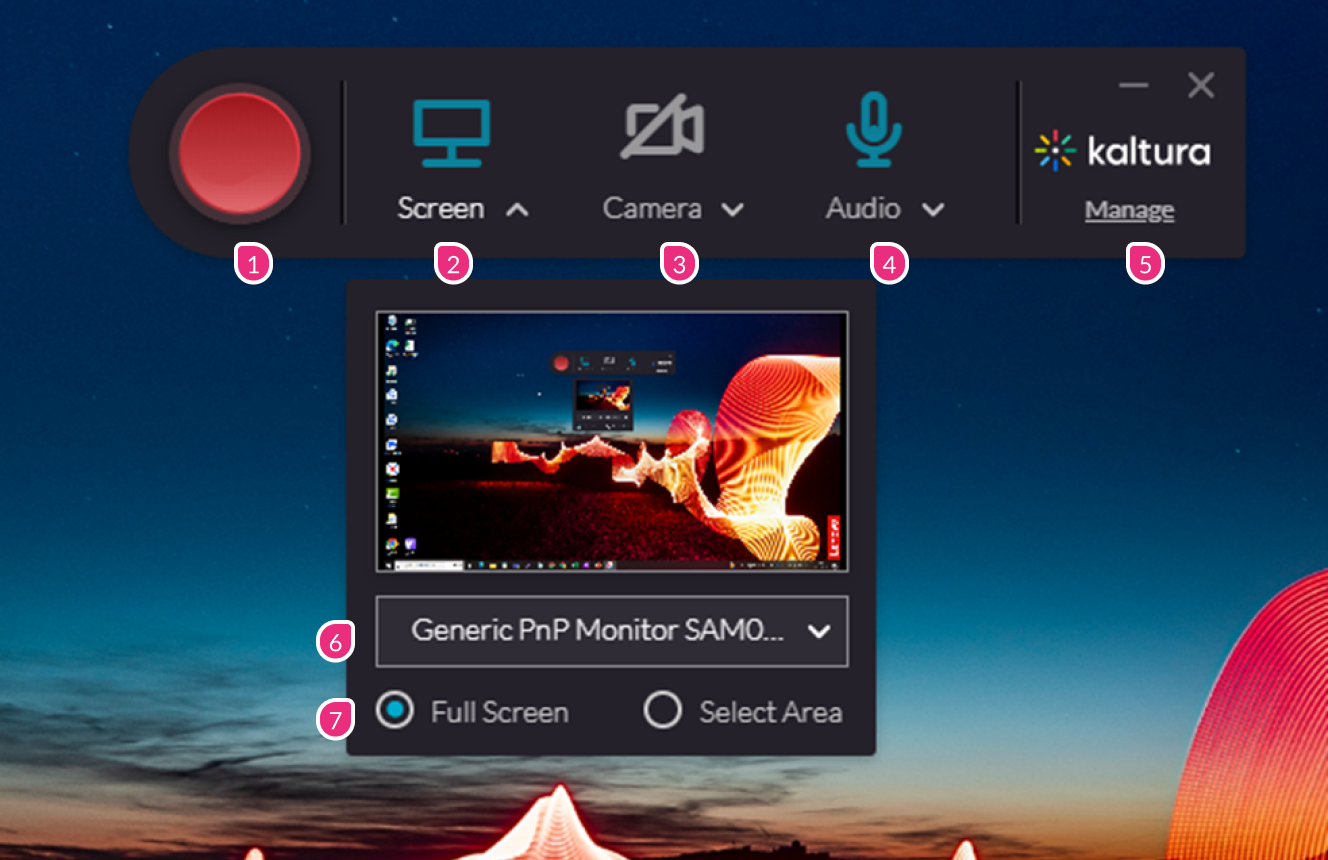
The Capture window includes the following controls:
- Record button (1) - Starts a recording.
- Screen (2) - Select the screen to record, or click the screen icon to disable screen recording.
- Camera (3) - Select the camera device you want to record from the drop-down menu (in case of multiple devices) or click the camera icon to disable camera recording.
- Audio (4) - Select the microphone or audio input, or click the audio icon to disable audio recording.
- Manage (5) - Opens the management window which contains tabs for Library, Settings, and Information.
- Screen selection (6) - Select the display to record when multiple displays are connected.
- Screen area (7) - Choose Full Screen (default) or Select Area to record a specific area of your screen.
For more information, see Set recording options in Capture.
Create a recording
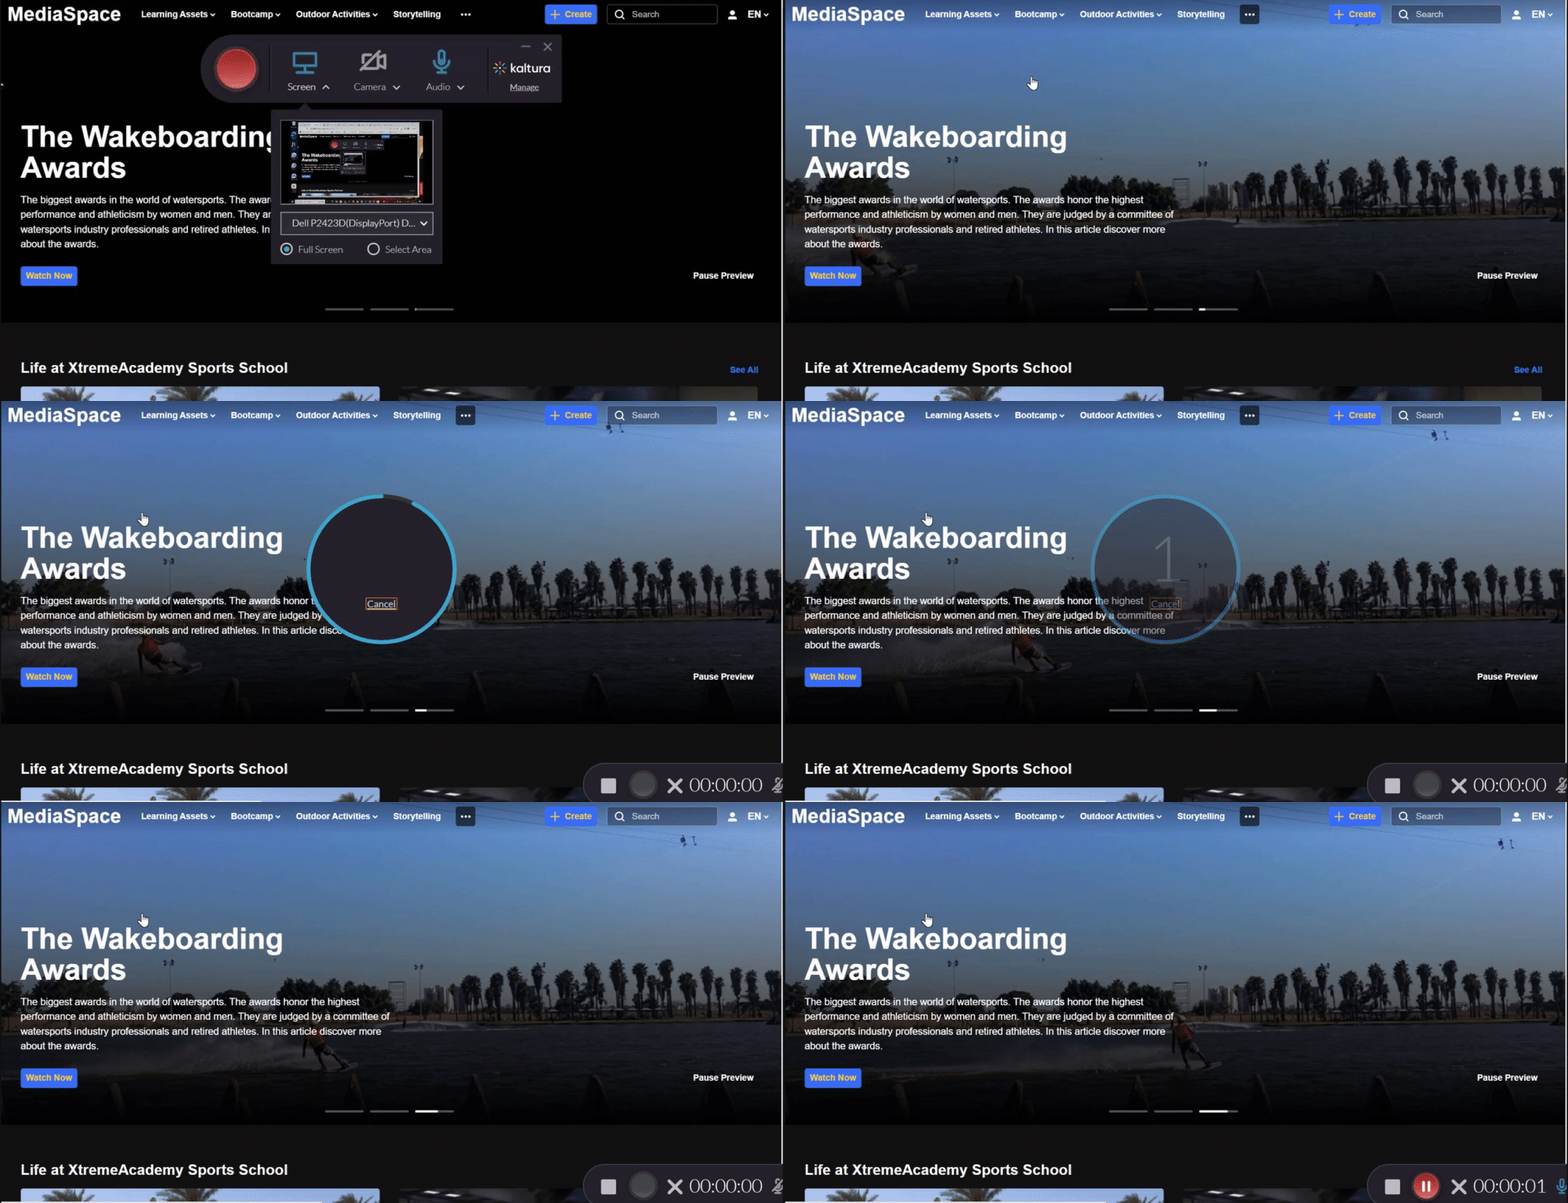
Click the big red button to begin recording.
A three-second countdown displays before recording starts.
When you stop recording, Capture opens the recording entry, where you can:
- Save the recording locally.
- Delete the recording.
- Save and upload the recording to your site.
For more information, see Create a recording and Recording management.
Automatic upgrades
Capture automatically upgrades to the latest version when the application is running and idle.
If your organization deployed Capture using Microsoft SCCM or another software management solution, updates are managed by your administrator and must be deployed through that system.
Troubleshooting
If you're using a school- or company-managed device, you might not have permission to install Capture. Contact your IT administrator if the installation is blocked.
Administrators who manage Capture deployments can use software management tools, such as Microsoft SCCM. For more information, see Managed deployment of the Capture application.
If you’re experiencing issues with installing, uploading, or recording, see Capture troubleshooting guide.
