About
This article explains how to configure the screen, camera, and audio inputs used by Capture before you start recording.
Your selected input settings are saved and used for future recordings.
- If you record with both screen and camera enabled, the screen stream cannot be removed later in the video editor. To create a camera-only video, you must disable screen recording before you start.
- Your settings will be saved for future recordings.
For instructions on starting and saving a recording, see Create your first recording in Capture.
Configure recording inputs
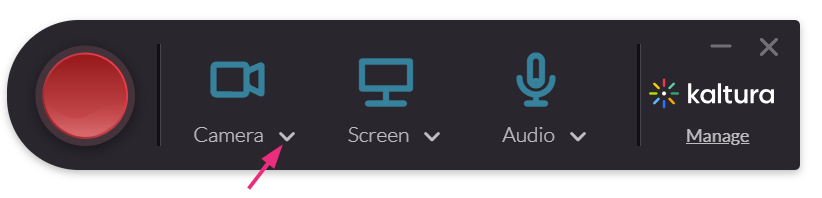
Camera
- The camera is set up to record by default. If you have multiple cameras, click the arrow next to the camera icon to open the input settings.
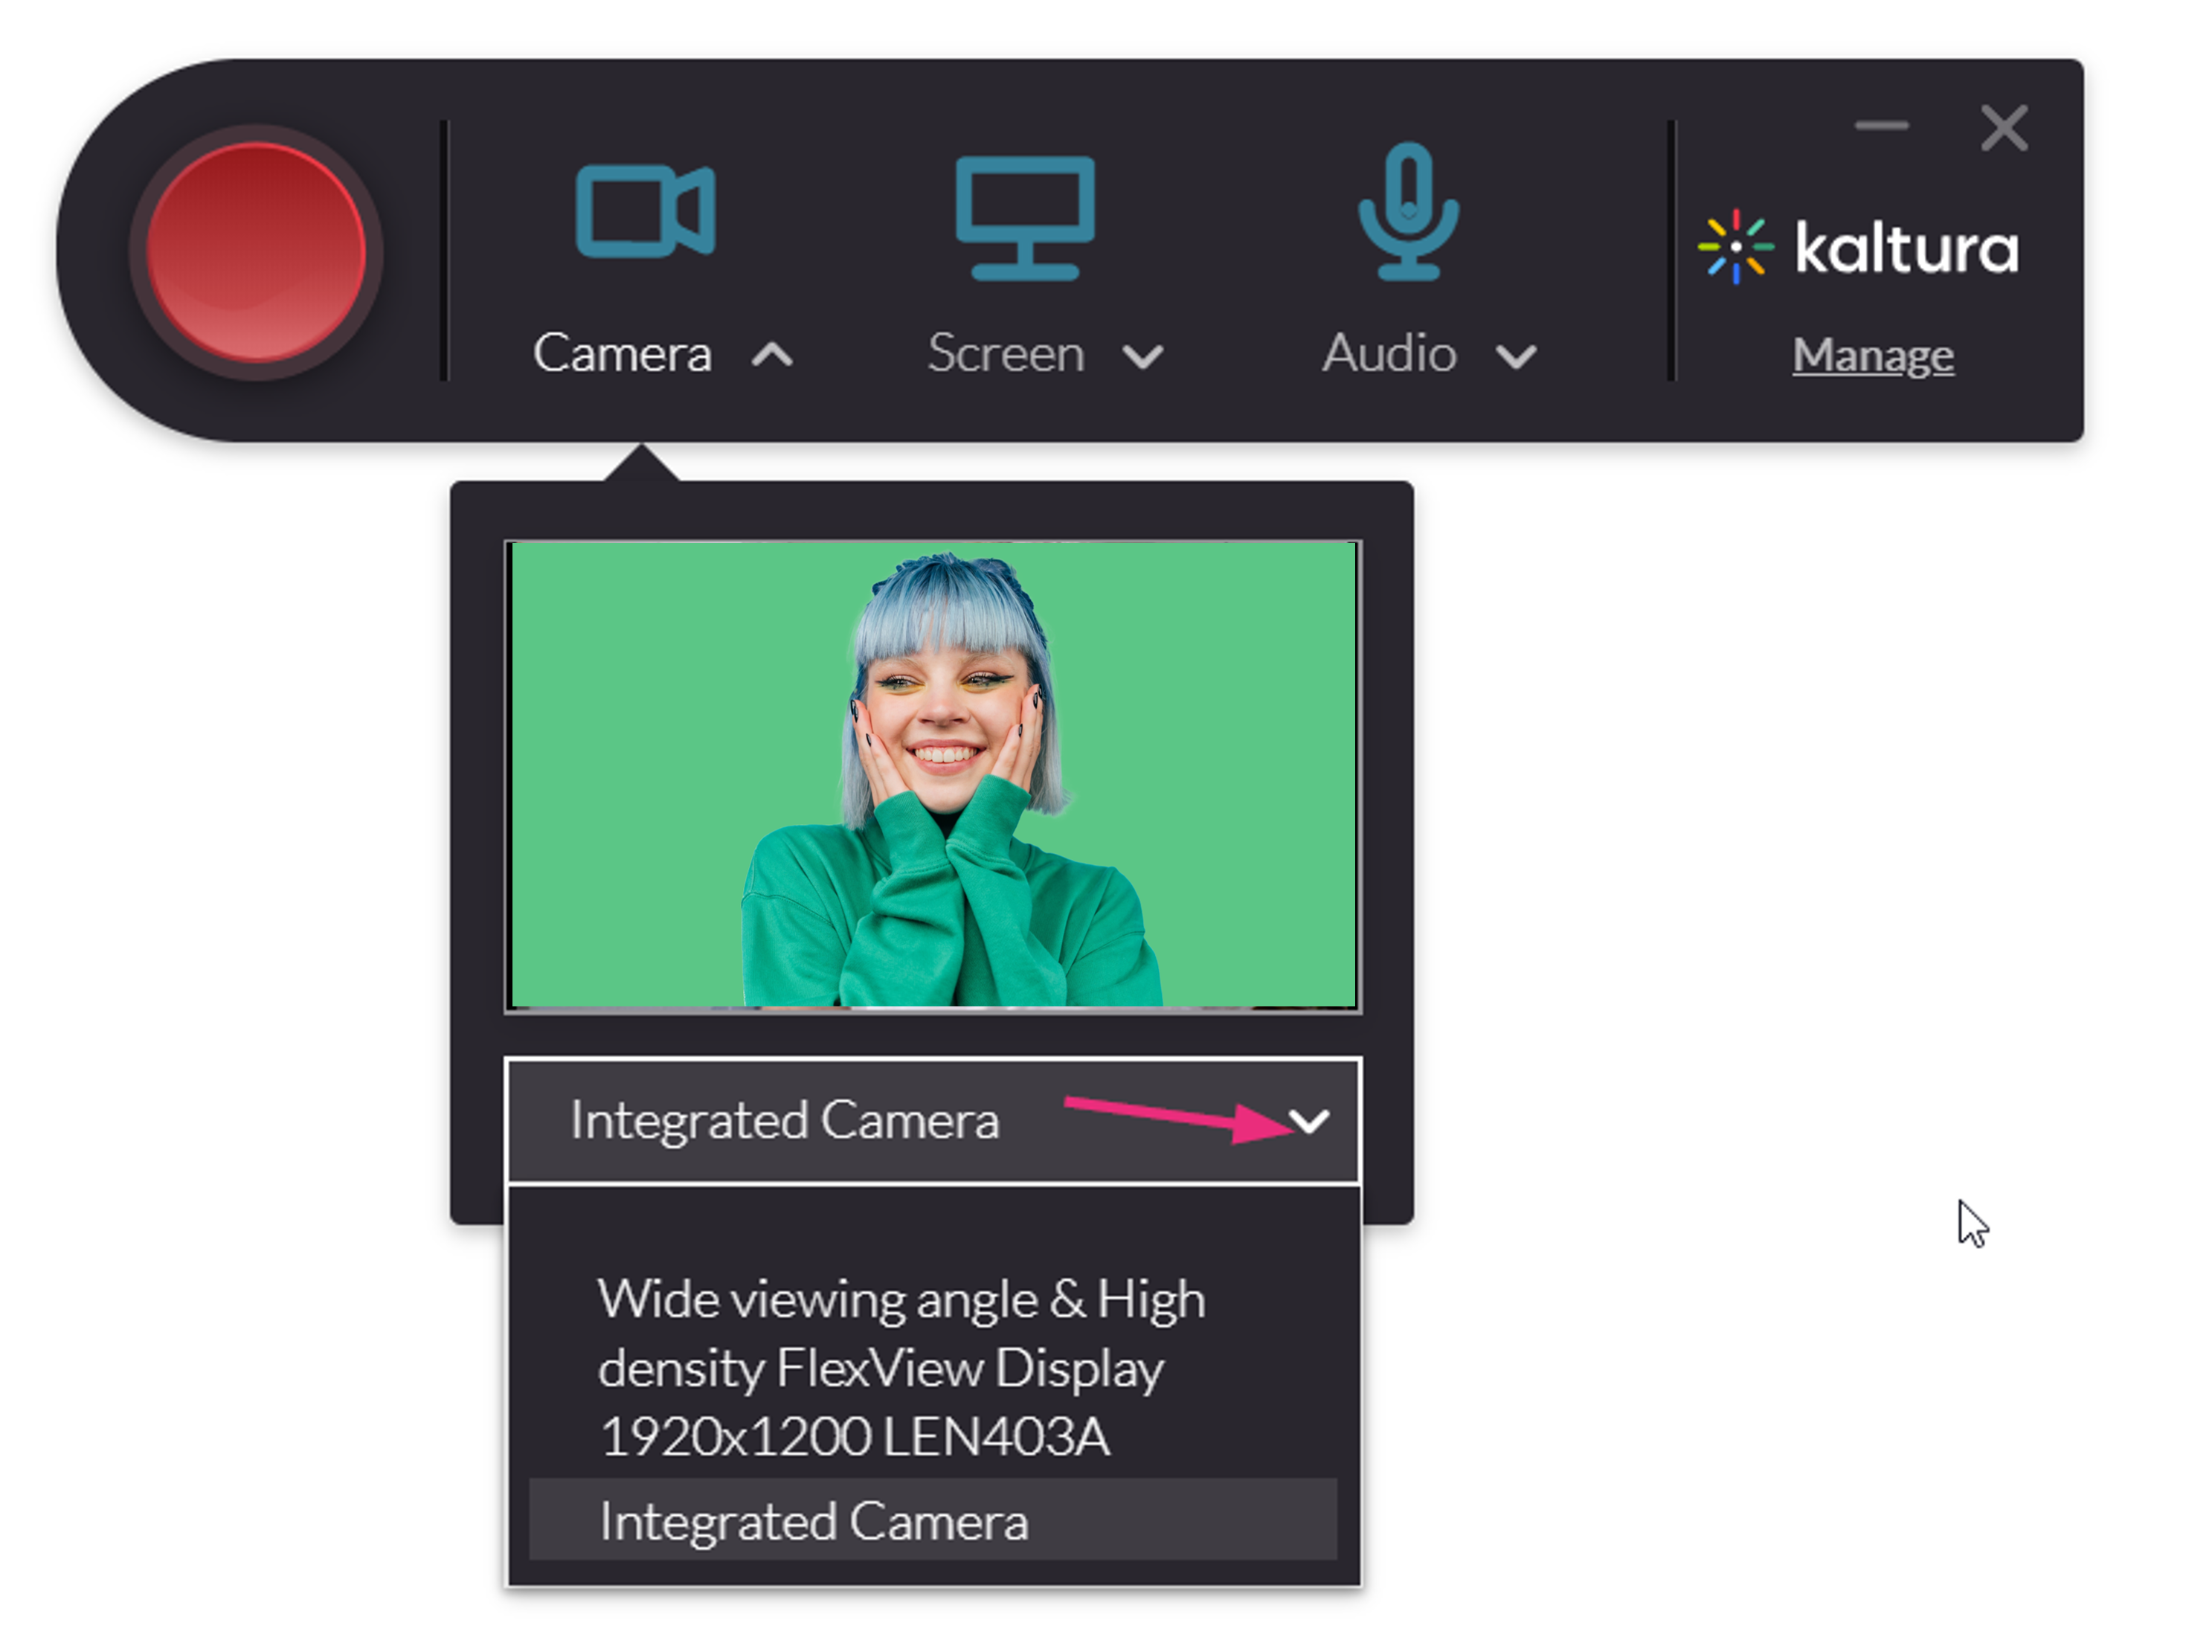
- Click the arrow next to the input settings to display a drop-down menu, allowing you to select your desired camera (this menu only shows multiple options if more than one camera is connected to your PC).


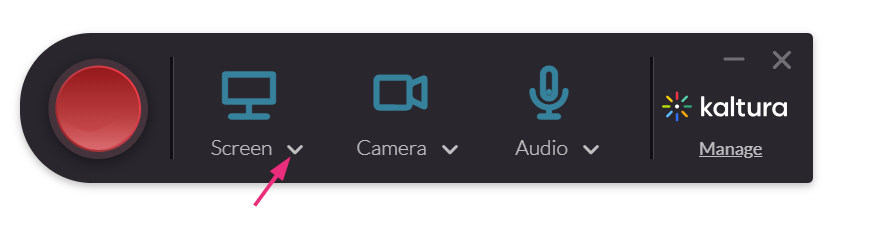
Screen
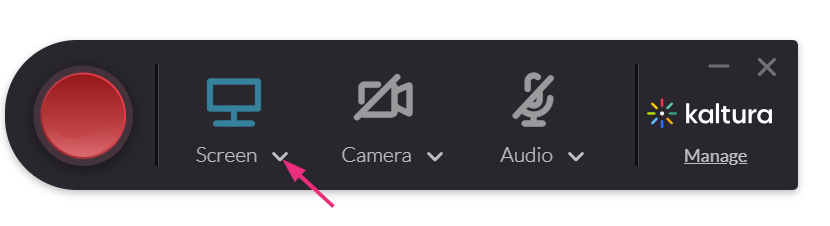
- The screen is set up to record by default. If you have multiple screens, click the arrow next to the screen icon to open the input settings.
- Click the arrow next to the input settings to display a drop-down menu, allowing you to select your desired screen. This menu only shows multiple options if more than one screen is connected to your PC.
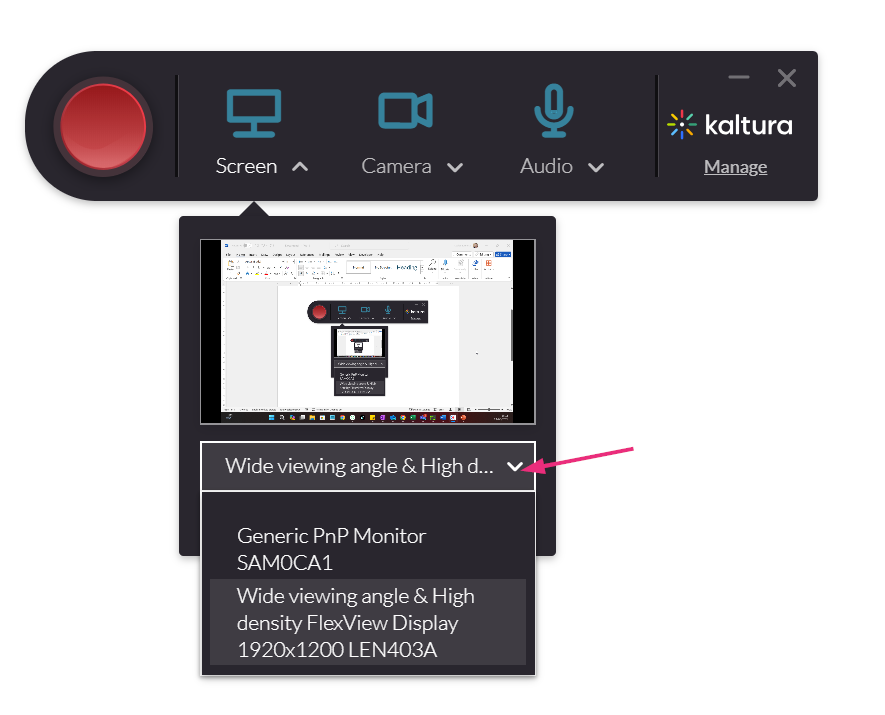 To record a specific area of your screen, follow the instructions in Record specific area of screen below.

 To record a specific area of your screen, follow the instructions in
 Audio
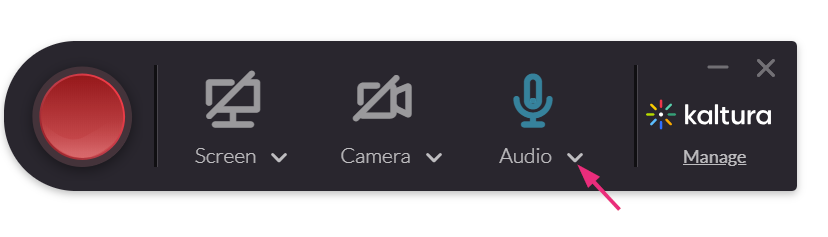
Click the microphone icon if you need to mute the audio temporarily during your recording.
Common recording configurations
Record camera and audio only
- Set up your camera as described above.
- Click the arrow next to the audio icon to display the input settings.
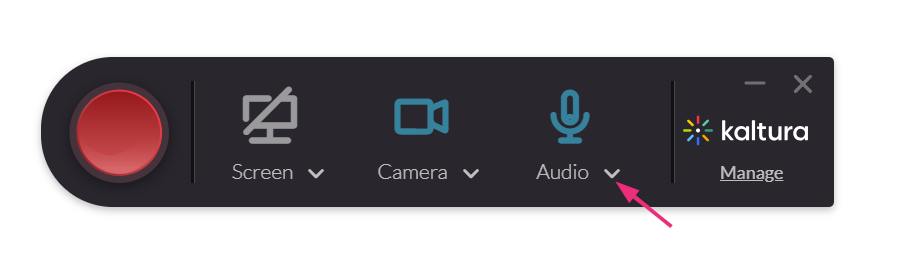
- Click the arrow next to the input settings to display a drop-down menu, allowing you to select your desired audio source. This menu only shows multiple options if more than one audio source is connected to your PC
-
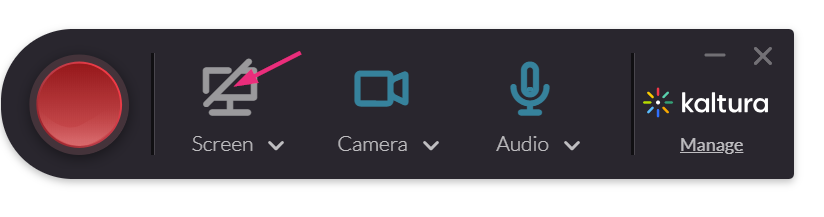
Click the screen icon to disable it.


Record two cameras
- Click the arrow next to each input icon (camera or screen).

- Select the camera input source from the drop-down menu.

Record two screens
- Set up your first screen as described above. To set your second screen input, click the arrow next to the camera icon to open the settings.
-
Click the arrow to display a drop-down menu allowing you to select your second screen. This menu only shows multiple options if more than one screen is connected to your PC.

To select an area to record, see the steps in Record specific area of screen below.
Record audio only
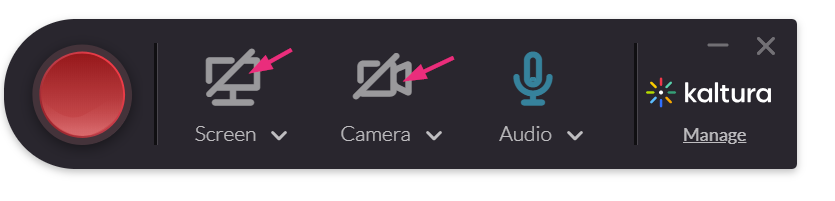
- Disable both the screen and camera by clicking on their icons.
- Click the arrow next to the microphone icon to open the settings.
- Click the arrow to display a drop-down menu, allowing you to select your desired audio. This menu only shows multiple options if more than one audio source is connected to your PC.


Record specific area of your screen
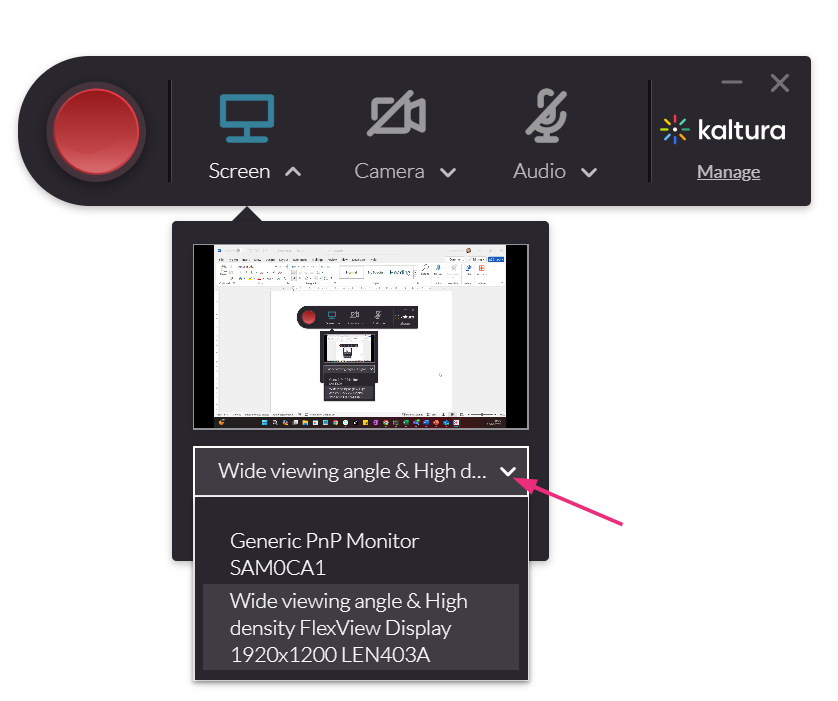
- Click the arrow next to the screen icon to display the screen input settings.
- Click the arrow next to the screen input settings to display a drop-down menu, allowing you to select your desired screen. This menu only shows multiple options if more than one screen is connected to your PC.
- Select the Select Area option.
- Select an area from one of the options in the drop-down menu.
You can also customize the screen area you want to record by resizing the cropping window. Drag the frame to the size you want to record. Place the resized frame over the are on your screen that you want to record. - Click Confirm.


If you decide to cancel, toggle Full Screen under the screen selection.

