About
This article explains how to download and install Capture on a Windows computer.
For instructions on installing Capture for Mac, see Install Capture for Mac.
Before you begin
- Make sure your computer meets the requirements described in Capture prerequisites and system requirements.
- Capture isn't supported on mobile devices, tablets, or Chromebooks.
- The Kaltura Capture module must be enabled by your admininstarator.
Download Capture
Capture is downloaded from your institution's Content Hubs / Video Portal or LMS. It isn't available from app stores or public download sites.
If Theming is enabled
- Select Capture from the +Create menu.
- On the download page, click Download for Windows.

The download page opens.

If this message appears, ignore it and continue to the next step.


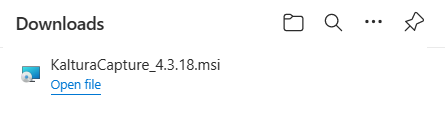
When the download is complete, you see a file named KalturaCapture in your Downloads folder.
If Theming isn't enabled
- Select Kaltura Capture from the +Add New menu.
- On the download page, click Download for Windows.

The download page opens.
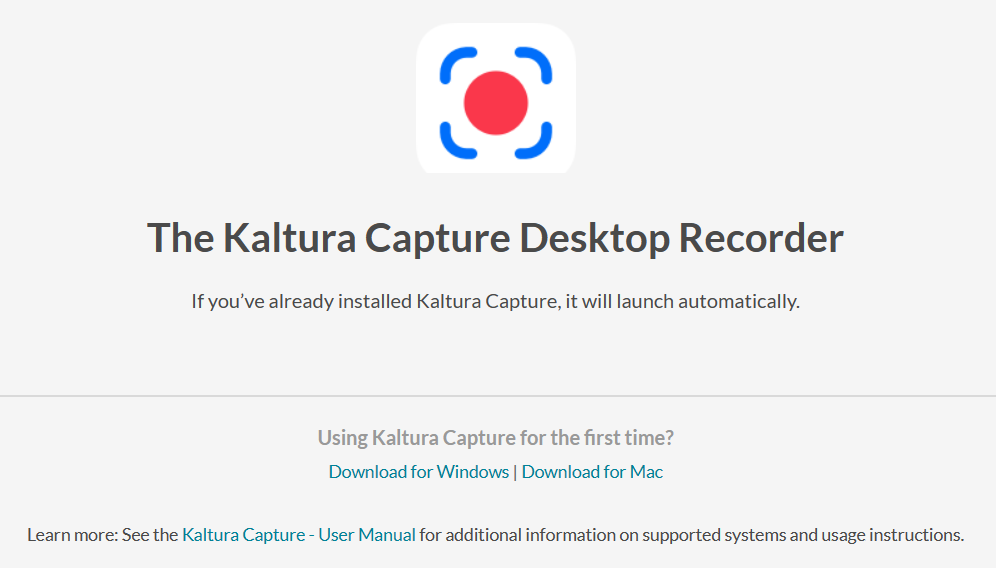
If this message appears, ignore it and continue to the next step.

When the download is complete, you see a file named KalturaCapture in your Downloads folder.
Having trouble downloading Capture?
If the download doesn't start or fails, see Troubleshooting guide for Capture desktop recorder.
If you're using a managed school or company computer, your IT administrator might need to approve the installation.
Install Capture
- In your downloads folder, locate the KalturaCapture file and click Open File.
- On the Welcome screen, click Next. The Installation Settings screen displays. (Optional) At this point you can change the location where Capture stores recordings by entering a different folder path.
- Click Next. The Ready to install Kaltura Capture screen displays.
- Review the installation settings and click Install.
- When the installation is complete, click Finish.
If the installation fails, see Troubleshooting guide for Capture desktop recorder.
Next steps
After installing Capture, see Create your first recording in Capture.
