About
The recycle bin lets you delete media entries with the option to restore them later. When restored, the item returns to its original place with the same name, tags, metadata, and settings.
- This feature requires the Recyclebin module to be enabled.
- The recycle bin retention period (how long items stay before permanent deletion) is set by your account admin or Kaltura’s Customer Care team.
Move an item to the recycle bin
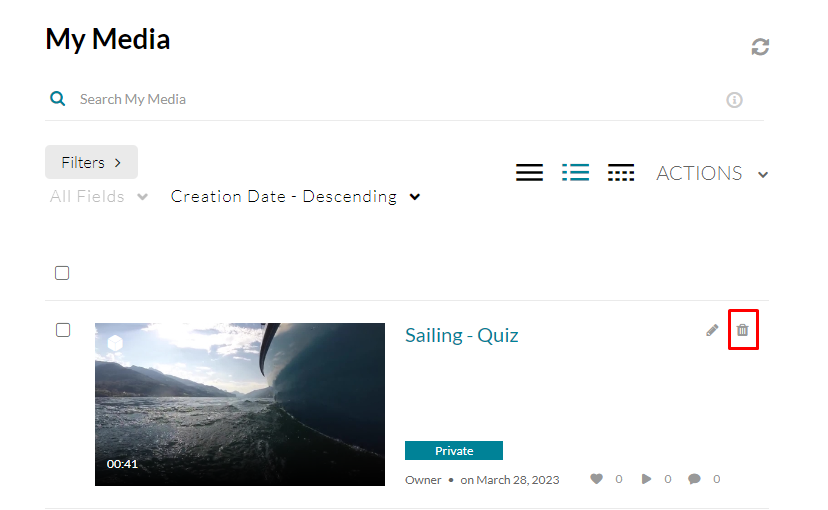
- Go to the My Media page.
- Click the trash can icon next to the entry you want to delete.
- Click Approve.
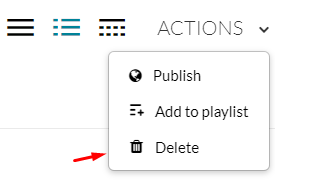
If you want to delete more than one entry, click the boxes next to each one.
Click on a thumbnail to access the Media Entry Page. Go to the ACTIONS menu and choose Delete.
A confirmation message displays.
There’s no limit to the number of items you can delete.
Who can see deleted items
- Only media owners can view their deleted items in the recycle bin.
- Guest users cannot access deleted media.
