About
The recycle bin lets you delete media entries with the option to restore them later. When restored, the item returns to its original place with the same name, tags, metadata, and settings.
- This feature requires the Recyclebin module to be enabled.
- The recycle bin retention period (how long items stay before permanent deletion) is set by your account admin or Kaltura’s Customer Care team.
Move items to the recycle bin
Via My Media
- From the user menu, select My Media.
- Click on the three dots to the right of the desired entry and select Delete.
- Click Delete.

The My Media page displays.


A confirmation message displays: Are you sure you want to delete this media and move it to the recycle bin? This media will be automatically deleted from the recycle bin within 30 days.
Bulk action
- To delete more than one item, check the boxes on the upper left of the desired media.
- Scroll to the top of the page, and click Delete. The Delete option only displays after you have selected at least one item.
- Click Delete.

A confirmation message displays.
Via the media page
- Access the media page. (You can do this by clicking on the thumbnail of the desired media.) The media page displays.
- Click the three dots under the player and select Delete.
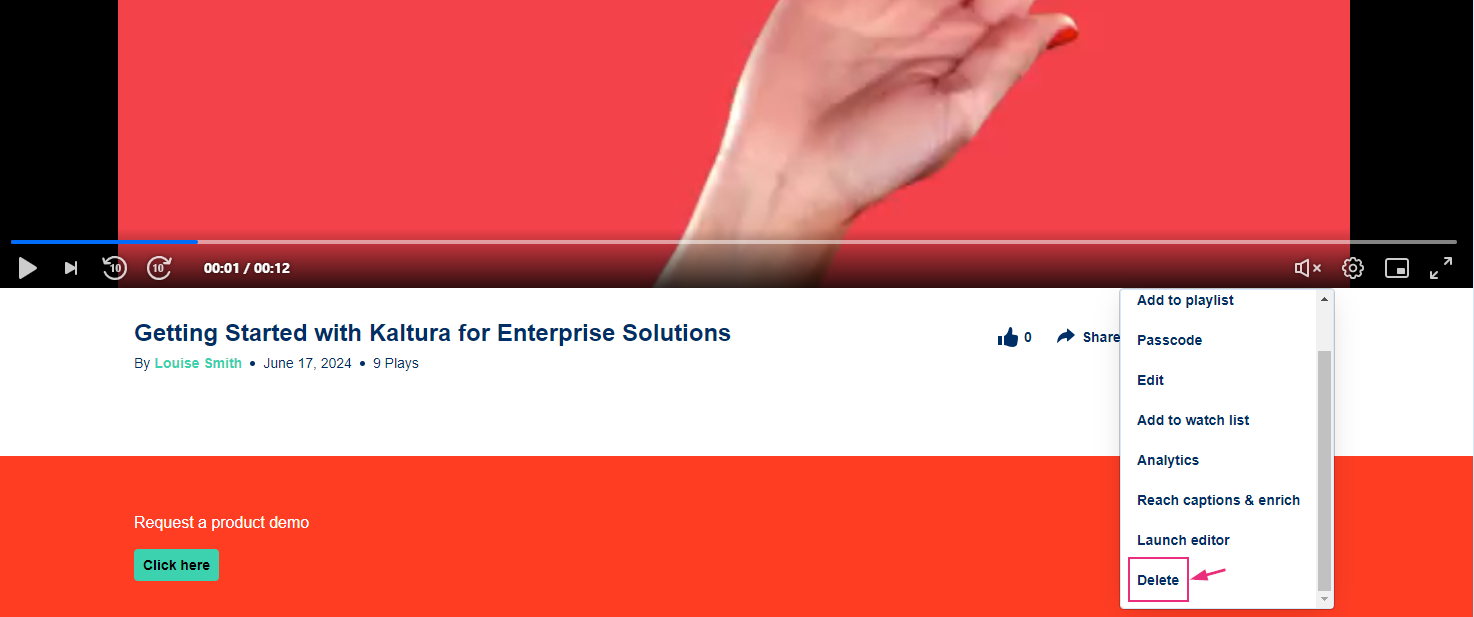
A confirmation message displays.
- Click Delete.


