About
Deleting content helps keep your site organized, relevant, and easy to navigate. You might remove outdated items, free up storage, or simply clean up unused content.
This article walks you through how to safely delete content from your site so it stays clear and up to date.
From My Media
- From the user menu, select My Media.
- Click on the three dots to the right of the desired entry and select Delete.
- Click Delete.

The My Media page displays.


A confirmation message displays. The message varies based on whether the recycle bin is enabled:
Recycle bin is not enabled: Are you sure you want to delete (x) items from your media library? Note: This action is irreversible and deleted items are unrecoverable.
Recycle bin enabled: Are you sure you want to delete this media and move it to the recycle bin? The media will be automatically deleted from the recycle bin within 30 days.
Once an item has been moved to the recycle bin, it can be recovered. Visit our article Restore items from the Recycle bin to find out more.
Bulk action
- To delete more than one item, check the boxes on the upper left of the desired media.
- Scroll to the top of the page, and click Delete.
- Click Delete.
The Delete option only displays after you have selected at least one item.

A confirmation message displays. The message varies based on whether the recycle bin is enabled (see above).
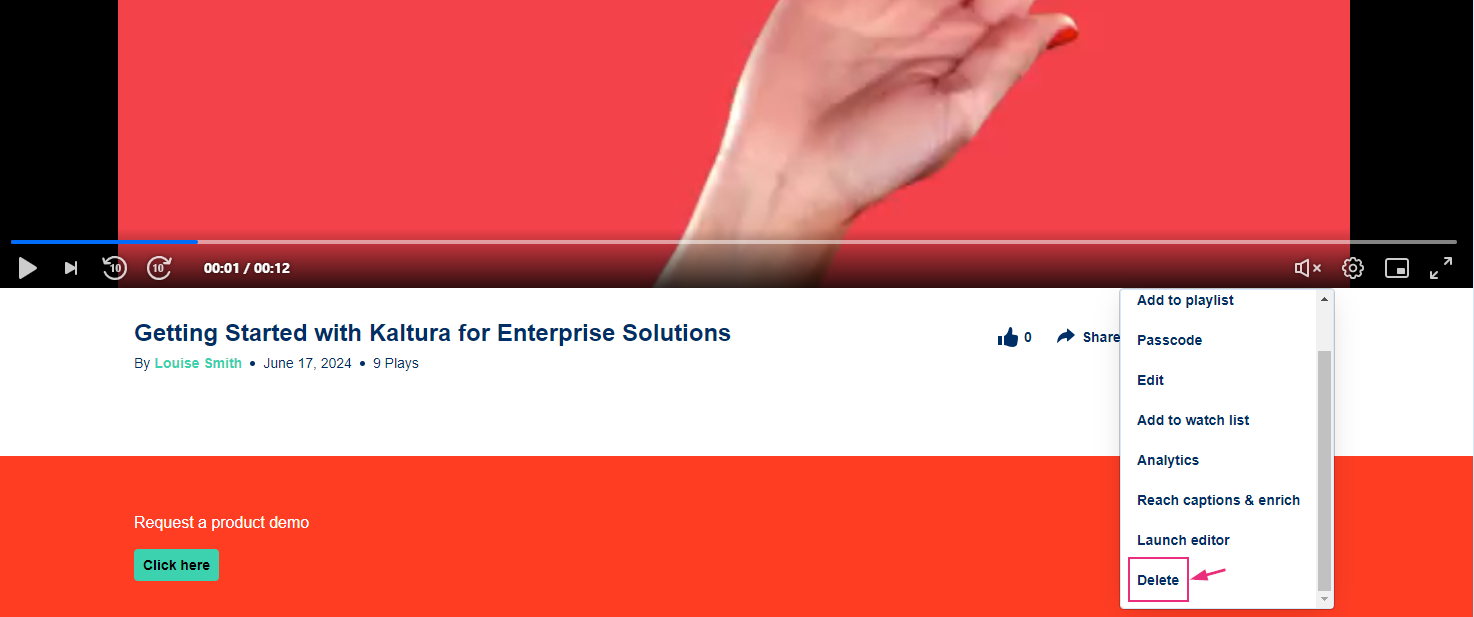
From the media page
- Access the media page. (You can do this by clicking on the thumbnail of the desired media.) The media page displays.
- Click the three dots under the player and select Delete.
A confirmation message displays. The message varies based on whether the recycle bin is enabled (see above).
- Click Delete.


