About
This article describes how to enter a support email address for attendees, enter organizer details to display in notifications and networking, copy and/or access your event domain, and set a custom URL.
The screens shown here represent a multi-session event. The same actions apply when working with single session.
Navigate to the Settings page
From the Event page, click the Settings tab.

The Settings page displays.

Here you can enter a support email address for attendees to use to ask questions and report issues. The support email will appear in every text where the Customization tag {SUPPORTEMAIL} is used.
You may enter organizer details. This information is displayed as the sender details in notifications and networking.
You may also copy and/or access the event domain by clicking the appropriate button;  to copy or
  to access.
Set a custom URL
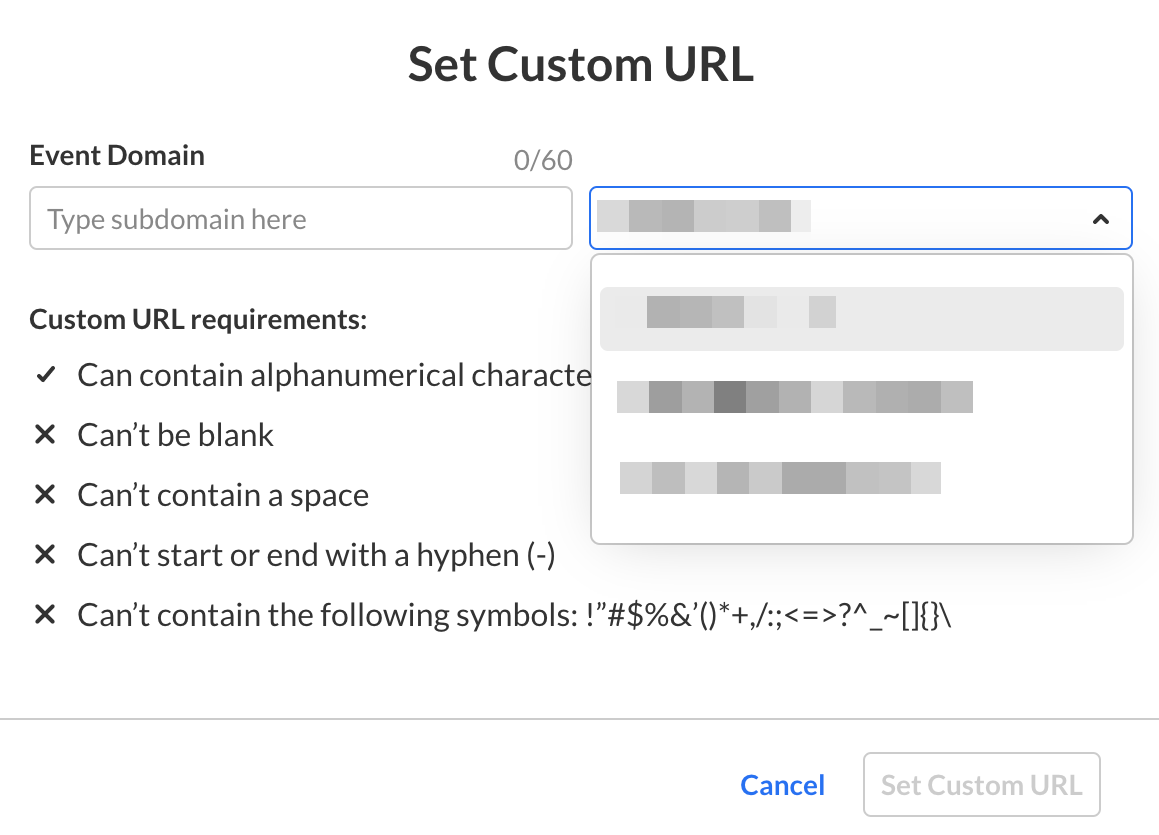
If configured by your Admin, a Set Custom URL button displays on the Settings page allowing you to change the default generated event URL to customize it for your event.
- Click the Set Custom URL button.
- Enter a unique Event Domain according to the validation rules, then click on the right-hand list to choose from the list of root domains your Admin configured. Once finished, click Set Custom URL.

Auto assign a custom domain
If you would like all events created on your account to be auto assigned a custom domain, please see contact your Kaltura representative.
When an event with a custom URL or domain is deleted, the URL is automatically released. This ensures the URL can be reused for future events

