About
Effortlessly prepare presentations using Kaltura's storyboard and media manager. Upload files in advance to the storyboard and organize them so you can seamlessly navigate through media during your session.
Mobile users cannot upload or manage storyboard content. Files must be added and managed from a desktop. However, content presented from the storyboard will still be visible to mobile users during the session.
Add files via the storyboard menu
- In your room, click the storyboard icon at the bottom right of the toolbar to open the storyboard.
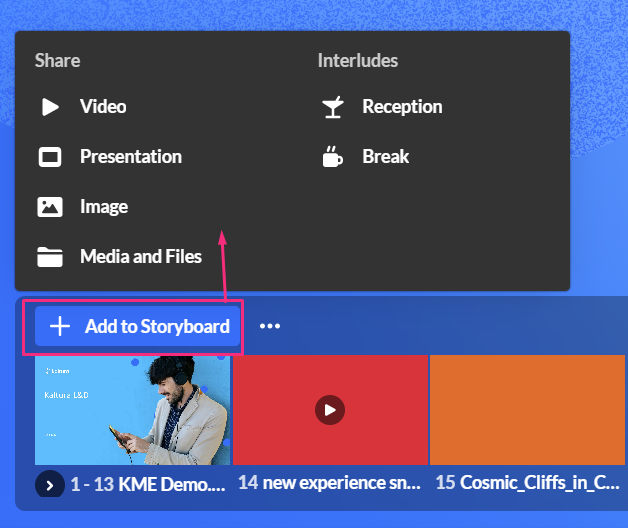
- Click +Add to Storyboard.

The storyboard displays as a horizontal panel at the bottom. 

Four options display for sharing media:
- Video
- Presentation
- Image
- Media and Files

The following media types are supported: image, video, audio, PPT, PDF.
Selecting one of the four options displays the Media manager.

The Select a media window has the following features:
- Search (1) - Use to search for a specific media.
- Name / Created At (2) - Use to sort media items according to name / creation date.
- Import from YouTube (3) (visible only for Video) - Click to import a YouTube video.
- Upload (4) - Click to upload a video from your computer.
- Add to Storyboard (5) - Click to add the media to the storyboard.
- Three dots (6) - Click to delete the media.
The window stays open until you close it (click the X at the top right).
Add a video
- Select Video from the Storyboard menu.
The Select a media window displays. - Locate the desired video or upload one from your computer.
To Import YouTube videos -
- Paste the YouTube URL or media ID into the provided field. A small preview of the video will display below.
- Click Import to add the video as a new entry.
Only public YouTube videos are supported, meaning videos without entitlements that can be viewed by anyone with the link.
YouTube videos added to your storyboard will NOT be included in recorded sessions due to copyright limitations. During playback, users will see a slate indicating that the content cannot be recorded.
3. Once you have located / uploaded the desired video, simply click Add to Storyboard.
Your file is added to the storyboard (it will not start playing automatically), with the newest files to the right.
If you access the media menu from your video portal or Events platform, the Select a media window displays two extra tabs:
- My rooms - This displays the media for the rooms you have access to.
- My media - This displays all the media that you are the 'owner' of (same as My Media in Video Portal).

Add a presentation
- Select Presentation from the Storyboard menu. The Select a media window displays.
- Locate the desired document or upload one from your computer.
- Click Add to Storyboard.
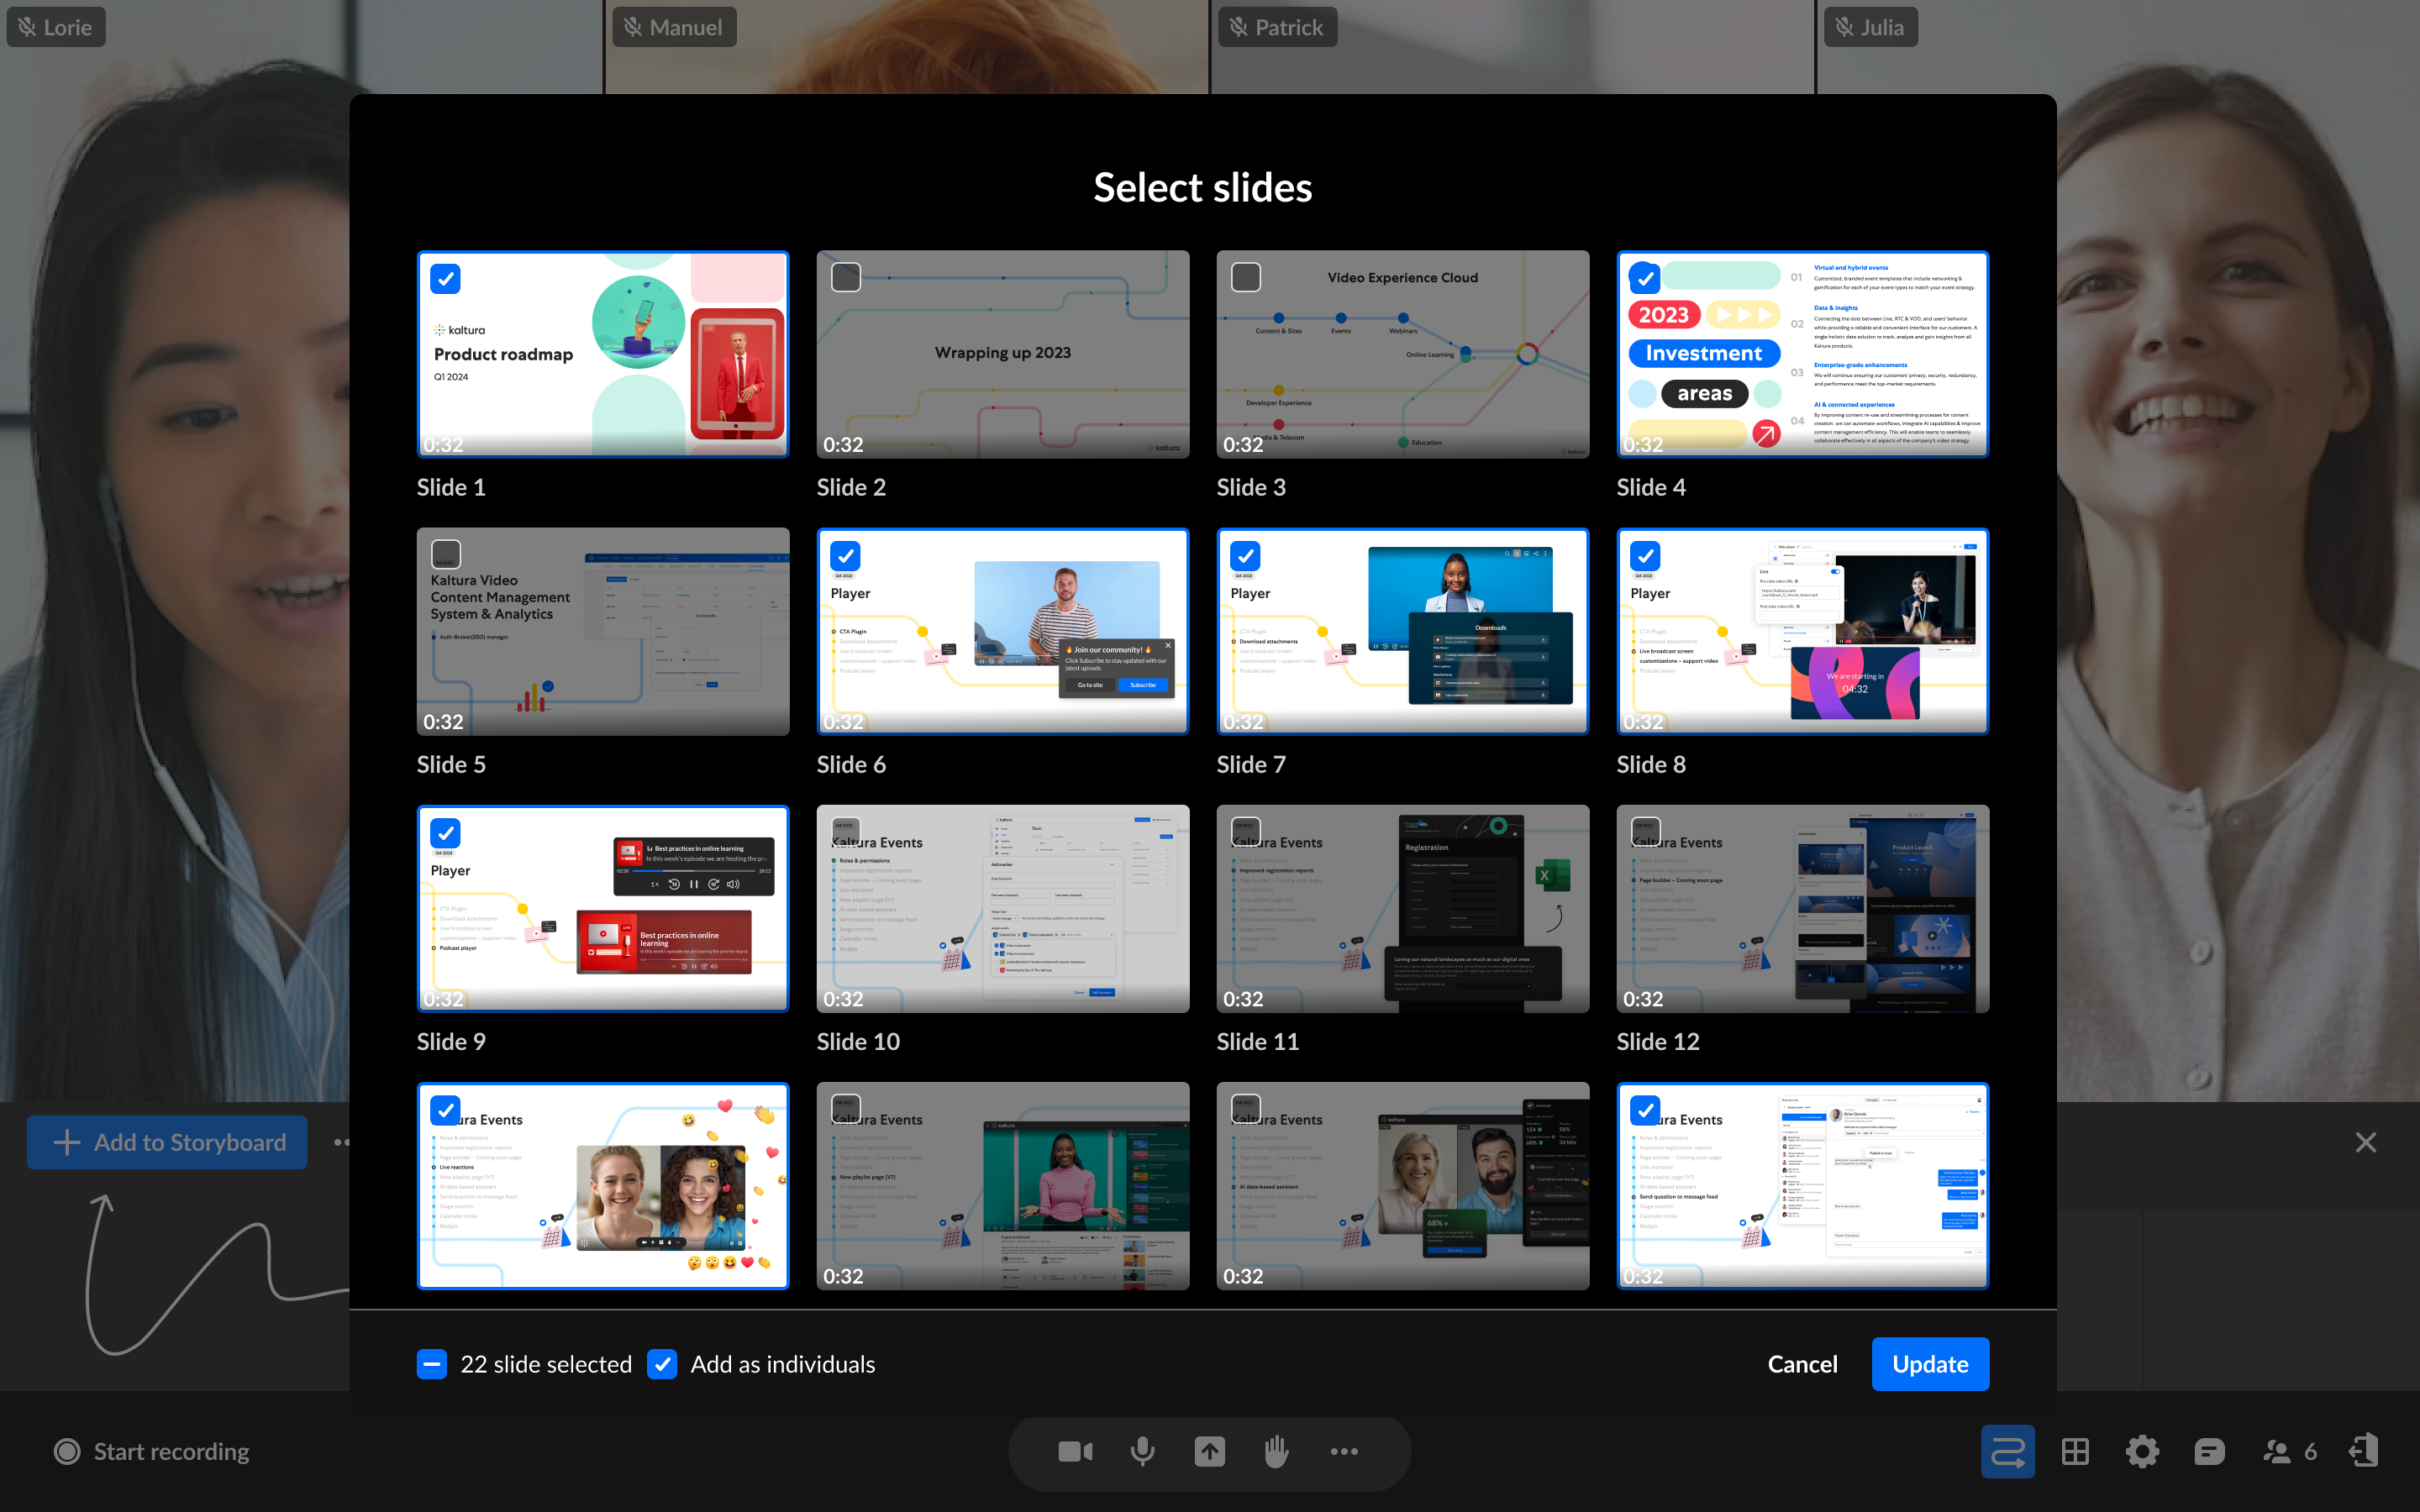
- After you have previewed and approved the slides, click Update at the bottom right. The selected slides display on the storyboard.
A preview window opens.

By default, all slides (pages) in the document are selected, and the slide number displays underneath. You can scroll to see all the slides in the document. The total number of selected slides is displayed at the bottom left.
You can choose whether to add the slides as a single grouped item or as individual scenes in your storyboard by selecting the Add as individuals checkbox (default: checked).

When this checkbox is selected, each slide is added separately to the storyboard and can be rearranged, presented, or removed on its own.
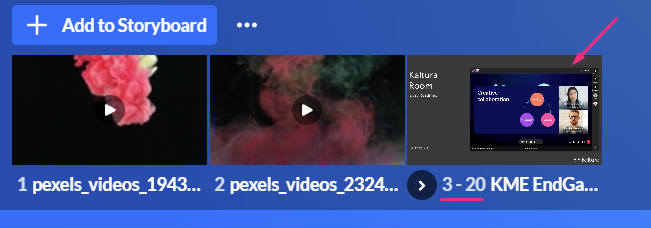
When uploading from the Scene Manager, slides are always grouped and this option is not available.

Add images
- Select Image from the Storyboard menu. The Select a media window displays.
- Locate the desired document or upload one from your computer.
- Click Add to Storyboard.
Your file is added to the storyboard (it will not start presenting automatically) with the newest files to the right.
Add media and files
- Select Media and Files from the Storyboard menu. The Select a media window displays with all file types available including recordings and shared media.
- Locate the desired media item or upload one from your computer. (To import a YouTube video, see Import YouTube videos above.)
- Click Add to Storyboard.

Your file is added to the storyboard (it will not start presenting automatically) with the newest files to the right.
Add files via the Quick Share menu
Kaltura's media manager is configured according to the Kaltura Management Console protocols, which means each session room is represented as a category in the KMC, and each media item is treated as a Kaltura entry. See our articles Managing categories and The KMC entries tab for more information.
By aligning with Kaltura's entitlement protocols and treating all media as entries or categories, the media manager prioritizes security and privacy to prevent any potential issues.
- Click the Share icon on the bottom toolbar.

Three options display for sharing media:
- Video
- Presentation
- Image
The following media types are supported: image, video, audio, PPT, PDF.
Selecting one of the three options displays the Select a media window.

The Select a media window has the following features:
- Search (1) - Use to search for a specific media item in the media manager.
- Name / Created At (2) - Use to sort media items according to name / creation date.
- Import from YouTube (3) (visible only for Video) - Click to import a YouTube video.
- Upload (4) - Click to upload a video from your computer.
- Present (5) - Click to add the media to the storyboard and start presenting it immediately (the Select a media window will close automatically).
Add a video
- Select Video from the menu.
The Select a media window displays. - Locate the desired video or upload one from your computer.
Import YouTube videos -
- Paste the YouTube URL or media ID into the provided field. A small preview of the video will display below.
- Click Import to add the video to the media folder as a new entry.
Only public YouTube videos are supported, meaning videos without entitlements that can be viewed by anyone with the link.
YouTube videos added to your storyboard will NOT be included in recorded sessions due to copyright limitations. During playback, users will see a slate indicating that the content cannot be recorded.
3. Once you have located the desired video, simply click Present.
Your file is added to the storyboard and automatically starts presenting.
If you access the media menu from your video portal or Events platform, the Select a media window displays two extra tabs:
- My rooms - This displays the media for the rooms you have access to.
- My media - This displays all the media that you are the 'owner' of (same as My Media in Video Portal).

Add a presentation
- Select Presentation from the menu. The Select a media window displays.
- Locate the desired file or upload one from your computer.
- Once you have located the desired file, click Add to Storyboard.
A preview window opens.

By default, all slides (pages) in the document are selected, and the slide number displays underneath. You can scroll to see all the slides in the document. The total number of selected slides is displayed at the bottom left.
You can choose whether to add the slides as a single grouped item or as individual scenes in your storyboard by selecting the Add as individuals checkbox (default: checked).

When this checkbox is selected, each slide is added separately to the storyboard and can be rearranged, presented, or removed on its own.
- After you have previewed and approved the slides, click Update at the bottom right. The selected slides display on the storyboard.

Add images
- Select Image from the menu. The Select a media window displays.
- Locate the desired image or upload one from your computer.
- Click Present.
Your file is added to the storyboard and starts presenting automatically.
Add files to breakout rooms
Uploading files can be done ahead of time when preparing for breakout sessions. To add files to a room, you must first create the breakout rooms and then launch each room to add files to its local storyboard.
- If you need help creating and launching a breakout room, follow the steps in our article Create and Launch Breakout Rooms.
- After launching a breakout room, the storyboard displays and you can add files to it either from the Storyboard menu or the Share Content menu as shown in the steps above.
- Once you've finished preparing your files, exit the breakout room (click 'End Breakout'). The files will be placed in the Shared folder, which can then be accessed at any time from any room.

For instructions on presenting files from the storyboard, visit our article Storyboard.
