About
Categories organize content in a hierarchical structure. Each category can contain subcategories.
In Content Hubs and legacy Video Portal, categories are displayed as galleries. In the Rich Media Content Management System, they are managed as categories.
For the best user experience, keep the number of top-level categories to a minimum.
Categories appear by default in the application navigation bar. To hide categories from navigation, see Navigation module.
Access the categories page
- Log into your Rich Media CMS.
- Click the Categories tab to open the Categories page.


Create a category
1. Click Add Category at the top of the Categories page.
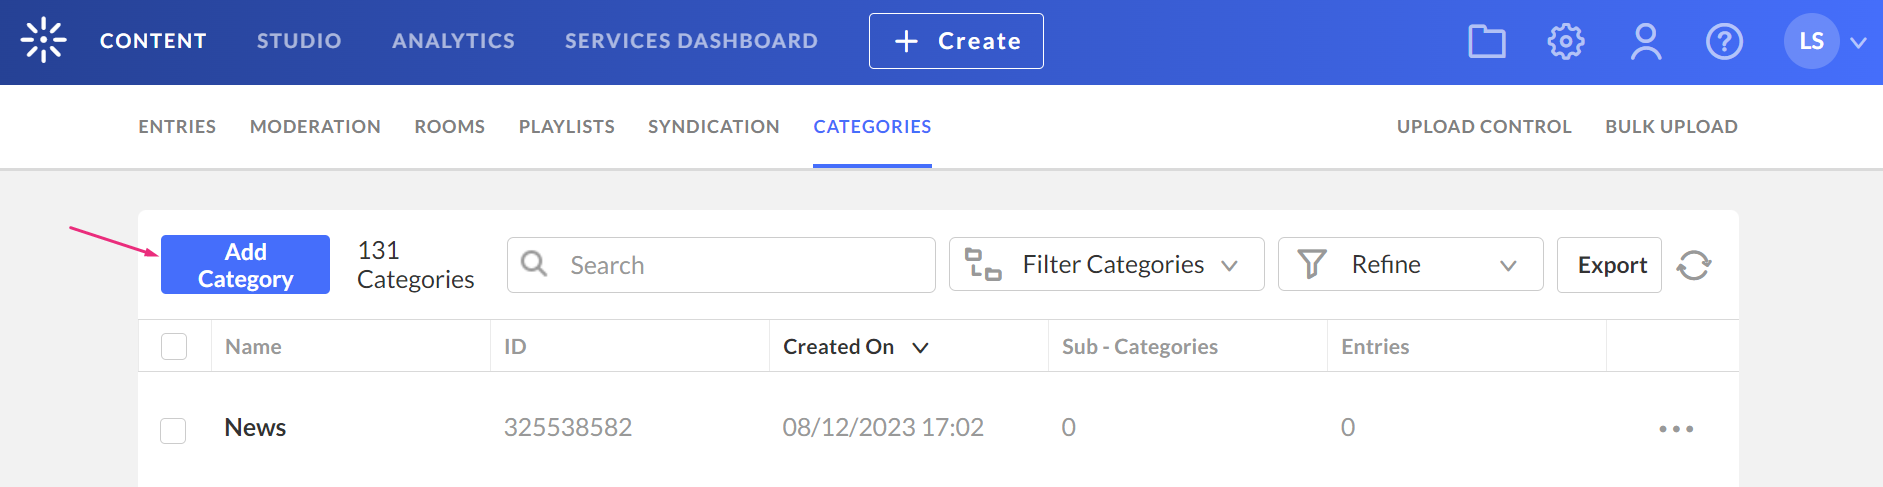
The New Category window displays.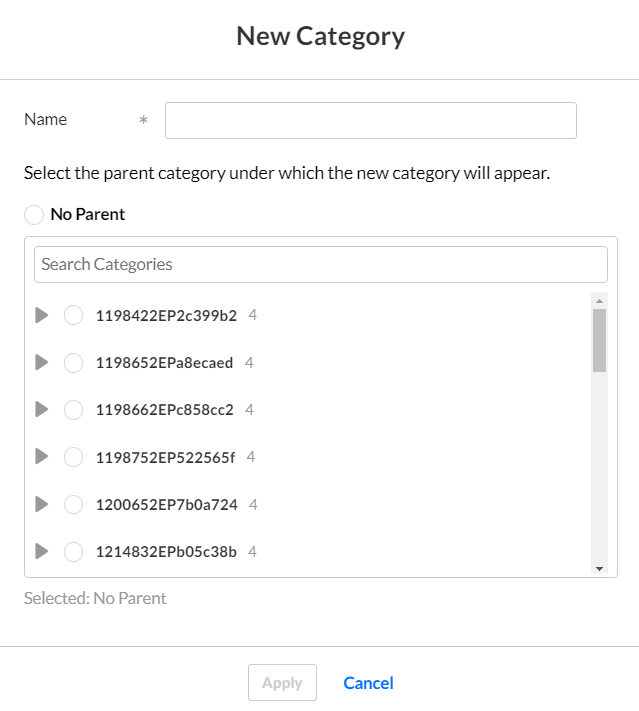
2. Enter a name for your new category.
The following characters are invalid in a category name: '>','<',','
3. Select No Parent to create the category at the top level, or select a parent category to organize the new category within the existing category structure.
Categories created under a parent can still appear as separate galleries in the Content Hub navigation bar, depending on your configuration.
4. Click Apply.
Duplicate names aren't supported. Each category in the same location must have a different name.
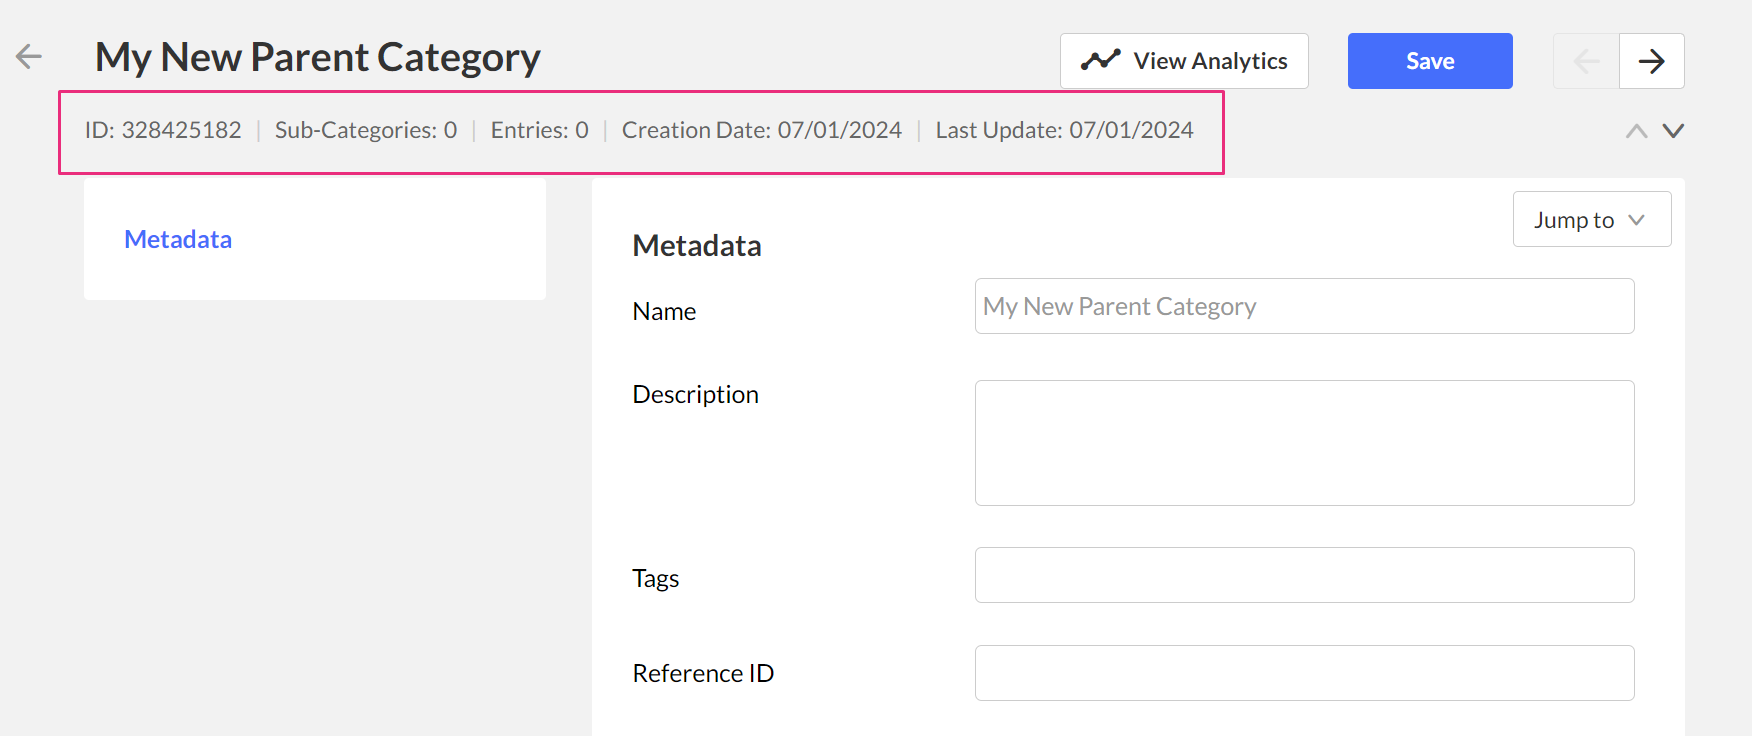
The Metadata tab for that category displays with the categories details.
We recommend that you minimize categories at the top level as it can complicate navigation.
Categories are displayed by default on the navigation bar of the application (legacy Video Portal, etc). To hide categories, see the Navigation module.
Create a sub-category
1. Click Add Category at the top of the Categories page.
The New Category window displays.
2. Type a name for your new sub-category.
3. Choose the parent category under which the new sub-category will appear.
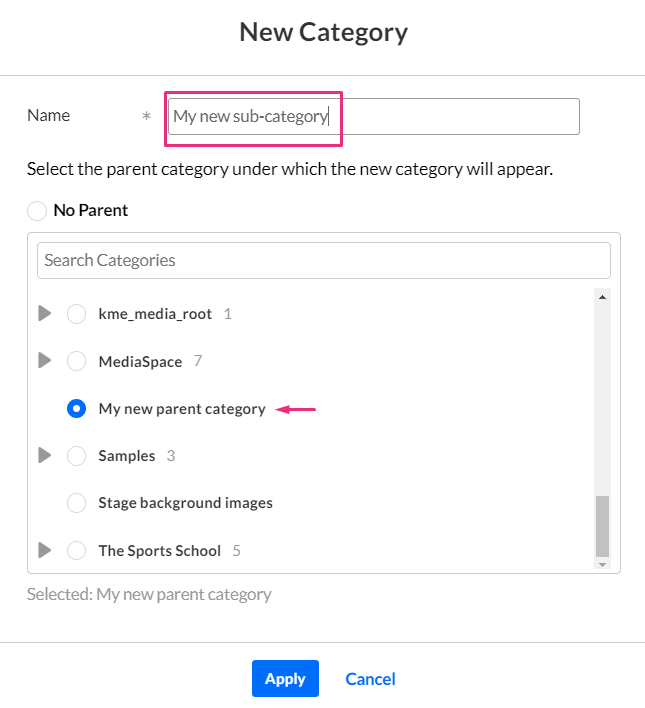
4. Click Apply.
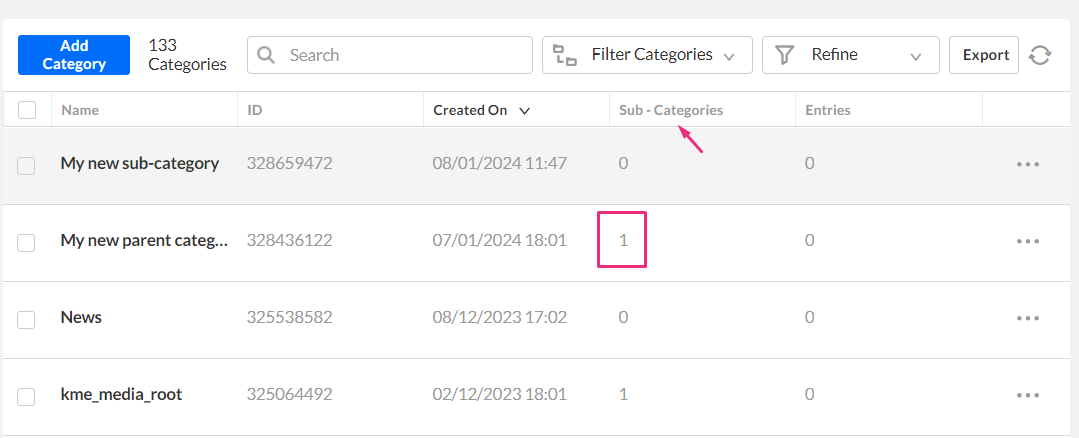
When you return to the categories page, you will see your new categories and sub-categories.