About
The Profile page in Content Hubs is your personal space where logged-in users can connect and learn more about one another.
Your profile includes a unique URL and can display your personal details, sessions, media, watch list, agenda, and badges, depending on your site configuration.
This feature requires the Personalprofile module to be enabled.
Access your profile page
From the user menu, select My Profile. You can also access your profile page directly at http://your-video-portal-url/profile.
- Depending on your setup, the profile page can also appear in the site navigation bar.
- If you don't see this option in the user menu, contact your administrator to enable it in the Headermenu module.

The profile page displays.

Edit your profile
- Click Edit Profile at the top right.
- Update your information.
- When you have finished, click Update.

The Edit Profile window displays.

Editable fields, such as First Name, Last Name, Title, and Company, depend on your administrator's configuration.
Edit or remove a profile image
- Click Edit Profile at the top right.
- Click the pencil icon on the profile image.
- Click Change photo or Remove.
- Upload a new image if desired.
- Click Update.
The 'Edit profile' window opens.


Sessions tab
The Sessions tab displays sessions where you have been added as a presenter, including upcoming and past sessions.
This feature requires the Presenters module to be enabled.

Info tab
The Info tab displays details the user has added to their profile, such as name, title, email, company, and a personal description.

Media tab
The Media tab displays published content you’ve created, whether as an individual or as part of a group.
Viewers only see content that’s published and available to them based on their viewing permissions.
When viewing your own profile, the Media tab works like a filtered view of My Media, showing only the published content you own.
If you don’t have published content, or only have private content, the tab doesn't appear.

Watch List tab
The Watch List tab displays scheduled and non-scheduled content you have saved.
Scheduled sessions include timing and session details.
This feature requires the Watchlater module to be enabled.

To remove an item from the Watch List, select the X next to the session.

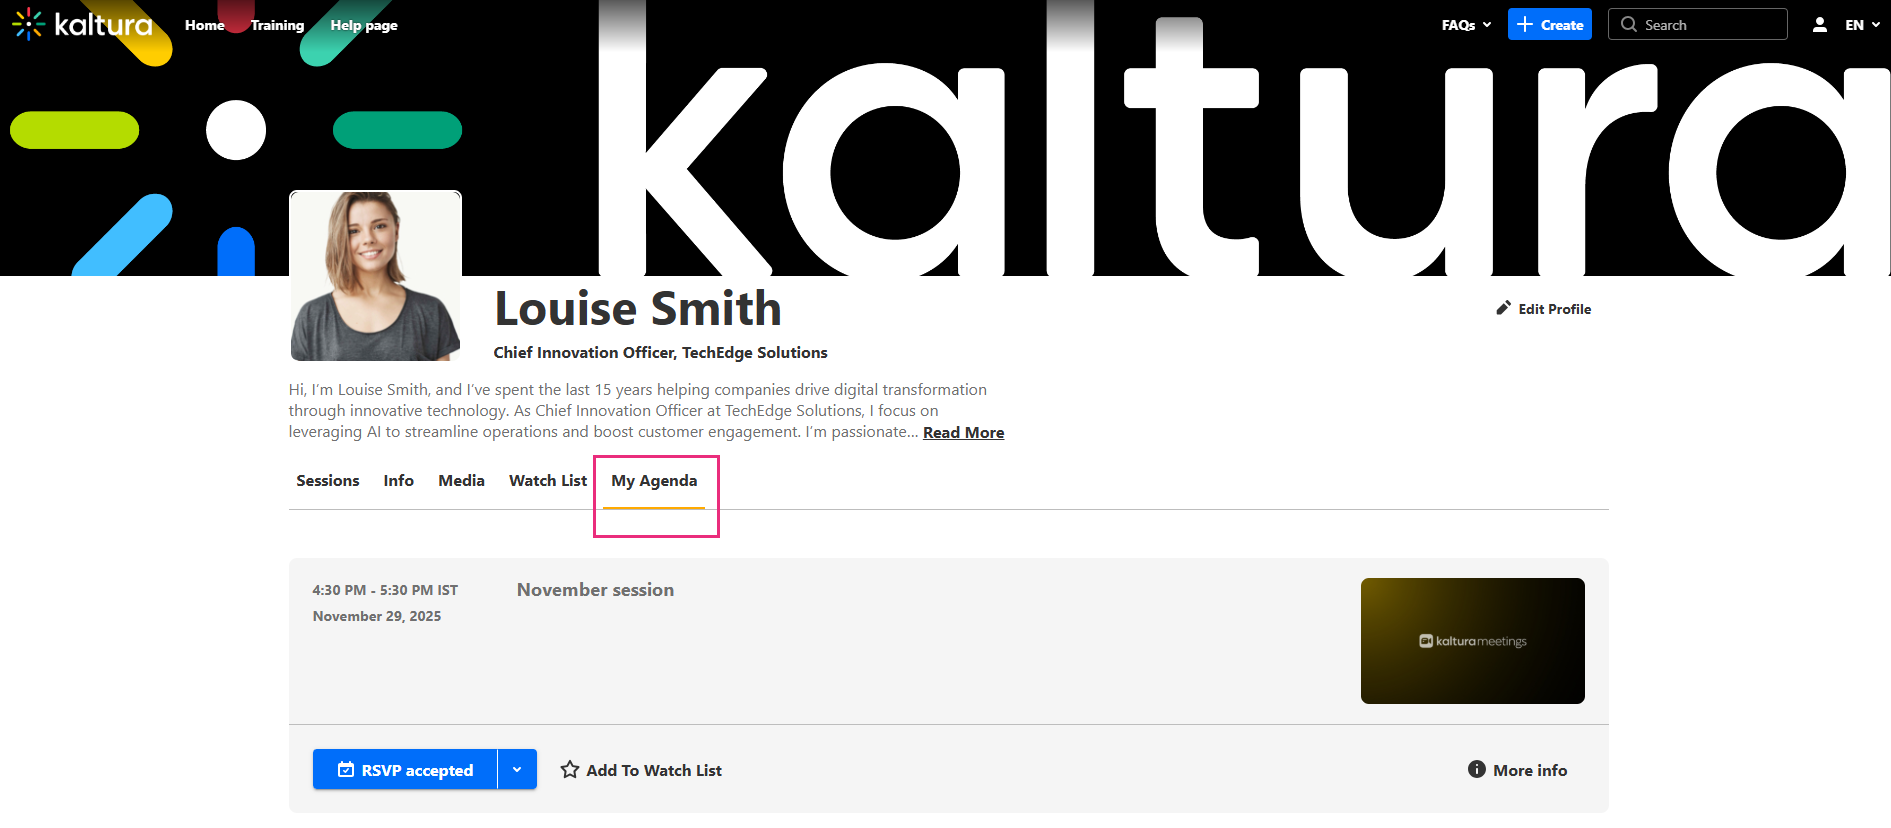
My Agenda tab
The My Agenda tab displays sessions you have RSVP’d to.
Sessions are ordered as follows:
- Top: sessions happening now
- Next: upcoming sessions
The tab only shows sessions that belong to your current event or site so your list stays accurate.
This feature requires the RSVP module to be enabled.
RSVP
For upcoming sessions, you may have the option to RSVP. Check out our RSVP guide for attendees to learn more.

If the Watch List feature is enabled, sessions you RSVP to can also appear on your profile page.
To remove an RSVP’d session, click the X next to the session.
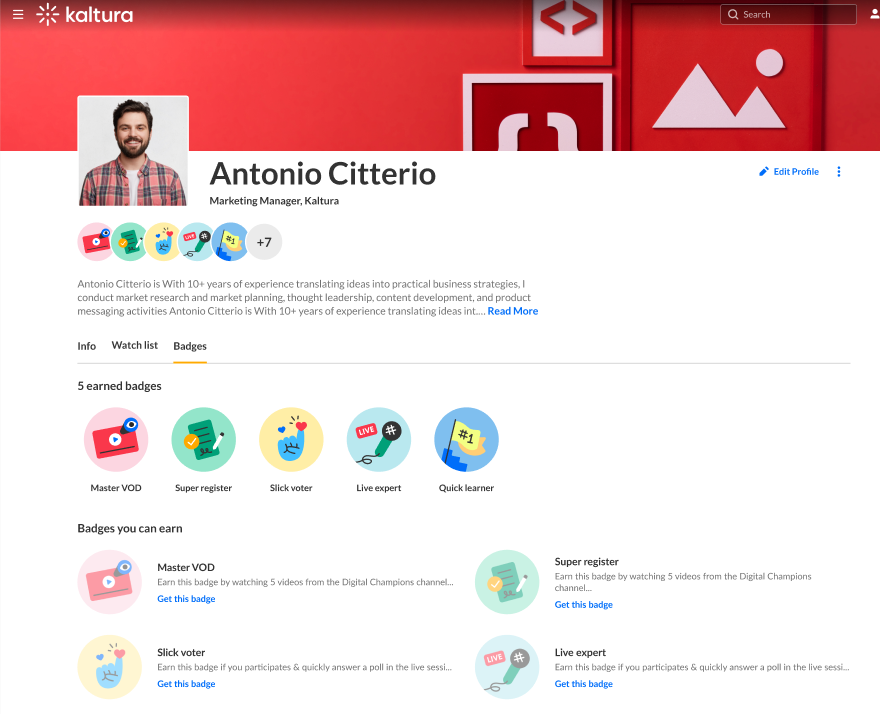
Badges tab
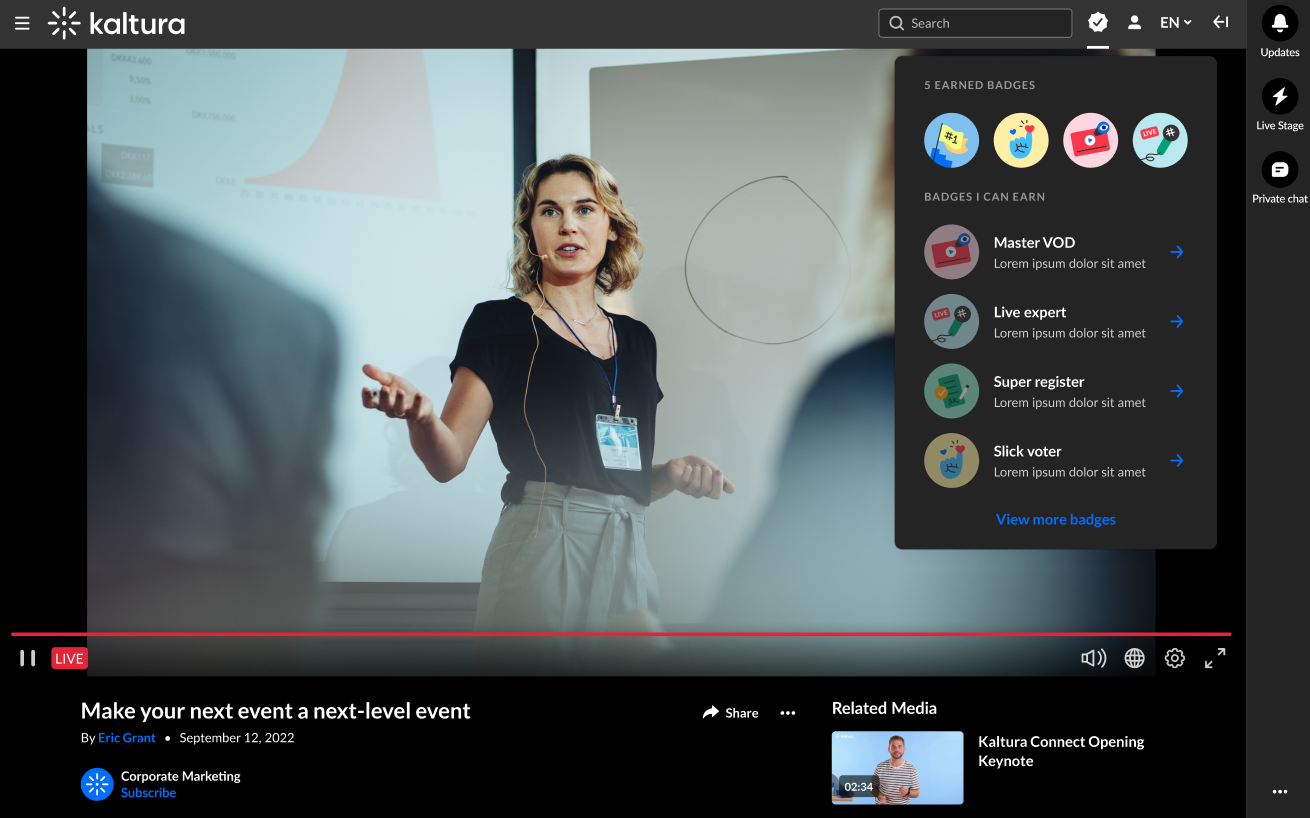
The Badges tab can also be enabled. The Badges tab displays all the badges that you currently have and all the badges that you can earn.
Badges can be earned through various single actions, such as participating in a group chat during a session, watching a certain video or set number of videos, or through a combination of actions.
In the example below, this user has earned five badges and has the opportunity to earn four additional badges.
You can click on any of the badge icons to learn more about the badge. In the example below, we've clicked on the Live expert badge.
![]()
When someone else views your profile, the badges you've earned display below your profile picture. In the example below, this user has earned three badges.
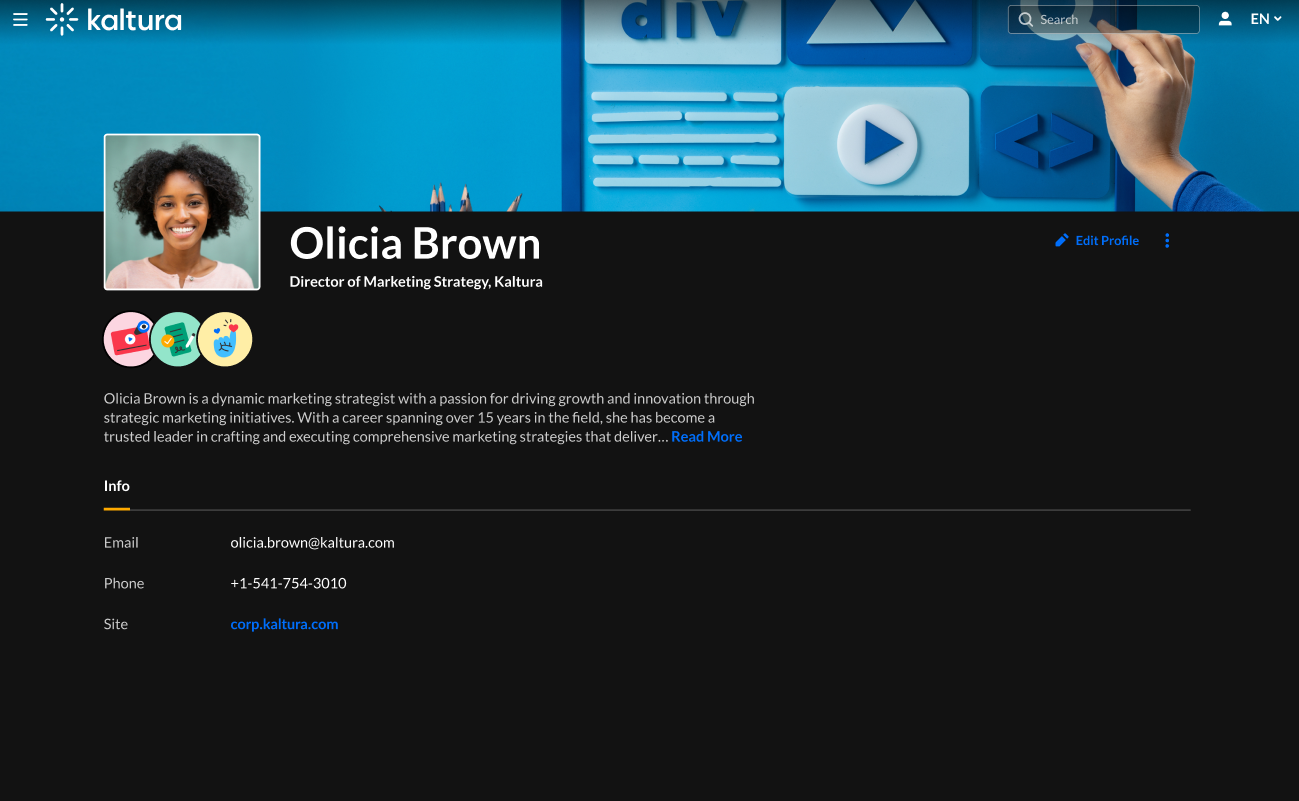
You can also view badges you've earned and badges you have the opportunity to earn by clicking the Badges button on the navigation bar.