About
This guide covers the player integration settings (denoted by a grouping of shapes icon), where you can setup and customize third-party integrations with the player such as YouTube, Cast, 3rd party analytics, monetization, and more.
This feature is currently supported only on the VOD player. All images in this guide reflect the VOD player experience.
Access the Integration settings
1. Log into the Rich Media CMS and click the Studio tab.

2. From the list, choose the player you want to customize.

The settings panel opens.

3. In the left panel, click the shapes icon.

A list of available settings for that player displays.
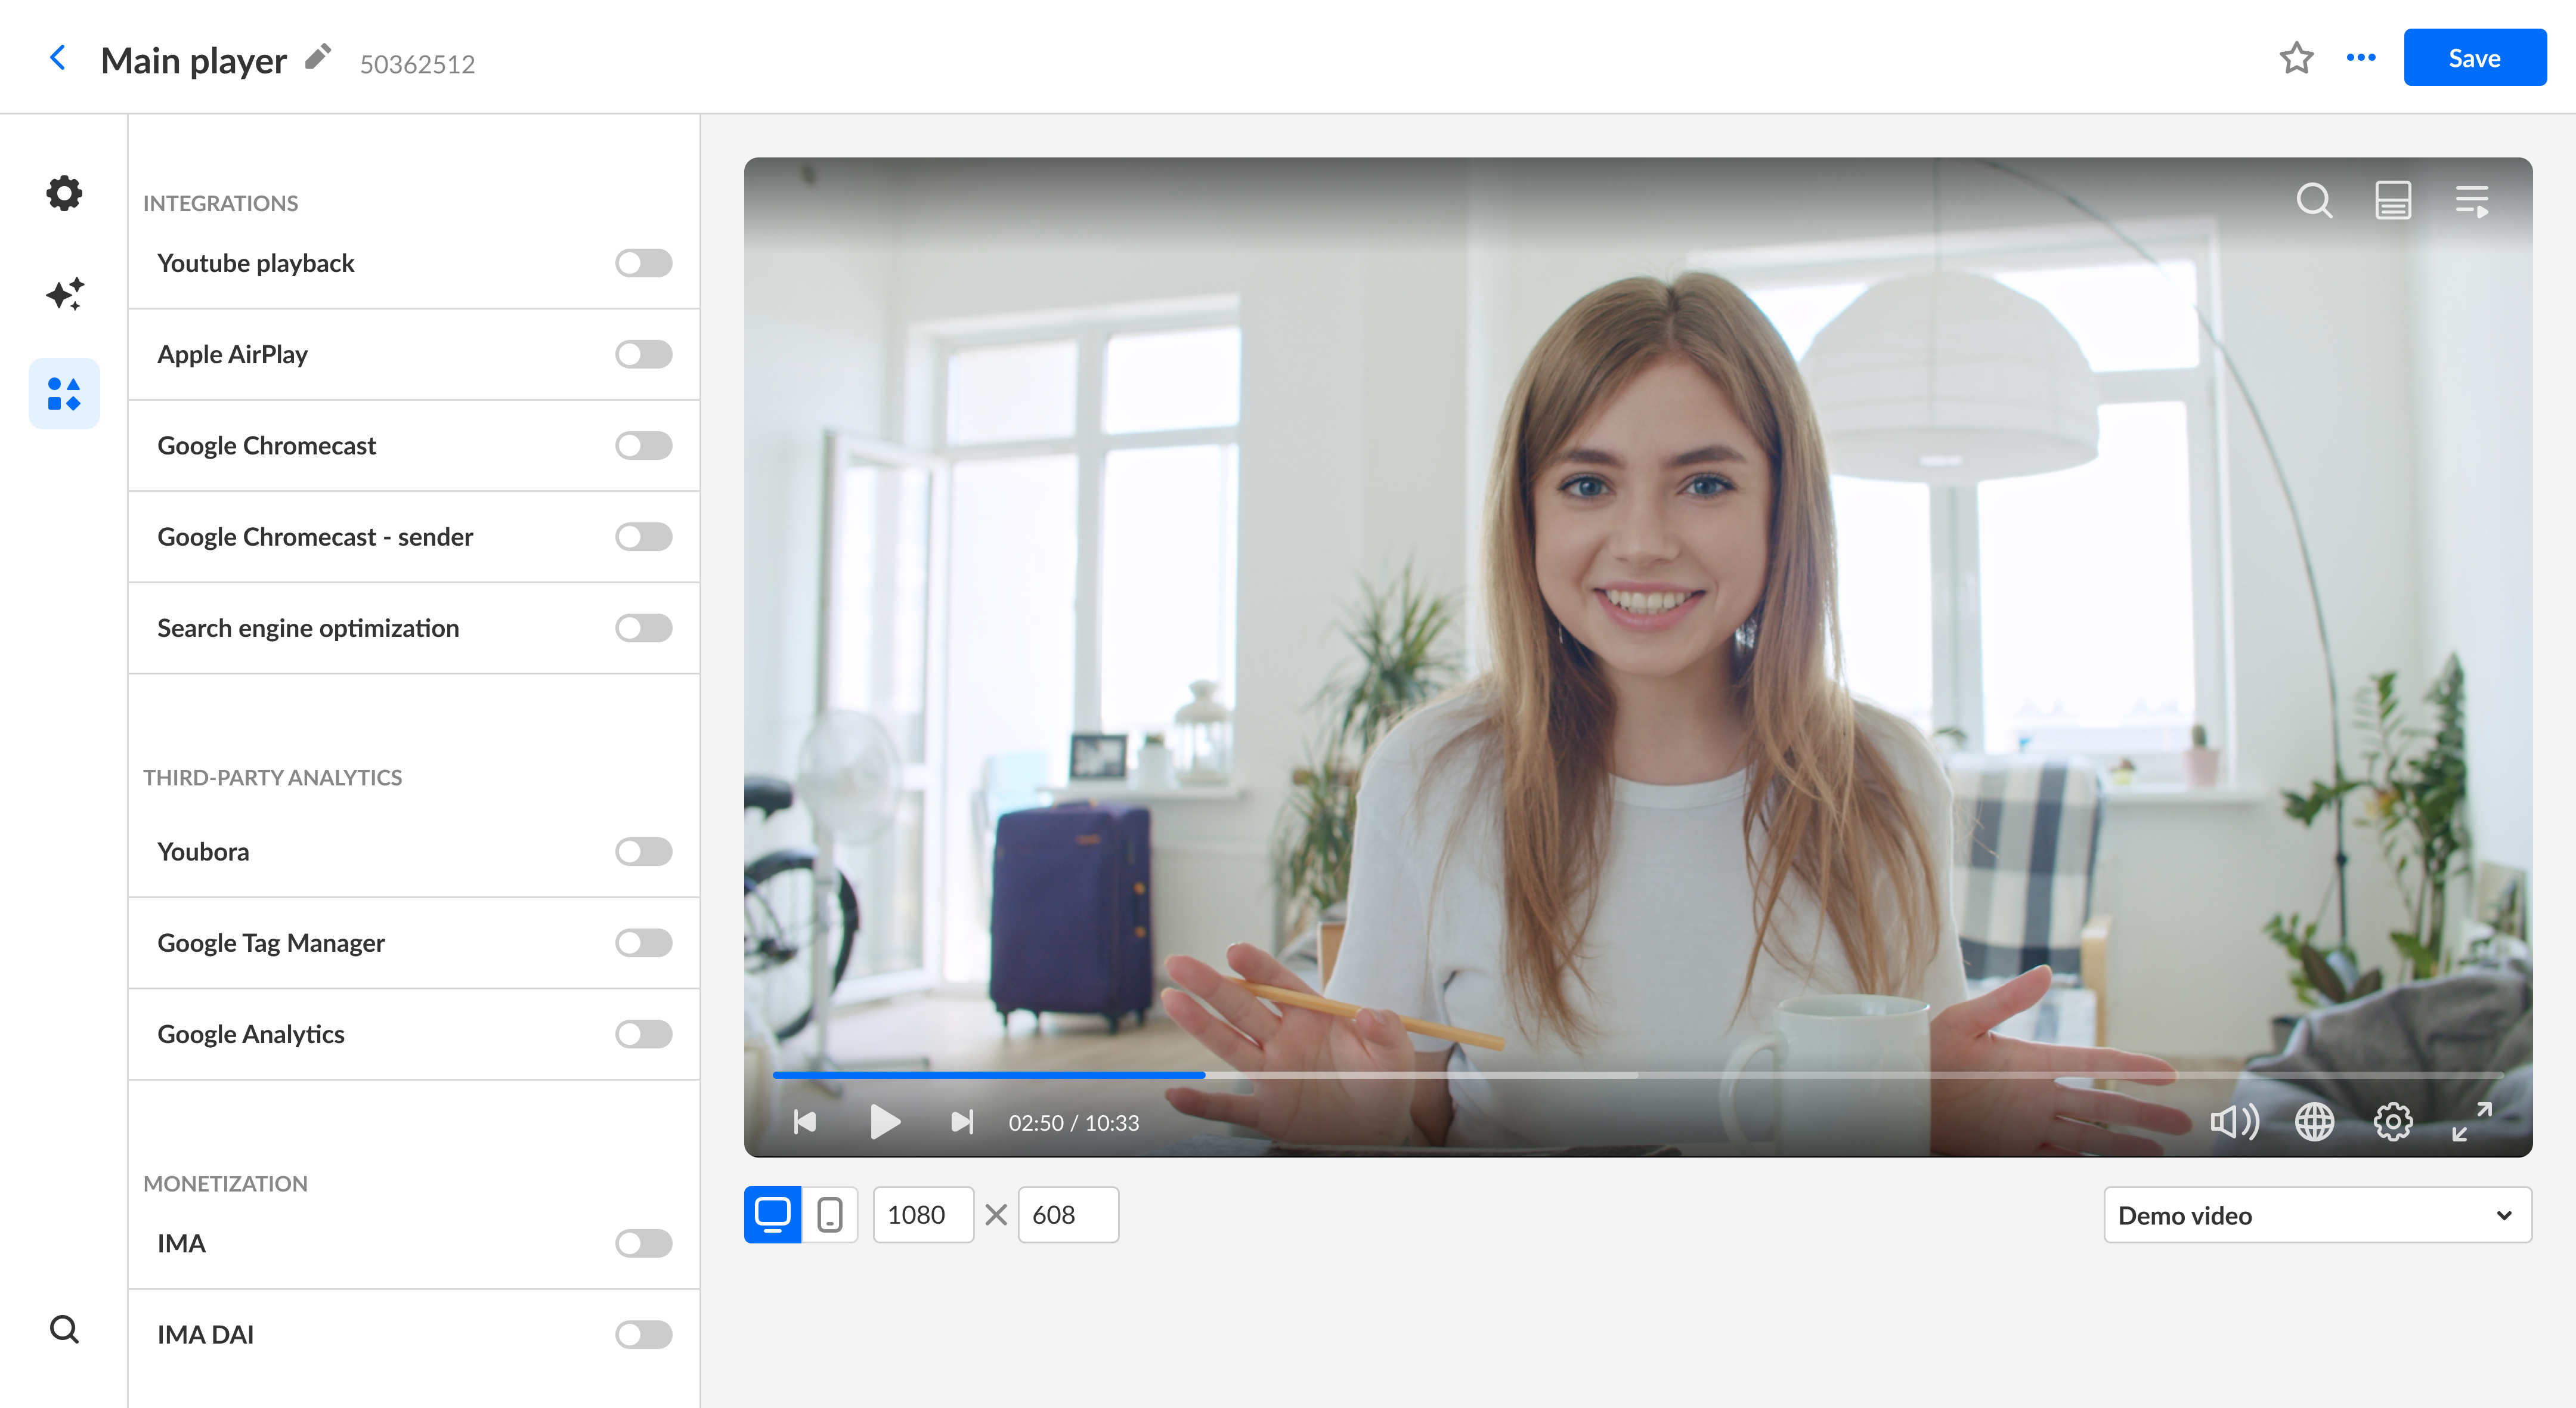
Integrations
YouTube playback
Select whether the player will support playing YouTube ingested content from the platform.
AirPlay
To enable casting capabilities from iOS devices using the Apple AirPlay protocol, enable AirPlay.
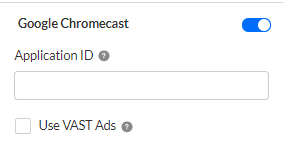
Google Chromecast (Sender)
- Choose whether to define this player as a sender. If you do, additional options display.
- In the Application ID field, enter the Google Application ID of the receiver that will be receiving the cast content.
- By default, the receiver application uses VMAP ads. If you wish to use VAST ads instead, select the Use VAST Ads checkbox.
Google Chromecast - Receiver
A user can stream video content using a Sender and play it on (or cast it to) another device known as a Receiver, while controlling playback using the Sender. The V7 player can be either a Sender or a Receiver.
Choose whether to define this player as a receiver. When you enable this option, this means that the current player is defined as a receiver type and should only be used in the receiver application. Currently, all receiver configurations are handled through the customer receiver application.
Search Engine Optimization
The Search Engine Optimization (SEO) plugin makes life easier for search engines, helping them understand your video's key elements. By embedding the video's metadata into the hosting webpage code, your video will be indexed better and ranked higher in search results.
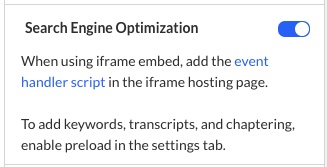
When using an iframe embed, the event handler script must be included in the iframe hosting page.
Third-party analytics
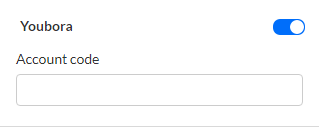
Youbora
- Choose whether to utilize Youbora. Youbora is a powerful intelligence analytics and optimization platform that delivers online TV-quality video experiences. If you choose to enable Youbora, an additional option displays.
- In the Account code field, type your Youbora account ID.
Google Tag Manager
Choose to enable Google Tag Manager if you are managing several tags from your Google Tag Manager web interface.
If you enable Google Tag Manager, additional options display.
- Enable the toggle button.
- In the Container id field, type the container ID that is displayed on your Admin tab in your Google Tag Manager dashboard (formatted as GTM-XXXXXX).
To learn how to find your container ID, formatted as "GTM-XXXXX, visit https://tagmanager.google.com/. - In the Track Player Custom Events, type a comma-delimited list of events to be tracked. Use custom events to select specific events for tracking out of the full list here.
- In Track All Core Events, choose whether to automatically register the player to trigger all Core Events (including Ads Events).
- In Track All UI Events, choose whether to automatically register the player to trigger all UI Events.
- In Track All Playlist Events, choose whether to automatically register the player to trigger all Playlist Events.
- In Track All Core Cast Events, choose whether to automatically register the player to trigger all Cast Events.
- Save
The following example demonstrates tracking all core, playlist, and cast player events as well as two custom events 'playkit-ui-userclickedmute', 'playkit-ui-userchangedvolume' taken from the UI events (replace {namespace} with playkit-ui in the prefix of the event name). Use without spaces in between.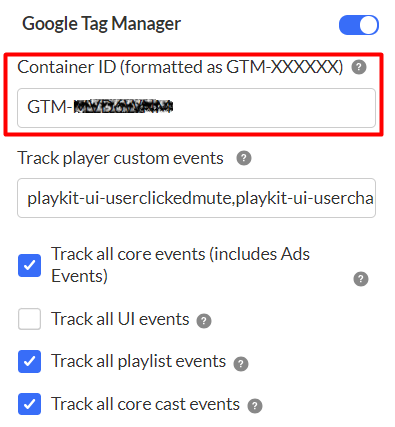

Google Tag Manager is currently unsupported in iframe embeds.
Google analytics
Choose whether to utilize Google Analytics and send player analytics to Google. If you choose to enable Google Analytics, additional options display.
- Enable the toggle button.
- In the Universal Analytics Account ID field, type the universal analytics account ID.
- In the Google Analytics 4 data stream ID field, type the Google Analytics 4 data stream ID.
To learn how to find your GA4 data stream ID, visit https://support.google.com/analytics/answer/9539598?hl=en.
The following graphics demonstrate GA4 implementation: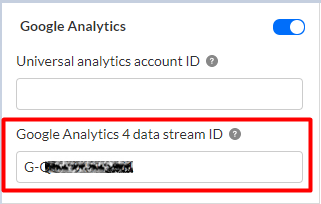
- Save
- All events should log automatically, it may take 24 hours before you can see them.
To view the player events in the GA4 Events dashboard all events must be enabled in the GA4 property.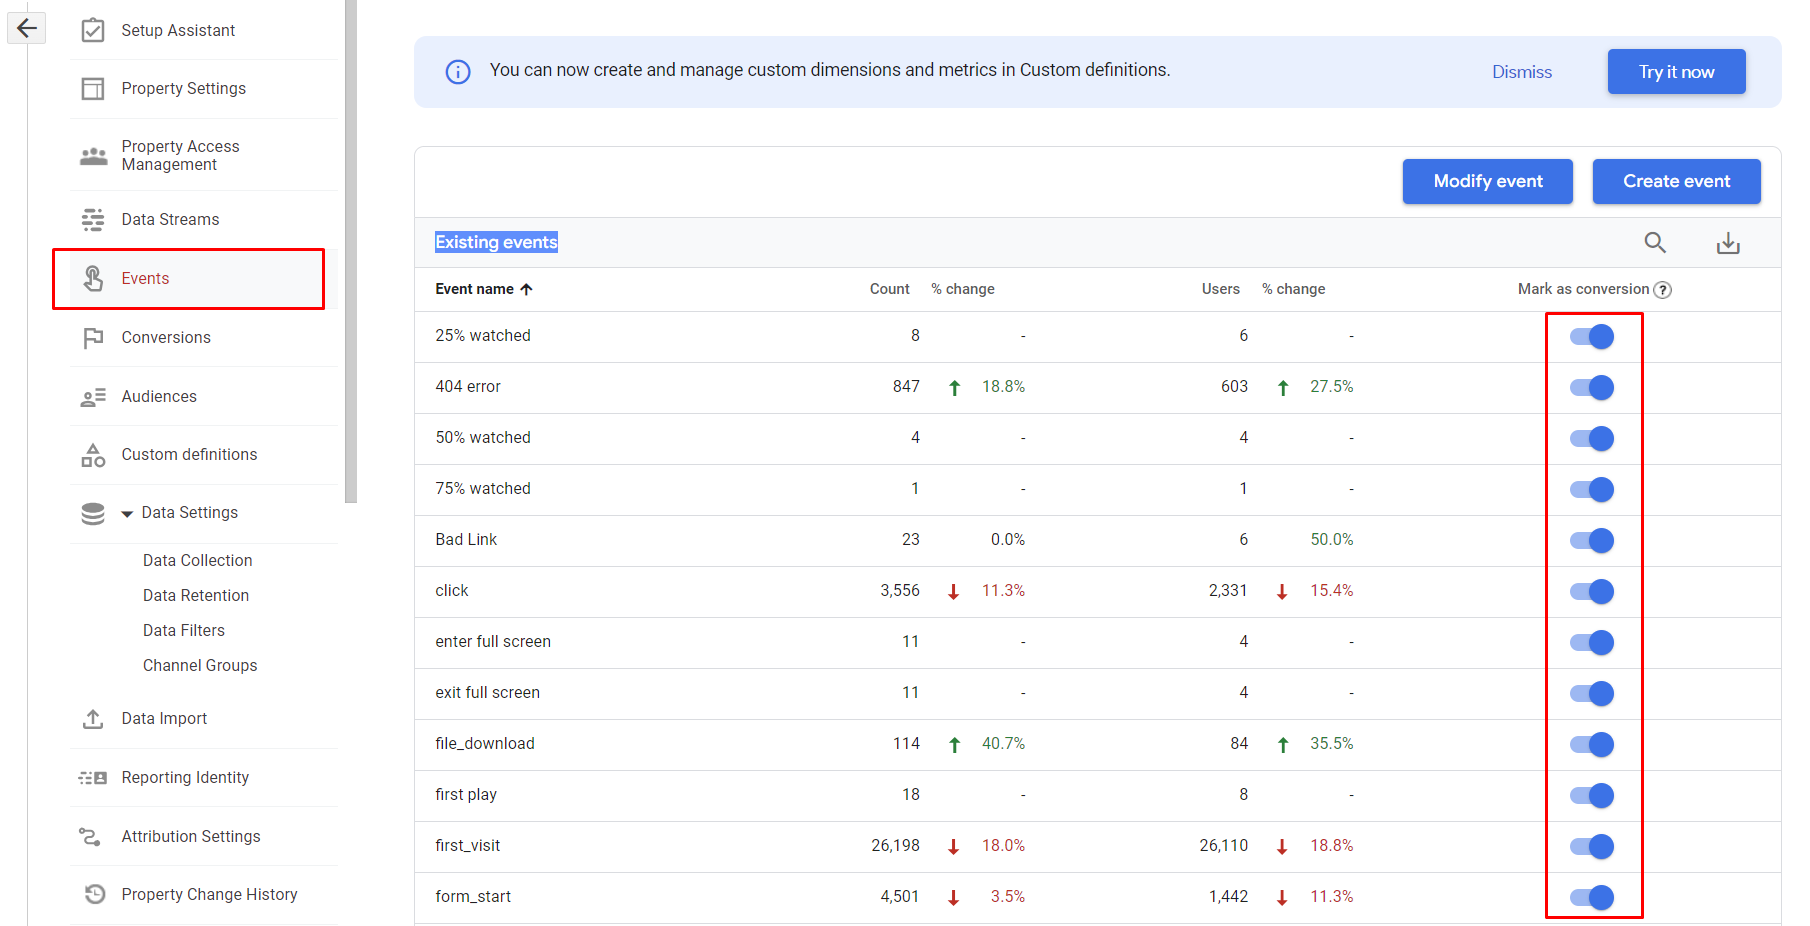 GA4 Events property setup
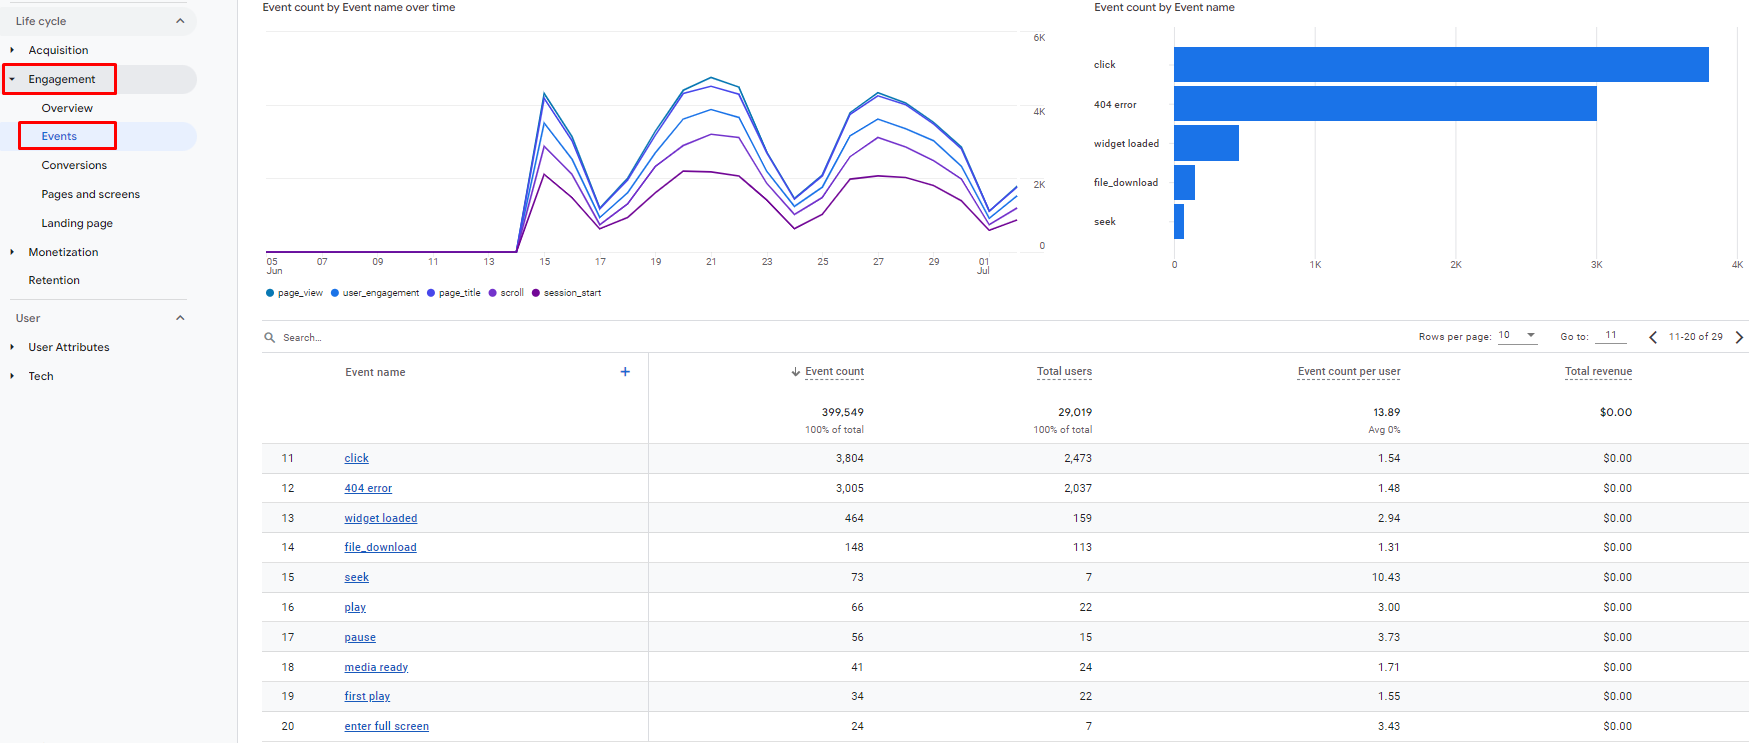 Example of the GA4 Events report


Monetization
Advertisements acquired through the IMA Plugin are client-side ads. These are obtained from an ad server, then incorporated into playback by the player.
The main characteristics of these ads are:
- Ads may be skippable.
- Ads may be clickable.
- Ads may be either linear (the ad break is inserted into playback), or non-linear (the ad is shown over or beside the playing content).
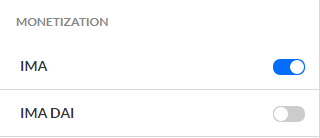
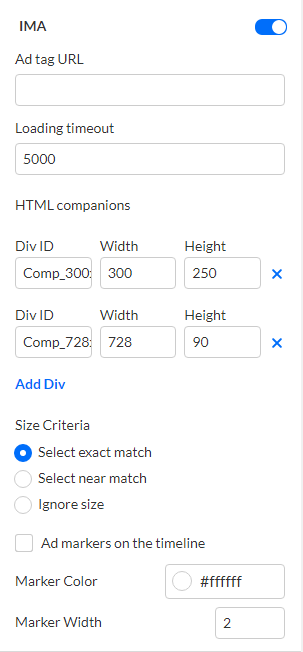
IMA
- Choose whether to utilize IMA. The Google SDK for HTML5 V3 allows developers to request and track VAST ads in a HTML5 video environment. If you choose to enable IMA, additional options display.
- In the Ad tag URL, type a URL for the advertising tag.
- In the Loading Timeout field, type the timeout for loading ads (in milliseconds). If an ad cannot be loaded within this timeframe, the video will be loaded automatically.
- In HTML Companions, for each companion ad, specify the container Div ID and expected ad width/height.
Click [X] to delete a Div ID; click [add] to add a Div ID. - In Size Criteria, select the size criteria to apply to ads - Select Exact Match, Select Near Match, or Ignore Size.
- Select Exact Match (default) – Only companion that match the size of the companion ad slot exactly will be selected.
- Select Near Match – Any companion that is close to the size of the companion ad slot can be selected.
- Ignore Size – Size can be ignored when selecting companions.
- In ad markers on the timeline, choose whether to place markers on the timeline indicating advertisement cues.
- In the Marker Color field, choose or type the RGB color of the marker.
- In the Marker Width field, type the width of the marker in pixels.
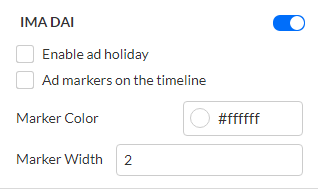
IMA DAI
- Choose whether to utilize IMA DAI. The Google IMA DAI SDK for HTML5 allows developers to make a stream request for ad and content video and get the combined (stitched) video stream in an HTML5 video environment. If you choose to enable IMA DAI, additional options display.
- In Enable ad holiday, choose whether viewers will be shown an ad immediately after they have just watched a pre-roll ad. Please note that the duration must be set in Google Ad Manager.
- In Ad markers on the timeline, choose whether markers will be placed on the timeline indicating advertisement cues.
- In the Marker Color field choose or type the RGB color of the marker.
- In the Marker Width field, type the width of the marker in pixels.
You may use Ad Tag Suite Inspector to double check your ad tag. For more advanced settings, see IMA Config Object.
See our article Share and embed media for instructions on embedding the player.
