About
Kaltura Express Capture lets you record content directly from your browser - no extra software needed. It’s available on all legacy Video Portal and LMS Video instances and provides quick access to your webcam recorder with a single red button.
These instructions are for Theming users. If you don't have Theming enabled on your account, please see our article Express Capture.
Before you start
- Make sure your browser supports WebRTC. For details, see the Express Capture supported browsers & devices guide.
- Express Capture is not supported on mobile iOS devices, and you may see an error after recording or be unable to save your video. For best results, use Express Capture on a desktop browser that meets the supported browser and device requirements.
- Your site must be configured to use HTTPS - Express Capture does not work over HTTP.
- The Recorder module to be enabled in your Configuration Management console. Once enabled and saved, a V7 player is automatically created.
Create a recording
From the + Create drop-down menu, select Express Capture.

The record media page displays.

Check your settings
The default camera and audio settings are your personal computer's webcam and audio device.
Camera
- Click on the arrow next to the camera to display the available cameras and the on/off toggle for the camera.
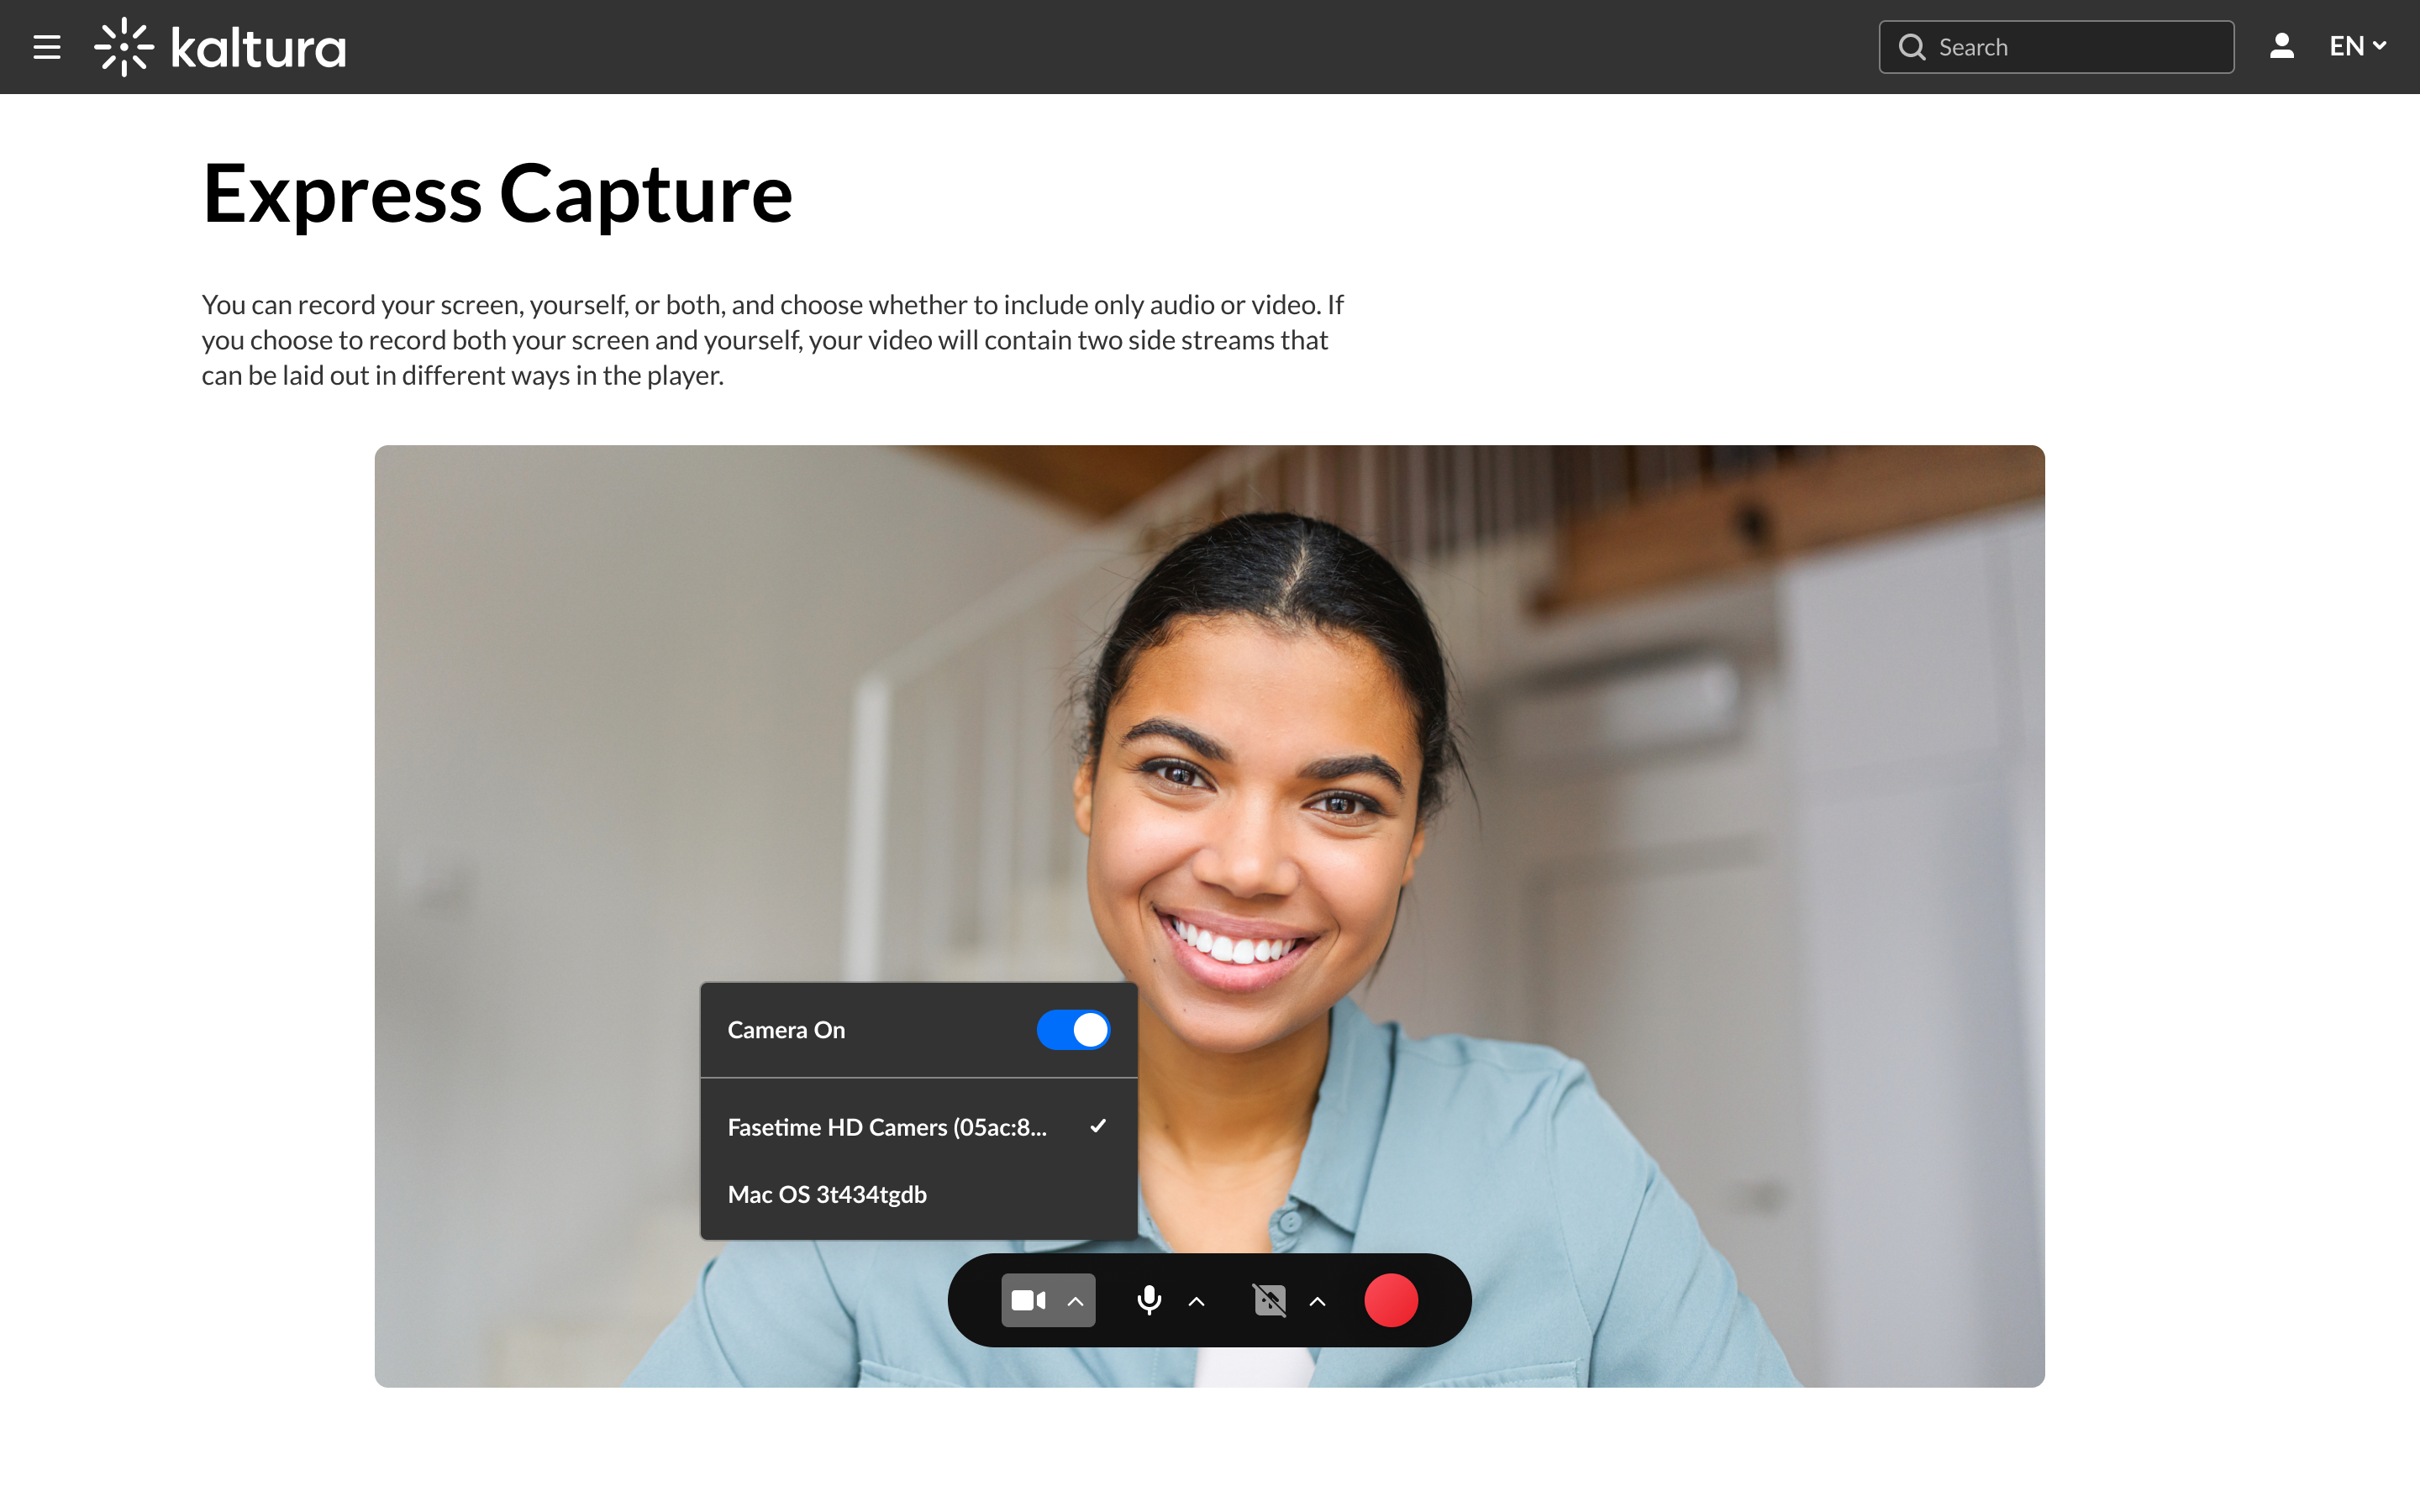
- Select the camera type, or toggle off the camera if you don't want to record yourself.

Audio
- Click on the arrow next to the microphone icon to display the available microphones and the on/off toggle to record audio.
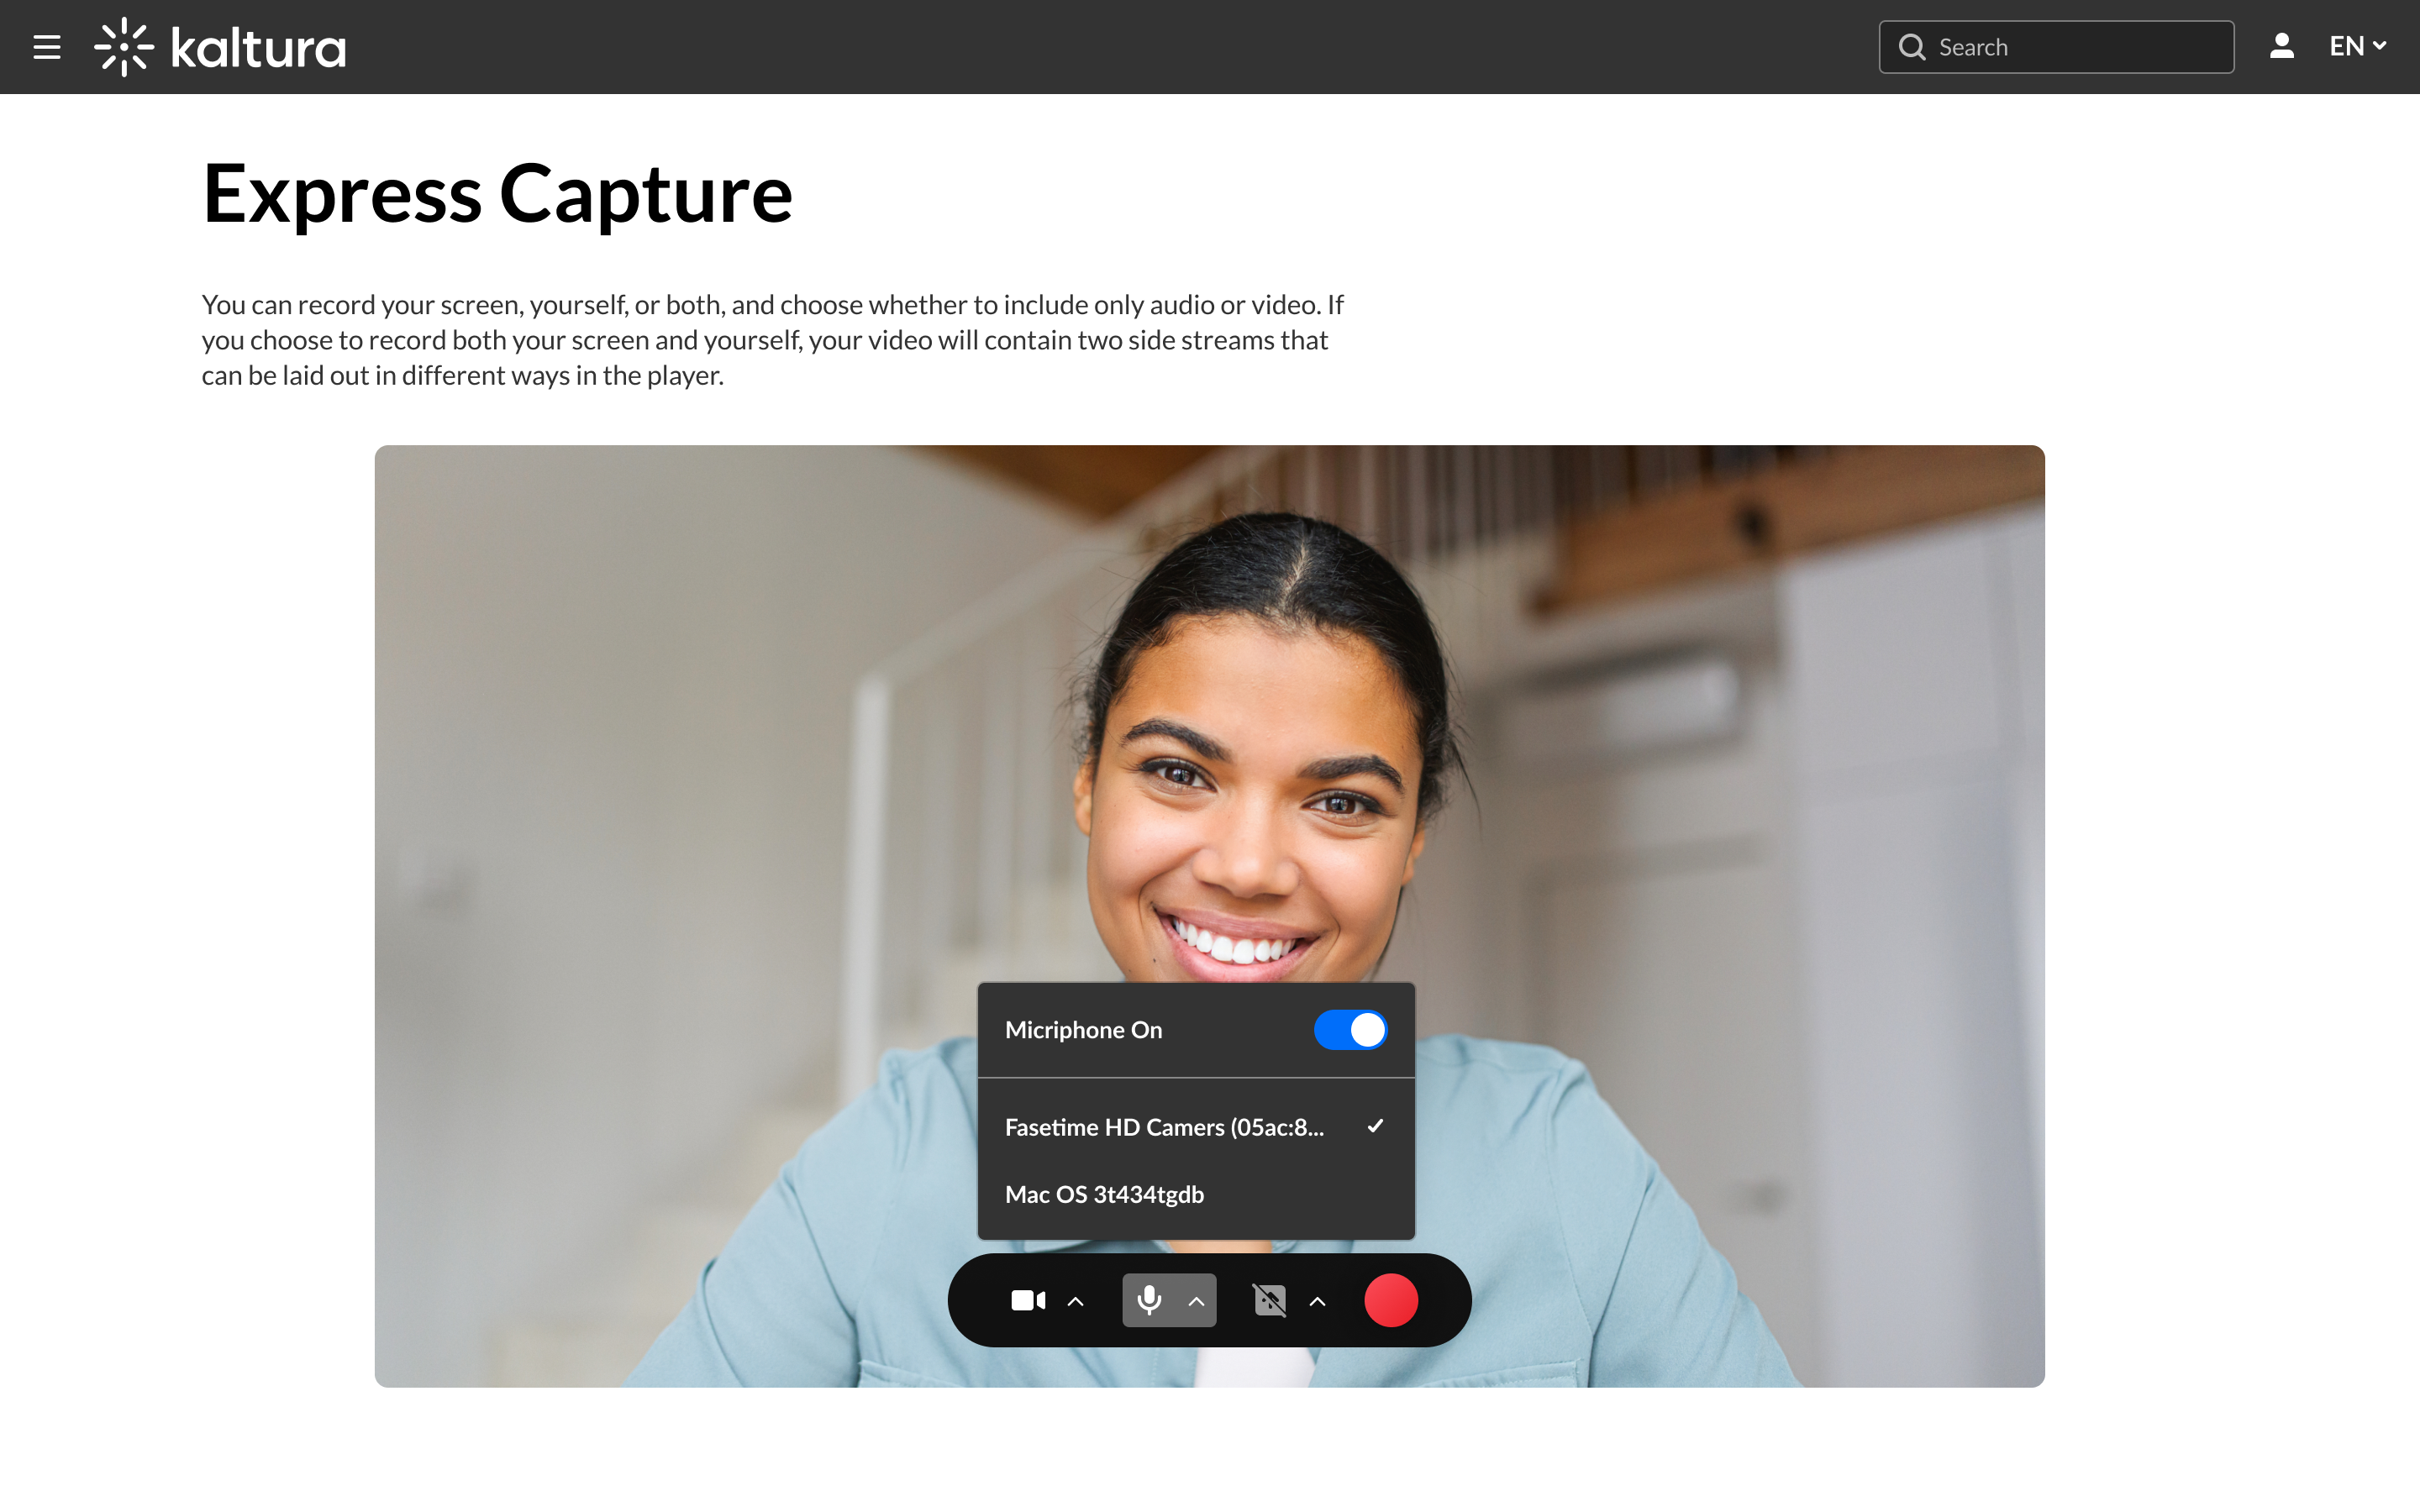
- Toggle the audio off if you want to create a visual-only recording.
The audio indicator displays on the top left of the screen if you're recording audio only.


Screen
- Click on the arrow next to the screen icon to display the on/off toggle for the screen share.

- Toggle on (blue = on) to open the screen share window.
- Choose the browser tab, window or entire screen you want to share.

- Click Share.
When you share a tab, a notification displays at the top of your browser.
When you share a window or screen, the following notification displays at the bottom of your screen.
- Click Stop sharing to stop the screen share.


Start recording
- Click the red button to begin your recording.
A three second countdown displays on the screen.
A timer displays next to the Stop button as the recording is in progress.
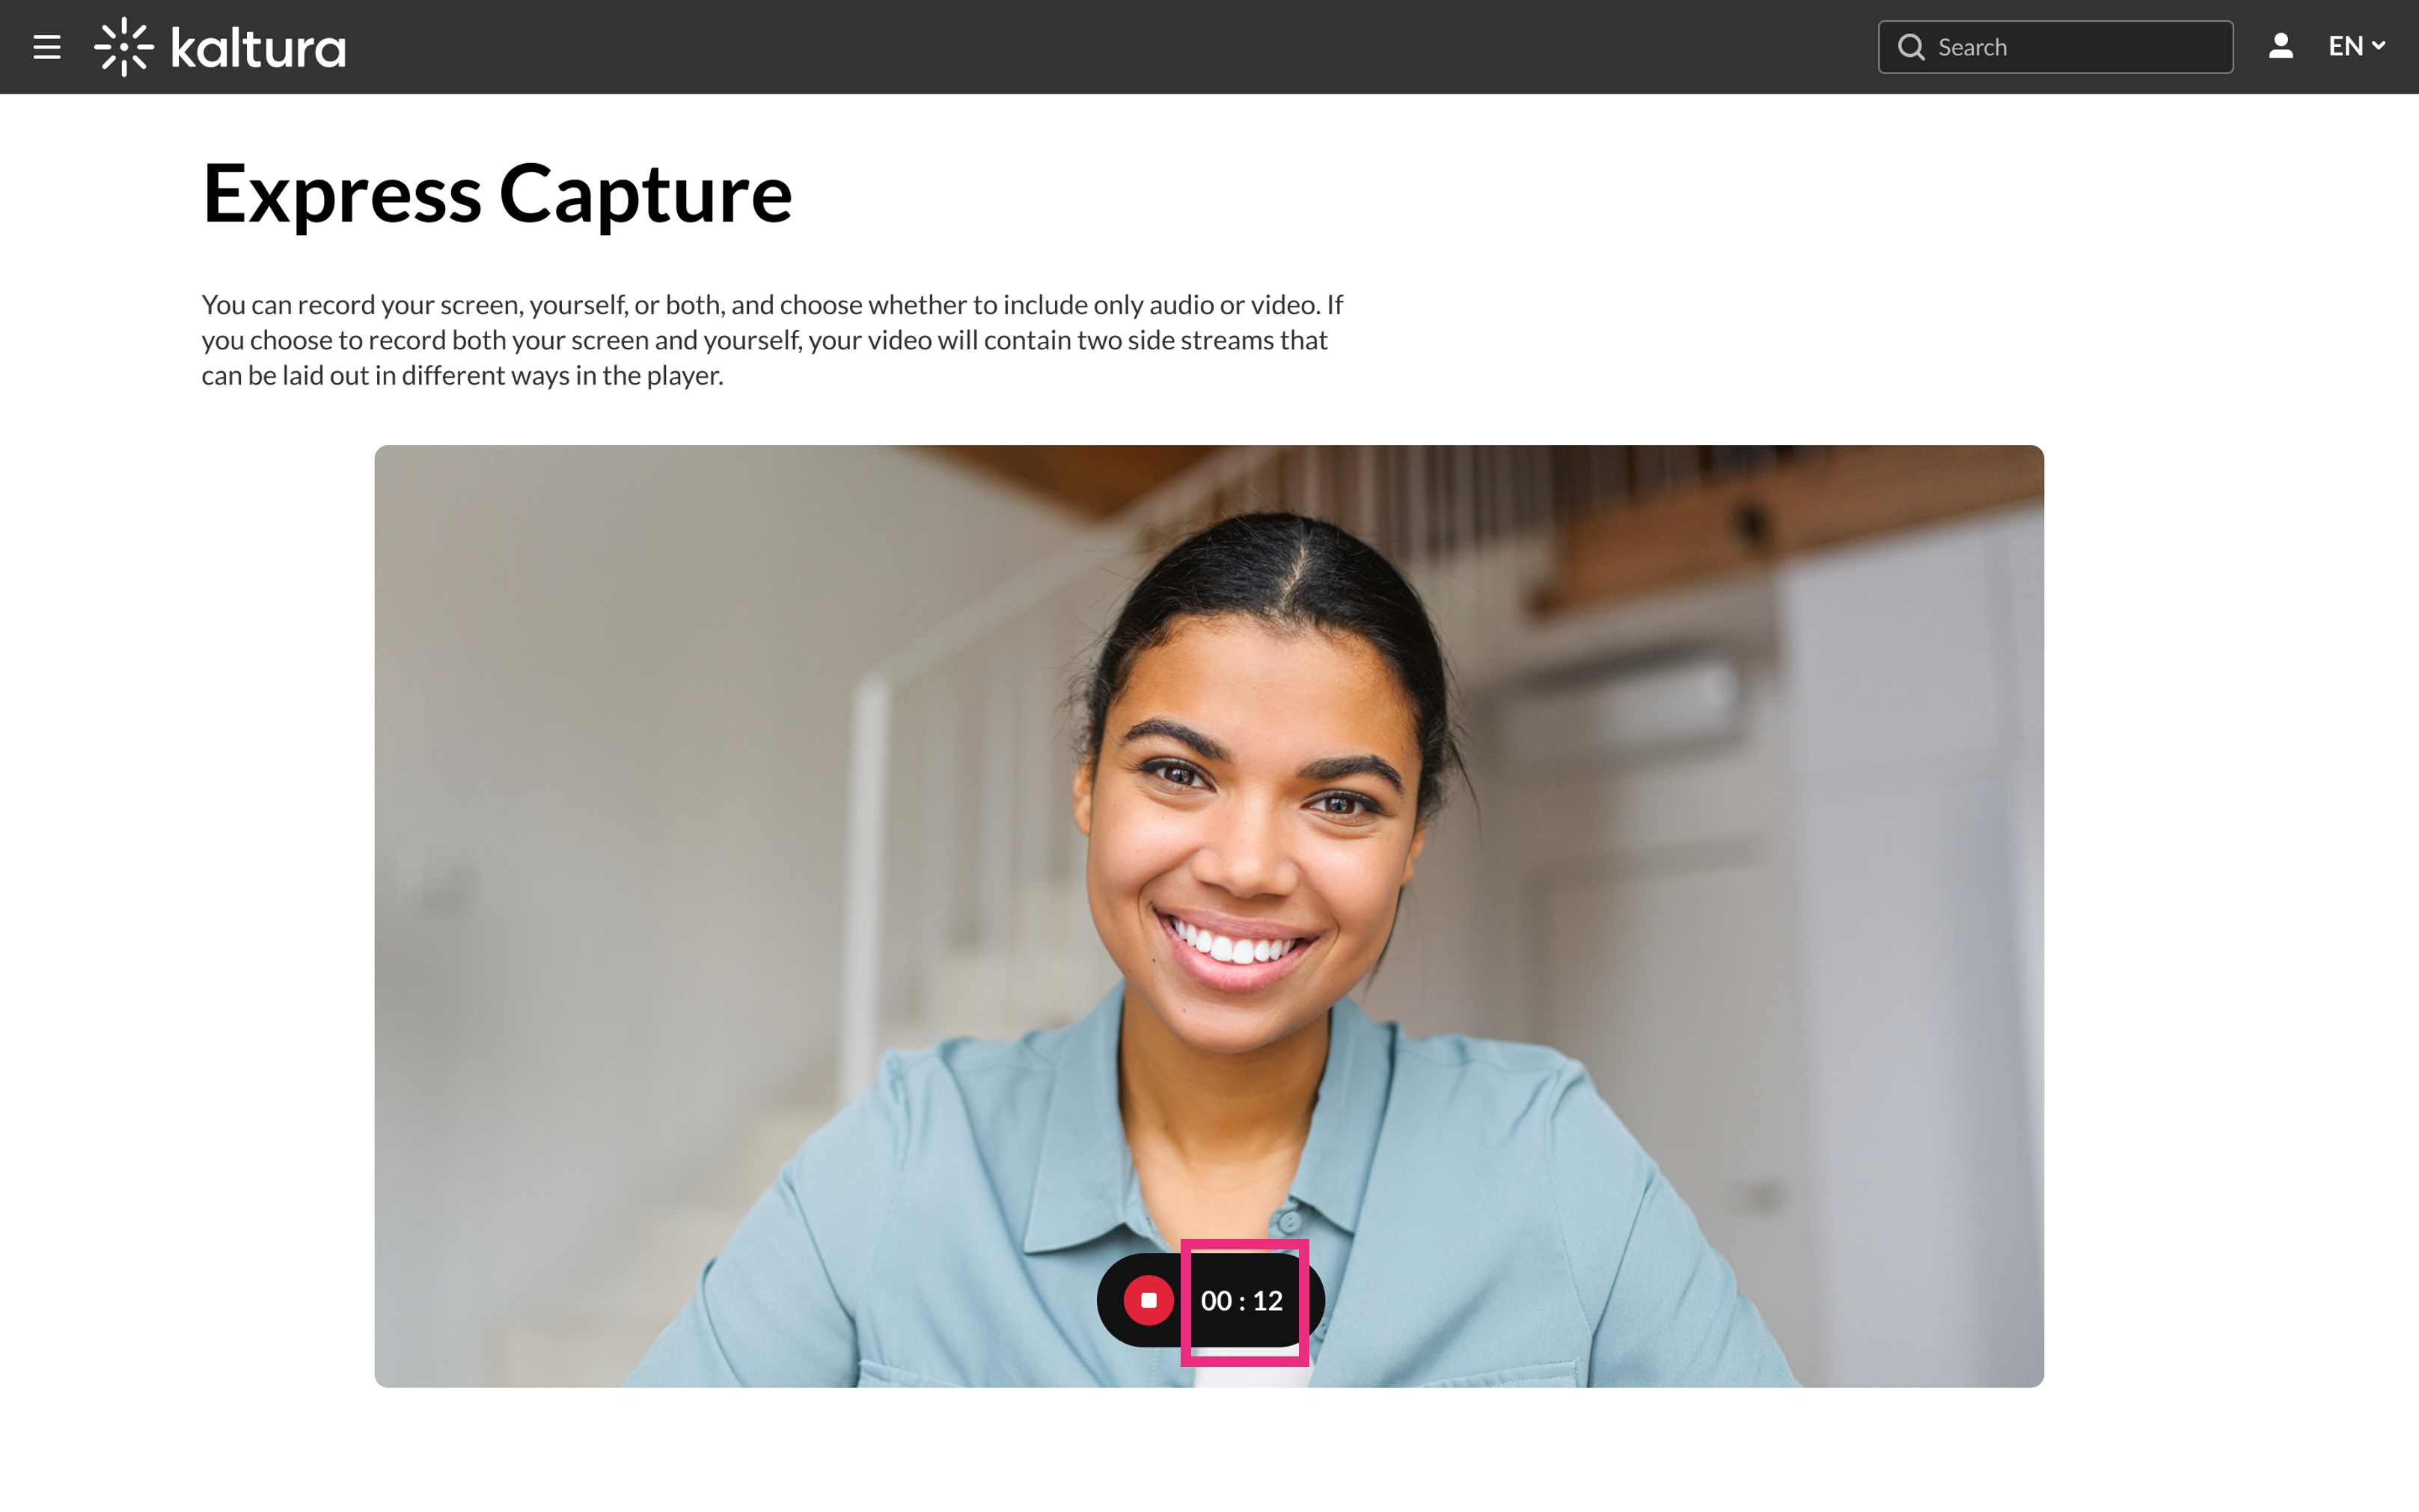
- Click the red stop button to end your recording.
A confirmation window appears with options to record again, download a copy, or save the recording by clicking 'Use this'.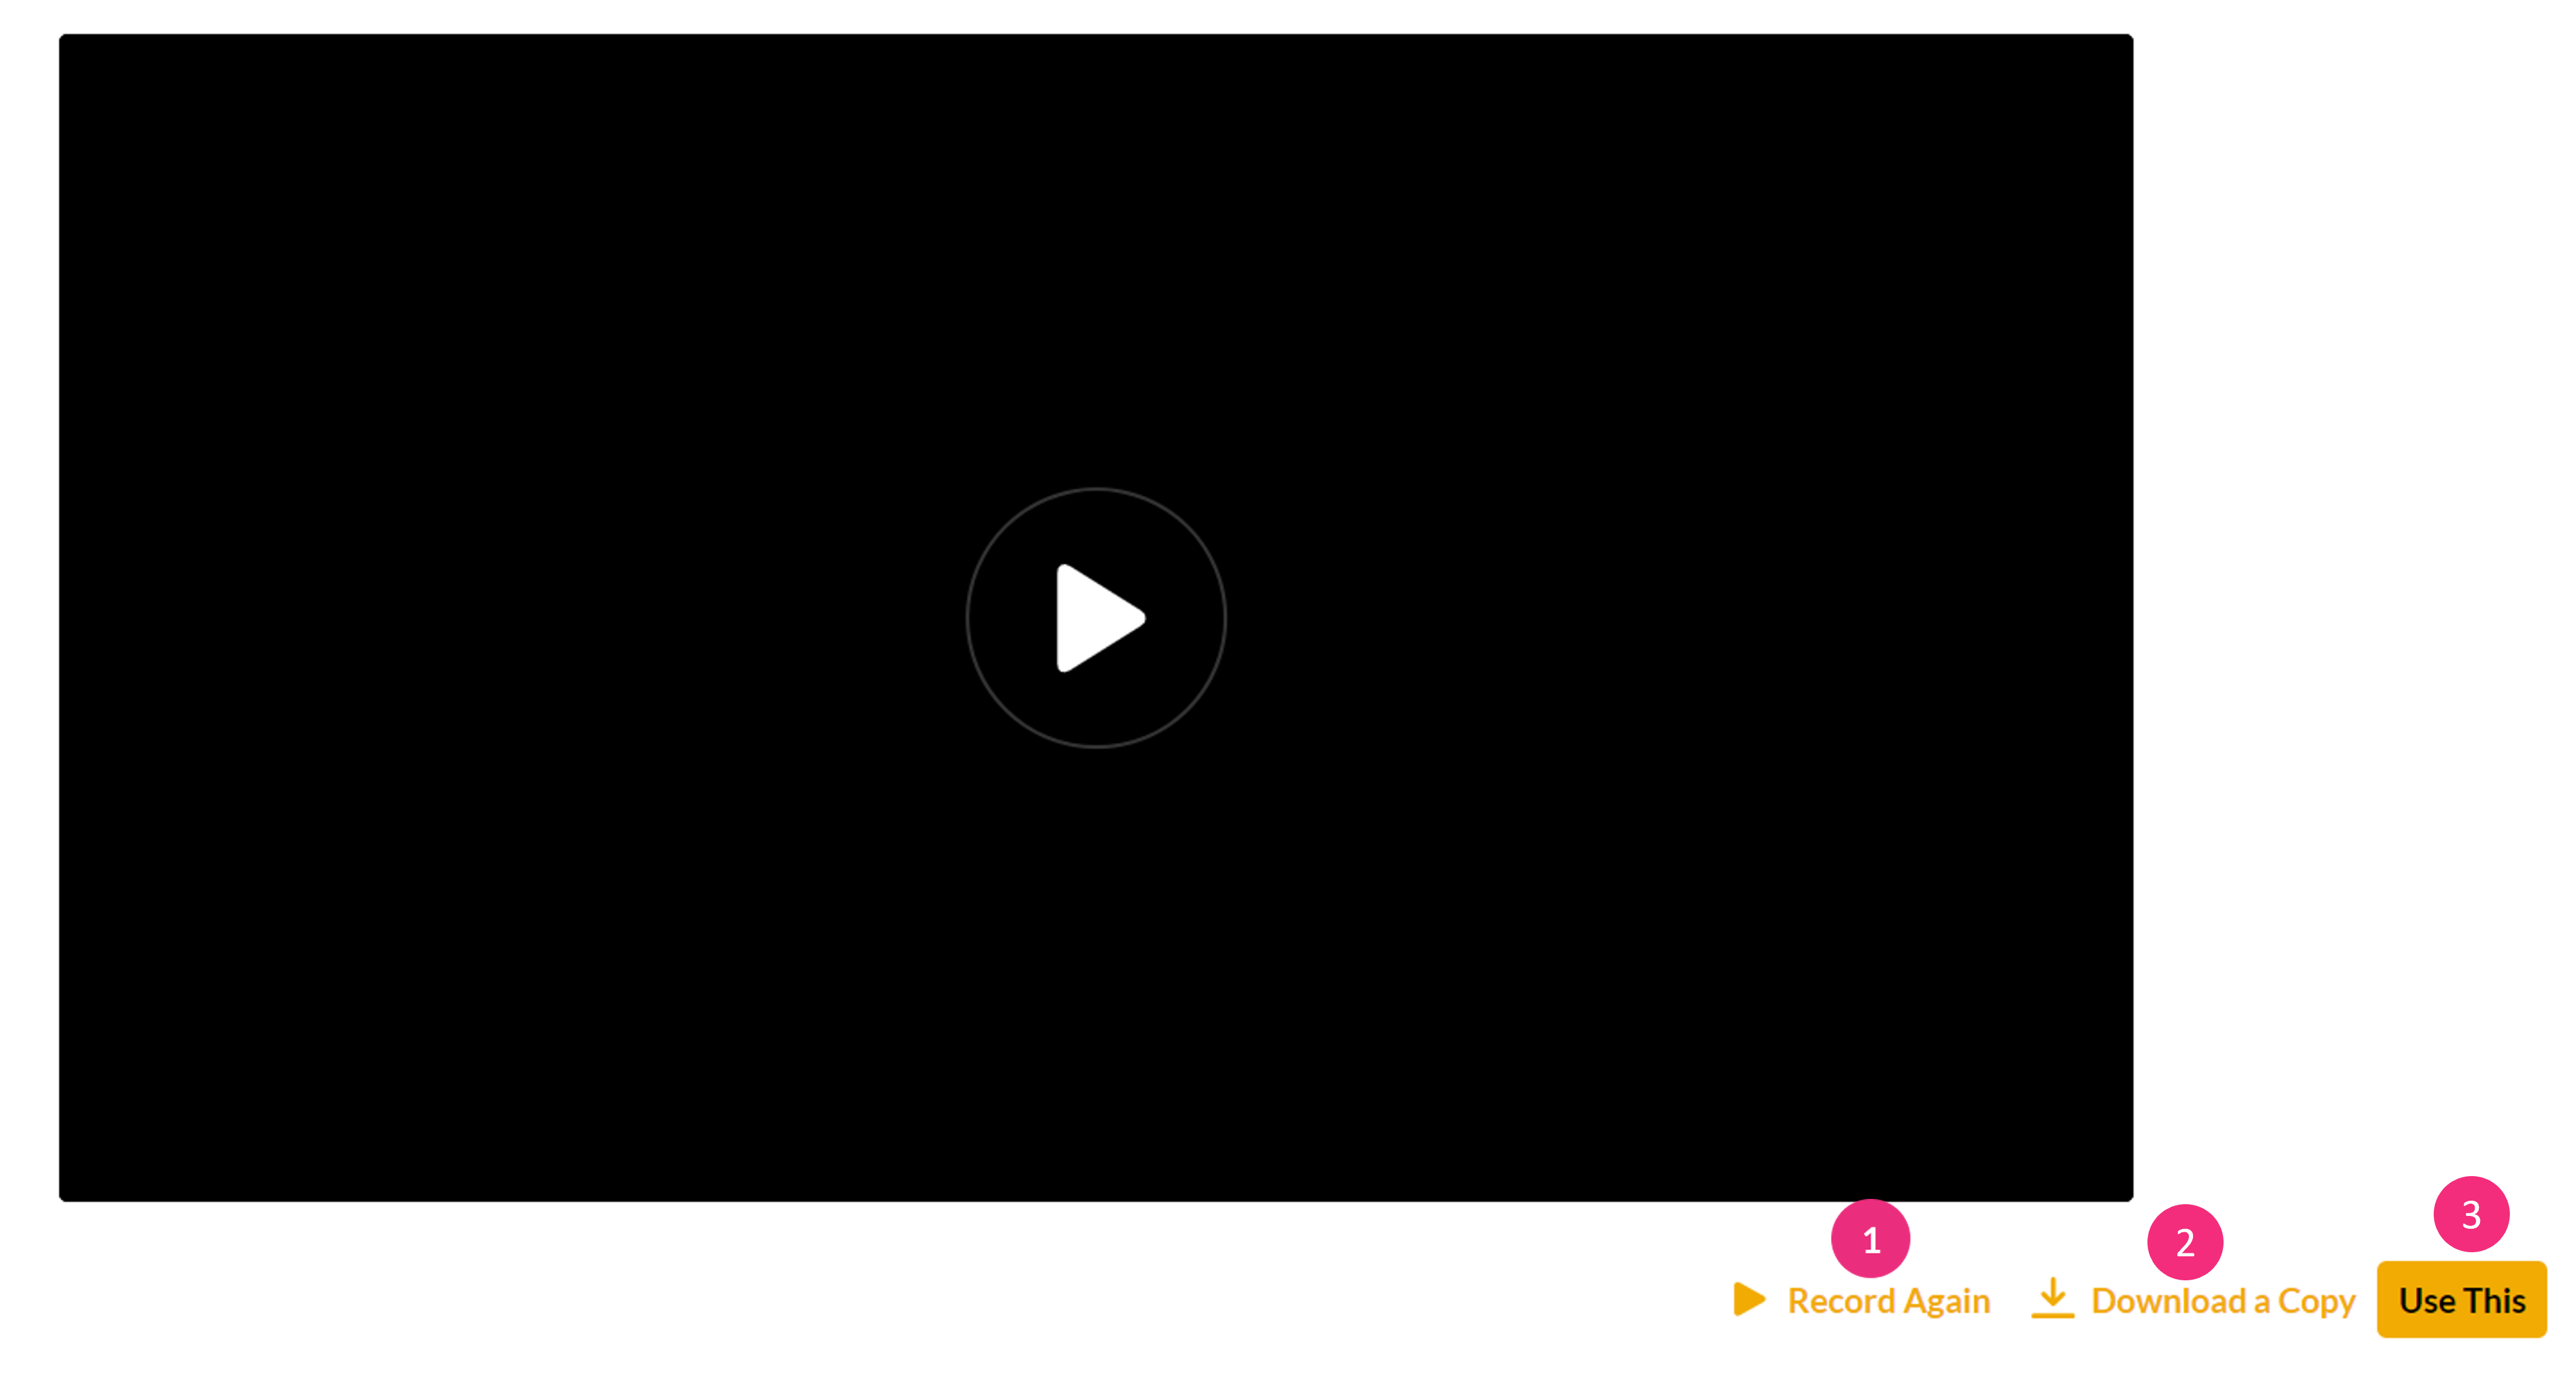 Click the play button in the middle of the screen to preview the recording. If there's no audio, test your computer's speakers by watching a YouTube video or adjusting the volume in the control panel. If the webcam isn't showing, make sure it's turned on. For built-in laptop cameras, ensure the screen is open and the camera is enabled.
- If you'd like to discard the recording and do a new one, click Record Again (1). You'll be reverted to the main screen where you can click the red button to record again.


If there are issues with inputs, check out our article Input settings.
Save your recording
When you're satisfied with your recording (after as many retakes as needed), you can download the recording straight to your computer by clicking Download a Copy (2).
Downloading directly to your computer generates a WebM file.
You can also save the recording to your My Media library in the legacy Video Portal as follows:
- Click Use This (3).
The edit media window displays.
The uploaded file receives a default name and is saved automatically. The name is of the following format: “Video Recording - July 23, 2022 7:43pm EST” or “Audio Recording - July 23, 2022 7:43pm EST”.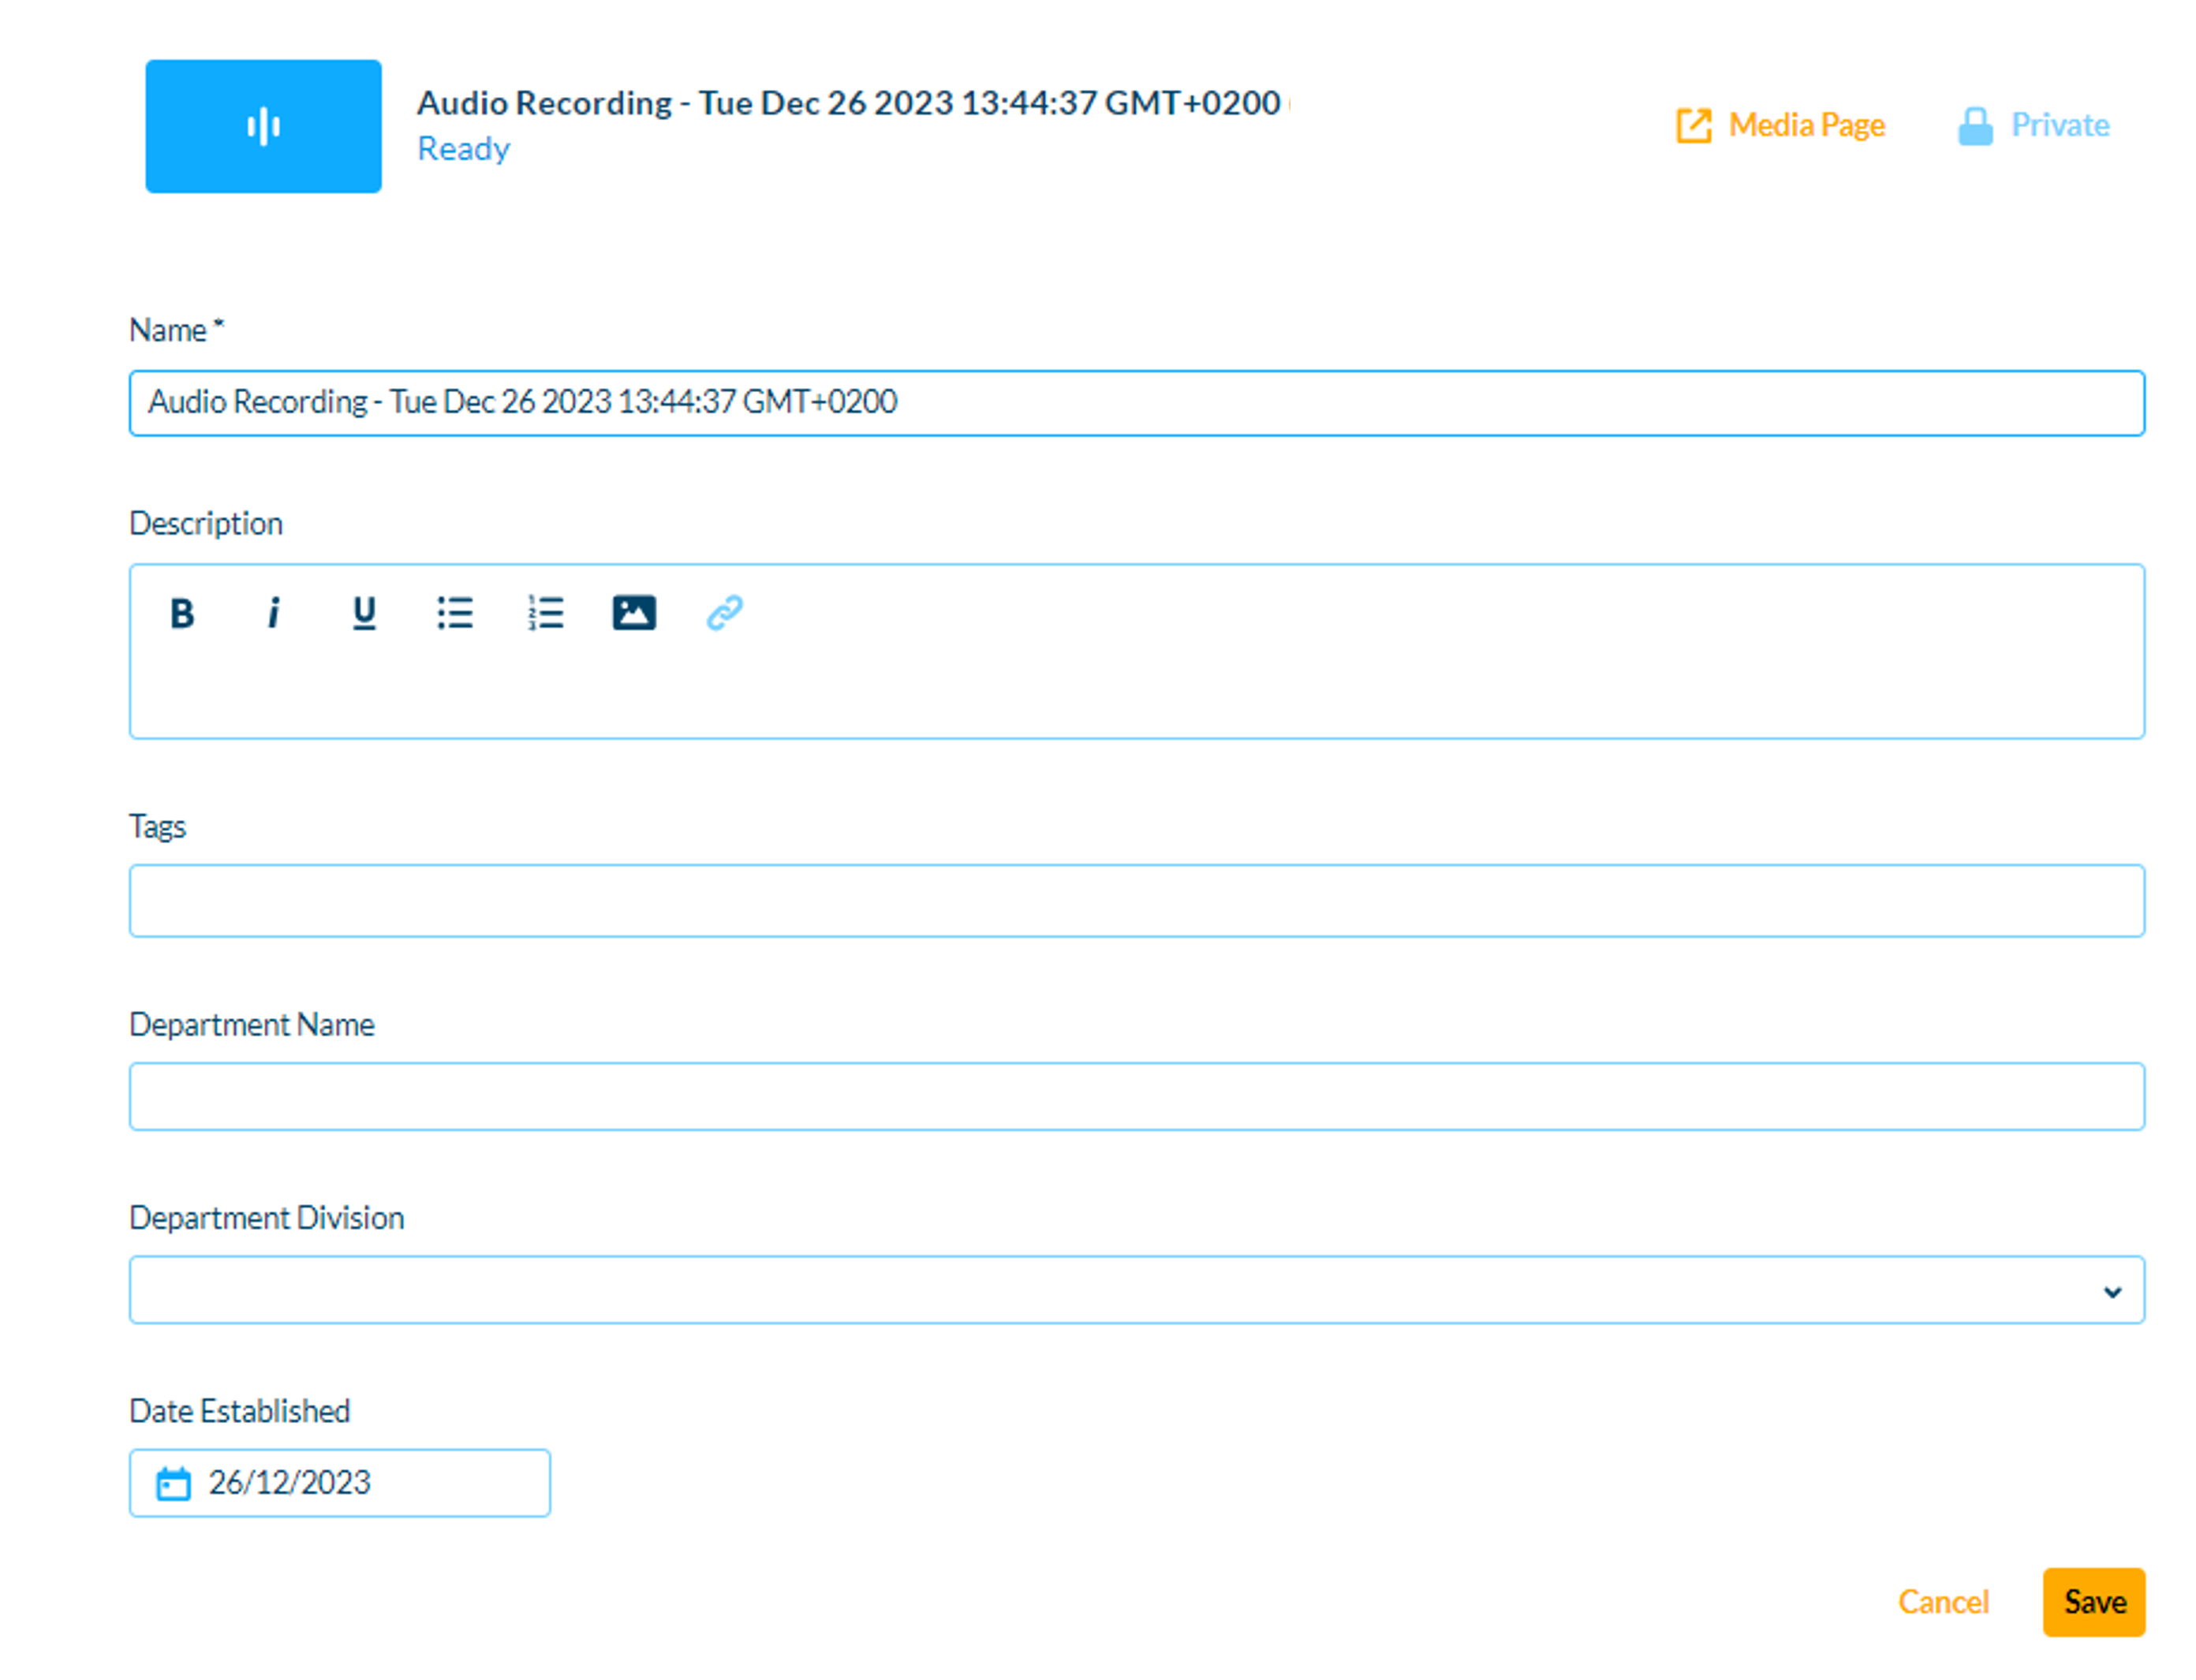
- Enter metadata information for the media: Name, description, tags, department name / division, and date. To learn more about editing your recording details, see our article Edit Media.
- Click Save. (If you click Save before the file is completely uploaded, the media information is saved after the media is uploaded.)

To view the recording, click Media Page at the top of the edit page, or navigate to My Media. For more information about the My Media library, visit our article My Media.
Keyboard shortcuts
- Start Recording/Record Again - Shift+Alt+R || ⌘+Option+R
- Stop Recording - Shift+Alt+S || ⌘+Option+S
- Upload/Use Recording - Shift+Alt+U || ⌘+Option+U
