About
This article explains how to launch Capture, configure your recording sources, create your first recording, and upload it to your site.
Before you begin
- Install Capture. See Install Capture for Windows or Install Capture for macOS.
- Make sure your computer meets the requirements described in Capture prerequisites and system requirements.
Launch Capture
If Theming is enabled
Select Capture from the +Create menu.

If Theming isn't enabled
Select Kaltura Capture from the +Add New menu.

If the Kaltura Capture application is already installed, it will launch automatically on your screen:

When launching the app for the first time, a pop-up message will ask to allow opening the Kaltura Capture application:

To enable automatic launching, check the box next to Always allow {name of site} to open links of this type in the associated app, then click Open Kaltura Capture.
After launching, a Capture icon appears at the bottom of your screen. Click it to open the app and create additional recordings during your session without returning to the Create menu.

You can drag the app to any position on your screen.

The Capture recorder opens with the recording sources you selected. For a description of each control, see Capture recording controls.
Select recording sources
Before you start recording, choose the sources you want to include.
- Screen – Select the screen to record, or click the icon to disable screen recording.
- Camera – Select the camera to record, or click the icon to disable camera recording.
- Audio – Select the microphone or audio input, or click the icon to disable audio recording.
Mac: Capture can't record system audio played by your computer (for example, the sound from a video you’re screen recording).
If you're recording your screen, open the application, browser window, or presentation you want to capture before you begin recording.
For more information about recording sources, see Capture desktop recorder input settings.
Start recording
2. Click the red record button.

To annotate your recording while recording, Screen annotation tools.
Stop recording

The Recording Management window opens.

Save or upload your recording
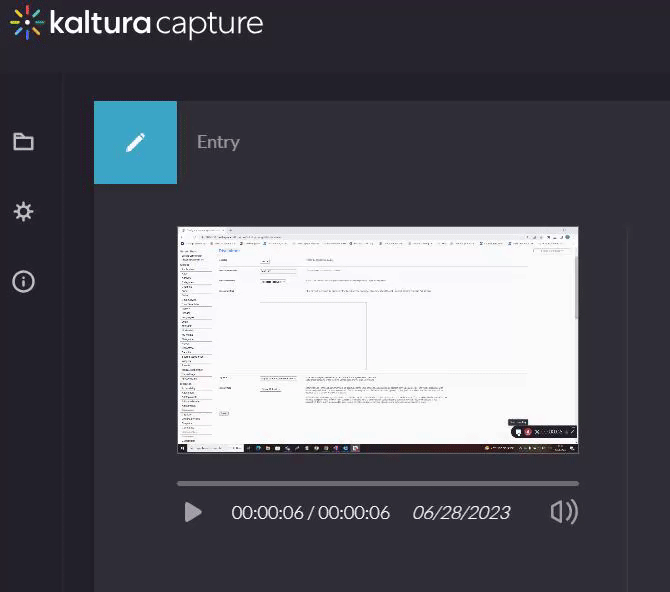
Preview your recording using the thumbnail on the left side of the window.
If you're satisfied with the recording:
- enter a title
- (optional) add a description.
- (optional) add tags.
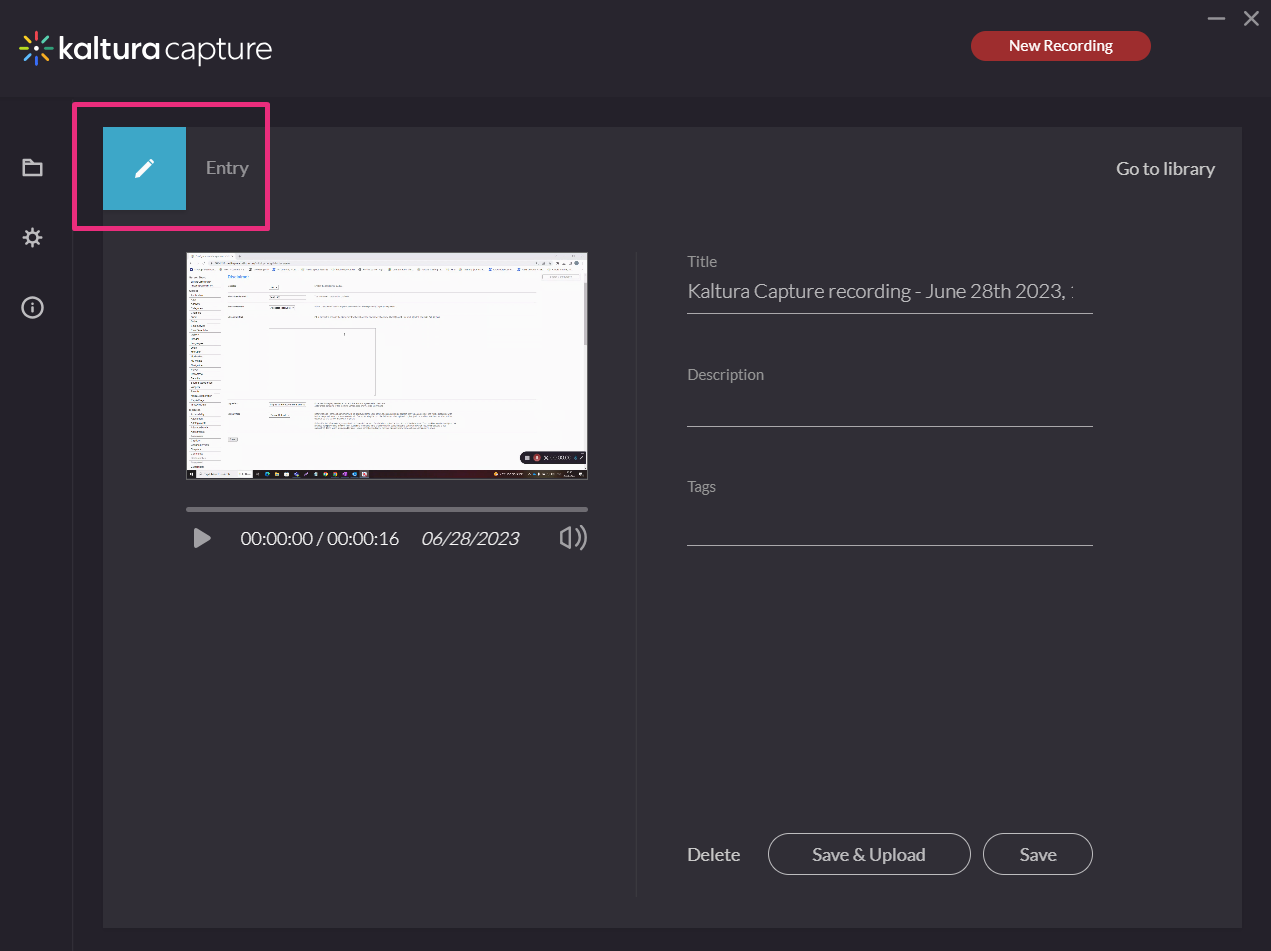
- Save & Upload - Saves the recording and uploads it to My Media immediately.
- Save - Saves the recording locally so you can upload it later.
- Delete - Deletes the recording.

When you select Save & Upload, the recording status changes to Pending while the upload is in progress.

You can close Capture while the upload continues in the background, provided you're still signed in to your computer. Uploading pauses if you sign out.
After the upload is complete, you can open the media entry directly from the Recording Management window.

To learn how to edit your new entry, see Edit content.
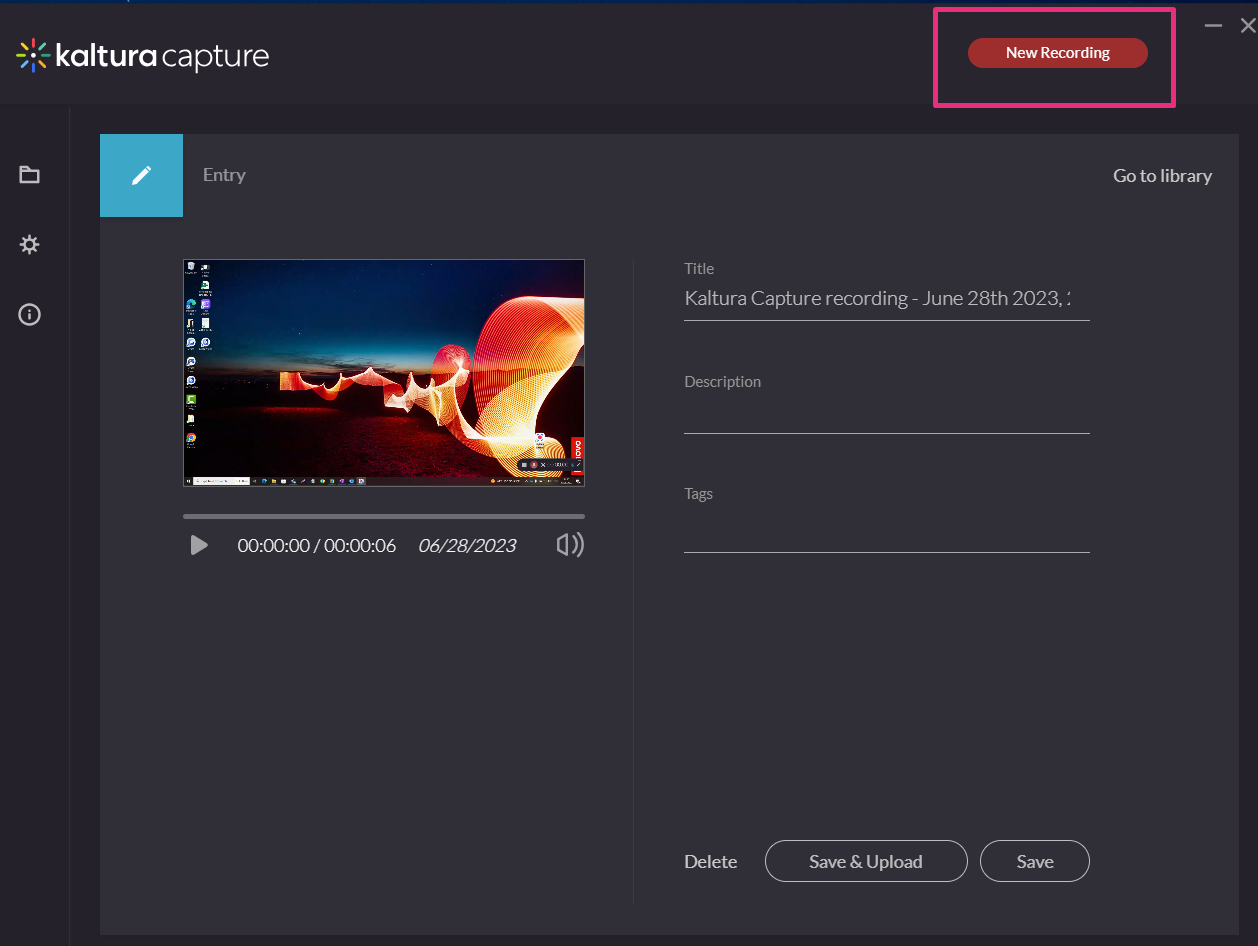
Record another video
Click New Recording at the top right to return to start another recording.
Next steps
After creating your first recording, you can:
