About
This article provides steps to download and install Kaltura Capture for both Windows and Mac OSs.
Getting Started
- Log into your KMS or KAF application.
- Depending on whether V2UI/theming modules are enabled, follow these steps:
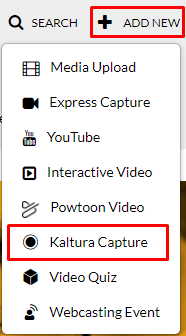
If V2UI is enabled,- Click Kaltura Capture from the Add New menu.
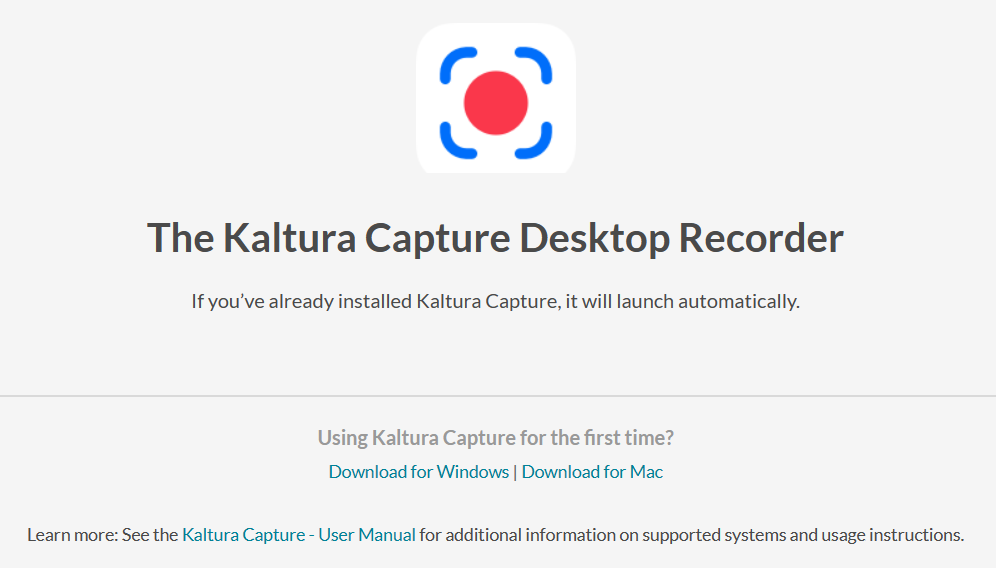
- You are redirected to a download page.
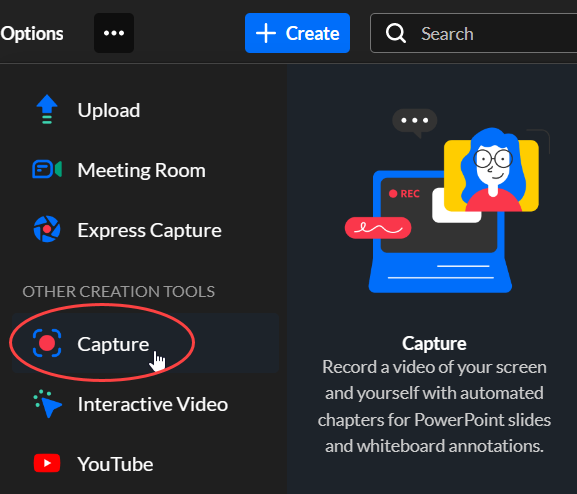
If Theming is enabled, - Click Capture from the +Create menu.
- You are redirected to a download page.
- Click Kaltura Capture from the Add New menu.
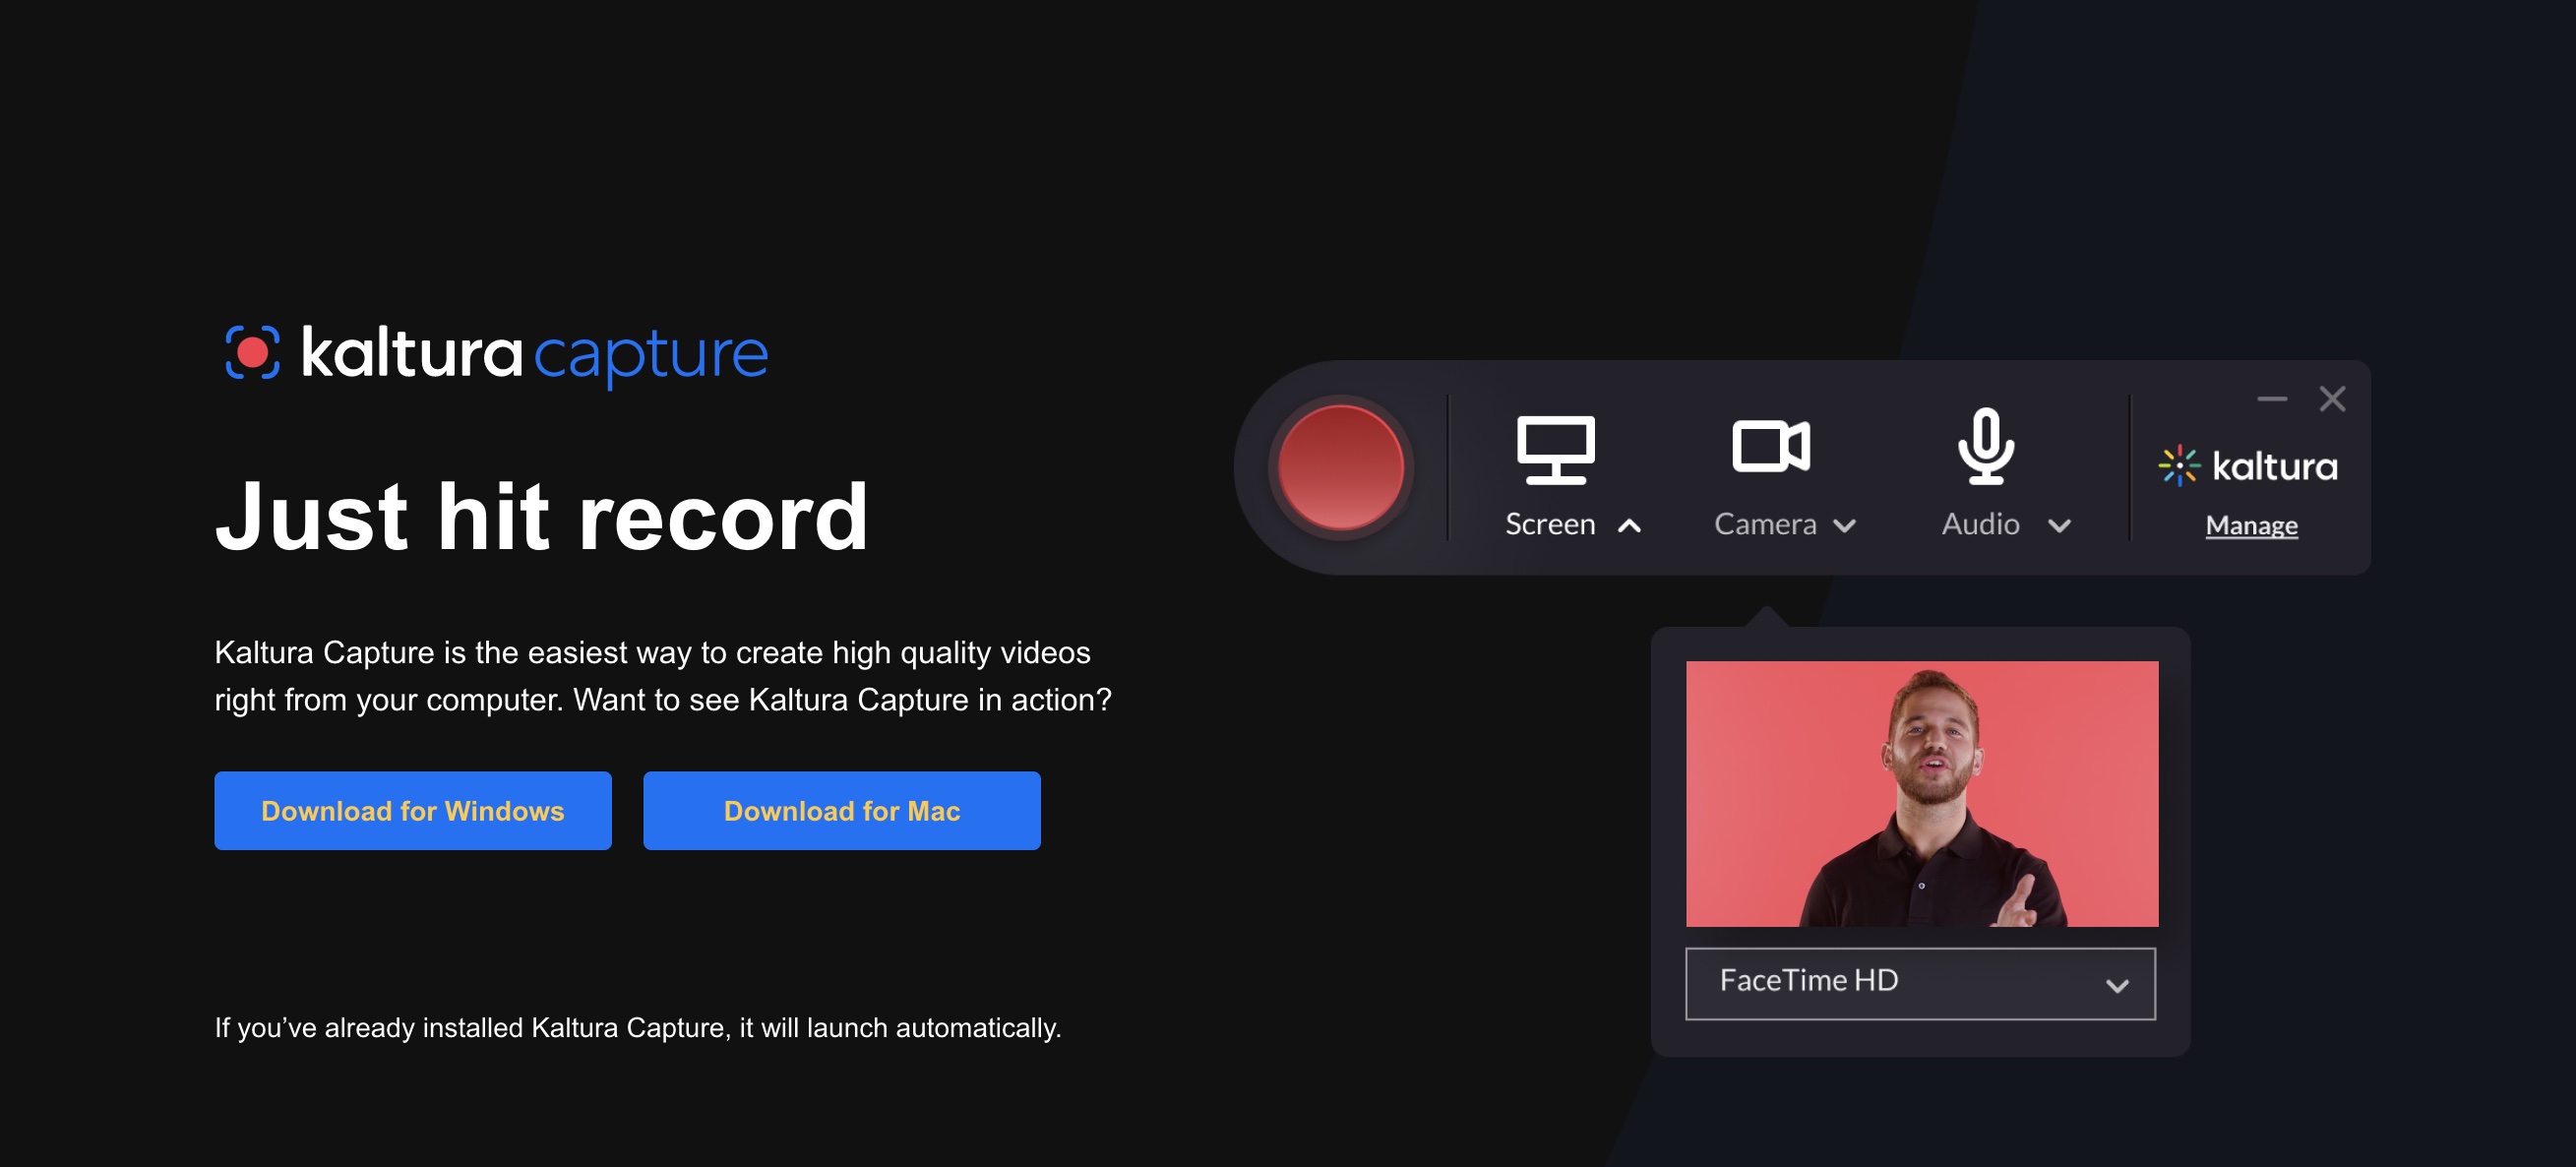
- If installing the Kaltura Capture software for Windows, go to Download for Windows. If installing the Kaltura Capture software for Mac OS, go to Download for Mac OS.
Download for Windows
- On the download page, click Download for Windows.
A progress bar displays: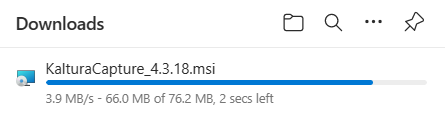
This graphic demonstrates the Kaltura Capture version 4.3.18. However, you might have a newer version.
- When the download is completed, you will see:
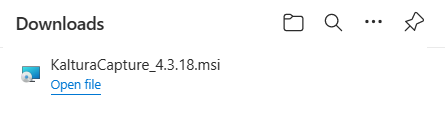
- Click Open File.
The Welcome to the Kaltura Capture Setup Wizard screen displays: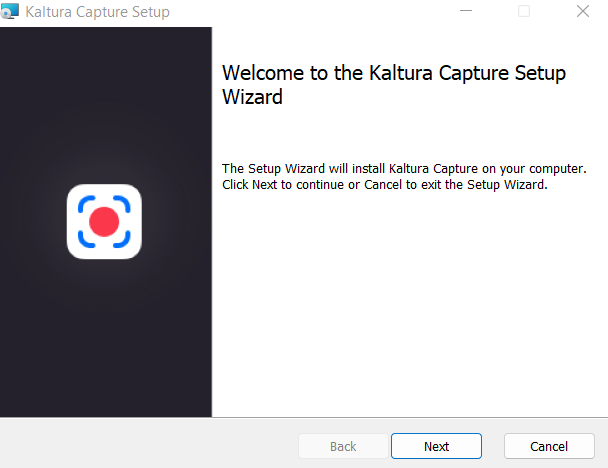
- Click Next.
The Installation Settings screen displays: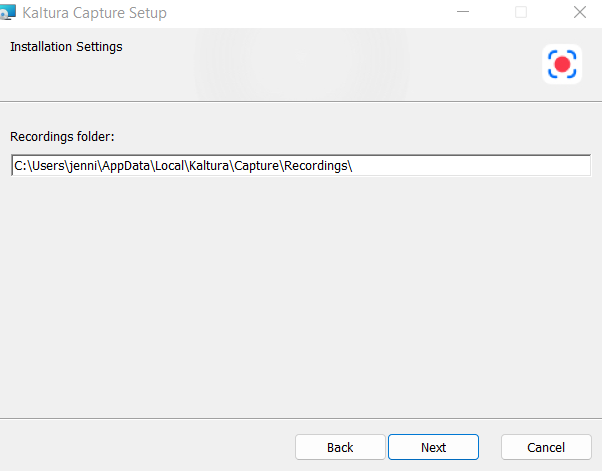
(Optional: If you want to change the location of your stored recordings, type the new location in the Recordings Folder field.) - Click Next.
The Ready to install Kaltura Capture screen displays: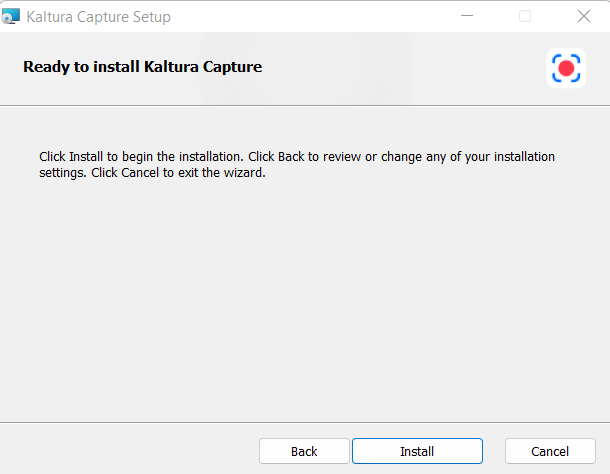
- Click Install to begin the installation.
A progress bar displays: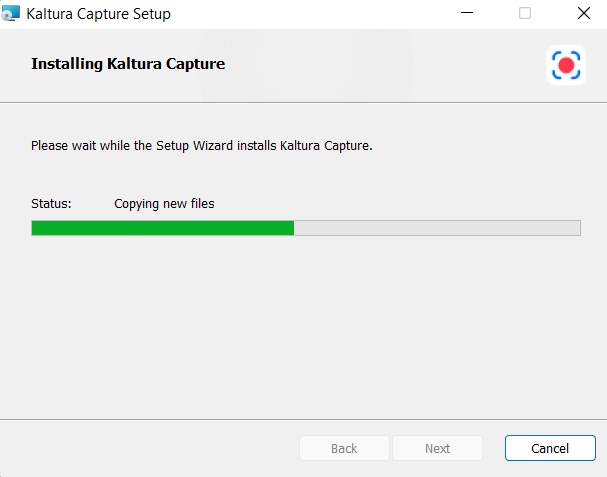
- When the installation is completed, you will see this screen:
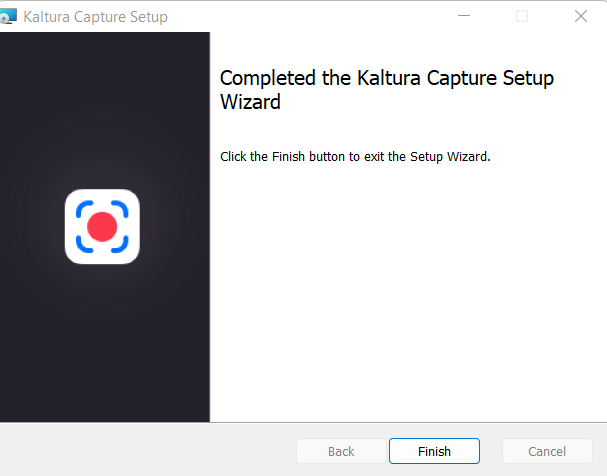
- Click Finish.
- On the download page, click Download for Windows.


Download for Mac OS
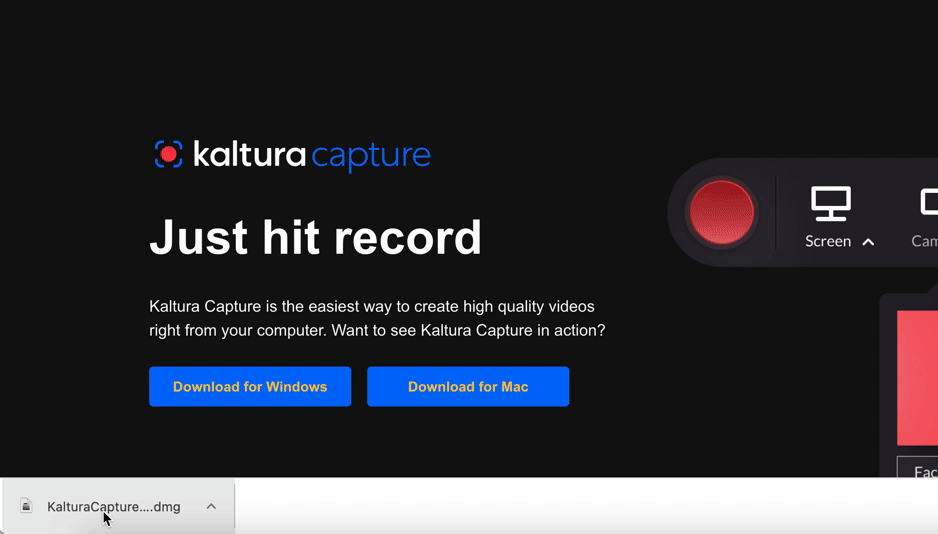
- On the download page, click Download for Mac.
.dmg file will download.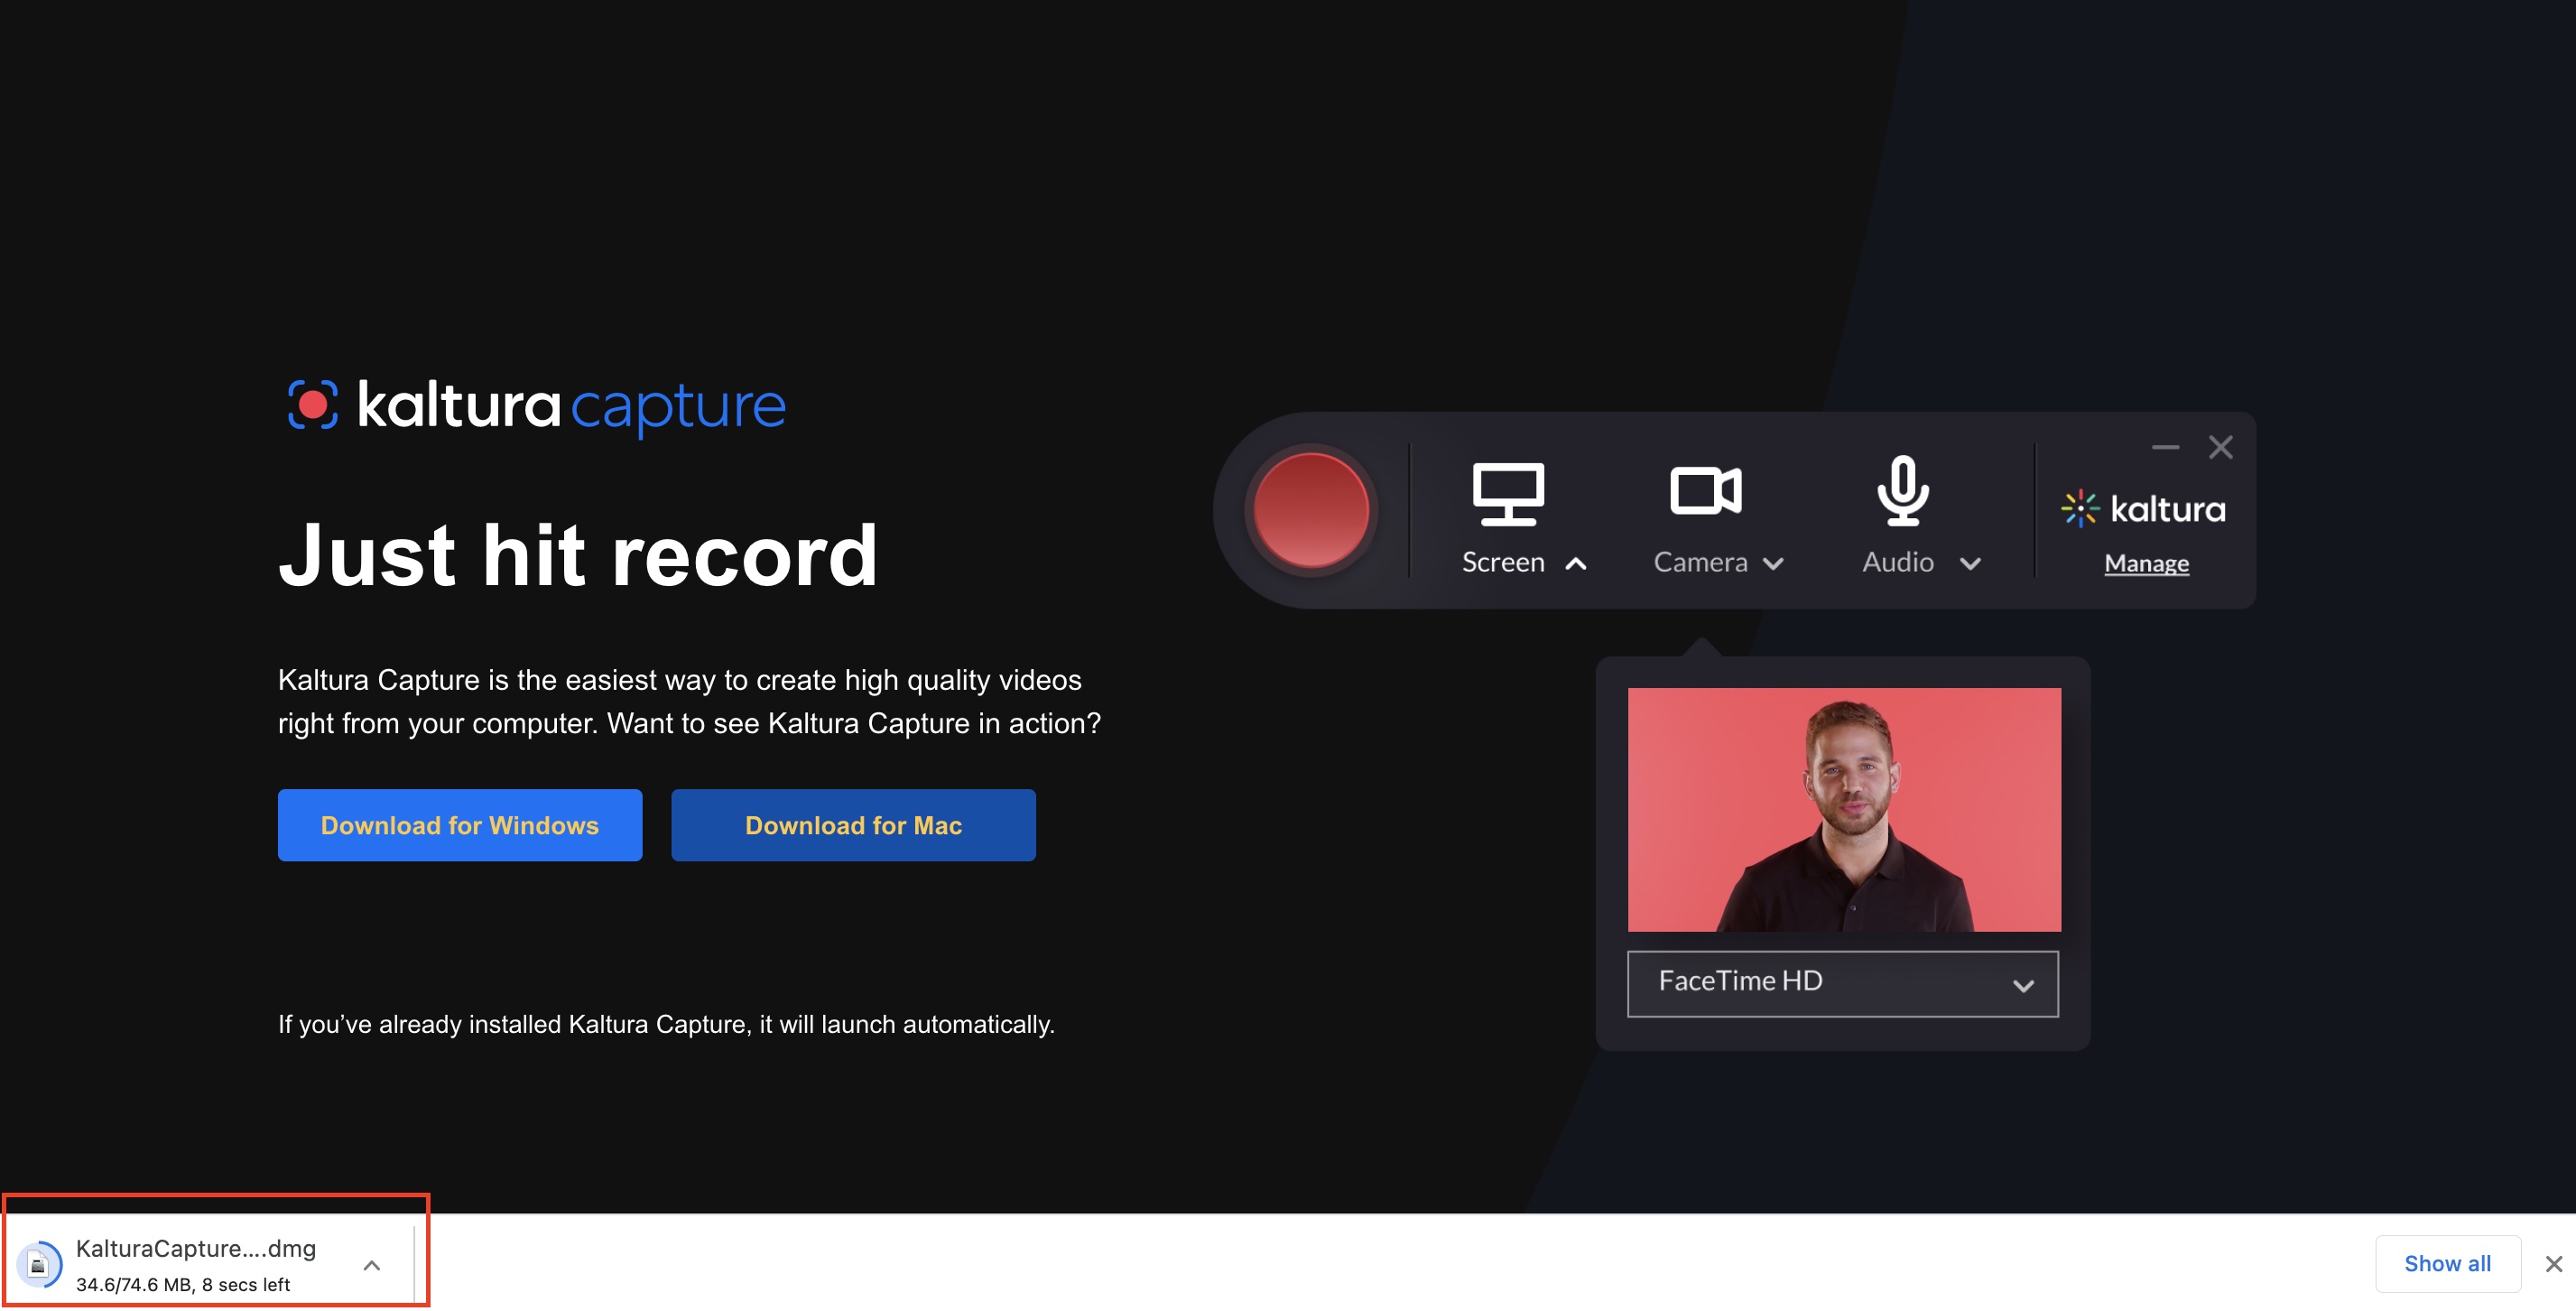
- After the .dmg file downloads, double-click the file to open it.
The following window displays: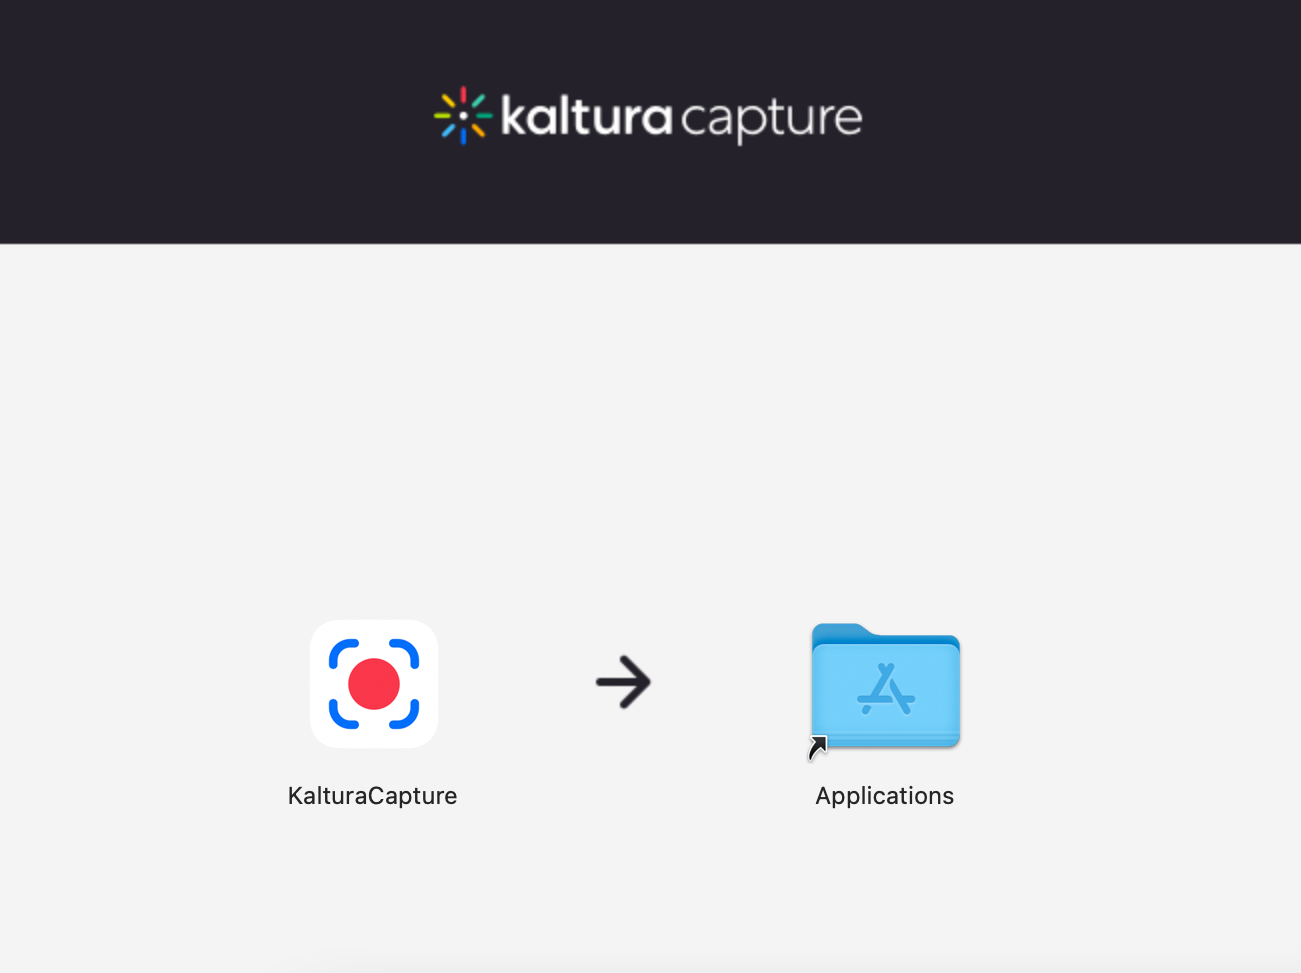
- In that window, click and drag the Kaltura Capture application icon to the Applications folder icon.
- Enable Mac OS for the Kaltura Capture application to record your screen, camera, and audio. To learn more, see How to Enable Privacy Settings for Kaltura Capture on Mac


Ready? Let's start to record!
To learn how to start recording, see Create a recording.
Found a mistake? Let us know about it! Send us a message at knowledge@kaltura.com.

