About
This article explains how to download and install Capture on macOS.
For instructions on installing Capture for Windows, see Install Capture for Windows.
Before you begin
- Make sure your computer meets the requirements described in Capture prerequisites and system requirements.
- Capture isn't supported on mobile devices, tablets, or Chromebooks.
- The Kaltura Capture module must be enabled by your admininstarator.
Download Capture
Capture is downloaded from your institution's Content Hubs / Video Portal or LMS. It isn't available from app stores or public download sites.
If Theming is enabled
- Select Capture from the +Create menu.
- On the download page, click Download for Mac.

The download page opens.


The KalturaCapture.dmg installer is downloaded to your Downloads folder.
If Theming isn't enabled
- Select Kaltura Capture from the +Add New menu.
- On the download page, click Download for Mac.

The download page opens.

The KalturaCapture.dmg installer is downloaded to your Downloads folder.
Having trouble downloading Capture?
If the download doesn't start or fails, see Troubleshooting guide for Capture desktop recorder.
If you're using a managed school or company computer, your IT administrator might need to approve the installation.
Install Capture
- Open your Downloads folder.
- Double-click the KalturaCapture.dmg file.
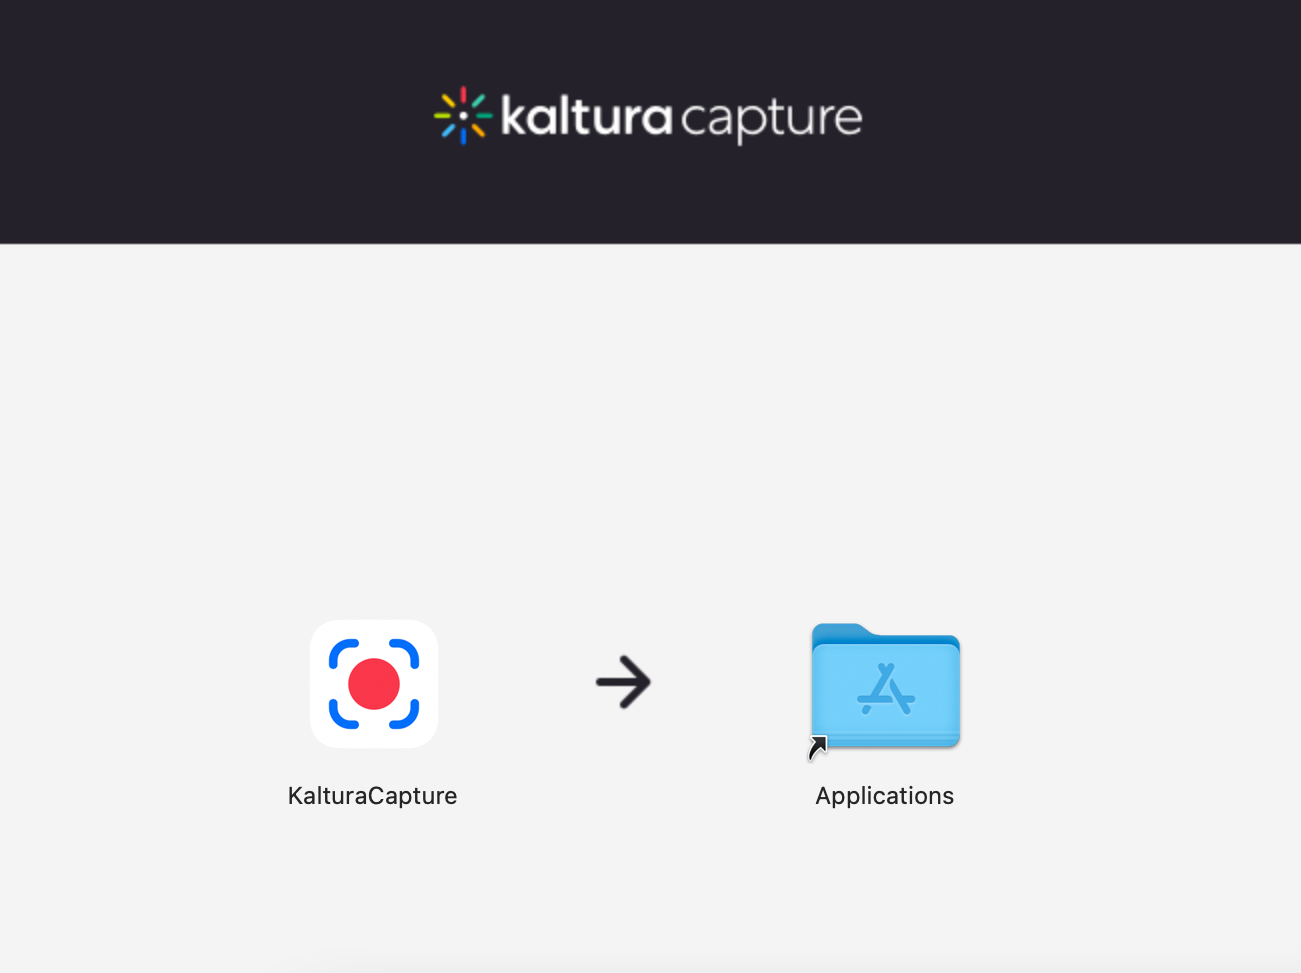
- Drag the KalturaCapture icon into the Applications folder.

The following window displays:
Grant screen recording permission
You need to give Capture permission to record your screen.
- Under the Apple menu, click System settings.
- In the panel on the far left, click Privacy & Security.
- Under Privacy & Security, select Screen recording.
- Click + to add an app to the list of allowed applications.
- In the left panel, click KalturaCapture, and the application will then appear on the right.
- Click on the KalturaCapture app so it displays in a window on the right, then click Open.


The Screen Recording tab displays.

You might get a 'Privacy & Security' message. In this case, enter your user name and password, then click Modify Settings to continue.


KalturaCapture now appears in the list of allowed applications with permission to record your screen.

The first time you open Capture, macOS prompts you to allow access to your camera and microphone. If you need to enable these permissions later, see Grant camera and microphone permissions for Capture on macOS.
Next steps
After installing Capture, see Create your first recording in Capture.
