About
Uploading media from your desktop to your video portal is quick and easy. Simply follow the steps below to share your videos, audio files, and images. You can upload single or multiple files at once, edit metadata, and publish them in bulk - all during the upload process.
The instructions below are for non-Theming users. If you have Theming enabled, please refer to our article Upload media - Theming.
A user with an application role of privateOnlyRole and higher (adminRole, unmoderatedAdminRole) can upload content to Video Portal aka MediaSpace.
Upload media
To upload a YouTube video, please see our article Add a YouTube video.
- At the top right of your video portal, click Add New and select Media Upload from the drop-down menu.
- Select Choose a file to upload.
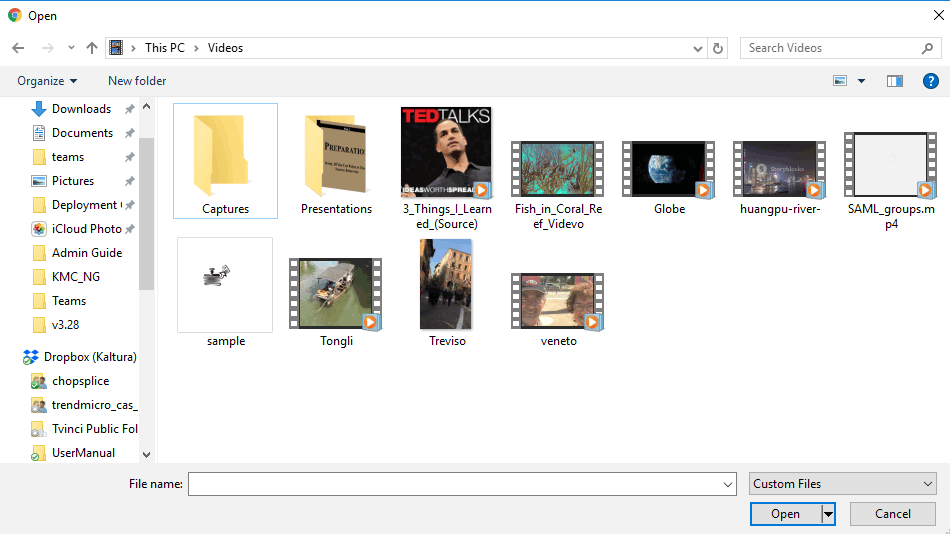
- Select a media file to upload and click Open.
The file uploads.While the file is uploading, you can enter metadata or click Cancel to cancel the upload.
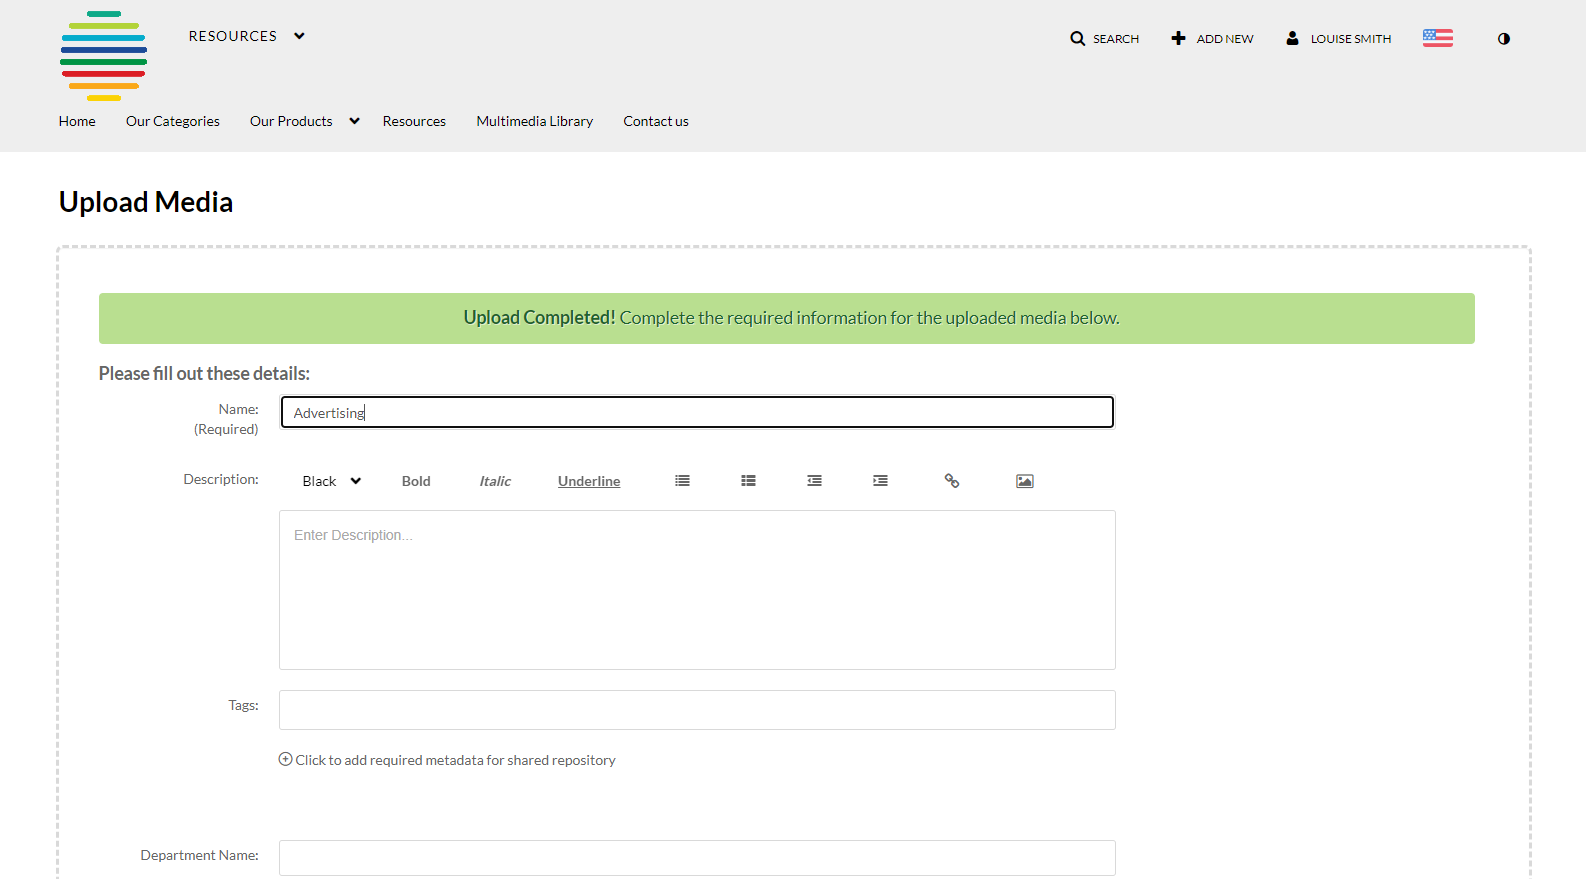
Once the file has uploaded, a success message displays: Upload completed.

- Complete the fields as desired, then scroll down and click Save.

The Upload Media page displays.

Drag and drop your file.
OR
You can click Go to Media to navigate to the media page or click Go to My Media to navigate to your My Media library.

To upload another file, scroll down and click Choose another file and repeat the steps above.
After a video or audio is uploaded, it is converted for optimal playback. (Note you cannot preview or publish a video during conversion.)
If an error occurs while uploading, please check your network connection.
Publish your media
You can publish your media directly from the upload page.
- Click the Published option (you must first click Save).
- Choose from the options available where you want to publish the media.
- After choosing an option, click Save. You can immediately see where the media was published.

An additional section displays.


For more information about publishing media, visit our article Publish media.


