About
Uploading media from your desktop is quick and easy. Simply follow the steps below to share your videos, audio files, and images. You can upload single or multiple files at once, edit metadata, and publish them in bulk - all during the upload process.
The Uploadmedia module must be enabled for this feature.
These instructions are for Theming users. If you don't have Theming enabled on your account, please see our other article 'Upload media'.
Once you've uploaded your videos, you can set up the player to play them the way you want by adjusting the look, features, and controls to match your style and needs. To learn more, visit our article Introduction to Kaltura's V7 player.
Upload media
- On your My Media page, click the + Create button and select Upload.
- Click the disclaimer button to accept.
- Click Select Files and choose one or multiple files, or drag and drop files inside the dotted area. Different types of files may be uploaded at the same time.

Depending on what is enabled on your application, your + Create menu may look slightly different. If there is an option missing, please contact your Kaltura administrator to discuss how to enable it.
The Upload Media page displays.

If your administrator set a disclaimer on your site for users to accept before uploading content, the following screen displays:

The upload process begins.
Make sure not to close or navigate away from the browser tab. Doing so will cancel all media pending in the queue and any files currently in the uploading status.
If multiple files were selected, one file starts the upload process, and the rest of the files are then added to the queue. The queue continues to upload content from bottom to top, skipping any canceled or errored-out media.
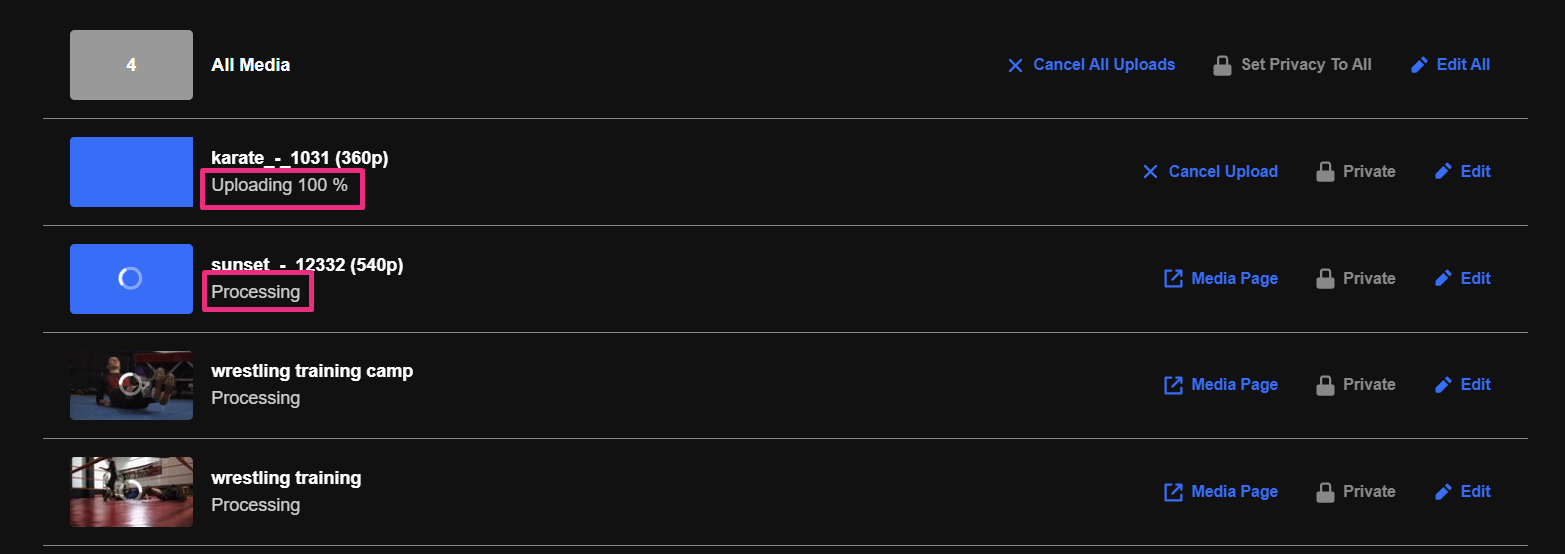
The status of the upload is indicated on the right of each item as well as the top left of the Upload Media window:
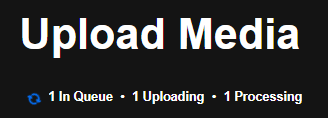
Upload statuses
- In Queue - While uploading multiple files, only one is uploaded at a time. While waiting, the other files are in queue. Items in this status may be canceled and moved to the canceled status.
- Uploading - Files in uploading status display the percentage completed next to the status. The thumbnail should change its display accordingly to the percentage passed. Items in this status may be canceled and are then moved to the canceled status
- Processing - This status indicates that the video is converting, and when ready, the thumbnail is displayed.
The cancel upload button is no longer available and is replaced with a link to the media page. - Ready - This status indicated that the file has completed uploading and displays the thumbnail.
The cancel upload button is no longer available and is replaced with a link to the media page. - Failed - This status indicates an upload failure which may occur for many reasons.
- Canceled - After this status is displayed, only the “Remove” button is available to remove the media line from the list.
As long as there is at least one file in that has the status, In queue or Uploading, the blue moving circle is displayed.
You can cancel any media in the status in queue or uploading.
Bulk actions
The bulk actions ('All Media') row is displayed at the top of the upload list.
- The gray box displays how many files are in the upload list. Entries with the status 'Canceled' or 'Failed' are not counted here.
- Cancel All Uploads displays as uploads are taking place. Clicking this button cancels any currently Uploading and In Queue entries. Entries that are Processing (converting) or Ready are not affected. After all uploads are moved out of the Uploading and In Queue statuses, the Cancel All Uploads button changes to the My Media link, which opens in a new tab.
- Set Privacy to All will be available in future releases.
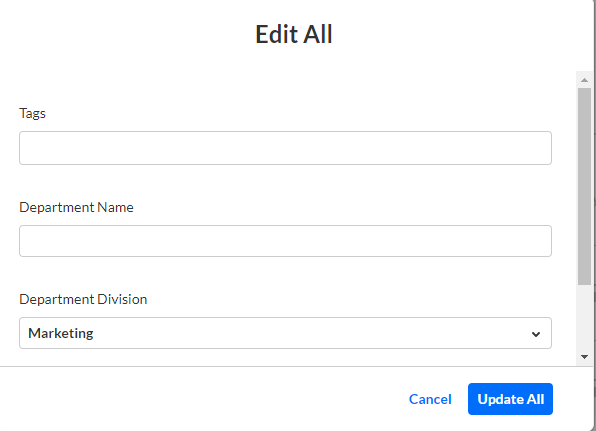
- Edit All allows you to edit multiple media.

After all uploads in the page are moved out of the upload and in-queue status, the Cancel All Uploads button changes to the My Media link, which opens in a new tab.
Edit your media
Edit a single media
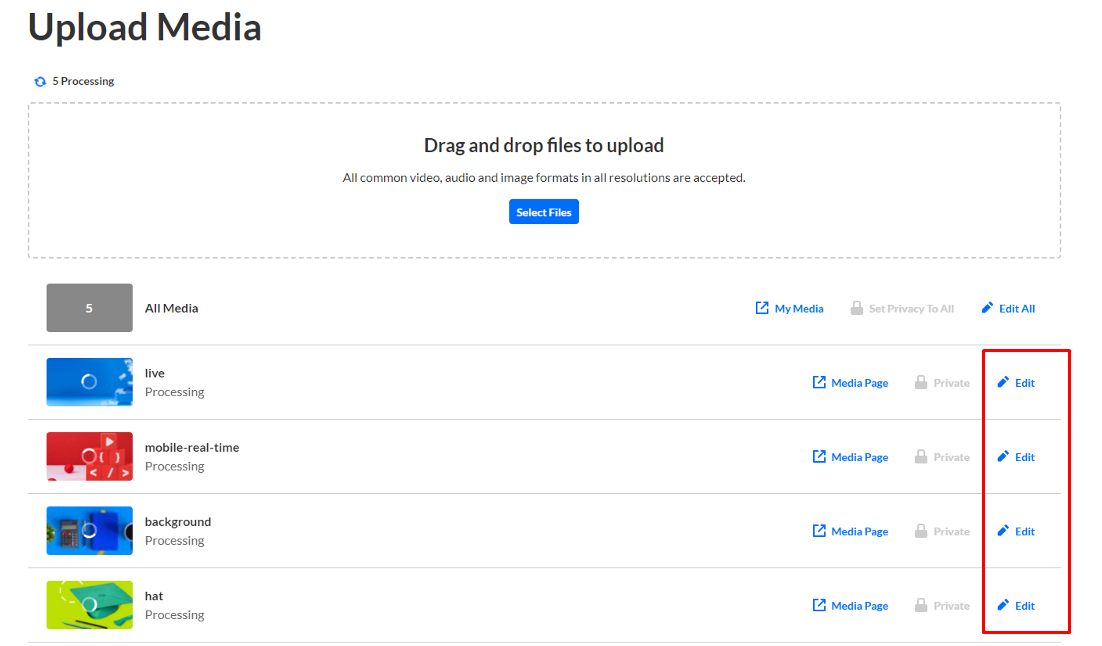
Click Edit.
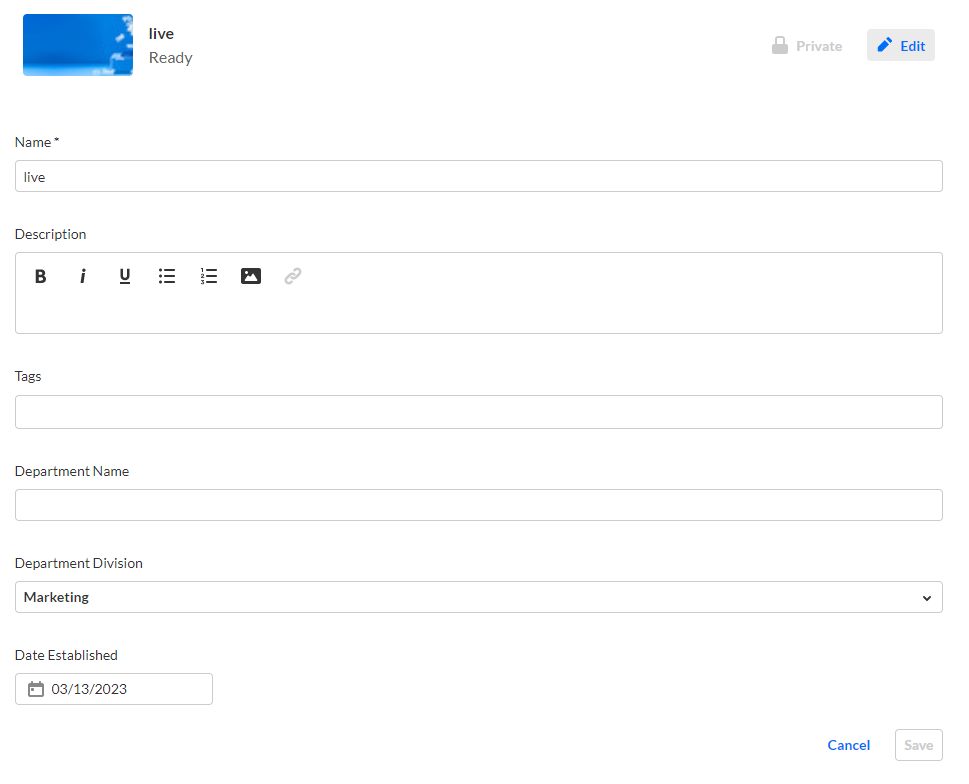
On the edit page, you can edit the title, description, tags, and custom metadata for each uploaded file.
Edit multiple media
You can add tags and custom metadata for multiple media at once.
Publish your media
Publishing a single media
You can publish a single media from the My Media page while the media is in the process of uploading. In future releases, users will be able to publish directly from the Upload Media page.
Publishing multiple media
Setting privacy permissions and publishing media in bulk will be added in future releases.
View your media
To view your media when uploading is complete, click Media Page or access the My Media tab on your application.

