About
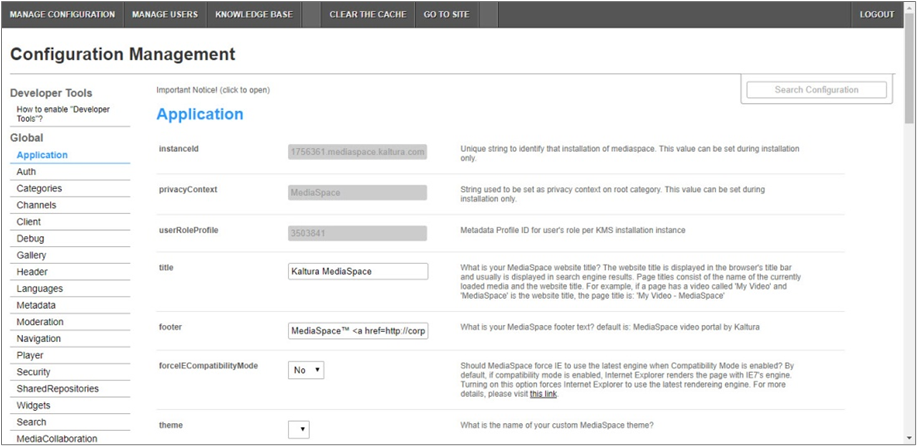
This guide will show you how to enable and set up the Passcode module in the Configuration Management section of the video portal. The Passcode module lets end-users protect their entries with a password.
This module is for both Theming and non-Theming users.
This module is designed specifically for VOD entries and does not support live entries.
For technical support, contact Kaltura Customer Care. For all other inquiries, reach out to your Customer Success Manager.
Configure
- Log into the Configuration Management console by going to your KMS URL and adding /admin at the end.
- Enter your Kaltura user ID and password.
- Click Sign In.
The Configuration Management console displays.
- In the list of configurable items on the left of your screen, locate and click on Passcode. (The item will be crossed out because it's disabled by default.)
- Configure the following:
If this module is not in your video portal application, please get in touch with your Kaltura representative to inquire about adding it.

enabled - Set to Yes to enable the module.
passcodeMinimalRole -Choose the user roles that are allowed to manage passcode protection of the entry. The options are as follows:
- privateOnlyRole
- adminRole
- unmoderatedAdminRole
- Specified Users
If you choose specified users, an additional section displays. This is where you set users who are allowed to set passcodes:

- Click +Add "passcodeAllowedUsers”.
- Click Select Users / Groups.

- Enter user ID or name.
- Click Submit.
passcodeActionLabel - Type in a label for passcode settings action. You can change the default text by typing in the text field.
passcodeSetTitle - Type in a title for the set passcode field. You can change the default text by typing in the text field.
passcodeSetField - Type in placeholder text for passcode input. You can change the default text by typing in the text field.
passcodeEndUserPromptHeader - This is the passcode header the end-user will see. You can change the default text by typing in the text field.
passcodeEndUserPromptInstructions - These are additional instructions the end-user will see. You can change the default text by typing in the text field.
passcodeEndUserPromptField - This is the field name the end-user will see. You can change the default text by typing in the text field.
passcodeUnsetDialogTitle - This is the title for the 'change password' prompt the end-user will see. You can change the default text by typing in the text field.
passcodeChangeDialogMessage - This is the message for changing passcode the end-user will see. You can change the default text by typing in the text field.
6. Click Save.
You receive a notice that your configuration for Passcode was saved and the cache was cleared.
User experience
Theming users
Once enabled and configured, the passcode option appears in the three dots menu on the media page for the end user.

When unauthorized users try to access media protected by a passcode, they'll see the following screen:

Non-Theming users
Once enabled and configured, the passcode option appears in the Actions menu on the media page for the end user.

When unauthorized users try to access media protected by a passcode, they'll see the following screen:

This document is maintained by Kaltura’s Professional Services team. Please send comments or corrections to your Customer Success Manager. Ask them to forward it to the Professional Services team. We are committed to improving our documentation and your feedback is appreciated.


