About
Create a player in Player Studio by selecting the player type that best fits your content, such as a lightweight player, smart player, audio player, or reels player. This article walks you through the process of creating a new player.
Prerequisites
- An active Rich Media Content Management System (Rich Media CMS) account. For more information on getting an account, click here.
- Media content available on your Rich Media CMS account. For more information about using Rich Media CMS to upload media, check out our article Upload Media.
Access the Player Studio
- Log into the Rich Media CMS.
- Click Studio.
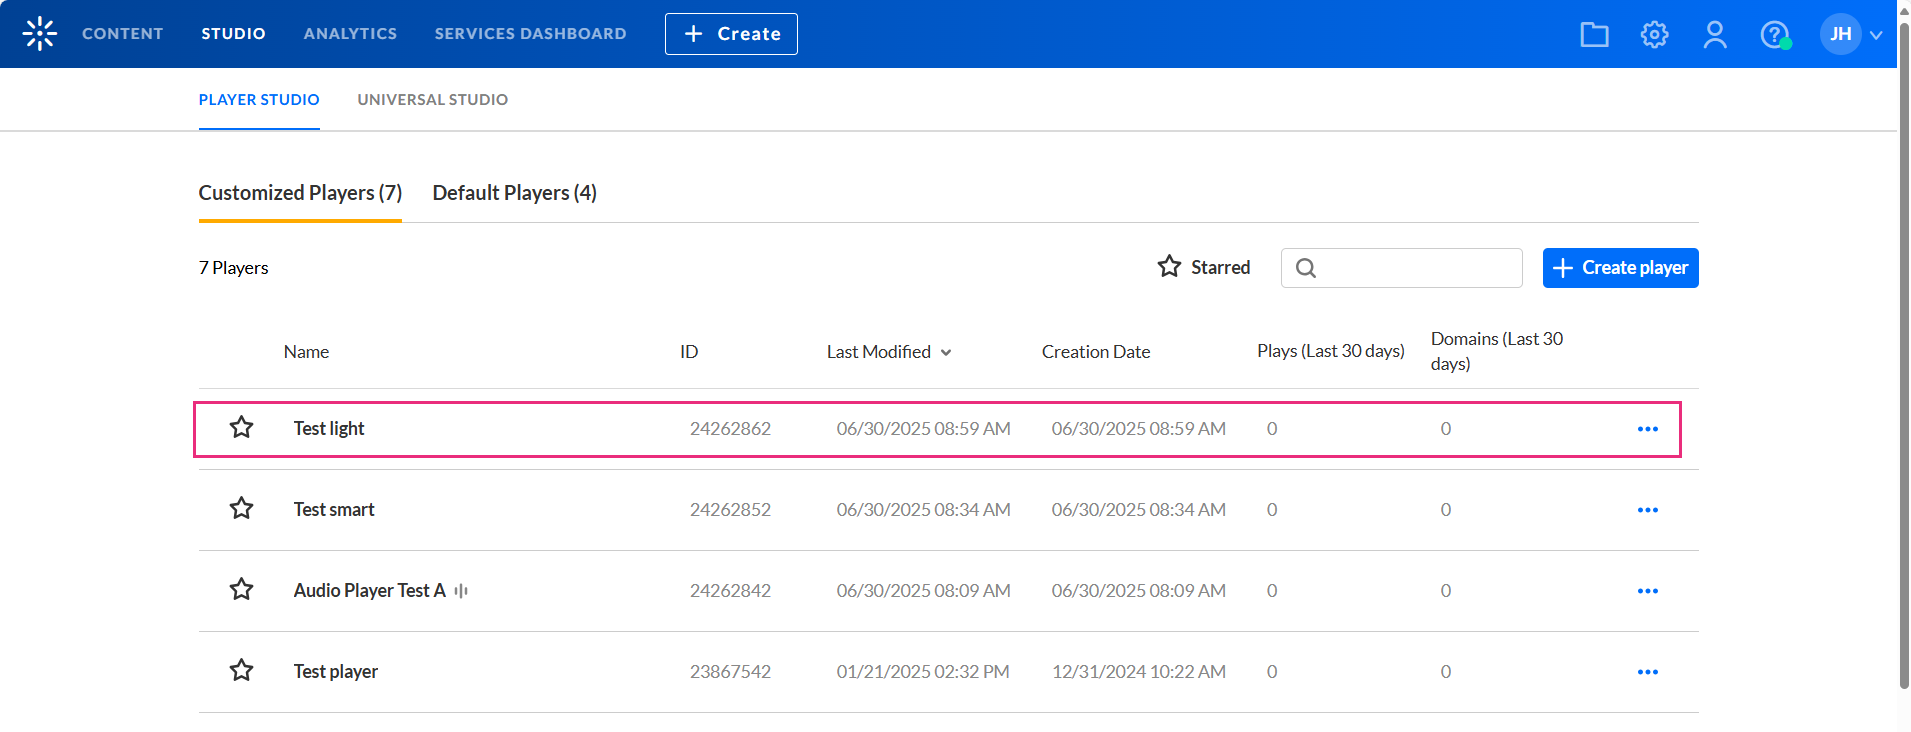
The Player Studio page displays.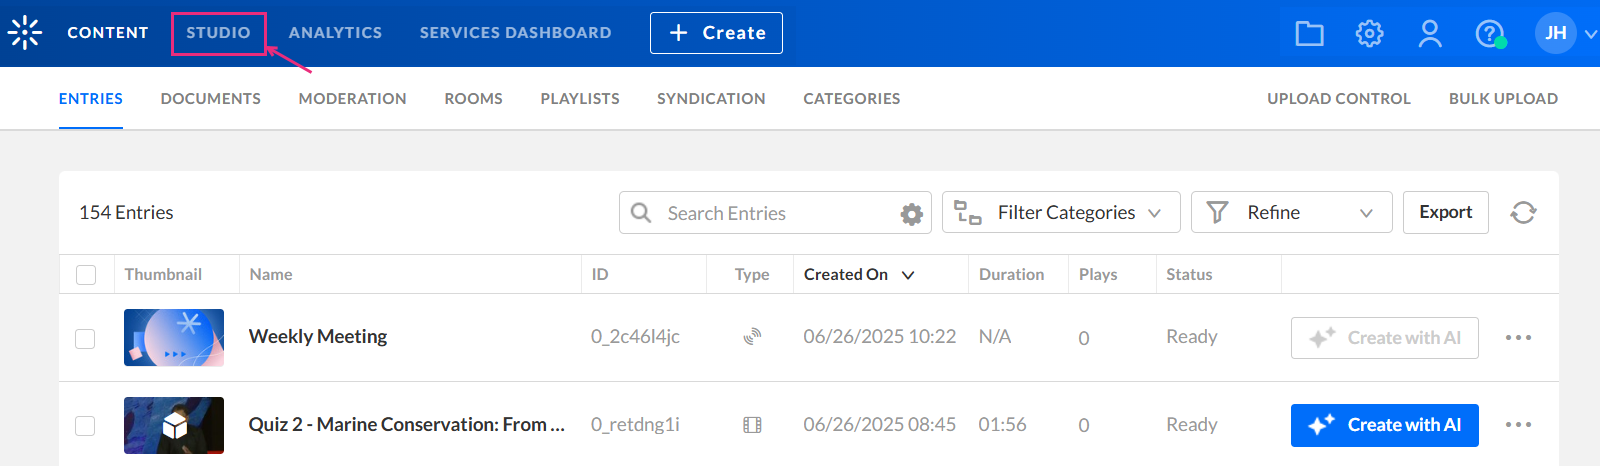
Here you can see a list of all available players in your account.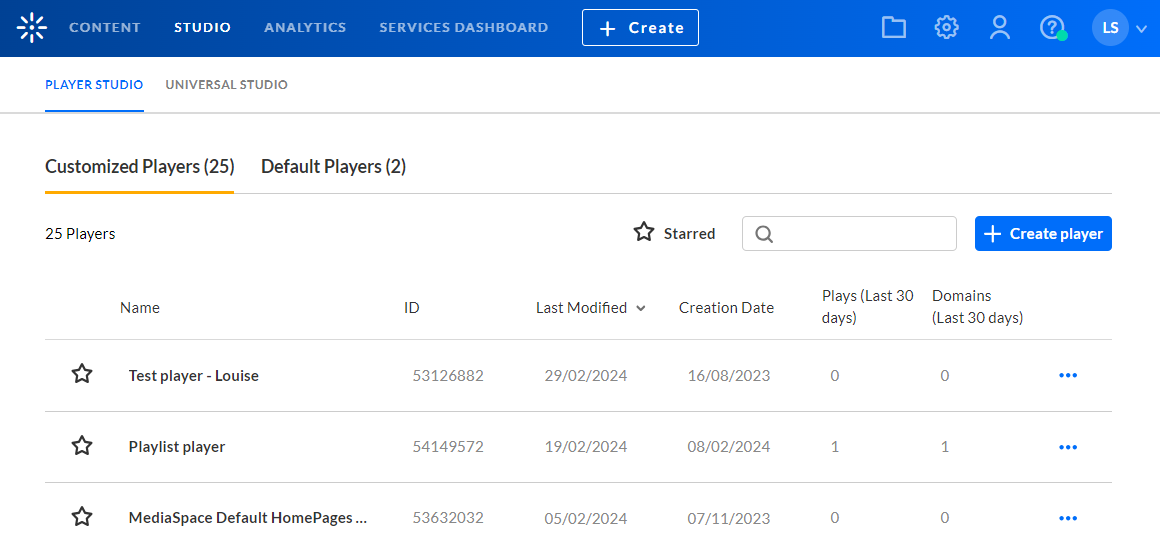
- Click + Create player.
The list of template players displays.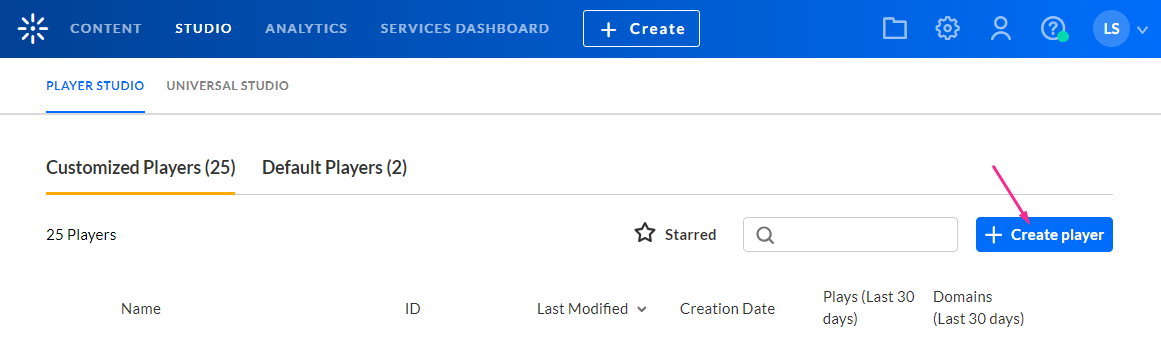


Choose a player
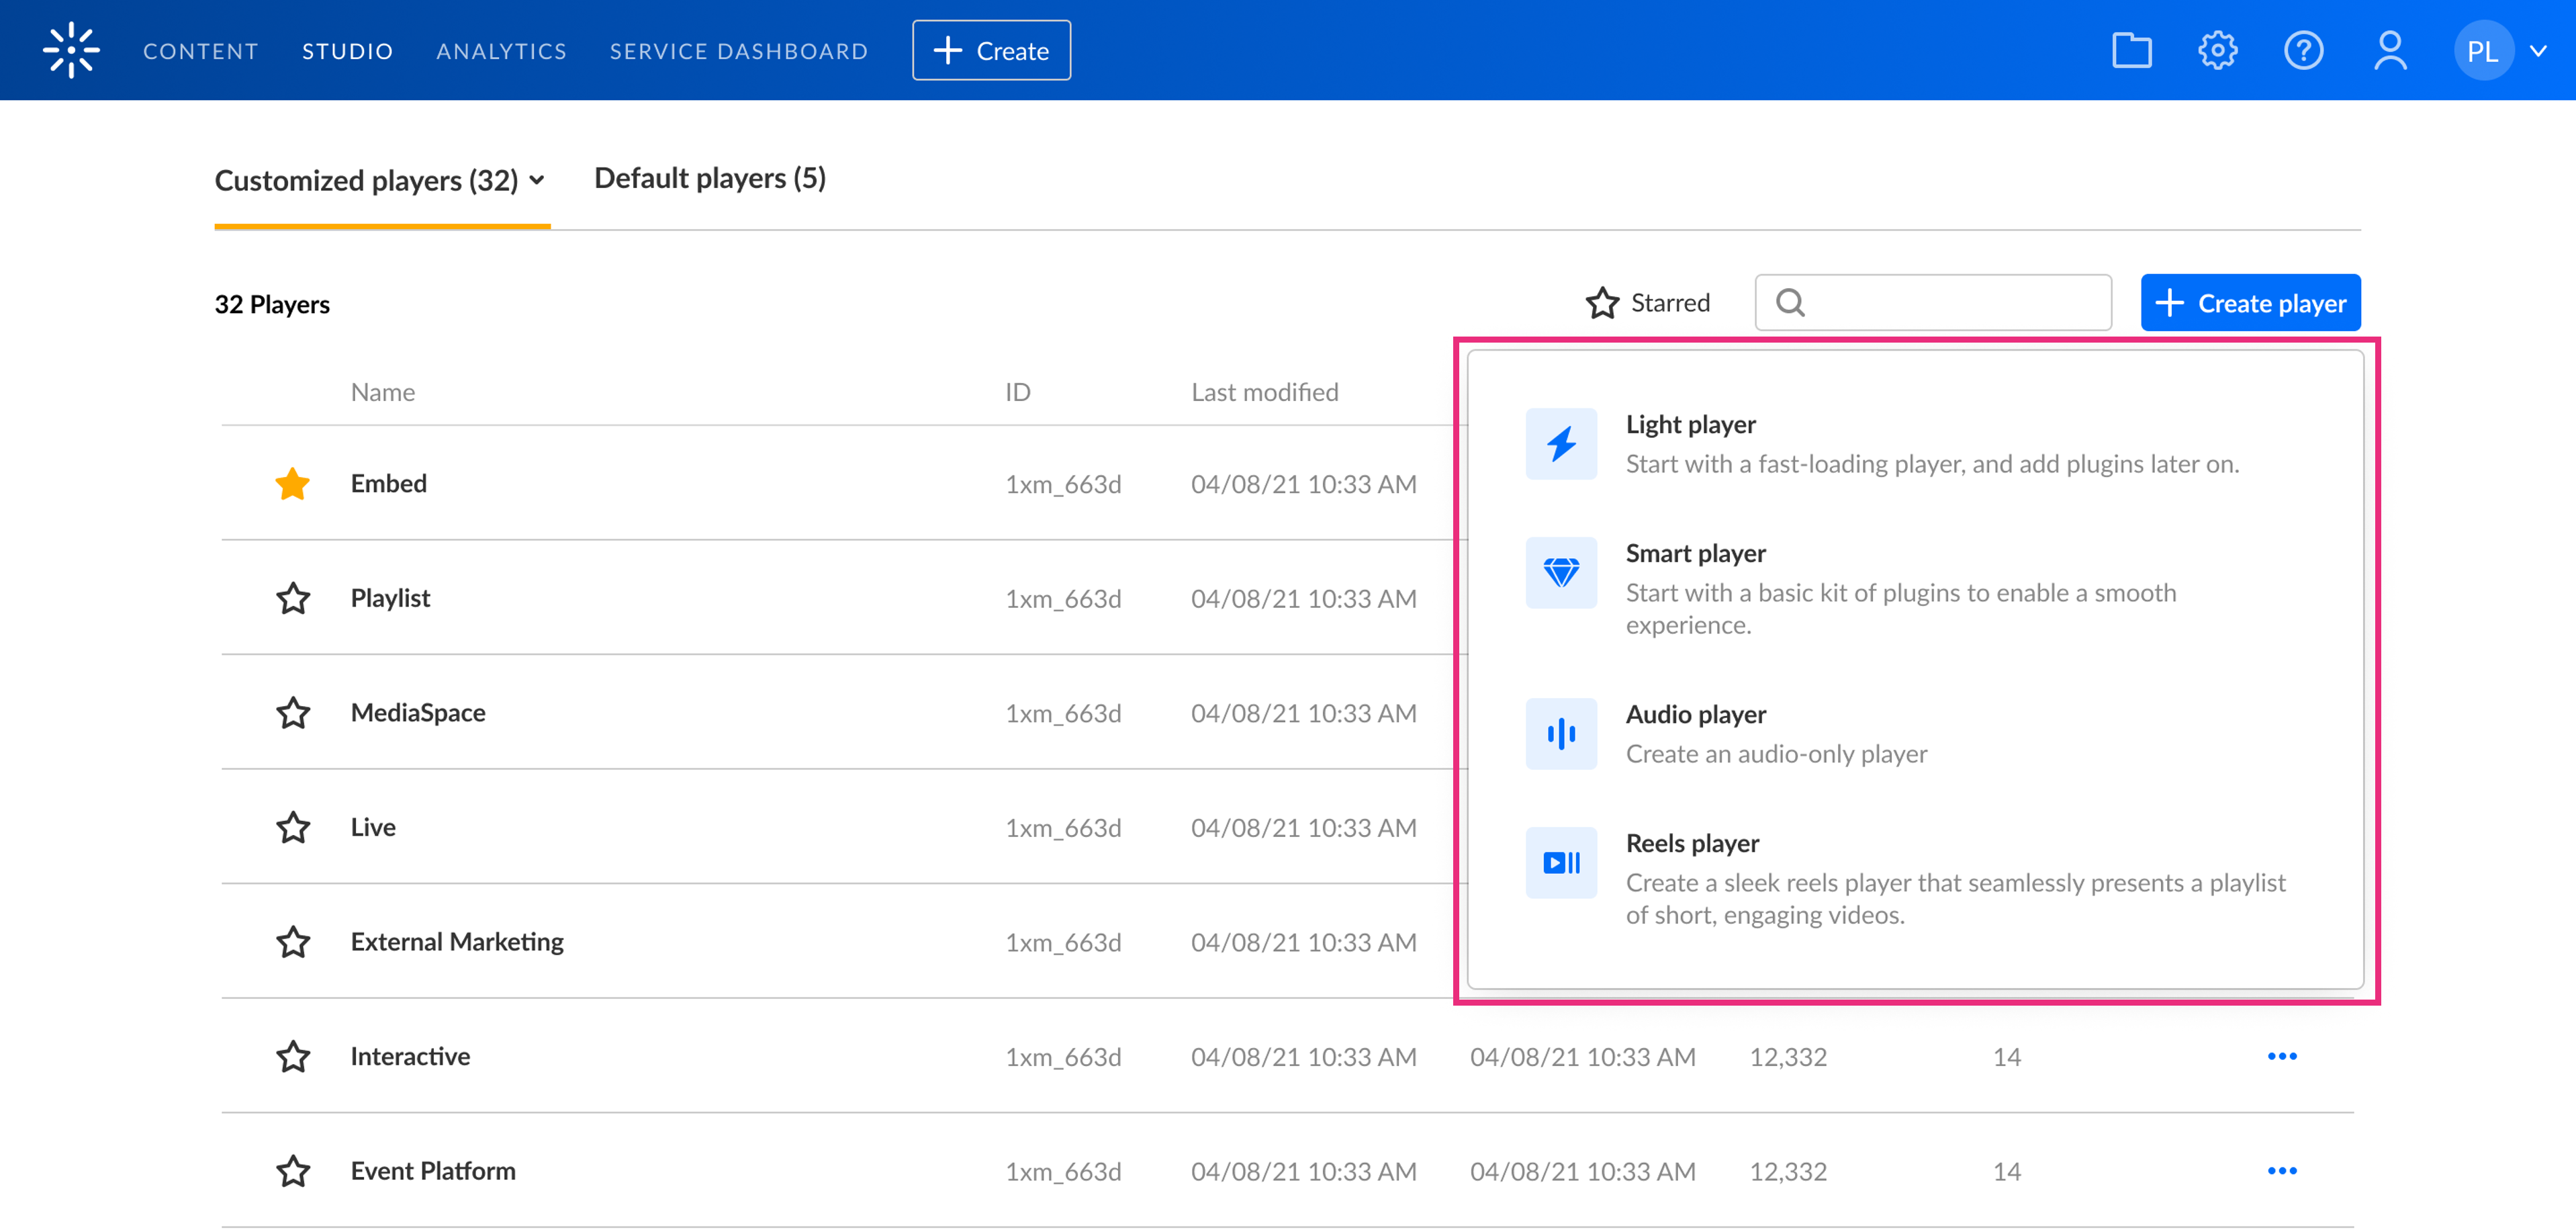
Select the desired player from the following options:
Light player
The Light player is your go-to solution for lightning-fast video playback. Designed for an optimized viewing experience, this player comes equipped with all the essential tools you need: Play/Pause buttons, Volume Control, Fast Forward button, Seek bar, full-screen mode, and more customizable options.
- In the list of template players, select Light player.
- Type a name for your new player.
- Click Create player.
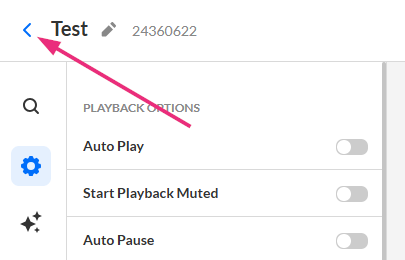
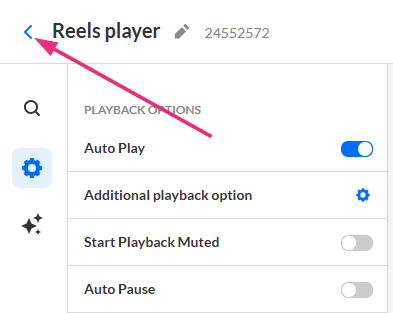
- Click the arrow at the top left of the page to return to the main Player Studio page.
Your new player displays in the list of all available players in your account.
Check out our article Introduction to the Player Studio to unlock the full potential of your new player.
The 'Create new player' box displays.

The Studio displays with the player settings tab open by default.

Here you can enrich your player with a variety of functions. See Introduction to Kaltura's player settings.


Smart player
This player is your essential toolkit, carefully crafted to ensure a seamless experience. It comes with a default set of plugins, each designed to support various functionalities.
- In the list of template players, select Smart player.
- Type a name for your new player.
- Click Create player.
- Click the arrow at the top left of the page to return to the main Player Studio page.
The 'Create new player' window displays.
The Studio displays with the player settings tab open by default.

Here you can enrich your player with a variety of functions. See Introduction to Kaltura's player settings.

Your new player displays in the list of all available players in your account.

Check out our article Introduction to the Player Studio to unlock the full potential of your new player.
Audio player
Kaltura's Audio player is tailored for audio tracks, with support for VOD and Live media entries. Its compact design and essential controls ensure a seamless audio playback experience. Additionally, personalize its appearance with Dark or Light mode, or customize its color using our convenient color picker tool. Need to match your brand perfectly? No problem! Just input your custom color.
Visit our article Audio player to learn more about its features.
- In the list of template players, select Audio player.
- Type a name for your new player.
- Click Create player.
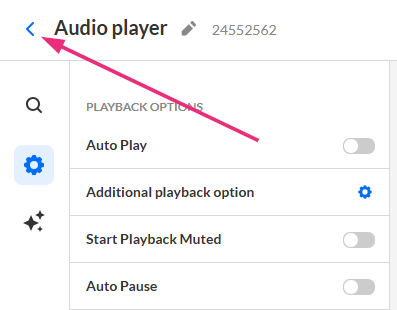
- Click the arrow at the top left of the page to return to the main Player Studio page.
The 'Create new player' window displays.

The Studio displays with the player settings tab open by default.
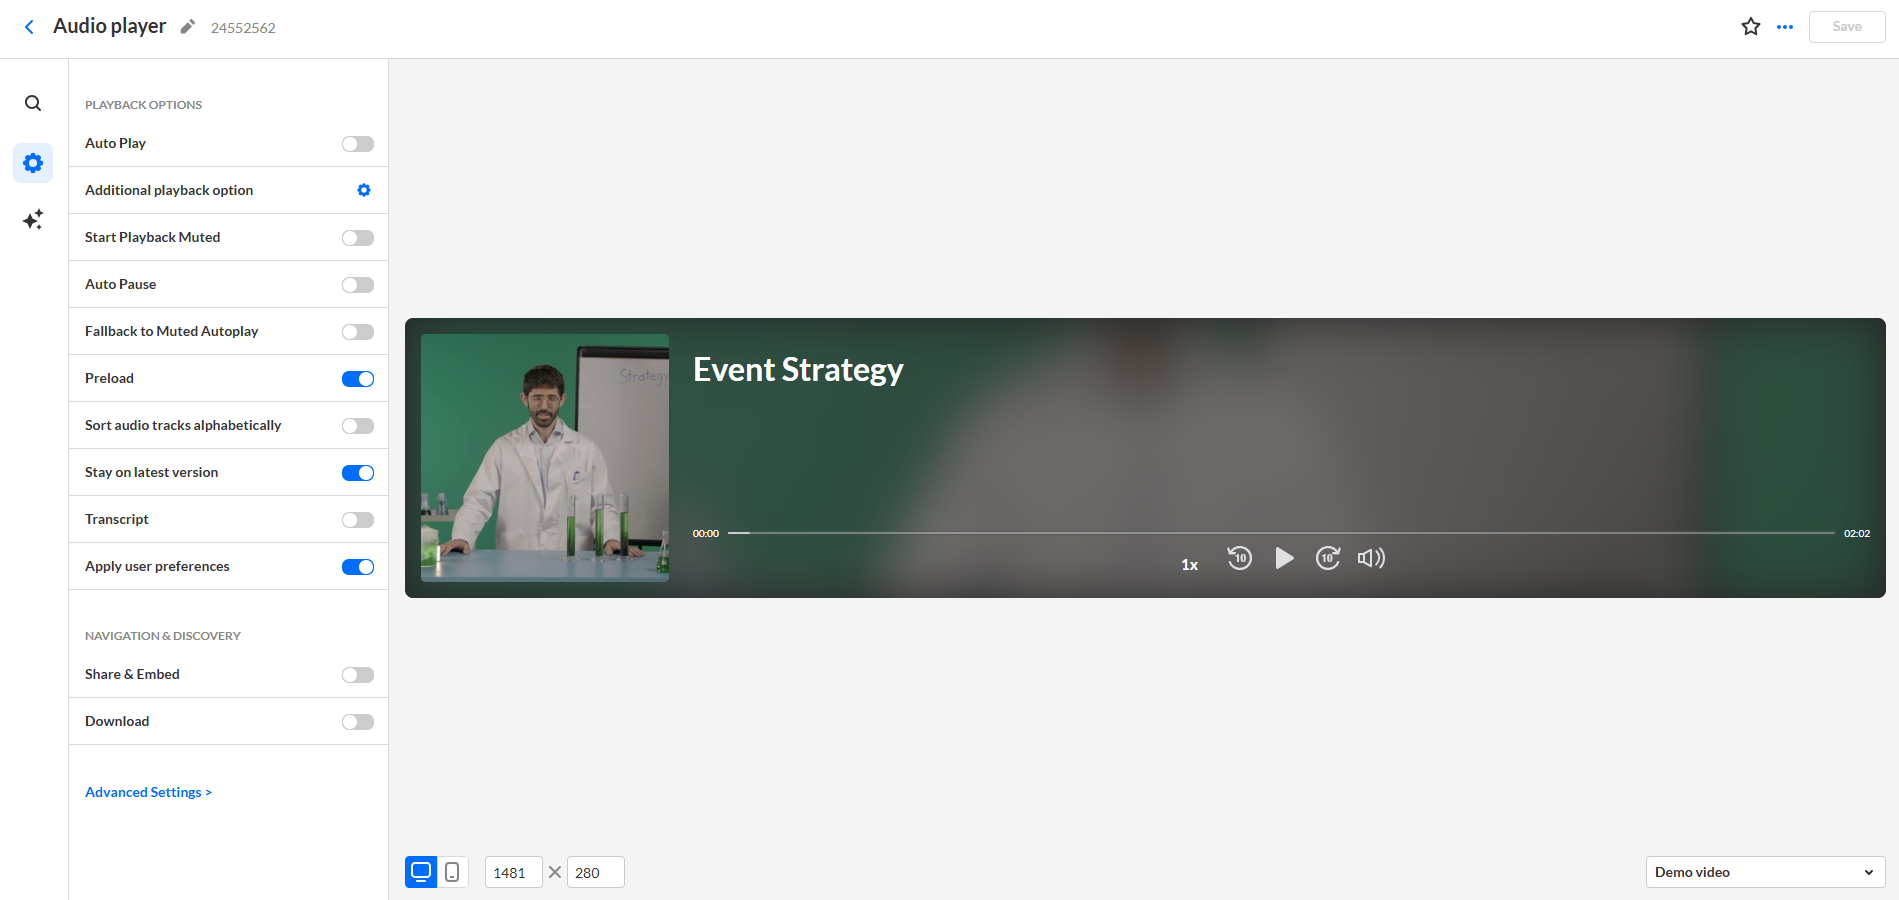
Here you can enrich your player with a variety of functions. See Introduction to Kaltura's player settings.
Your new player displays in the list of all available players in your account.

Check out our article Introduction to the Player Studio to unlock the full potential of your new player.
Reels player
Kaltura's new Reels player is specifically designed for playlists of short, snackable videos. Visit our article Reels player to learn more about its features.
- In the list of In the list of template players, select Reels player.
- Type a name for your new player.
- Click Create player.
- Click the arrow at the top left of the page to return to the main Player Studio page.
The 'Create new player' window displays.

The Studio displays with the player settings tab open by default.
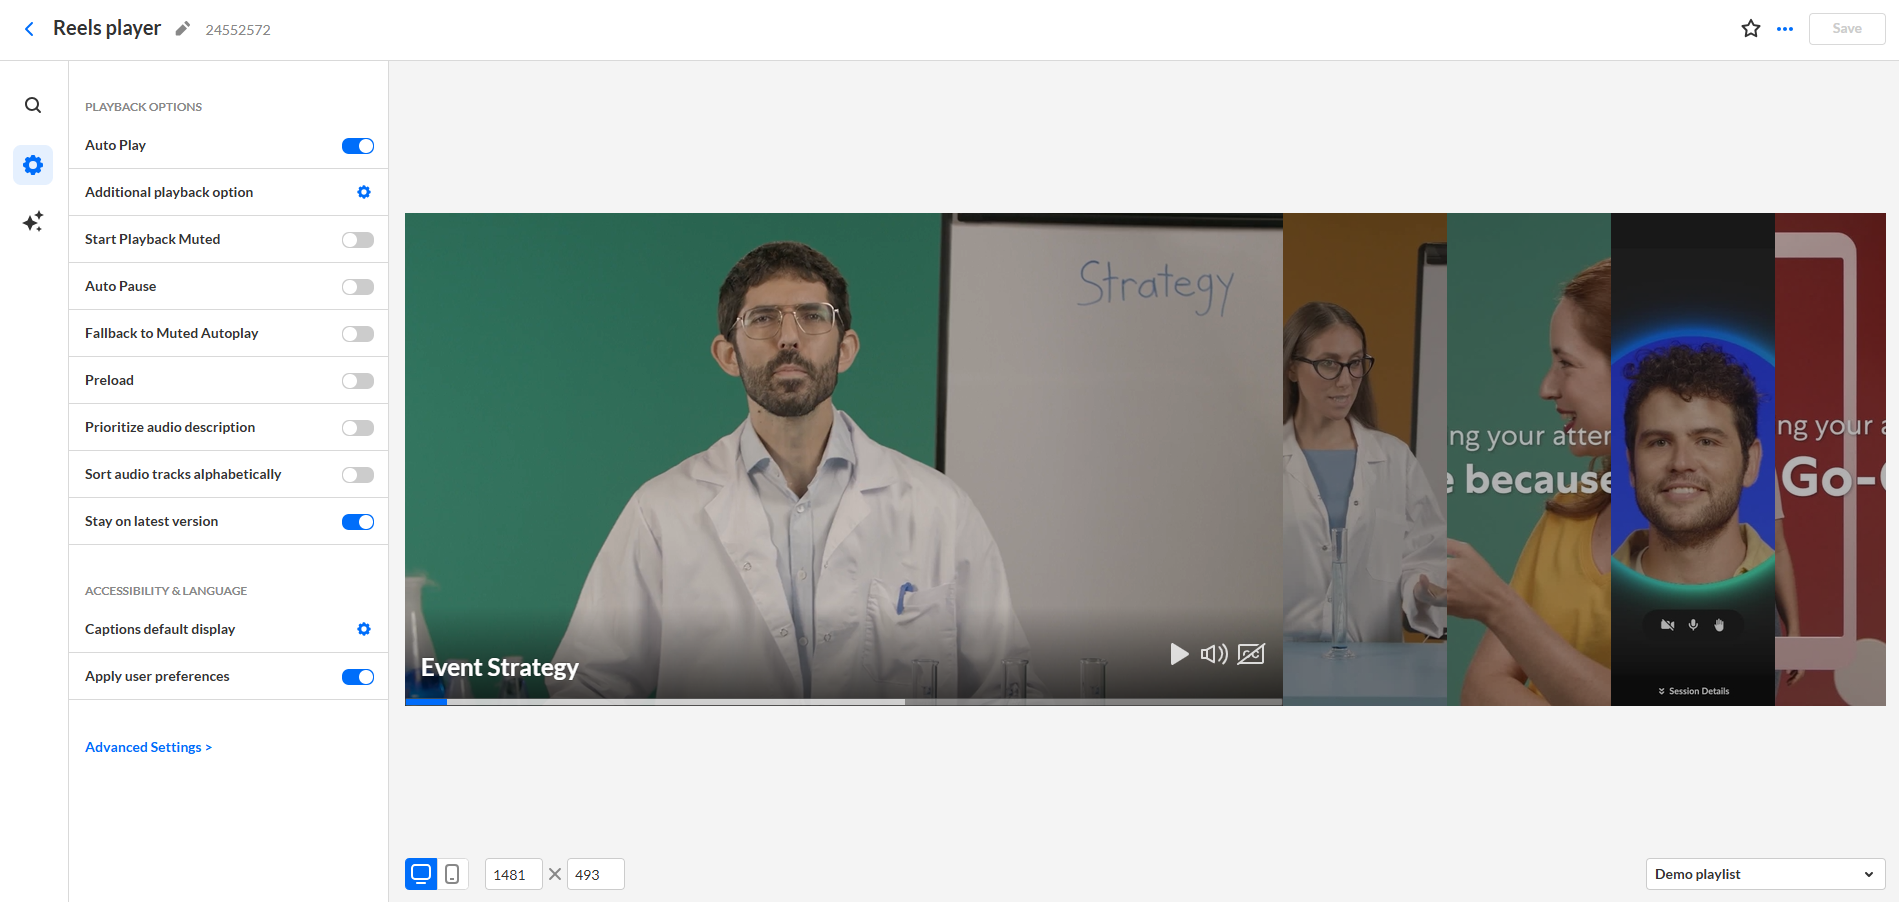
Here you can enrich your player with a variety of functions.
Your new player displays in the list of all available players in your account.
Check out our article Introduction to the Player Studio to unlock the full potential of your new player.
