About
You can manage all aspects of your gallery from the Configure option on the gallery page.
Selecting Configure opens the edit page, where you can manage content, channels, appearance, layout, users, and moderation settings.
This feature requires the Theming module to be enabled, with the 'galleryedit' feature set to 'Yes'.
Who can use this
- Gallery owners
- Gallery managers
Access the gallery edit page
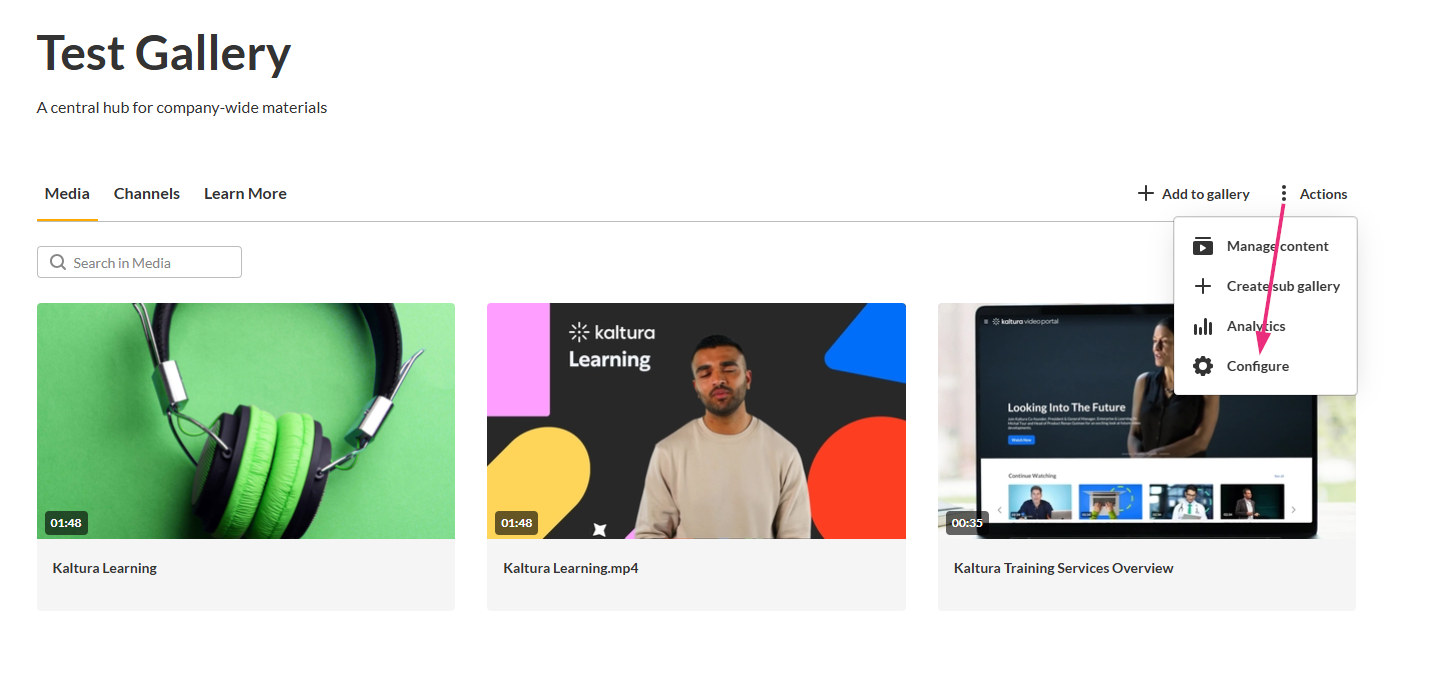
- From the top navigation bar, select the gallery.
- At the far right, click the Actions menu and select Configure.
The Details page opens by default with a left-hand navigation.


The gallery page opens.


Gallery management tabs
Use the tabs in the left-hand navigation to manage different areas of your gallery. The available tabs depend on your role and site configuration.

Manage content
Add, remove, and organize the media that appears in your gallery from a single, media-focused view.
For the full guide, see Manage gallery content.
Manage channel
View and manage channels associated with the gallery. You can add channels that you own or manage and remove existing channel associations.
For the full guide, see Manage channels in a gallery.
Content moderation
Review and approve or reject media before it becomes visible in the gallery when content moderation is enabled.
For the full guide, see Moderate gallery content.
Roles & permissions
Manage who has access to the gallery and what they can do by adding users, assigning roles, updating permissions, transferring ownership, and removing access.
For the full guide, see Manage gallery roles & permissions.
Details
Update the gallery title and description, set privacy, and manage other core gallery options.
For the full guide, see Edit gallery details.
Settings & layout
Choose how the gallery is structured and displayed by selecting a layout, showing or hiding sections, setting the default section, and adjusting media display options.
For the full guide, see Configure gallery setting & layout.
Available tabs and settings depend on your role and admin configuration.
