About
DIY live broadcasts let you stream a live event directly from a Kaltura Studio room. After creating the event, you launch the studio and start broadcasting.
DIY live broadcasts automatically transition from live to VOD, so the recording is published when the broadcast ends.
Create a DIY live broadcast
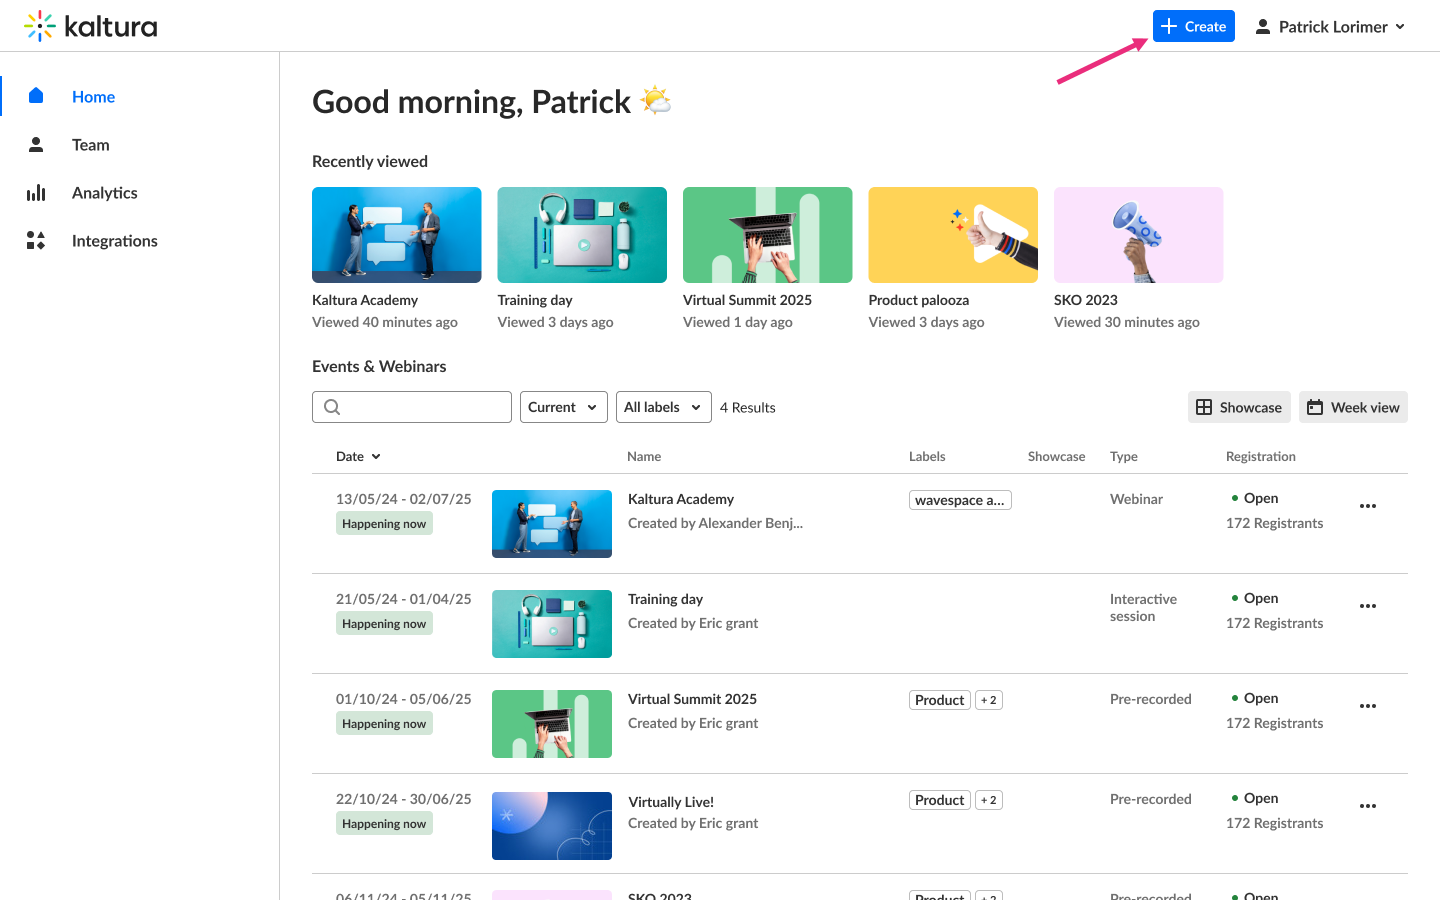
- Log into your Kaltura Virtual Events account. The homepage displays.
- Click the blue + Create button in the upper right corner of the screen.
- Choose the DIY live broadcast template.
- Complete the following details:
- Title - A title for your event (char limit is 120).
- Short description - A description for your event.
- Event format - Choose single session or multi-session. For information on these formats, see Single-session vs multi-session events.
Looking for more information about the Single session event experience? Feel free to contact your Kaltura representative.
- Set the event schedule:
The 'Get started with a template' page displays.

If your Kaltura Virtual Events account includes Custom templates, the Get started with a template page shows two tabs: Presets and Custom. If Custom templates aren’t configured, only Preset templates appear.

The 'Let's get started' window displays.

- If you chose Single session, enter a start date and time, duration, and time zone.
- If you chose Multi-session, enter the event start and end times and time zone.


This option is only available for Preset event templates and, after creation of event, can only be changed by Kaltura. On Custom event templates, this will be preconfigured by the template.
The building process begins, which may take a few minutes.
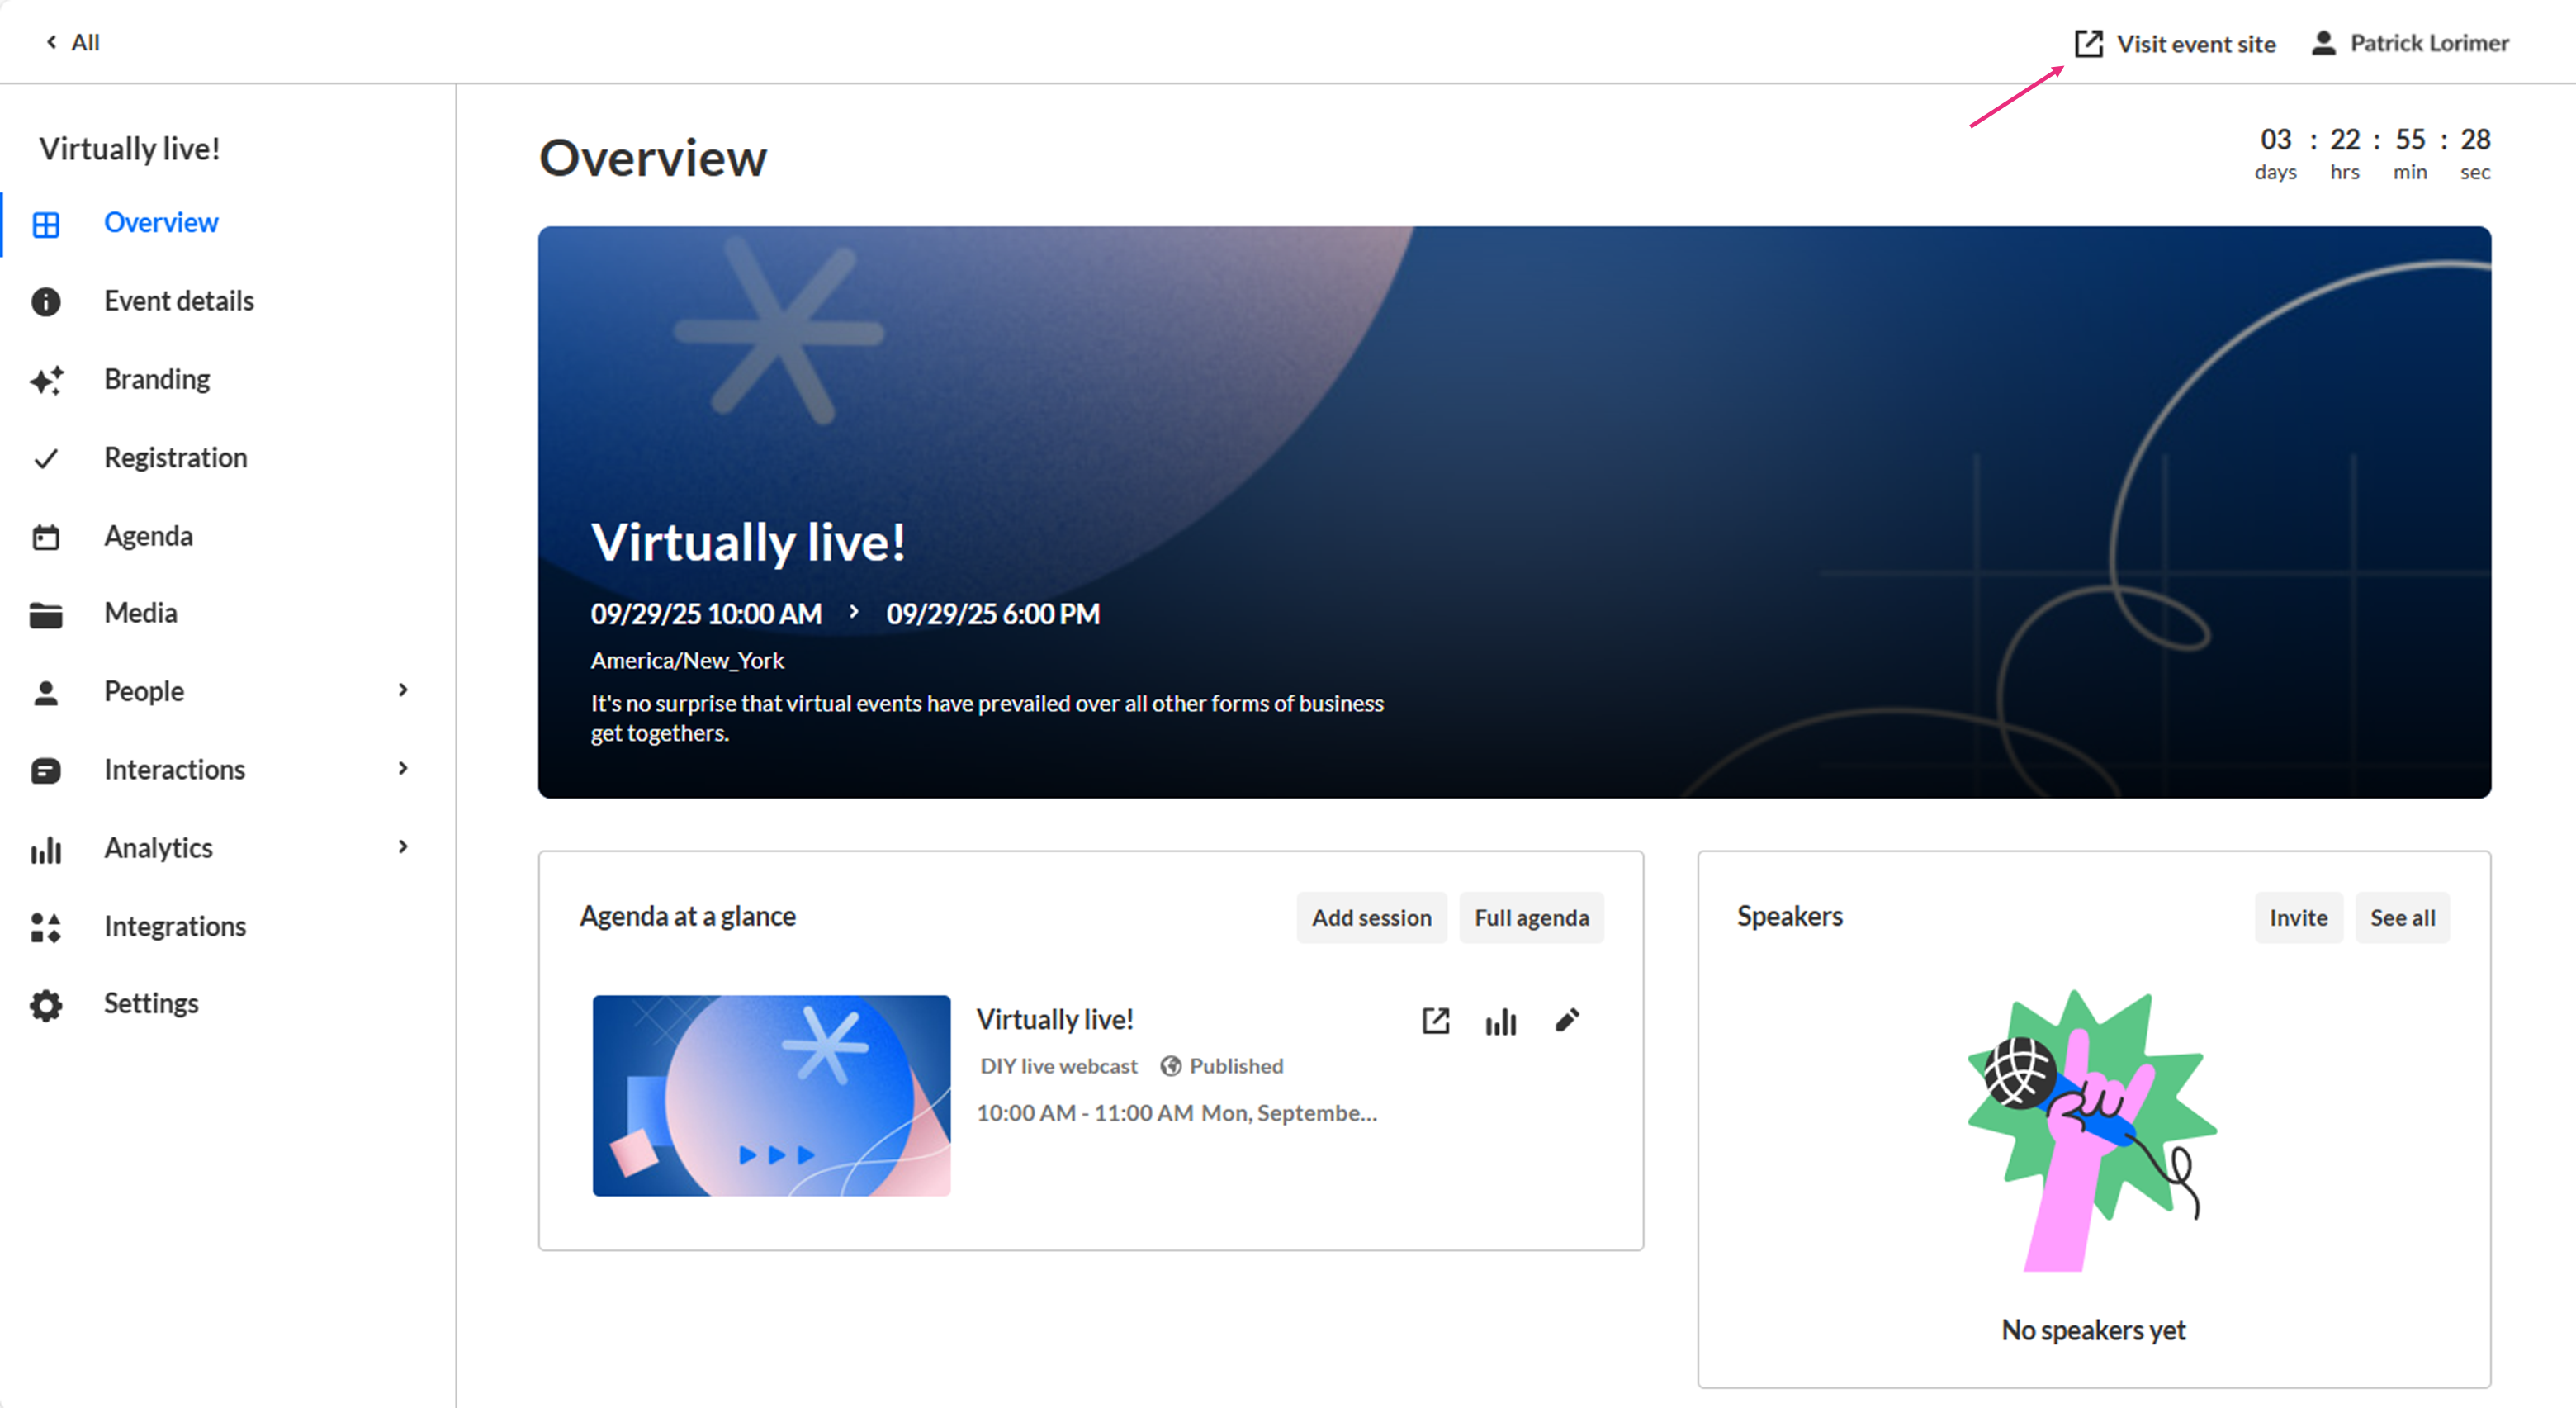
View your new event
Once the event is created, it appears on the Overview page, which opens by default. At this stage, the event site and registration aren’t published yet.
 Overview page of multi-session event
The Overview page shows key details, including:
- Event status - a countdown to when the event will start, "Happening now", or "Ended [time period] ago"
- Event details - name, scheduled date/time duration, time zone, and description (if provided).
- Agenda at a glance -A list of event sessions with access to each session’s page, analytics, and editing options
- Click Add session to add a new session*
- Click Full agenda to open the Agenda page
- Speakers - A list of invited speakers, including headshots, bios (if provided), registration status, and editing options
- Click Invite to add a speaker
- Click See all to open the Speakers page
The Overview page also includes a link to the event site. Click Visit event site at the top right corner to preview it.
To learn more, see Getting to know your event site, session page, lobby page, and main stage.
*For more information on adding sessions, see:
- Add an Interactive Room session to your event
- Add a Live Webcast session to your event
- Add a Pre-recorded session to your event
- Add a DIY Live Webcast session to your event
