About
Use the Templatepages and Custompages modules to create custom pages for your Content Hub, such as landing pages, campaign pages, event pages, and homepages.
First, create and configure the page in the Templatepages module. Then publish it by assigning a URL and permissions in the Custompages module.
This feature requires the Theming module, Templatepages module, and Custompages module to be enabled
Create a custom page
Create the page
- Go to your Configuration Management console and click on the Templatepages module. You can also navigate to it directly using a link: https://{your_site_URL}/admin/config/tab/templatepages.
- The Templatepages page opens.
- Click the +Add TemplatePage button.
- Give your page a name, set the navigation type, and set the hero type.
- Click Save.


Additional fields display.

For more details, see the Templatepages module article.
Enable the page
- Navigate to the custompages module at https://{your_site_url}/admin/config/tab/custompages.
- Click the +Add CustomPage button.
- Click Save. You now have a new page available for you to use with a unique URL.

For more details, see the Custompages module article.
Make the page available from your site
The URL for your page can be used in a few locations, or can be shared via emails and not be directly available from the site.
To make the URL available on the site, use any one of the following modules as an example:
- Navigation module - to add the page to the navigation bar
- HeaderMenu module - to add the URL to the header or the user menu
- Footer module - to add the URL to the footer
- HelpPage module - to add the URL to the help page
- ListPage module - to add the URL to any of the playlist pages
You can also add it as a link to entry or channel descriptions, and even on other template pages.
Examples
Use a custom page as your homepage
There are two ways to set up a homepage in the legacy Video Portal - by using a URL or by using the 'custom page' option:
Option 1: Use a URL
Follow the instructions above to create a template page, and then a custom page with a dedicated URL such as https://site_url/home.
Turn off the home module to work with the template pages.
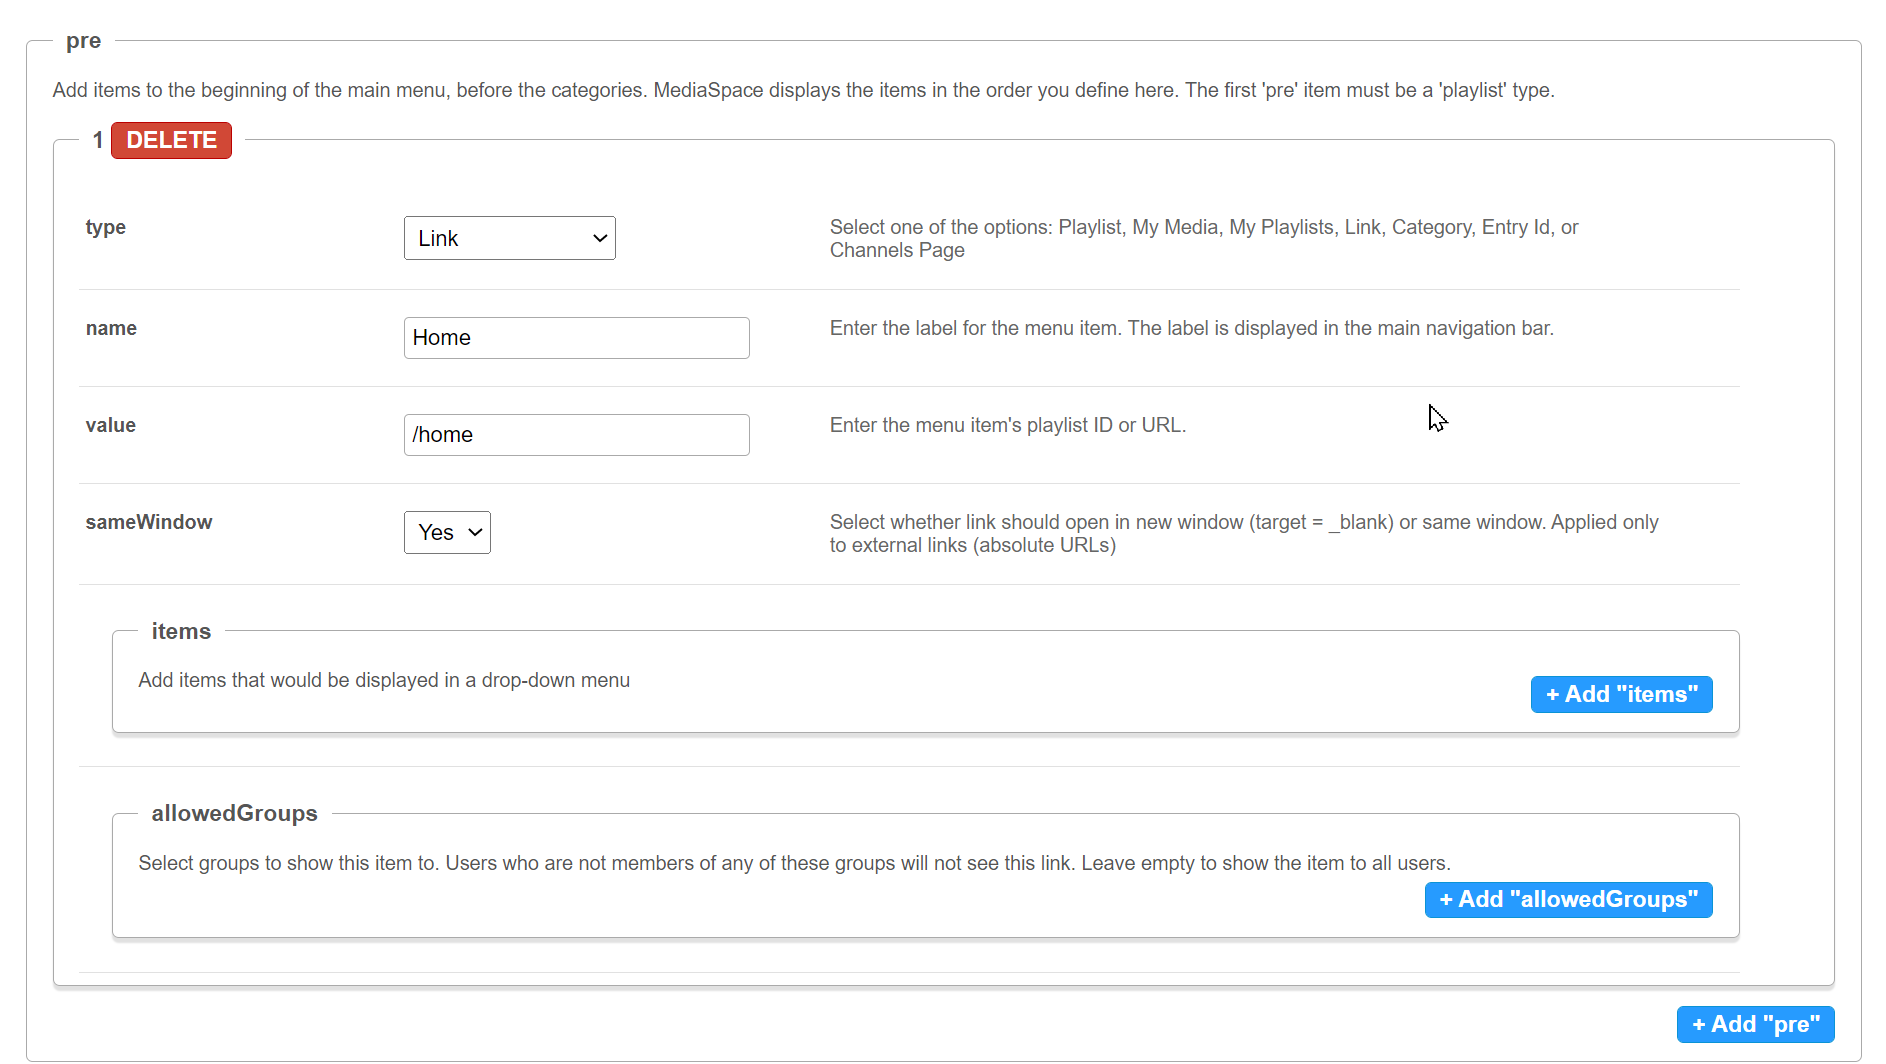
In the Navigation module, set the first "pre" element as described below:
- Type = Link
- Name = Home
- value = /home
- sameWindow = Yes
Option 2: Use a custom page
In the Navigation module, set the first "pre" element as described below:
- Type = Custom page
- Name = Home
- page = Choose the 'home' page you created from the drop-down list

Set up multiple homepages
You can setup multiple homepages for different user groups.
Follow the instructions above to create a few template pages and then custom pages. At this point you should have a few working pages with a dedicated URL for each such as https://site_url/home_en, https://site_url/home_fr.
Turn off the home module to work with the template pages.
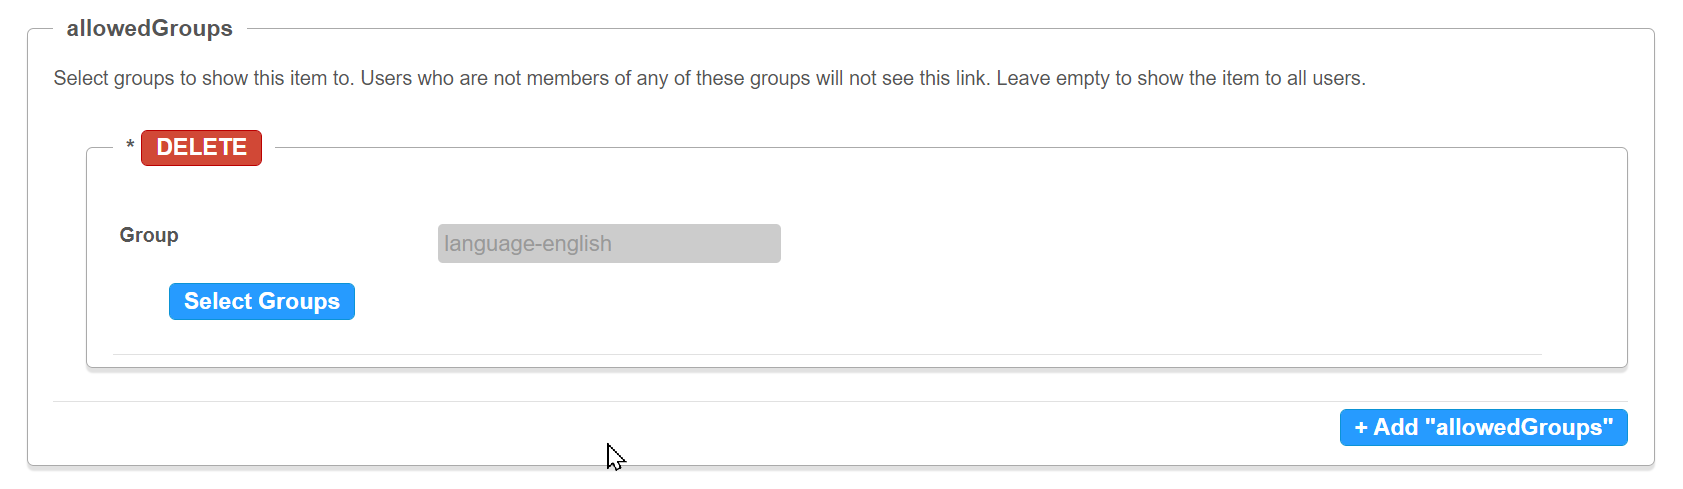
- In the Navigation module, set the first "pre" element as described below:
- Type = Link
- Name = Home
- value = /home_en
- sameWindow = Yes
- Type = Link
- Name = Home
- value = /home_fr
- sameWindow = Yes
You can continue with this process for more groups. Any user not in these groups will have the next available "pre" elements as their homepage (can be a generic page such as "My Media" or "All Channels").
Add a registration component
You can add the Registration component to a custom page or homepage to let users register without leaving the page.

To configure the component, see Templatepages - registration).
Below is an example of the Registration component on a homepage: