Configure
- Log in to the application Configuration Management page.
- Go to the Browseandembed module.
- In the enableNewBSEUI field, set the value to v3.

- Display or Hide the Embed Settings icon. Set the EmbedSettingsButton. Select ‘Yes’ to display the Embed Settings button, allowing users to change the embed settings before embedding media. If not set, users will not have the option of changing the embed players or their sizes.
 To use the players that are used for My-Media and Media Gallery as the BSE player:
- Set the EmbedSettingsButton to Hide. Media types other than ‘video’ will load with players set in the dedicated modules (e.g. audioEntry, imageEntry, Quiz, kwebcast).
- If left empty, the BSE Player will become the default.
- If the BSE Player is also empty, the KAF main player will be used.
To set a dedicated player as the BSE player ( or for each media type): - Set the EmbedSettingsButton field to Show.
- Navigate to the EmbedSettings section and click addEmbedSettings for each type of media you want to set up with a dedicated player.
- Enter values for the fields in the EmbedSettings section.
- Be certain to provide a meaningful player name for the users to be able to understand what type of player is being used. For example “with download button” or “transcript widget enabled”.
To learn more, see Setting a Dedicated Player for a Specific Media Type for MediaSpace and KAF Applications.
-
Enter the BSEPlayerID. You can use an existing player ID. Media types other than ‘video’ will load with players set in their dedicated modules (e.g. audioEntry, imageEntry, Quiz, kwebcast). If left empty, the BSE Player will become the default. If the BSE Player is also empty, the KAF main player will be used.
- Optional - Configure the Assignment Submission Features.
enableAssignmentSubmission
This feature enables an additional pop-up screen when selecting media in Browse, Search, and Embed to verify if the user is submitting an assignment. If confirmed, the selected entry will be cloned under a different user name to prevent editing and deletion.
assignmentSubmissionText
Determines the text that will appear on the pop-up message when submitting an assignment. In case left empty, the default message will appear.
assignmentSubmissionMaxRole
This sets the highest role level which will see the pop-up upon selecting an entry in Browse, Search, and Embed.
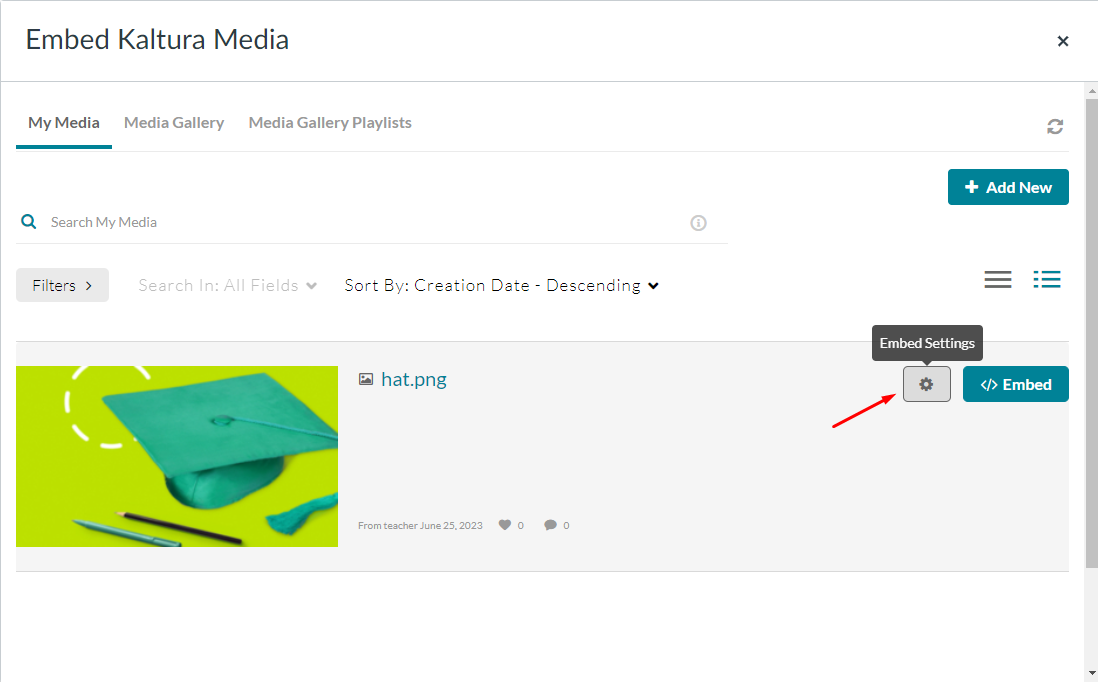
- Configure the EmbedSettings. The field in this section determines how many players and their respective sizes will be available for embedding media, per the type of media.
- Click +Add Embed Settings.
-
Enter the playerDisplayName. In this example, "Player for Marketing".
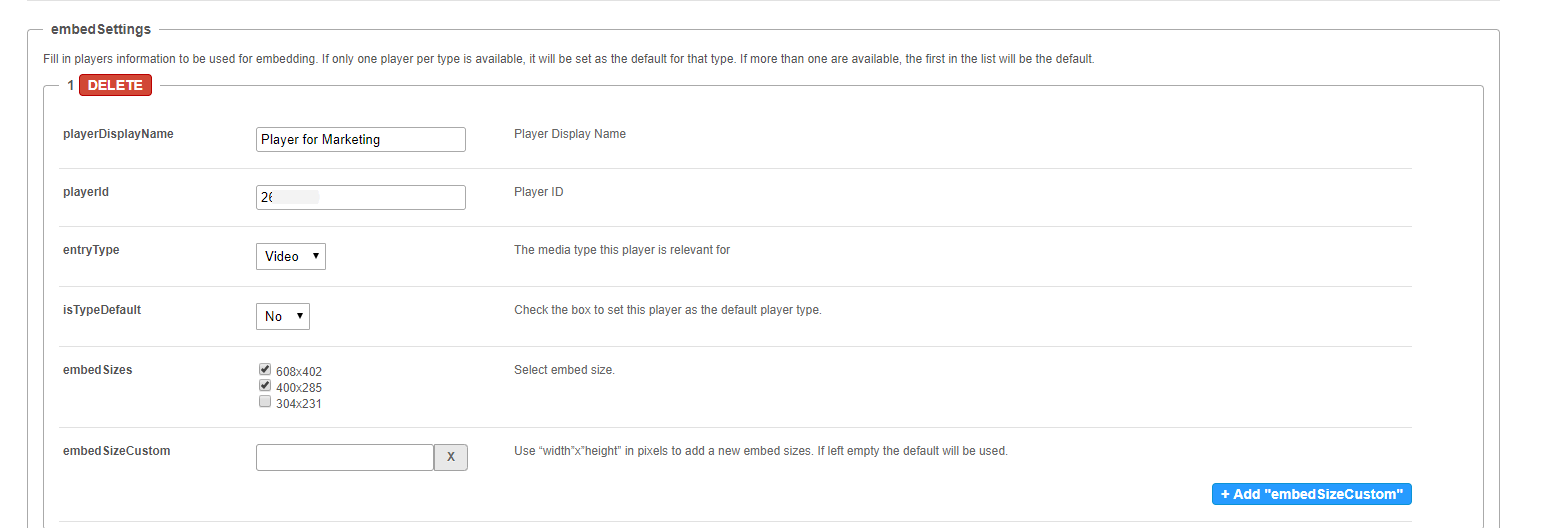
- Enter the playerId. If the playerID is not set for an entry type in the BSE module, the default entry’s module playerID is used. If that module player is also empty, the main ‘BSEPlayerId’ for that type is used.
- Select the entryType.
- Select whether to set this player as the default player for this type of media.
- Select the embedSizes. Preconfigured sizes are set for you. In the above example, two sizes are checked. If you want to customize the player size, go to the next step.
- (Optional) Click +Add embedSize Custom and enter a value for the “width”x”height” in pixels to add a new embed size. If left empty, the default will be used.
- Click Save.
 To use the players that are used for My-Media and
A single player ID can hold several size options but should only be set once on this page. Configuring the same player ID multiple times might result in unexpected behavior.
User Interface
The following example displays two players' options at the disposal of the two departments. The player named "Player for Marketing" has two sizes configured for embedding. (shown in the figure in Step 7.)

Users can:
- Determine the display of the embed (whether the display is Auto Play or Thumbnail Embed. Either option should be toggled on/off by the user.
- Set as their default settings for the type of media they are embedding. ( Check the Default settings box to save as default).
-
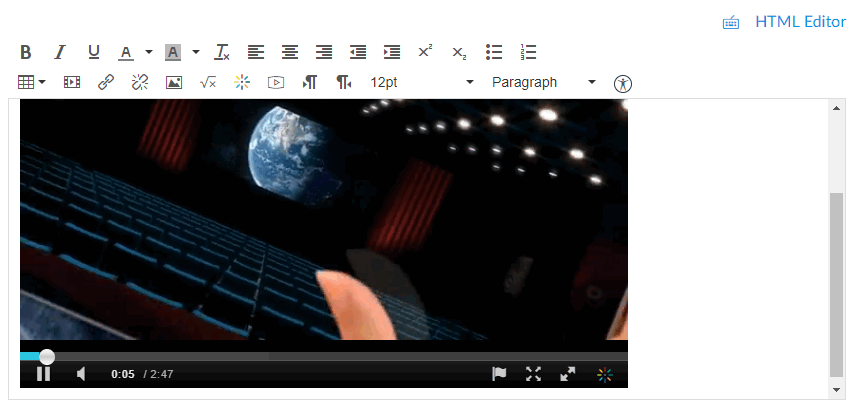
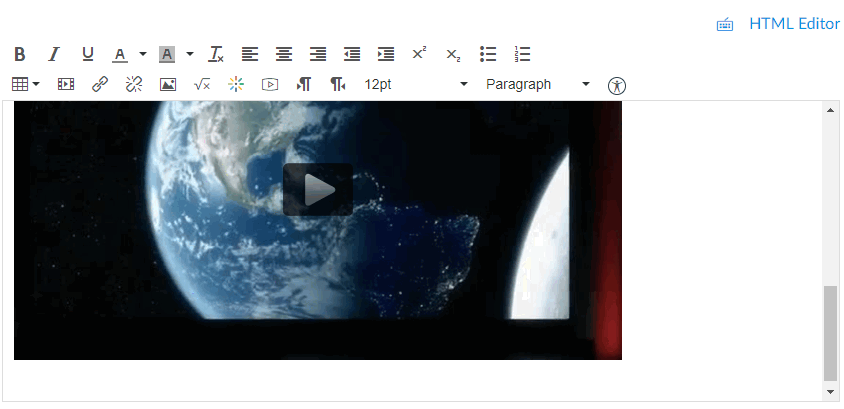
Example of Autoplay
Example of Thumbnail Embed
Tip - Use this opportunity to update the players in the KMC studio to the latest player version.


Notes:
Some LMSs do not support the thumbnail embed and auto-play features with Kaltura Player V7.
We're working on it, so check back soon!

