About
The Application module lets you manage global settings for your Video Portal. You can control how the site appears, configure language options, manage user actions on media, and adjust display and performance settings.
Configure
1. Go to your Configuration Management console and click the Application module. You can also navigate to it directly using a link: https://{your_site_URL}/admin/config/tab/application.
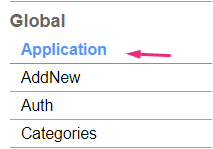
The 'Application' page displays.

2. Configure the following:
Preset fields
These values are set during installation and can't be edited:
- instanceId - The unique identifier for the legacy Video Portal (aka MediaSpace). Can be used to differentiate the instance in the Rich Media CMS analytics.
- privacyContext - Applied to the root category and used for privacy enforcement.
- userRoleProfile - Metadata profile ID that defines user roles for this instance.
- virtualEventID - Event ID used for analytics and required for Application Registry features. If empty, some instances may display a Generate Event ID button which you need to click to to enable the ID.
Application registry
Use the applicationRegistry to subscribe an application to various microservices, primarily Authbroker, but also others:
- mainSiteAlias -The primary site domain (hostname only, no protocol), for example: videos.kaltura.com. This value is usually populated automatically by the Event Platform Manager.(/p>
- appRegistrationID - The application registry ID - a prerequisite for the Application Registry feature set (such as AuthBroker). If empty, some instances may have a Register App button which you need to click to to enable it.
- userProfile - This field indicates the use of the User Profile for registration. Application must be registered in order to use this field. The default value is "1" , and only a Kaltura administrator is authorized to modify it.
Set the title of the application
title - The site title displayed in the browser tab and search engine results. Page titles combine the media name and the site title.
Set the site's footer
footer - Enter the footer text. The default is 'MediaSpace Video Portal by Kaltura'.
Add JavaScript to site pages
These fields inject JavaScript into all non-admin pages. Use them only if you’re familiar with the code being added.
- headerJS - Enter any JS to be run on all Video Portal headers.
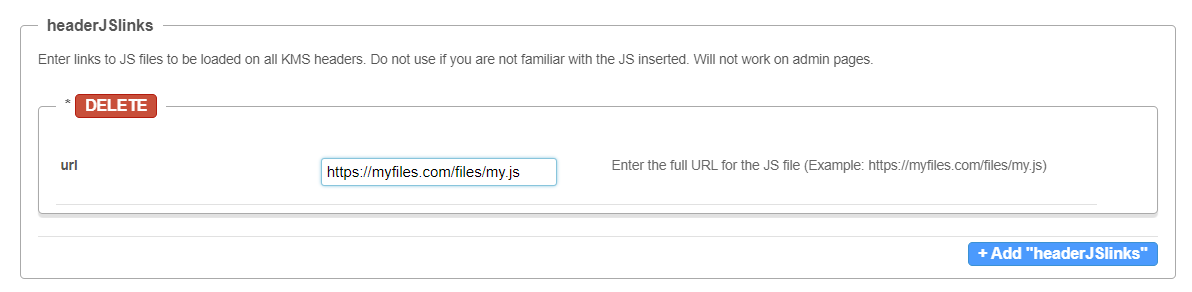
- headerJSlinks - Enter links to JS files to be loaded on all Video Portal headers.
- Click +Add "headerJSlinks".
- url - Enter the full URL for the JS file (for example: https://myfiles.com/files/my.js).

- bodyJS - JavaScript that runs at the bottom of the page.
Set compatibility mode
forceIECompatibilityMode - Set to 'Yes' if you want Internet Explorer to use the latest rendering engine even when Compatibility Mode is on. By default, when Compatibility Mode is on, Internet Explorer uses IE7's engine to render pages. Turning on this option makes Internet Explorer use the latest rendering engine instead. For more details, please visit the link.
Since IE Is no longer supported, this field is only left for backward compatibility. Keep the value default if you are a new admin.
Add a theme
theme - This field is only left for backward compatibility. Keep the value default if you are a new admin. If your instance is configured with the Theming Design System, please see the Theming module.
Set the UI language(s)
languageConfiguration - Configure your instance to enable users to select a different language or multiple languages for their user interface. All non-configurable text in the UI will be automatically translated. However, manually entered text, such as category names or entry titles, will remain unchanged.
You can download a list of text resources for your instance in the Languages module > DownloadLocaleText.
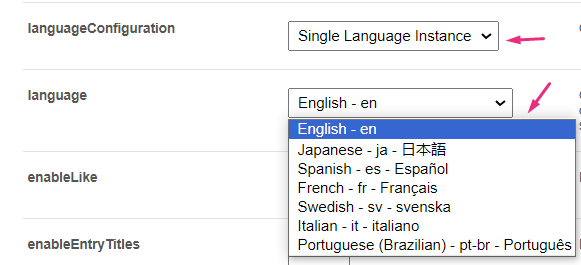
To enable a single language, select Single Language Instance and choose the language from the language drop-down menu.
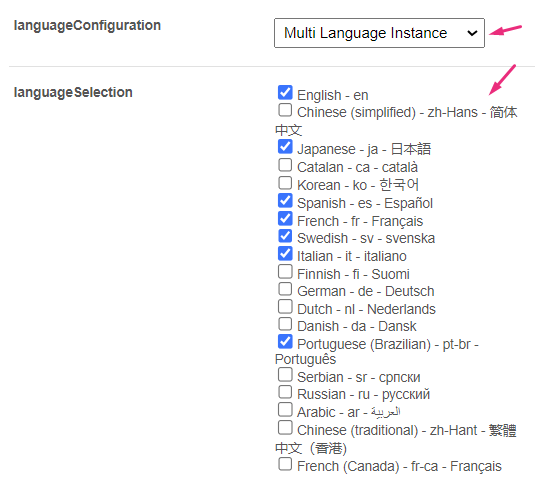
To enable multiple languages, select Multi Language Instance and choose the different languages you want to enable from the languageSelection menu (below).
languageSelection - Click the boxes next to the languages you want to display on the user interface.
You can edit existing languages and add custom languages using the Languages module. See Supported languages in Kaltura applications for a list of supported languages.
showLanguageFlag - Select 'Yes' to show the available languages with the flag. Select 'No' to show the first 2 letters representing the language.
Language flags are not displayed in the Theming navigation bar.
language - Select the default language for new users. In the Video Portal, when users change the language from the dropdown menu, it will be saved on a persistent cookie. In KAF-based LMS, the language on Kaltura elements will match the language set by the user in the LMS settings.
User experience for Theming users:

Enable "Likes" and displaying entry titles in the URL
- enableLike - Set to 'Yes' to enable the 'Like' feature for entries.
- enableEntryTitles - Set to 'Yes' to include the media title in the URL of the media page when browsing the site and sharing a link to the media.
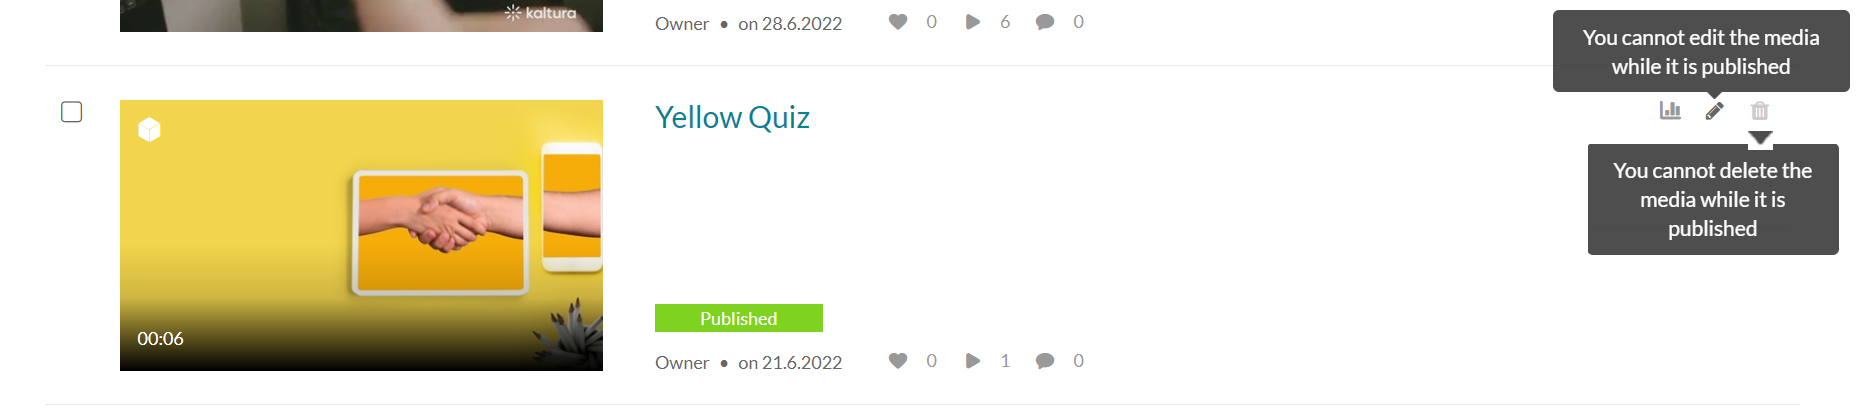
Restrict editing or deleting published entries
If you're worried about accidental deletions or edits to published content, you can restrict these actions. Simply set the corresponding fields to "No" and save. This disables the Edit and Delete icons for published content.
- allowEditPublished - Set to 'Yes' to enable editing of published entries.
- allowDeletePublished - Set to 'Yes' to enable deletion of published entries.

enableEntryDelete - Set to 'Yes' to enable deleting media from your Video Portal.
Configure display options
enableViews - Choose which count indicator is shown across the site and which sorting options are enabled for media lists (such as My Media, search results, and media pages).
This setting controls:
- Whether Plays, Views, or no count indicator is shown
- Which sorting options are available (Sort by Plays, Sort by Views, or none)
The behavior may differ slightly between Theming pages and non-Theming pages.
Available options:
- Plays only - Shows the Plays indicator and enables Sort by Plays for playable entries.
- Plays and Views - Shows Plays and Views indicators in Theming, while in legacy to show Plays indicator instead of Views (and enable both sorting options).
- Do not show - Hides the count indicator and disables related sorting options (on non-Theming pages, this option falls back to Plays behavior).
- Views only - Shows the Views count indicator and enables Sort by Views for playable entries (on non-Theming pages, this option falls back to Plays behavior).
Images always display Views when a count indicator is shown, regardless of this setting.
Below is and example of an entry in My Media showing Views and Plays:

Below is and example of the sorting options in My Media showing Views and Plays:

- showPageTitles - Set to 'Yes' to display the page titles. Note that this feature applies only to specific pages and will not function on Theming pages.
- showCreatedByIndicator - Set to 'Yes' to show the ‘Created By’ indication on the media page and in the global search.
- showCreatedfromIndicator - Set to 'Yes' to display on the media page the original content from which media was created, such as clips or quizzes (as demonstrated in the image below).

- enableUnlisted - Set to 'Yes' to enable setting entries as unlisted. An unlisted entry may be viewed by anyone with the link to the entry page but will not appear in any search results.
enableUnlisted is supported only on the Kaltura legacy Video Portal (KMS). This feature is out of support for LMS apps that are restricted to authenticated users only.
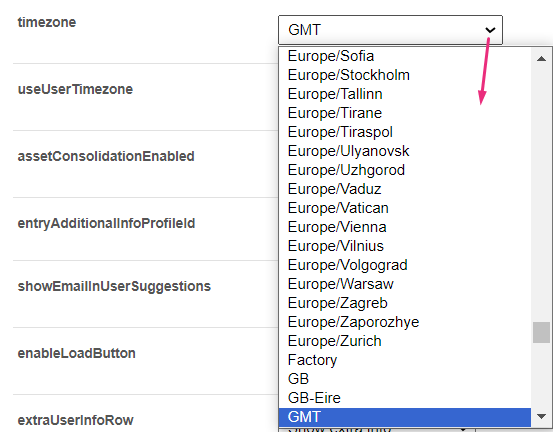
- timezone - Choose which timezone your Video Portal should use to present times and dates.
- useUserTimezone - Set to 'Yes' to show webcast and scheduling time in the user's time zone.
Configure additional display options
- assetConsolidationEnabled - Enable assets (js/css) consolidation and minification. Setting this field to 'Yes' will provide a faster load of the pages. Set to 'No' when looking to validate and investigate through the site's JS and CSS.
- showEmailInUserSuggestions - Set to 'Yes' to show the user's email address in the user suggestions box when searching for users.
- enableLoadButton -Replaces endless scrolling with a Load More button on supported pages.This setting doesn’t apply to Theming pages, which use pagination.
Set the user management window display
extraUserInfoRow - Choose what column to show on the user management table.
- Show extra info - displays the Extra Data column in the User Management window
- Show Registration Status - displays the Registration column in the User Management window
ssoDomains
Click +Add "ssoDomains" and enter the email domains for SSO users. SSO users are instructed to login using the SSO authentication method, and are not allowed to:
- Login through Kaltura login
- Register in the external registration form
- Use the forgot password flow
Supported formats: xxx.yyy or xxx.yyy.zzz (for example, “domain.com” or “sub.domain.com”) 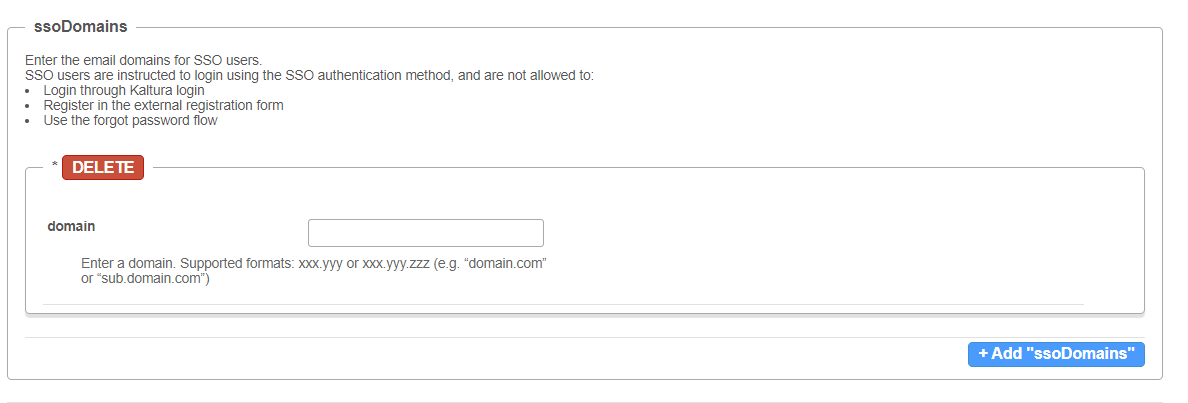
3. Click Save.
