About
This module allows you to setup a vanity URL or 'alias' for a particular Video Portal or KAF instance. You also can view your current site hostnames, add new hostnames and set a main alias.
Prerequisite
To setup a new hostname for your application, you should first contact your IT department / web host provider, and ask that they configure a CNAME DNS record to point the new hostname to your instance hostname. Visit our article Set up Alias Hostname for KMS and KAF for more information.
Enable the module
1. Go to your Configuration Management console, and navigate to the Hostnames module. Your link should look like this: https://{your_video portal_URL}/admin/config/tab/hostnames.
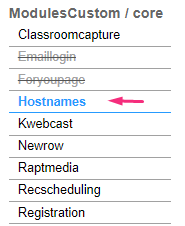
If you don't see this module in your list, please contact your Kaltura representative to enable it for you.
2. In the Hostnames window, set enabled to 'Yes'.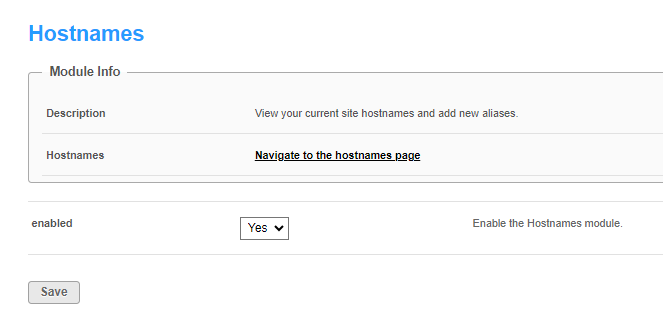
3. Click Save.
Add a hostname
1. Click the Navigate to the hostnames page link, or navigate to https://{your_site_url}/hostnames/admin/hostnames.

The Application Hostnames page displays.

Here you can see all current hostnames for the application.
2. Click +Add Hostname.
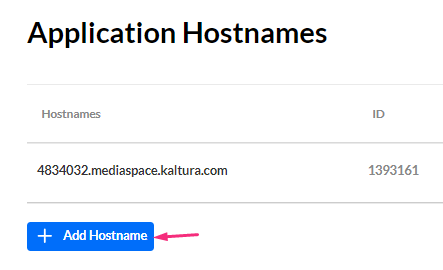
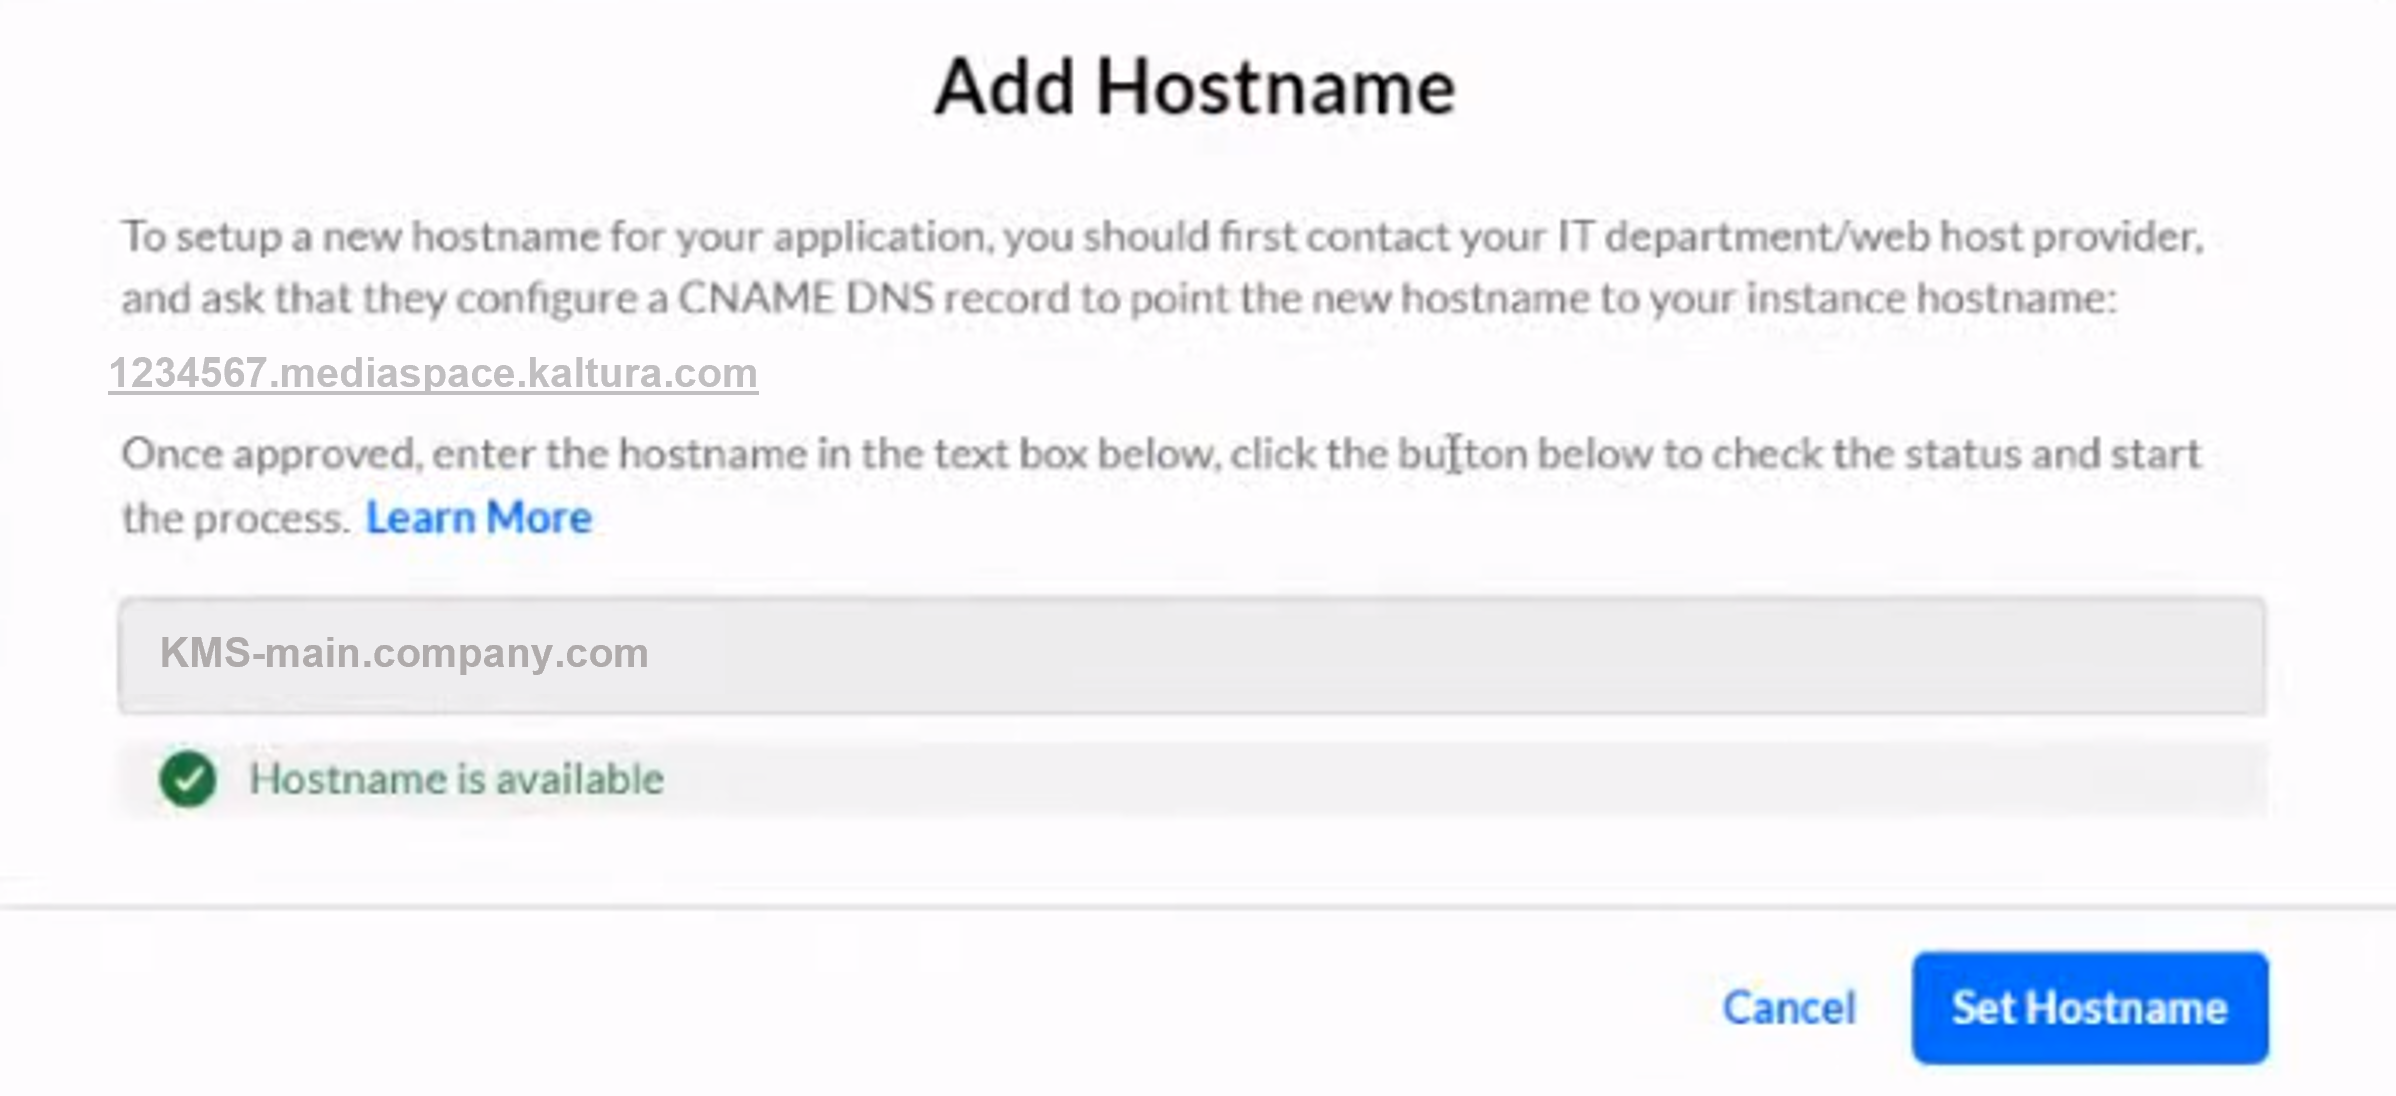
The Add Hostname box displays.
3. Enter your chosen alias, then click Check Availability/Ownership.

The new alias will show in the list as pending.

A message will appear: 'The selected hostname is set in the background. You can refresh the page to check the status of the new hostname.'
The setup process happens in the background, and the status will change automatically to Ready once the process is completed.
4. Once you've received the confirmation Hostname is available, click Set Hostname.
Set a main alias
1. Locate the desired hostname and click the 3 dots menu at the end of the row
2. Select Set as main alias.

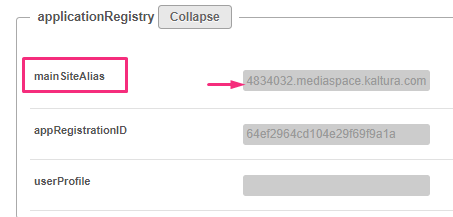
The main alias you choose will automatically appear in the Application module in the mainSiteAlias field (as shown in the image below).
