About
Kaltura Express Capture lets you record content directly from your browser - no extra software needed. It’s available on all Video Portal and LMS Video instances and provides quick access to your webcam recorder with a single red button.
These instructions are for non-Theming users. If you don't have Theming enabled on your account, please see our article Express Capture.
Before you start
- Make sure your browser supports WebRTC. For details, see the Express Capture supported browsers & devices guide.
- Express Capture is not supported on mobile iOS devices, and you may see an error after recording or be unable to save your video. For best results, use Express Capture on a desktop browser that meets the supported browser and device requirements.
- Your site must be configured to use HTTPS - Express Capture does not work over HTTP.
- The Recorder module to be enabled in your Configuration Management console. Once enabled and saved, a V7 player is automatically created.
Create a recording
From the Add New drop-down menu, select Express Capture.

The record media page displays.

(Optional) Set the camera or audio Settings. The default settings are your personal computer's webcam and audio device.
If you accidentally block access to your camera or microphone, and Express Capture won’t load, see What to do if you get locked out of Express Capture for steps on how to fix it.
Select the camera to use
- Click on the arrow to select the source camera (if you have multiple cameras) or audio device (if you have multiple audio devices) and to turn the camera/audio/screen capture on/off.
For LMS Video applications, the screen is displayed with 'back' option.
- Click on the arrow next to the camera to display the available cameras and the on/off toggle for the camera.
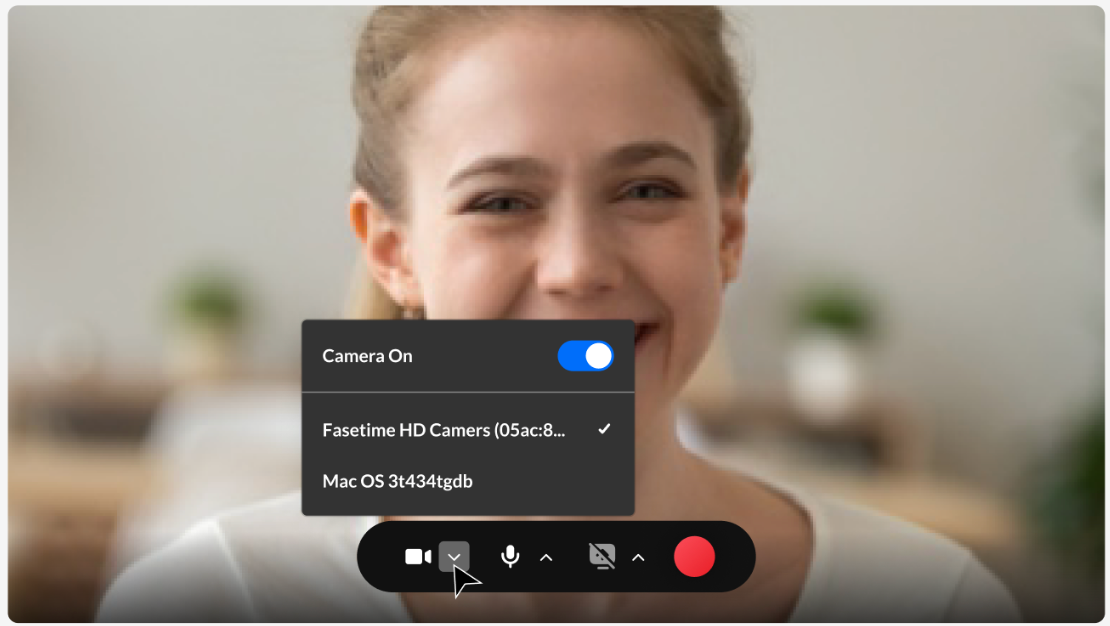
- Select the camera type.

Select your screen and audio
- Click on the arrow next to the screen option and the on/off toggle for the screen share.
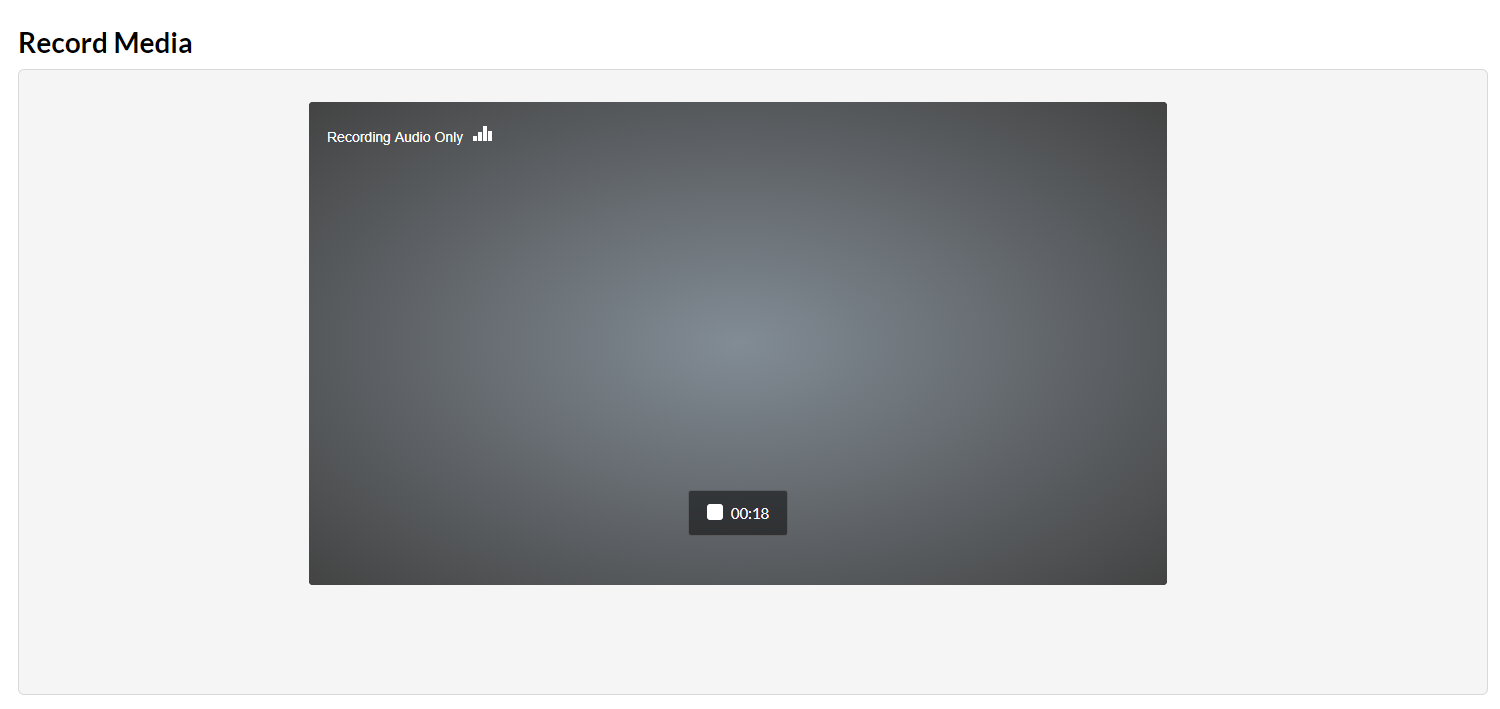
- Toggle the camera off if you want to create an audio only recording.
- Click the red button to start recording. The audio indicator displays if you are recording audio only.
- Toggle the audio off if you want to create a visual-only recording.
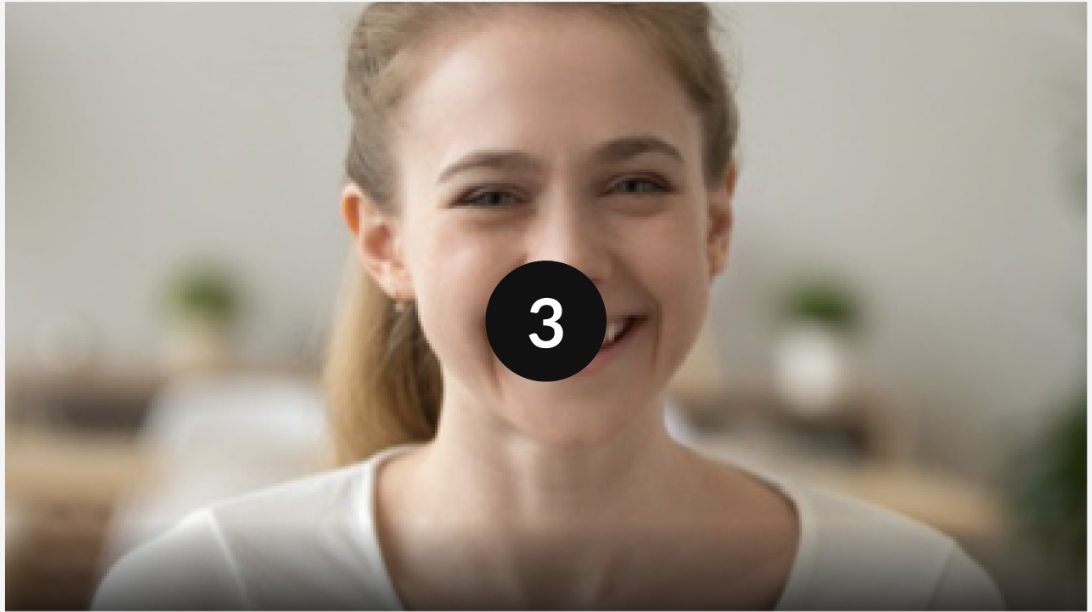
- Click the red record button to begin your recording. A three-second countdown begins.
- Start recording.
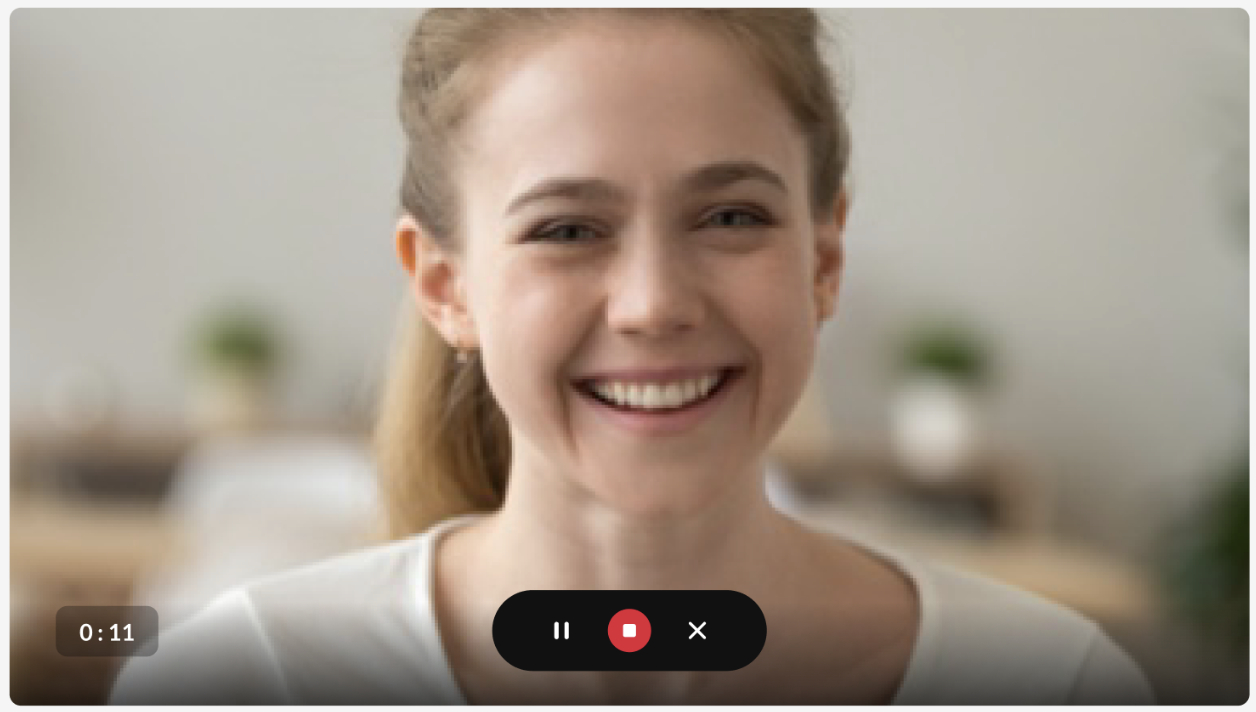
- Click the red stop button to finish.
Screen capture can be enabled only when the camera and audio are enabled.
Both the camera and audio can not be turned off at the same time.
A timer displays to the left of the screen during your recording.
A window displays with the following buttons: Record again, Download a copy, and Use this.

In the case of multi-stream video (if you are recording both the camera and sharing your screen), the streams are presented one above the other on the preview page and have the same controllers.
Choose from the following options:
- Record Again to discard and try again
- Use This to upload the current version to Kaltura.
- Download a Copy to download a copy locally before you upload your file.
View your recording
Once the upload is complete:
- Open My Media.
- Your recording is saved automatically with a default name, such as:
- Video Recording - July 23, 2022 7:43pm EST
- Audio Recording - July 23, 2022 7:43pm EST
The entry details page shows the recording’s metadata and lets you make edits, depending on how the file was added:
- If the recording was added from My Media or anywhere in your video portal, you’ll see a 'Publish' option on the upload page.
- If the recording was added via Add to Category (channel or gallery) or the Browse and Embed (BSE) tool, the 'Publish' option will not be available.
Keyboard shortcuts
| Action | Windows/Linux | Mac |
|---|---|---|
| Start Recording / Retake | Alt + Shift + R | ⌘ + Option + R |
| Stop Recording | Alt + Shift + S | ⌘ + Option + S |
| Pause / Resume | Alt + Shift + P | ⌘ + Option + P |
| Use Recording / Upload | Alt + Shift + U | ⌘ + Option + U |
Playback shortcuts depend on whether you’re using the V7 player or native video tag.
