About
The Home tab displays all the webinars in the account.
The Home tab is available to Organizers and account owners/admin.

Quickly access recently viewed webinars
The Home tab provides quick access to webinars you've recently viewed.

Clicking on any of these recently viewed webinars takes you to the Overview tab for that webinar.
Easily navigate to the Showcase page
Webinar organizers who have been planning and managing a variety of webinars may wish to "showcase" upcoming and past webinars to prospects and allow those prospects to register for upcoming webinars and/or watch past webinars on demand. Kaltura generates a "Showcase page" that webinar organizers can customize, share directly with prospects, and/or embed on the webinar organizer's own website. Access the Showcase page directly from the Home tab by clicking on the Showcase button.

See the Showcase page for detailed information on this feature.
Showcase capabilities are available only to account owners/admin.
Search and filter the webinar list
Search the webinar list by typing a keyword in the search field.

Filter the webinar list by expanding the All events & webinars pull-down and selecting All events & webinars, Current (ongoing and future webinars), or Past (ended webinars).

Further filter the webinar list by expanding the All labels pull-down and selecting from the list of available labels. You may also start typing the first few letters of a label and a list of matching labels will populate for you.

Webinar labels are a powerful way to categorize and filter your webinars. You can assign custom labels to each webinar, helping you to:
- Stay organized: Group similar webinars together by theme, target audience, department, or any other relevant criteria.
- Simplify searching: Quickly find specific webinars by filtering your list based on assigned labels.
- Boost efficiency: Save time by locating the webinars you need in a flash.
See Webinar Details tab - Edit the site details for information on adding labels to your webinar.
View pertinent webinar information
The Home tab displays all the webinars in the account and pertinent information. Information displayed includes:
- Scheduled dates of webinar
- Webinar status
- Webinar name
- Name of person who created the webinar
- Duration of webinar
- Whether or not this webinar is part of the Showcase page
- Registration information (including whether registration is opened or closed, and number of registrants)
Access editing capabilities and the webinar site
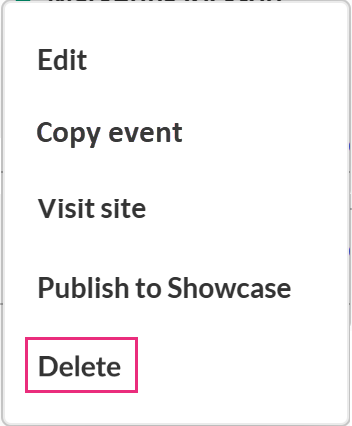
Edit a webinar, copy a webinar, enter a webinar site, publish a webinar to the showcase page (if you are an account owner/admin), and delete a webinar by clicking on the three blue dots to the right of the Registration column and choosing the appropriate option.
Edit
Click on the three blue dots to the right of the Registration column and choose Edit.
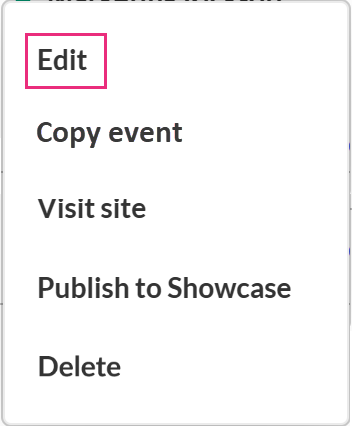
See Webinar Details tab - Edit the site details for more information on editing webinar details.
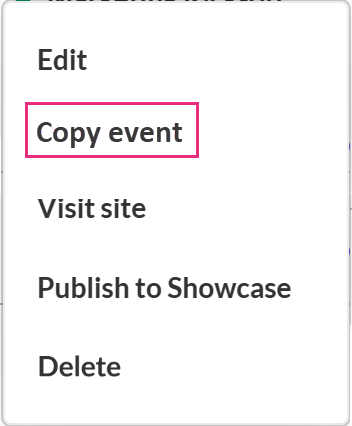
Copy event
You may choose to copy an existing webinar and save the time of configuring and setting up a new webinar from scratch.
Copying a webinar copies over the following data:
- Branding - Webinar banner image, logo image, and custom theme
- Emails - Both system emails and custom email templates
- Registration form
- Notifications and crowd reactions
- Chat Settings
- Webinar settings - Support email address and organizer name and image
- Users - Speakers, Moderators, and Event team (if selected).
Note that if users are copied, you may choose to send an email invitation to them upon creation of webinar.
All copied notifications are moved to draft status. Click the drop-down menu > Schedule post next to each notification to reschedule.
General attendees and media are not copied when copying a webinar.
- Click on the three blue dots to the right of the Registration column and choose Copy event.
 The Copy event page displays.
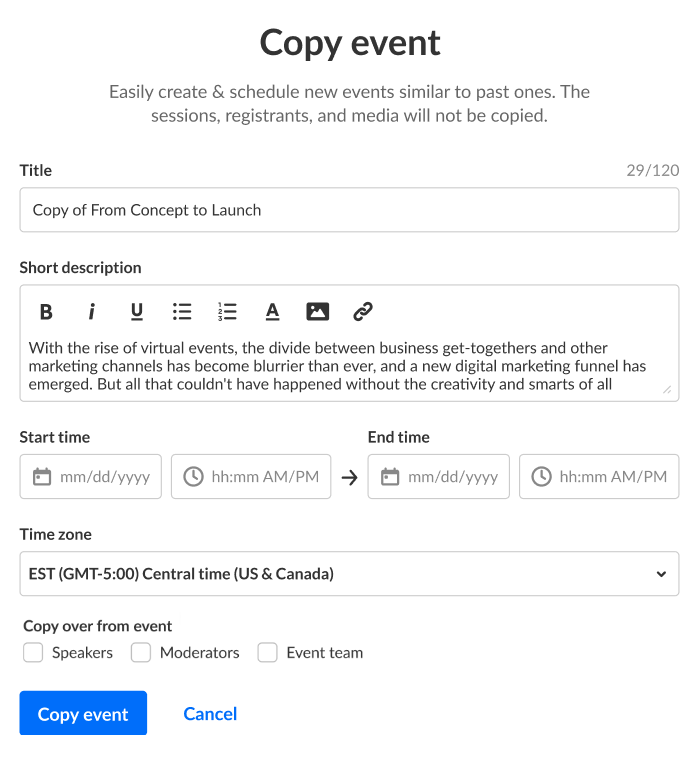
- Edit the following:
- Title - A title for your event (char limit is 120). Please note: Characters "<" and ">" are not supported.
- Short description - A description for your event.
- Enter the following:
- Start time - The day and time your event will start.
- End time - The day and time your event will end.
- Time zone - The time zone for your event.
- Choose whether to copy over Speakers, Moderators, and the Event team. Click the appropriate check box(es) as desired. The groups you select, including user details (title, picture, bio, etc.), will be copied over to the new event.
If you select at least one group of users, an additional option displays, Email invitation.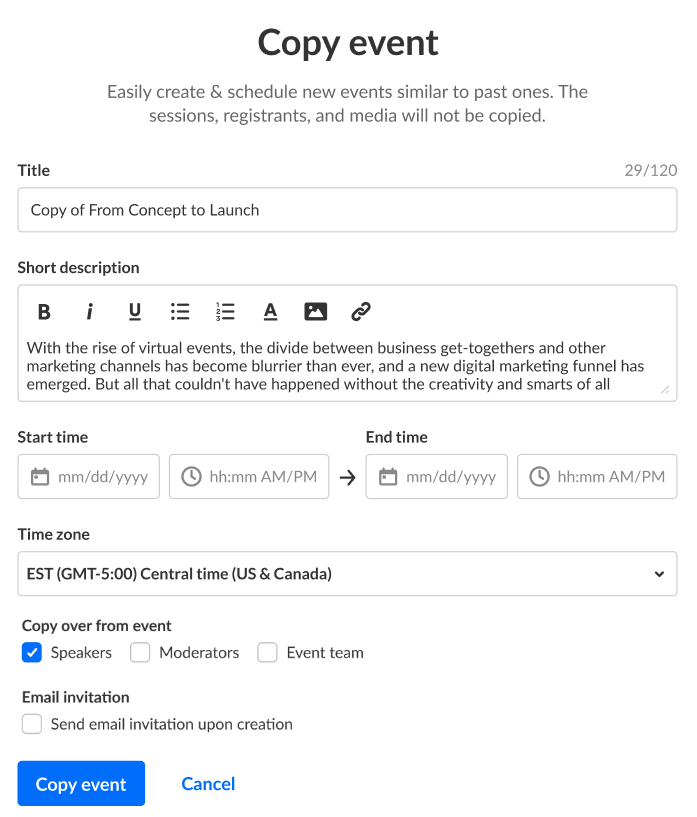 Choose whether to send an email invitation to the selected user groups upon creation of event.
 - Click Copy event. The copying process begins. This may take a few minutes.
 Once copied, the Event page of the copied webinar displays with the Home tab open by default.

 Choose whether to send an email invitation to the selected user groups upon creation of event.
 The webinar site and registration are not yet published at this point.
Visit site
Click on the three blue dots to the right of the Registration column and choose Visit site.
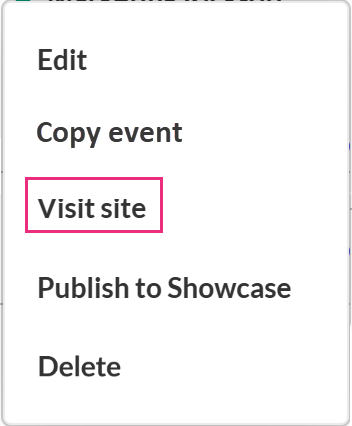
You are redirected to the webinar site. See Getting to know your landing page and webinar site for more information.
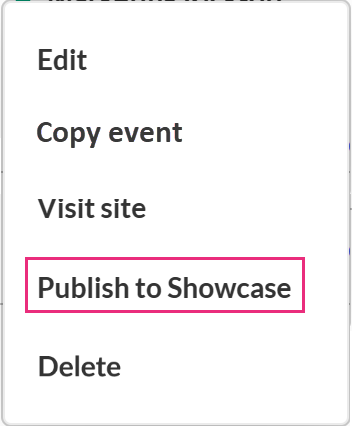
Publish to showcase/Change showcase settings
Click on the three blue dots to the right of the Registration column and choose Publish to showcase or, if the webinar has already been added to the showcase, Change showcase settings.
See Showcase page for detailed information on this feature.
Showcase capabilities are available only to account owners/admin.
Delete
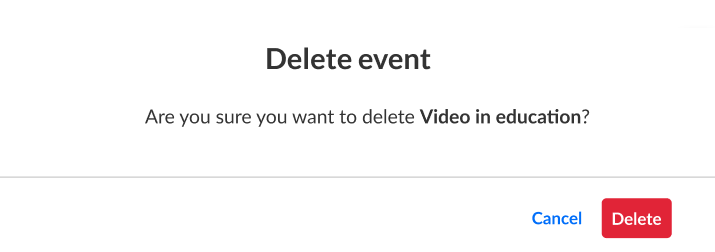
- Click on the three blue dots to the right of the Registration column and choose Delete.
 You are asked to confirm your action. Once deleted, the registration will be unpublished.
 - Click Cancel to exit or Delete to confirm.