About
The Team tab allows account owners/admin to add team members, edit team member information, and delete team members.
The Team tab is only available to account owners/admin.

Add team members
You may add team members as fellow administrators to help manage virtual classrooms.
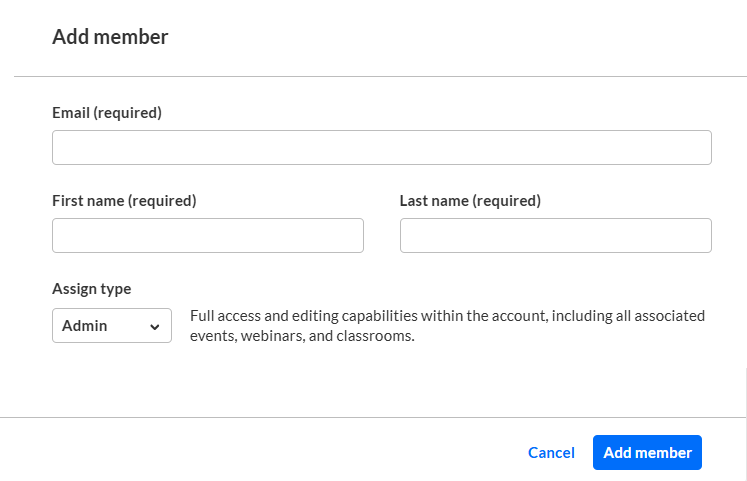
- Click Add member. The Add member screen displays.

- Enter email address, first, and last name of the new team member. These are all required fields.
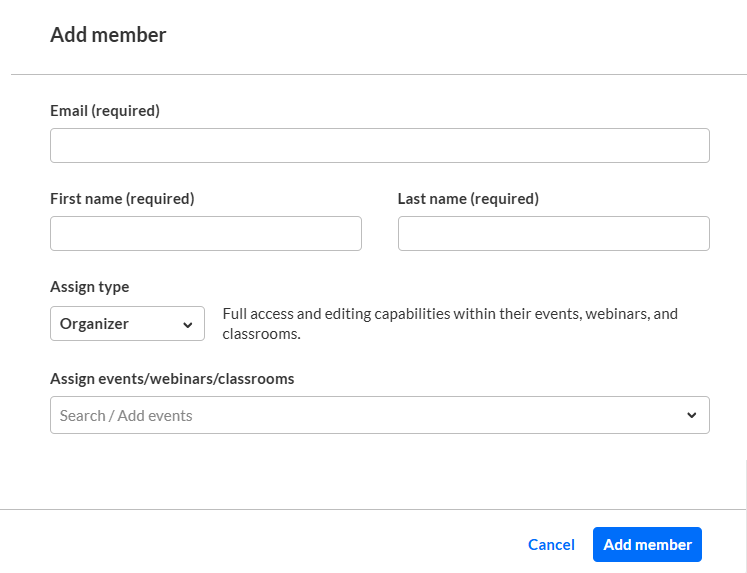
- Choose the type of team member this person will be - Admin (which will give them full access and editing capabilities within the account and all virtual classrooms), Organizer (which will give them full access and editing capabilities within the virtual classrooms they manage), or Content manager (which will give them the ability to create and manage the content of a virtual classroom, but will not give them access to analytics and reports).
- If you choose Organizer or Content manager, an additional field displays - Assign events/webinars/classrooms.

- Expand the pull-down menu to see all the available virtual classrooms, then click the boxes next to the virtual classrooms you would like this new team member to manage.
- Once you are finished entering information and making your selections, click Add member. The new team member will receive an invitation via email to sign up for and join the virtual classrooms.
Edit team member information
Once a team member is added, you can search for them and edit their information by clicking the three blue dots to the right of their name and choosing Edit.

The Edit team member screen displays. Make desired changes and click Save. You may also click Cancel to cancel the action.

Please note - If you change the type of team member this person will be from Admin to Organizer, this person will no longer have access to any virtual classrooms unless they are added as Organizer to it.
Delete team member
Once a team member is added, you can search for them and delete them from the list by clicking the three blue dots to the right of their name and choosing Delete.

You are asked to confirm your action. Click Delete to confirm or Cancel to cancel the action.


