This guide describes how to setup the Kaltura Video Extension for Microsoft Teams. This guide is intended for Microsoft Teams and Kaltura system administrators.
The information in this guide assumes that the Kaltura Video Extension for Microsoft Teams software has been installed and configured on your system by a Kaltura administrator. If the extension has not been installed, contact your Kaltura representative to create a KAF instance for you and provide you with the URL.
Prerequisites
The following items are required to setup the Kaltura Video Extension for Microsoft Teams:
- Access to a Microsoft Teams environment with Account Admin permissions.
- A Kaltura account - Please contact your Kaltura representative for your Kaltura account details.
- KAF Admin Console – Please ask your Kaltura representative for credentials to access your KAF Admin Console instance.
Understanding the Setup Process
The Kaltura Video Extension for Microsoft Teams offers an out-of-the-box solution that enables users to view, record, upload, publish, search, and share video directly from their Microsoft Teams environment. This translates into time and money saved for your organization, improved employee engagement, creativity and collaboration, as well as ease of use for employees.
Before You Begin
Please check that your category is set to the appropriate Microsoft Teams category in the KMS Admin Console. Contact your Kaltura representative for more information.
Getting Started
To get started, you will need a KAF instance to integrate the Kaltura Video Extension with Microsoft Teams.
Install the Application
You can install the Kaltura Video Extension for Microsoft Teams from the Personal tab or from the Channel tab.
From the Personal Tab
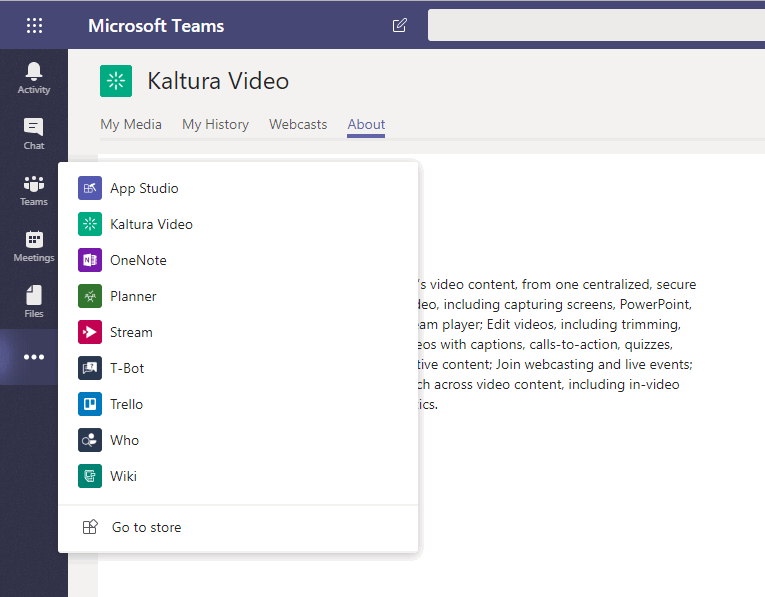
- Go to the Personal Tab (3 dots tab).
- Select Go to Store.
- Select Upload a Custom app and select Upload for me or my teams or Upload for Kaltura.
- Select the installation file and click Open.
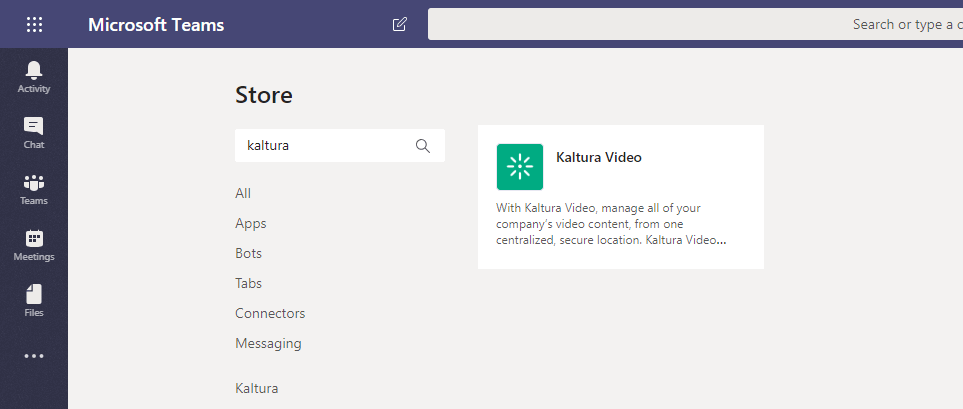
- Click on Kaltura in the Store menu.
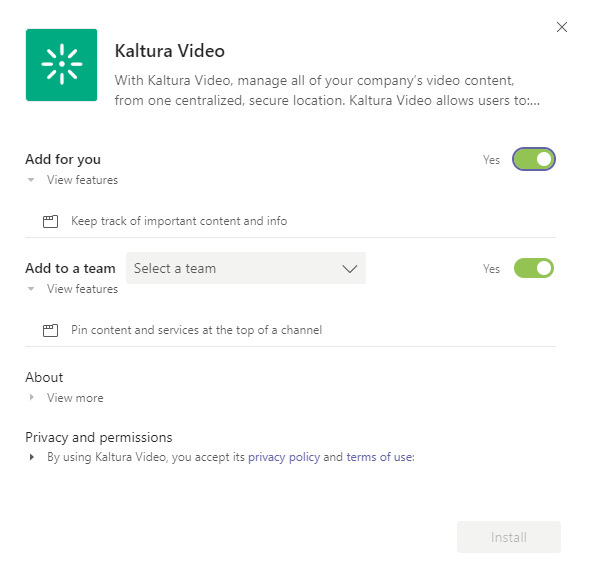
- Click on the Kaltura Video app and set the configuration options.
- Click Install to install the application.
Kaltura Video appears in the Personal Tab.
From the Channel Tab
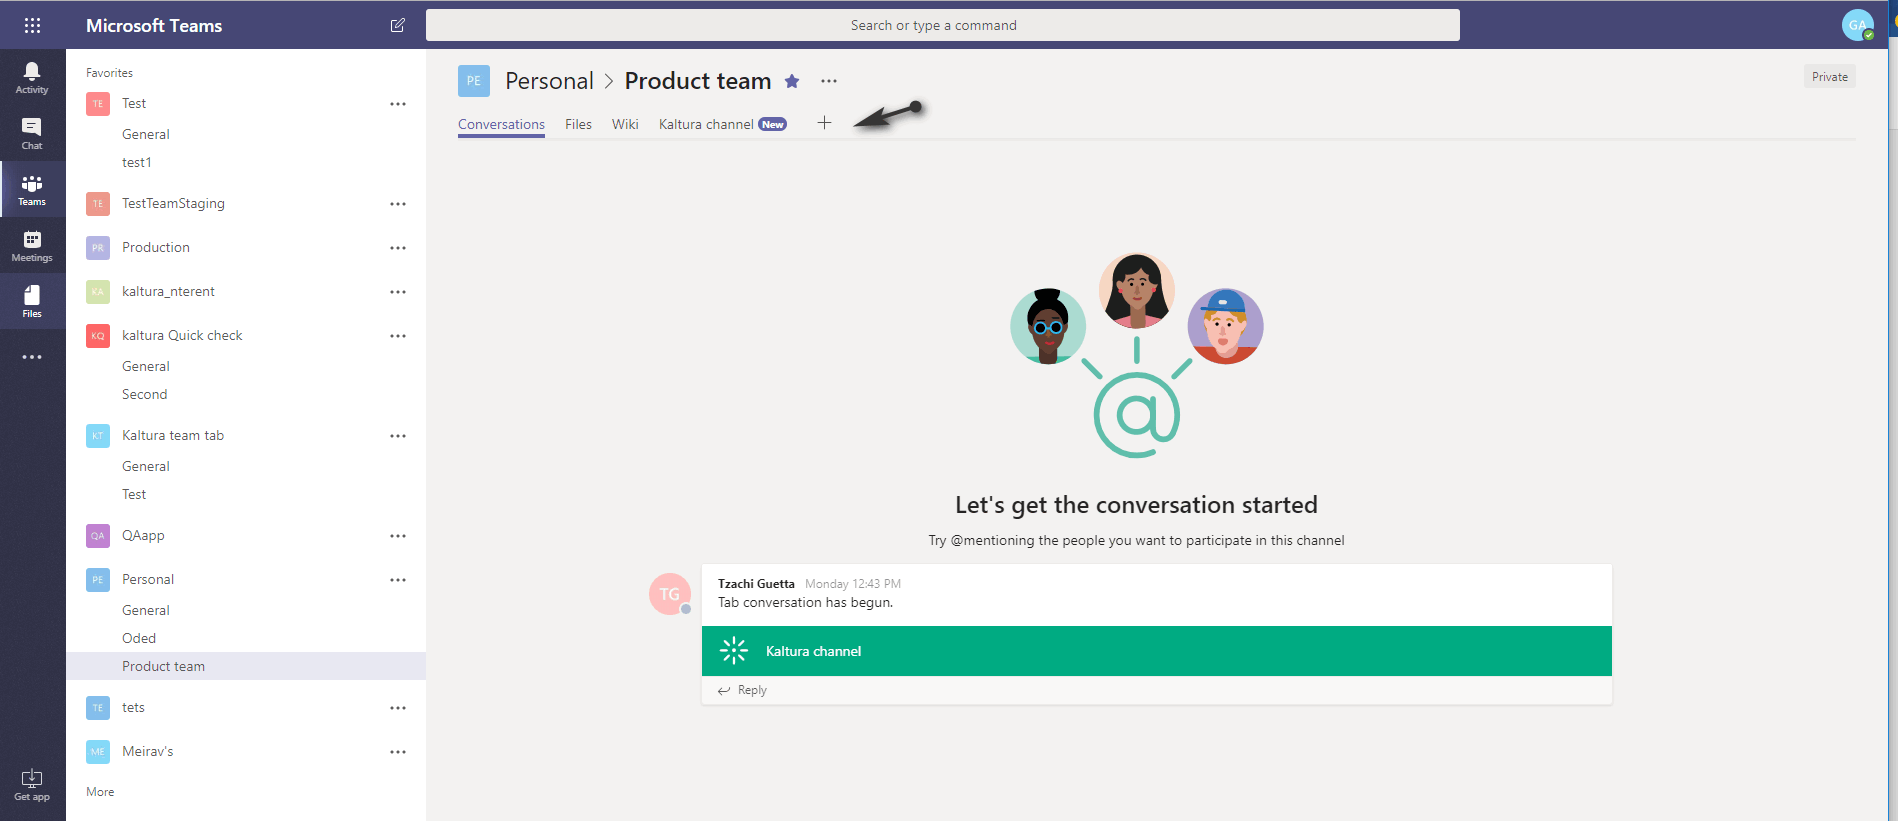
- Go to the Teams tab.
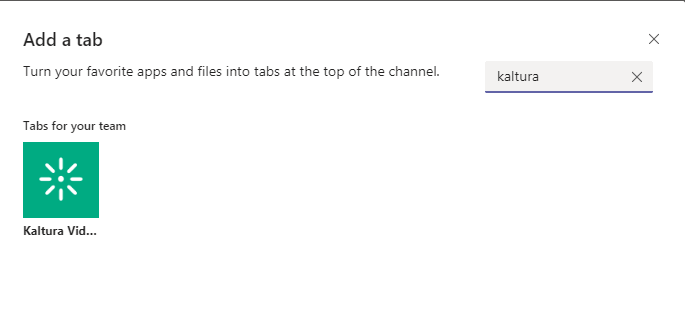
- Select a Team and click the Plus sign.
- Search for Kaltura Video and select the application.
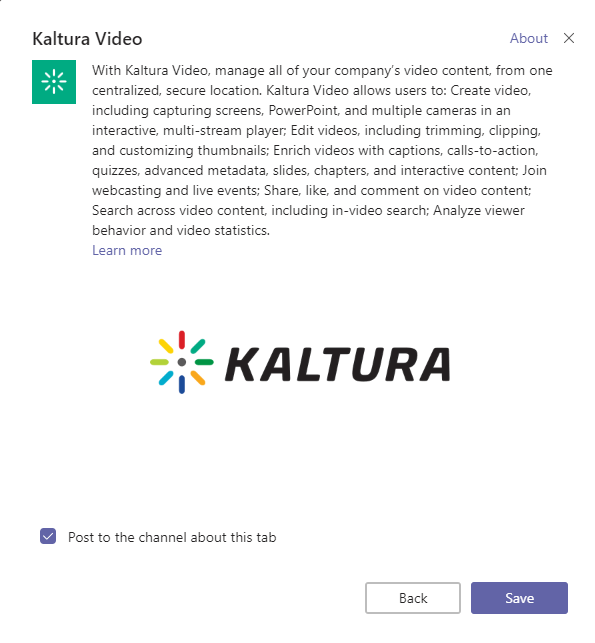
The About window is displayed. - Click Save to add the Kaltura Video Extension for Microsoft Teams.
The Kaltura Video Extension for Microsoft Teams is added to the selected Team. You will need to authenticate to display media.
Authentication Flow
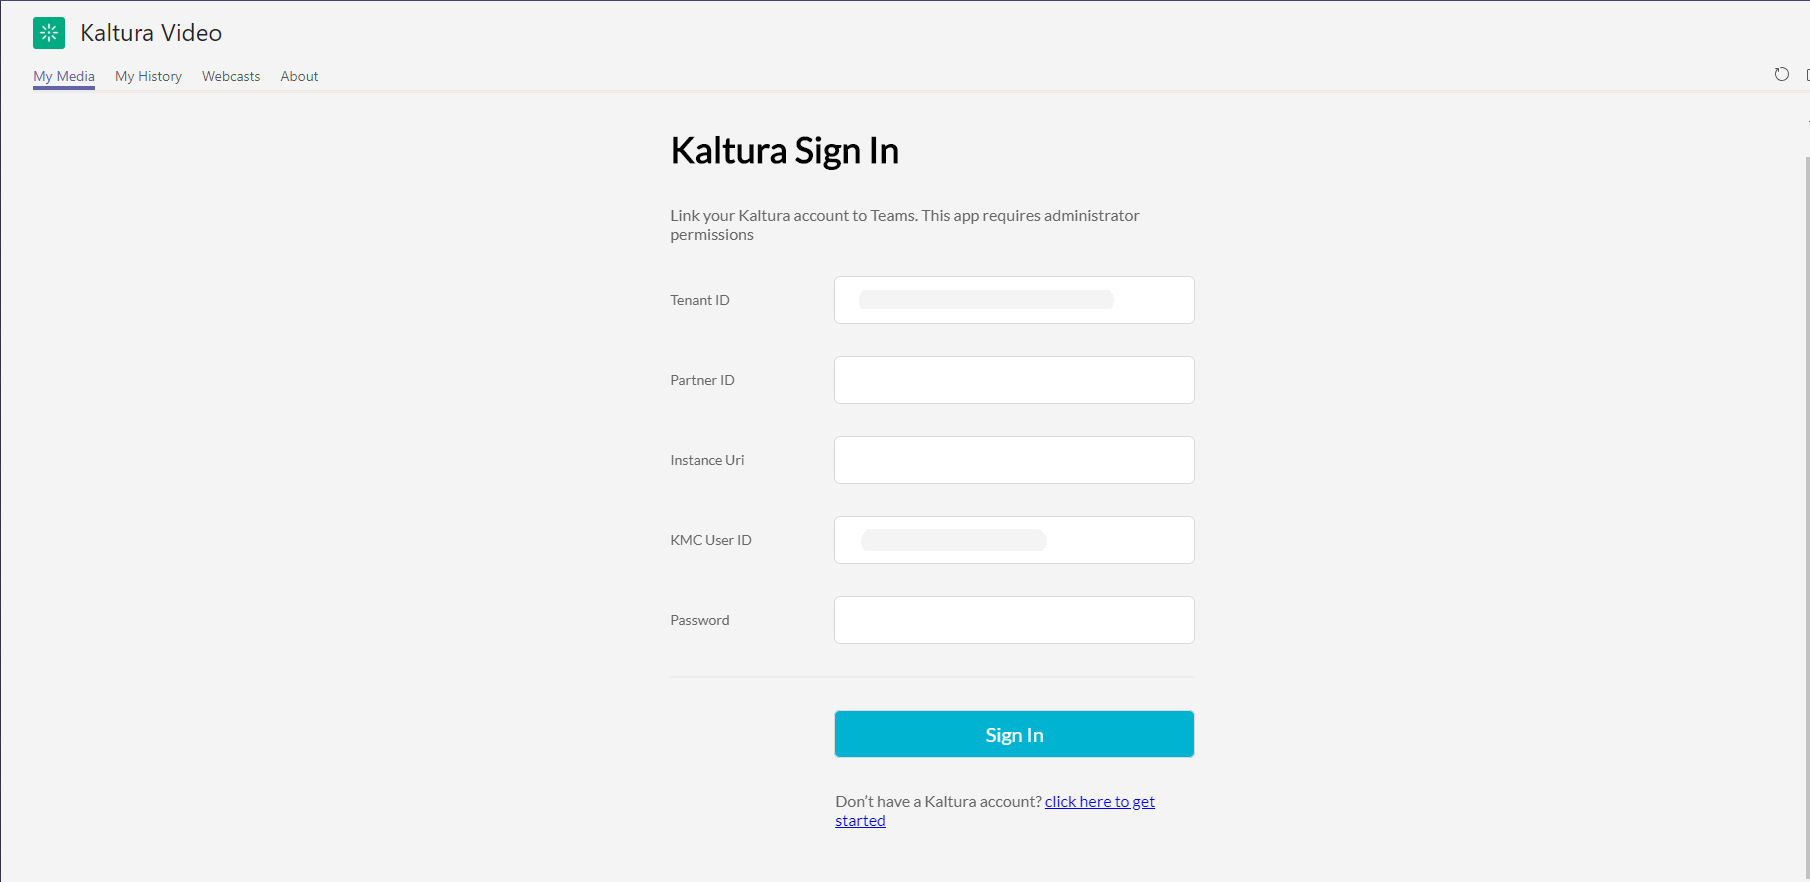
After you install the Kaltura Video Extension for Microsoft Teams and the Microsoft Teams configuration pages are configured, you will need to link the Teams Tenant ID to the KAF URI (the KAF instance that was created specifically for the you in Kaltura) through the Kaltura Sign In screen. The Tenant ID is automatically created for you and is displayed in the Tenant ID field. Authentication is a one-time process and requires administrator permissions. You can authenticate either through the Personal tab or the Team tab after you install the application.
- Enter the Tenant ID.
- Enter the Partner ID.
- Enter the Instance URI. (KAF instance)
- Enter the KMC User ID and the KMC Password.
- Click Sign In.
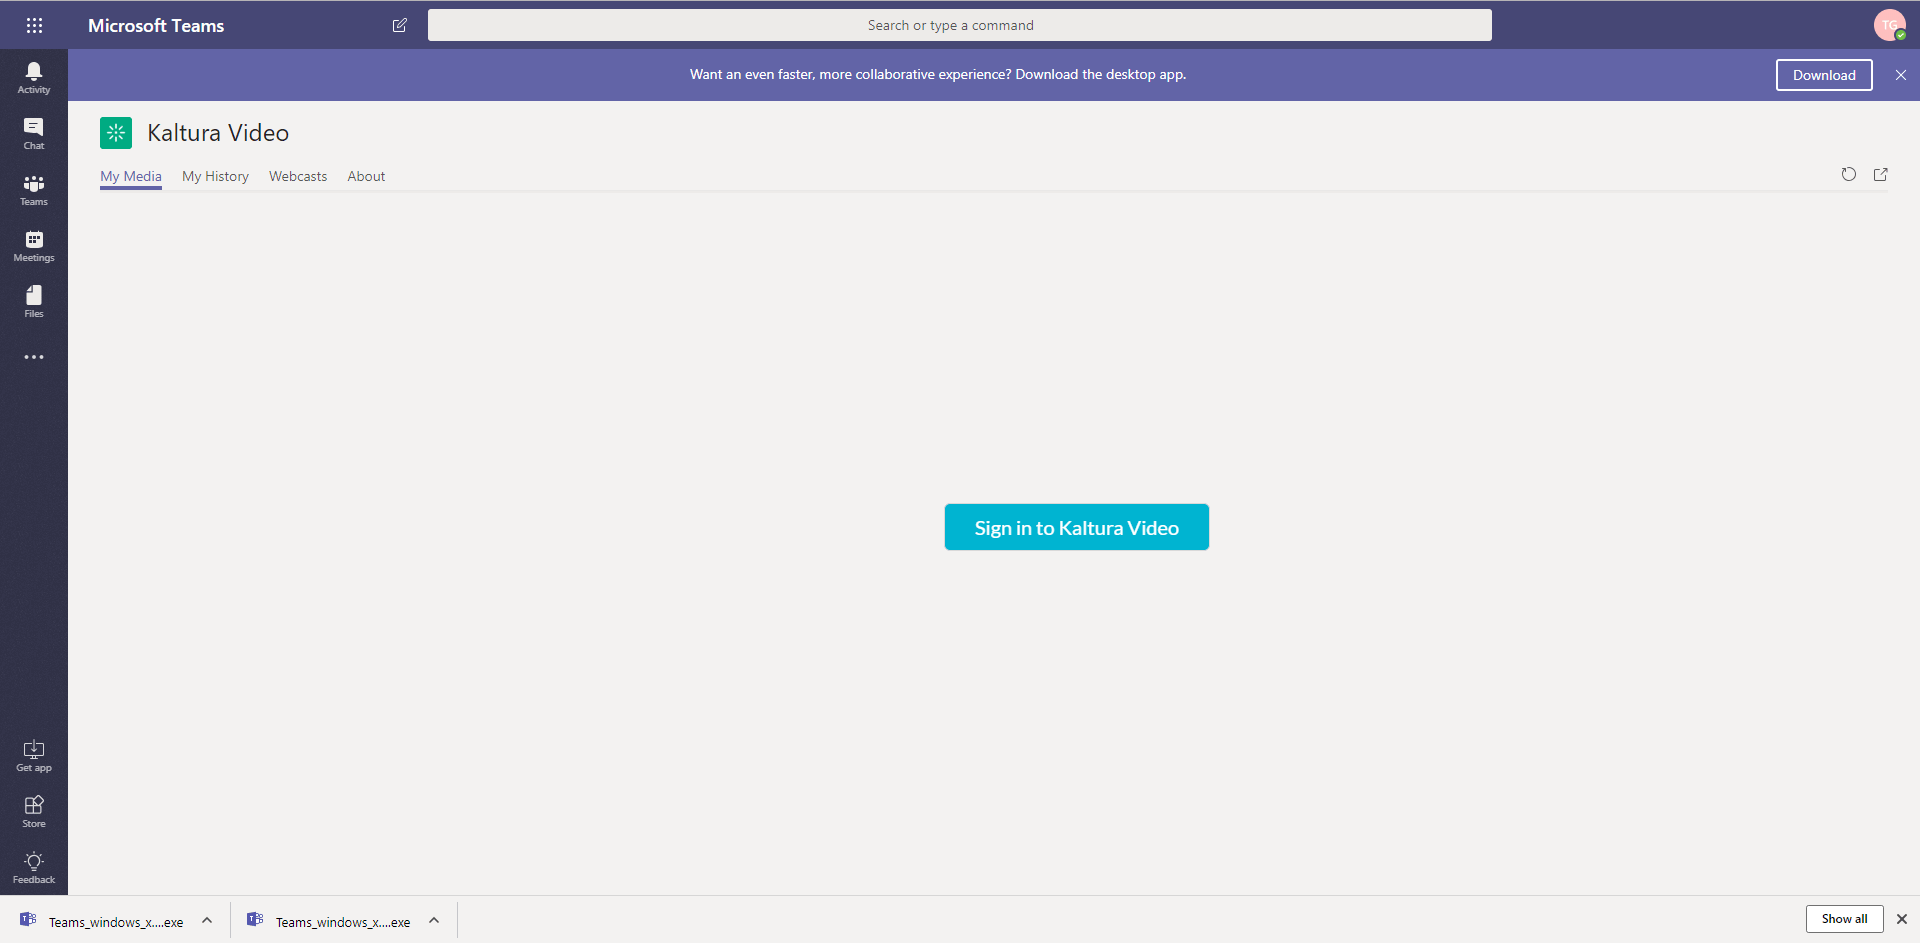
After you authenticate, the following Sign in screen is displayed when you open the application. - Click Sign in to Kaltura Video. My Media is displayed as the default tab.
The Kaltura Video Extension for Microsoft Teams includes the following Kaltura Application Framework features:
- Personal Tab
- My Media
- My History
- Webcasts page
- About Page
- Channel Tab
- Media Gallery
See the Kaltura Video Extension for Microsoft Teams User Guide for more information.
