About
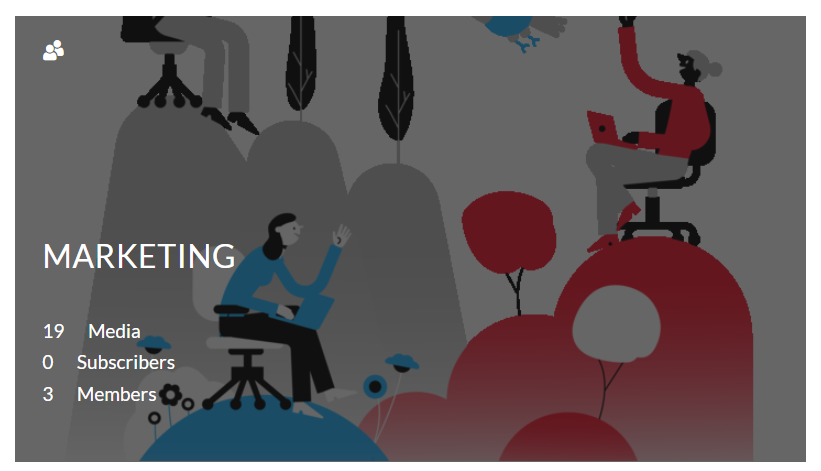
When you create a new channel, the default thumbnail is used initially. If no media is available, the thumbnail is determined by the channel type (open, private, moderated, shared repository).
As a Channel manager, you have the ability to set a new thumbnail for your channel after the channel has been created.
Set an entry's thumbnail as the channel's thumbnail
- Navigate to the desired channel. Visit our article Understanding channels if you need guidance.
- On the channel's page, click the three dots on the lower right of the desired entry.
- On the lower left of the entry, click the image icon (a Set as Channel Thumbnail tooltip will display).

Upload a thumbnail from your desktop
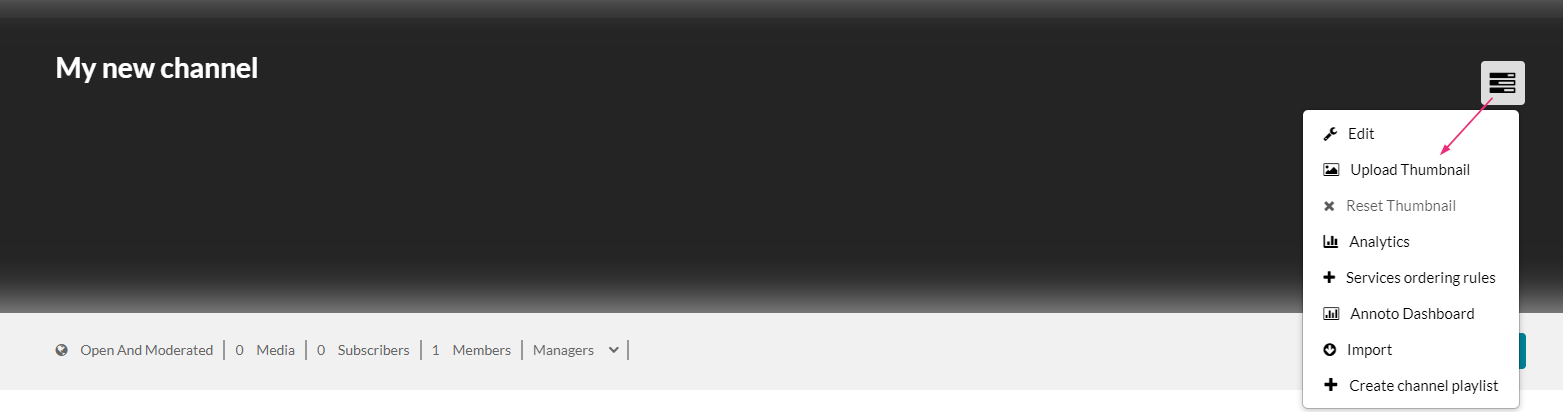
- On the desired channel page, click the Edit button (three bars icon).
- Click Upload Thumbnail.
- Click +Choose a file to upload.
- Choose an image file.
- Recommended image aspect ratio: 16x9
- Recommended dimensions: Small - 546x311 / Medium - 710x400 / Large - 1280x725
-
Click Save.


Reset thumbnail
You can reset the channel thumbnail to the default one chosen by the system. This default thumbnail is automatically selected based on the last media item published to the channel. If there's no media, the system selects a thumbnail based on the channel type (open, private, moderated, shared repository).
- On the desired channel page, click the Edit button (three bars icon).
- Click Reset Thumbnail.
A confirmation message displays.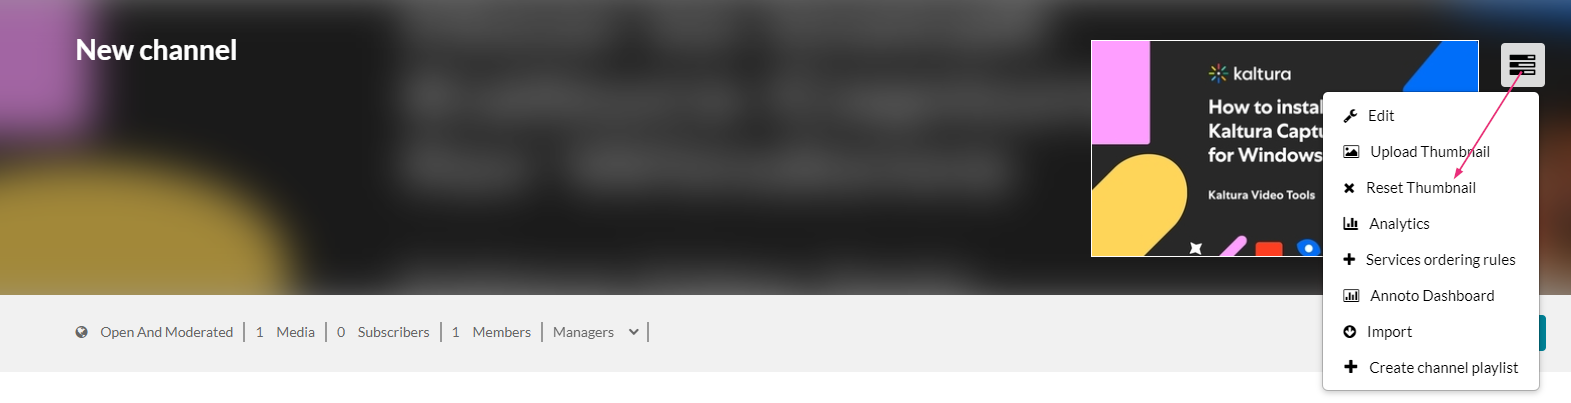
- Click OK to continue.
The thumbnail is removed.

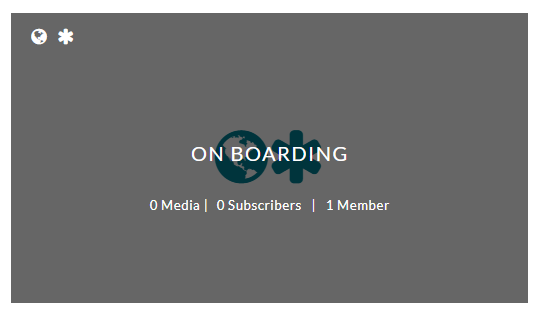
The image below shows an open and moderated channel without any media.
The image below shows a public, open channel with media.