About
Uploading media from your desktop is quick and easy. You can upload single or multiple files at once, edit metadata, and publish them in bulk - all during the upload process.
- This feature requires the Uploadmedia module to be enabled.
- A user with an application role of privateOnlyRole and higher (adminRole, unmoderatedAdminRole) can upload content.
Upload media
To upload a YouTube video, please see our article Add a YouTube video.
- Select Upload from the + Create menu.
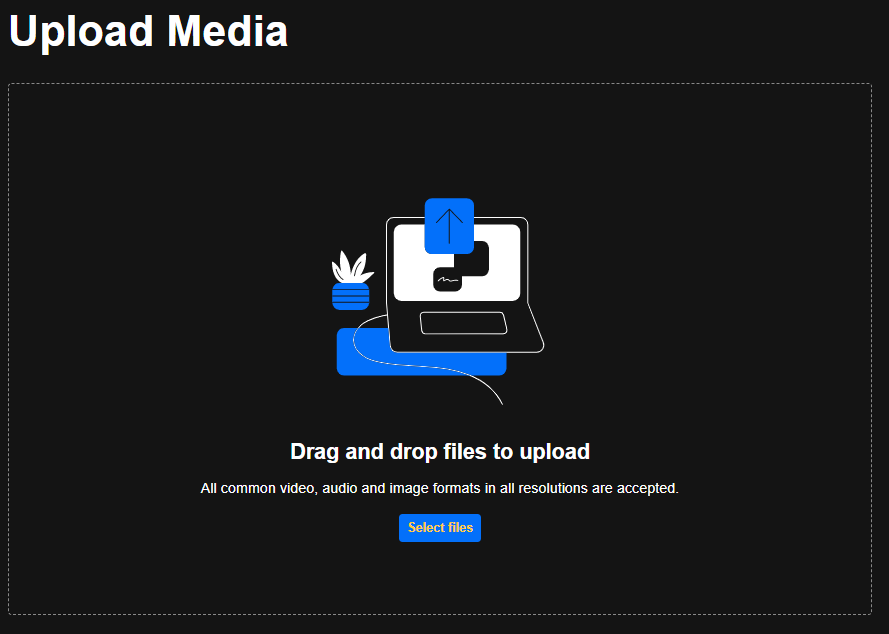
- Click Select Files and choose one or multiple files, or drag and drop files inside the dotted area. Different types of files can be uploaded at the same time.

Your + Create menu may vary depending on your environment. If options are missing, contact your Kaltura administrator.
If a disclaimer is set by your administrator, click the Accept button to proceed.

The Upload Media page displays.
For MS Word and PowerPoint files, a maximum of 10 MB is supported, and for Excel files, up to 5 MB. Attempting to upload files larger than 10 MB will trigger a 'file too large' error message after the view component loads for a while.
Kaltura supports files of any size across major browsers (Chrome, Safari, Firefox, IE 10+).
The upload process begins.
Keep the browser tab open! Closing or navigating away will cancel any media in the queue or currently uploading.
If multiple files were selected, one file starts the upload process, and the rest of the files are then added to the queue. The queue continues to upload content from bottom to top, skipping any canceled or errored-out media.
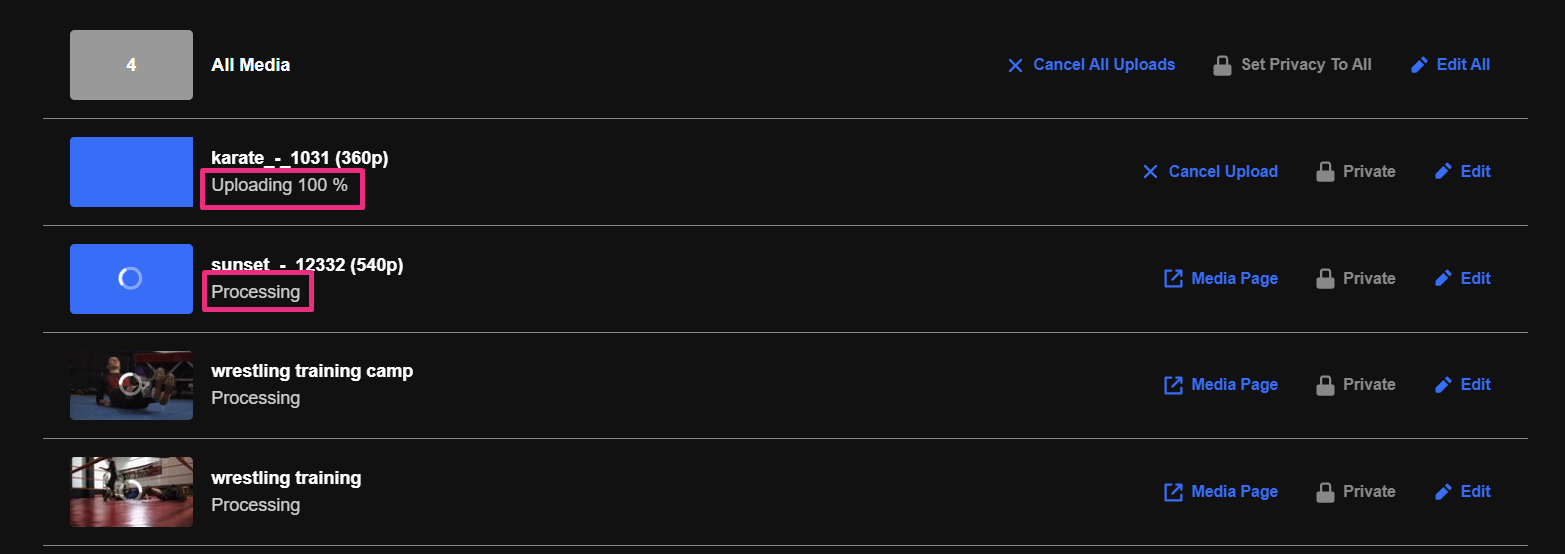
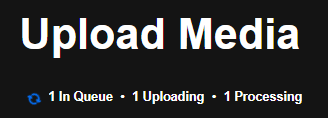
The status of the upload is indicated on the right of each item as well as the top left of the Upload Media window:
Upload statuses
- In Queue - Files waiting their turn to upload. You can cancel these before they start uploading.
- Uploading - Displays progress percentage. You can cancel uploads still in progress.
- Processing - The file is being converted. The cancel option is no longer available.
- Ready - The upload is complete, and the thumbnail is displayed. You’ll see a link to the media page.
- Failed - Indicates an upload error. These files cannot be edited or canceled.
- Cancelled - Previously canceled uploads can be removed from the list.
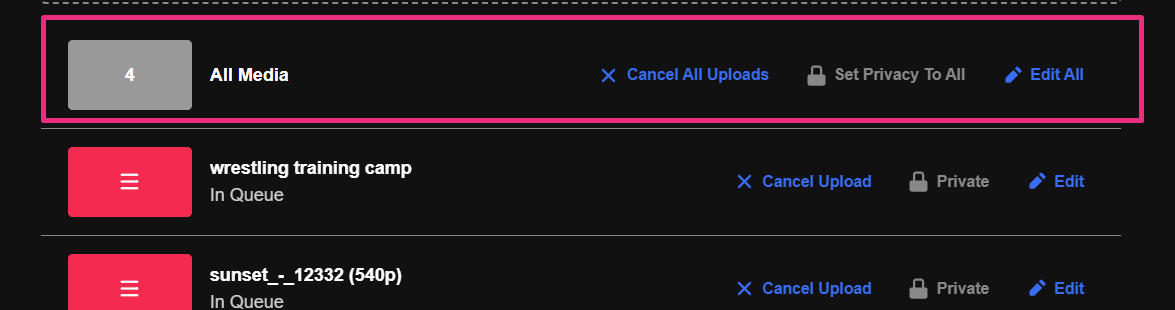
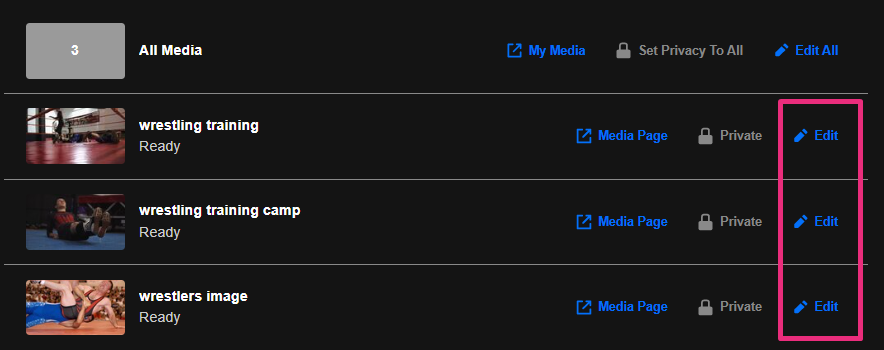
Bulk actions
At the top of the upload list, you’ll find bulk actions for managing multiple files.
- The gray box displays how many files are in the upload list. Entries with the status 'Canceled' or 'Failed' are not counted here.
- Cancel All Uploads - Stop all uploads in progress or in the queue. 'Processing' or 'Ready' files are unaffected..
- Set Privacy to All - Publish or adjust the privacy status of your entries in bulk.
- Edit All - Modify details for multiple media files at once.
Edit your media
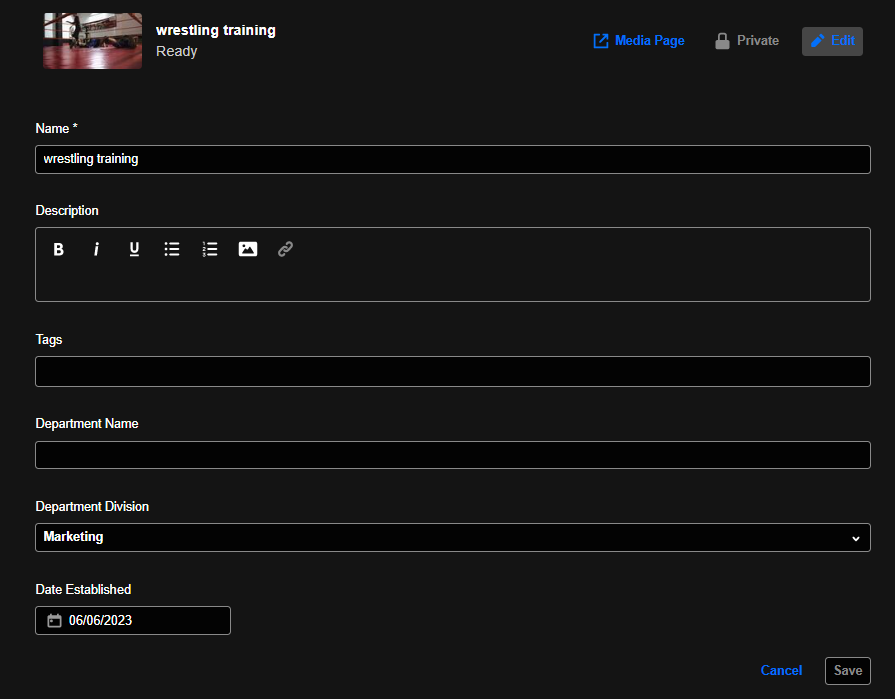
Edit a single media
Click Edit.
The edit page displays.
You can edit the title, description, tags, and custom metadata for each uploaded file.
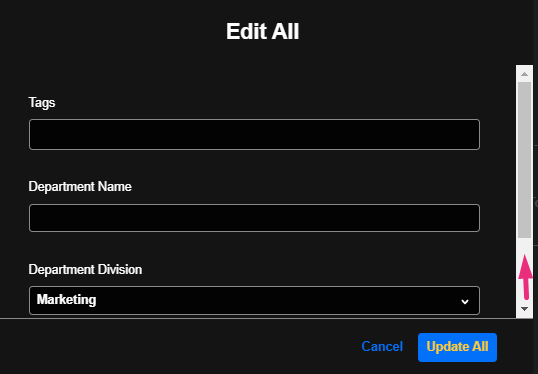
Edit multiple media
Click Edit All at the top right.
You can add tags and custom metadata for multiple media at once (don't forget to scroll down).
Publish your media
Publish a single media
You can publish directly from the Upload Media page by clicking the publish status Private, then choosing the desired status.

To learn about the publishing options, check out our article Publish media.
Publish multiple media
Easily publish multiple media entries in bulk from the Upload Media page. Simply click Set Privacy to All at the top of the upload list, then select the desired privacy status for all entries.

To learn about the publishing options, check out our article Publish media.
View your media
To view your media when uploading is complete, select Media Page or access My Media from the user menu.

