- Log into your Kaltura Management Console.
The Entries tab displays as the first page by default.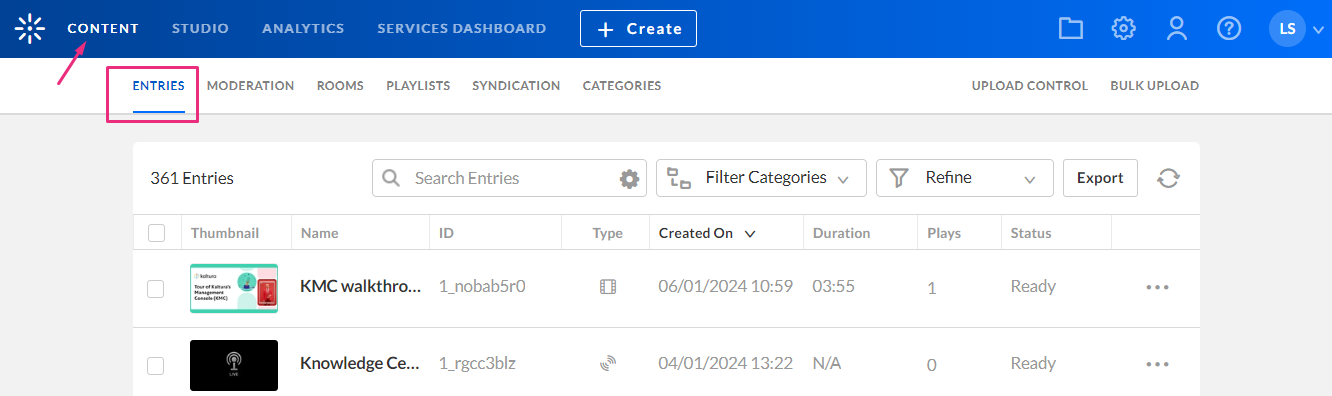
- Click on the entry name or thumbnail.
The Metadata tab displays. - Click Browse Categories.
The Select Categories screen displays.
- Choose the category you want to assign the entry to.
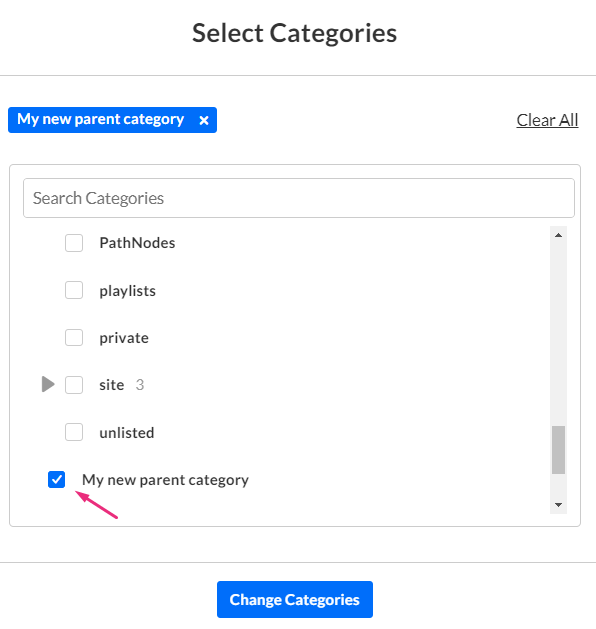


When adding an entry to a category in Kaltura's Video Portal (MediaSpace), be sure to add the entry to either the Channels, Galleries, or unlisted category located under the site category.
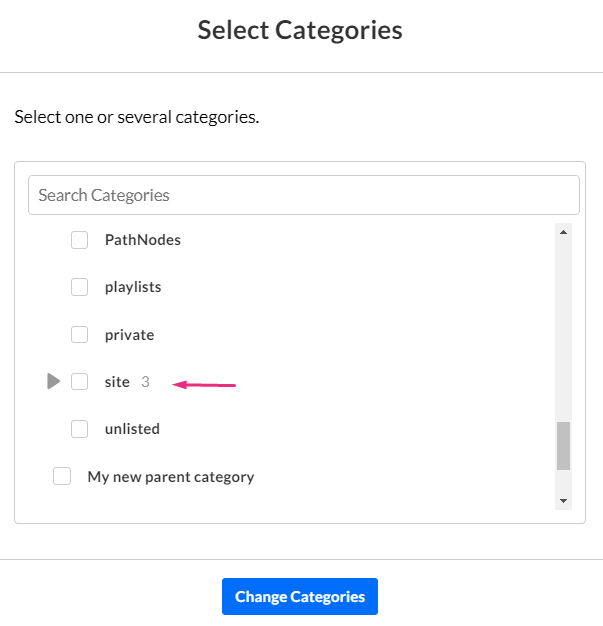
We don't recommend adding entries to other categories under the MediaSpace root category since adding entries to any other category may create unexpected issues. In addition, do not add content to both the unlisted category and other categories. This will cause unexpected behavior.
5. Click Change Categories
The metadata tab displays showing the category the entry is now associated with.
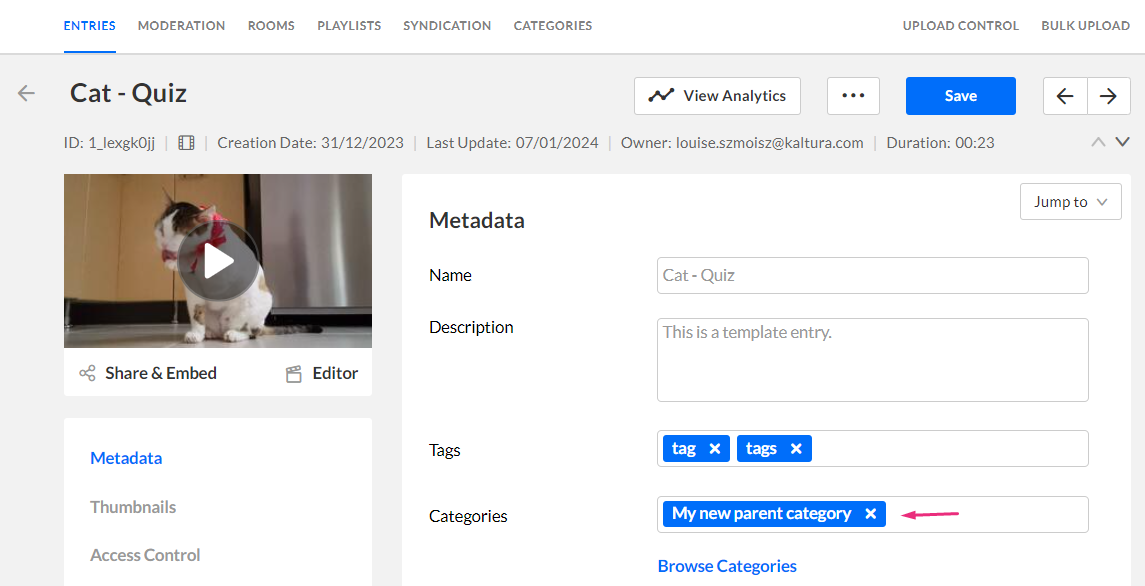
6. Click Save.
For information about assigning entries to a category in the Video Portal (also known as 'publishing'), see our user guide Publish Media.
