About
The Access Control tab on the entry details page lets you apply an existing access control profile to your media. Access control profiles define who can view your entry and may include restrictions such as geo-blocking, IP restrictions, authentication, or domain control.
For details about access control profiles, visit our article Create and assign an access control profile.
Assign a profile to an entry
- Log into your Rich Media Content Management System.
- Click on the desired entry's title or thumbnail.
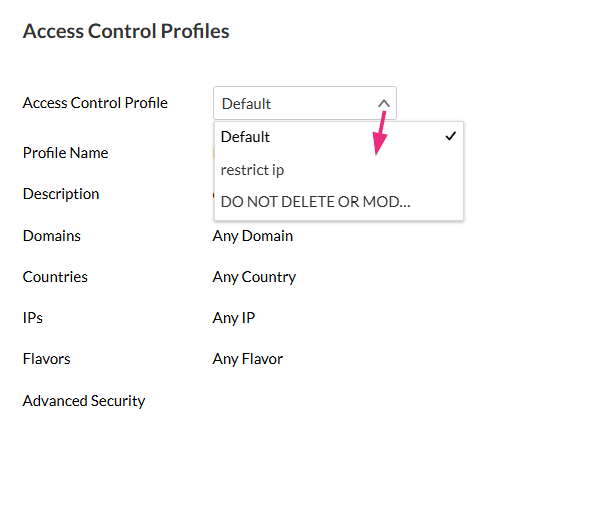
- Select an existing profile from the drop-down menu.
- Click Save at the top right.
The Entries page displays by default.

The Metadata page displays by default. In the left panel, select Access Control.

The Access Control tab displays.


Assign a profile to multiple entries via bulk upload
- Add the access control profile ID (as shown below) to the accessControlProfileId in your CSV file or XML file.

