For the updated Kaltura Player guide, see Extended Audio Description setup.
This option is enabled in the Kaltura V2 Player for up to version 2.47. Subsequent versions leverage the multi-audio track feature instead. Please see Using Multi Audio Track Playback for more information. The content owner is responsible for providing an audio track that includes both the regular audio track and the audio description. Customers should engage with a CSM to discuss options related to audio descriptions.
To enable the Audio Description Track
You can enable the audio description track by editing the JSON config of the player.
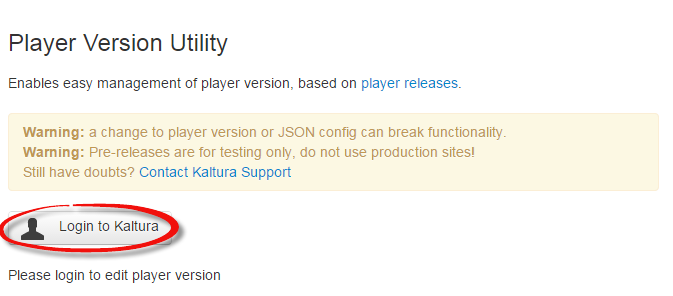
- Open the player version utility webpage.
- Click Login to Kaltura.
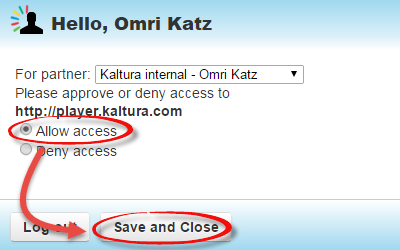
- Log in using your Kaltura username and password and click Login.

- Select Allow access then click Save and Close.
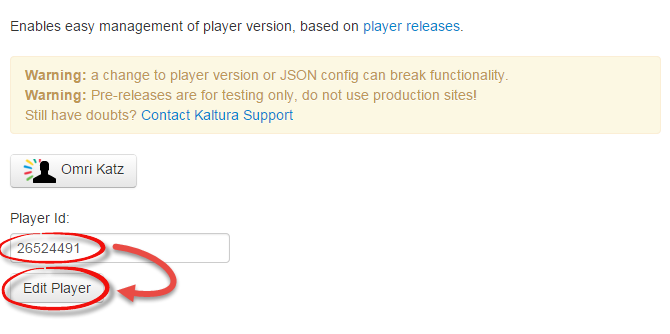
- After you are logged in, paste the ID of the player you want to edit and select Edit Player.
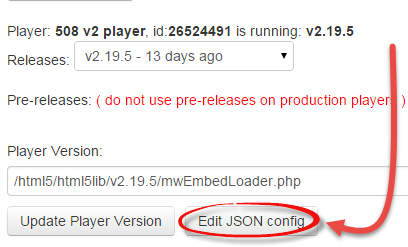
- Click the Edit JSON config button.
- A new window is displayed. You will need to add a new line after "plugins":{
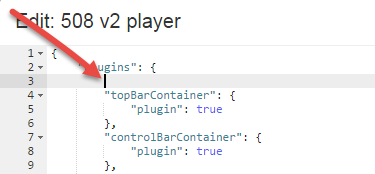
- Insert the following lines of code describing the Audio Description plugin:
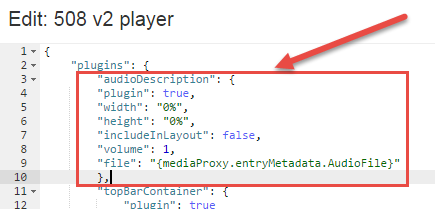
"audioDescription": {
"plugin": true,
"width": "0%",
"height": "0%",
"includeInLayout": false,
"volume": 1,
"file": "{mediaProxy.entryMetadata.AudioFile}"
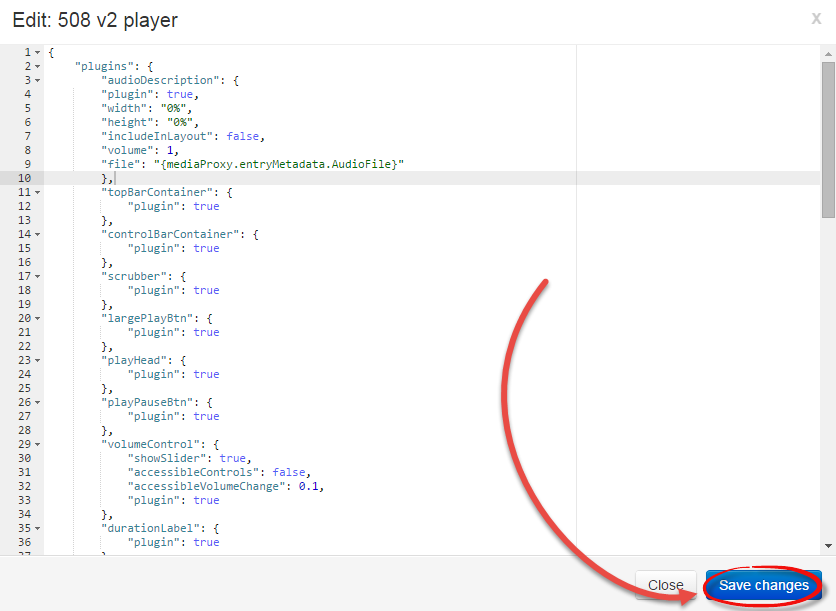
}, Click Save Changes to apply these new settings.


To Add Custom Metadata Fields
After enabling the Audio Description plugin, you will need to add a Custom Metadata field that is used to instruct the player which audio file to play.
- Create a new text custom metadata field, name it "AudioFile". See the instructions on How to Add Fields to Custom Metadata Profile.
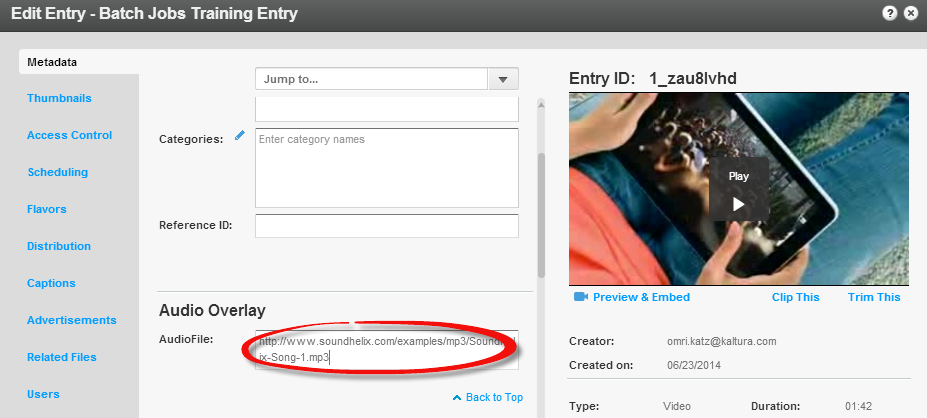
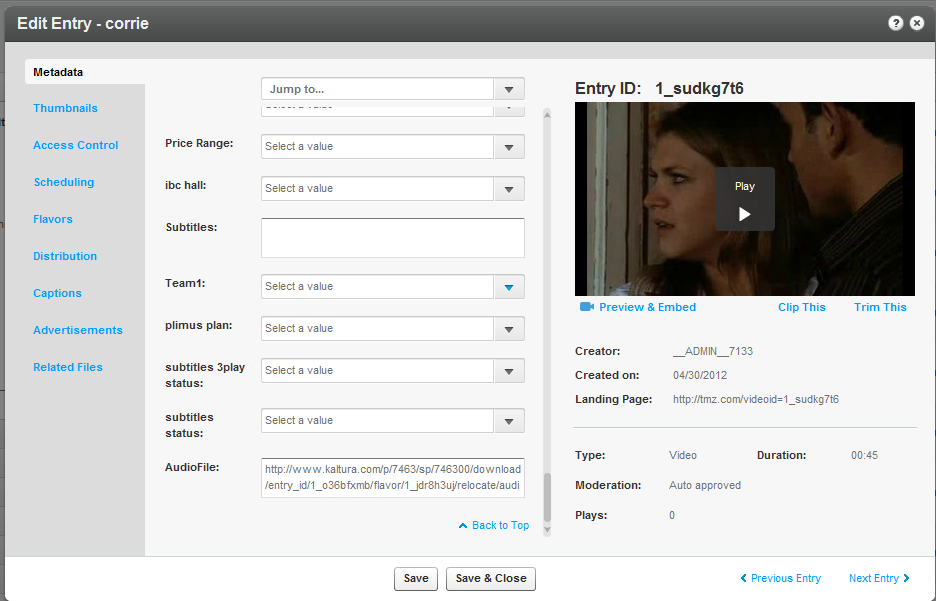
- After creating the custom metadata field, select the entry you want to add the Audio Description to , and insert the direct URL for the audio file in the AudioFile field.
- Click the Save & Close button.

Adding an Audio Description Track to Play on the Kaltura 508 Player
Audio Description Tracks allow playback of an additional narration track for blind and visually impaired viewers while using the Kaltura Player.
The Kaltura v2 Player is 508 compliant. For more information see the Universal Studio Information Guide.
508 Compliancy
All Universal Studio players are 508 compliant. The player’s features include:
- Support for captions file in timed text or SRT formats for the video/audio file
- Support for an audio description in a standardized format for the video/audio file
- Hidden text elements for every non-text element (for screen readers)
- Tooltips
- Keyboard tabbing and controls
For more information see 508 Support within the Kaltura Player Toolkit.
The following information for the 508 compliant V1 player has been deprecated.
Adding an Audio Description to an Entry Workflow
- In the Upload tab, upload an entry.
- Create a 508 player and add content to the player.
- Configure the player’s Subtitles and Transcriptions options and check Audio Description.
- Select an entry and assign an audio description file to the entry.
- Hear the entry with the audio description.
To assign an audio description file to an entry
- Select the Content tab and click on an entry.
- Add a custom data field. See Adding Custom Data Fields.
- Add a text field named “AudioFile”.
- Select the Metadata tab.
- Enter the value of the URL of the audio file.
- Click Save.

To hear the audio file
- Select the entry that you added the audio file to.
- Click Preview and Embed.
- Select the 508 Player.
- Click AD to On.
- Press Play.
The following is an example of an entry with the Audio Description turned on.

Here you can find an example that demonstrates the functionality. You can turn the background music on/off by clicking the "AD" button on the player. Please keep in mind that background music is obviously not the typical use case, and is just used for demo purposes.
How to Use a Kaltura Entry as an Audio Description Track
This is an advanced topic and requires prior knowledge of the Kaltura APIs.
You will need to provide a URL to an audio file in a dedicated custom metadata field as described in step 5 of Assigning an Entry. It is possible to store the audio file as a Kaltura Audio entry and then use the Kaltura APIs to pull the URL to the audio asset in Kaltura.
To use a Kaltura Entry as an Audio Description Track
- Upload an audio file to Kaltura. You can use any of Kaltura's ingestion methods, such 'Upload From Desktop' in the KMC, bulk upload using an xml file or using the Kaltura APIs.
- Make sure the entry is Ready.
- Using the Kaltura APIs call the media->Get() service providing the entry id of the newly uploaded audio entry.
- Use the downloadUrl property of the returned KalturaMediaEntry object as the URL in step 5 in the instructions above.
Code example:
<?php
  require_once('lib/KalturaClient.php');
  $config = new KalturaConfiguration($partnerId);
  $config->serviceUrl = 'http://www.kaltura.com/';
  $client = new KalturaClient($config);
  $entryId = '0_wia6rhpq';
  $version = null;
  $result = $client->media->get($entryId, $version);
  $url = $result['downloadUrl']; // this is the url to asset and can be used in step 4 above
?>


