To get your first live stream up and running with Kaltura, you need to perform the following steps:
- Have a Kaltura account and make sure Live is enabled.
- To enable Live on your account, please contact Kaltura via your CSM (Customer Success Manager) or via the options in the Contact Us page.
- If you have a vPaaS account, Live is enabled by default.
- Create a Live Stream Entry in Kaltura.
There are 2 ways to create a Live Entry in Kaltura:- Using the Kaltura API
- Using Kaltura's Management Console (Rich Media CMS)
-
Check that you have appropriate bandwidth from your encoder to Kaltura Live Servers.
- Configure your encoder.
- You can stream to Kaltura using a variety of encoders available on the market, as long it meets the live stream requirements. Kaltura is compatible with most encoders that support RTMP or SRT, offering you a wide range of choices, from free and simple to commercial enterprise grade equipment.
- Correct configuration of the encoder is mandatory for Kaltura Live Streaming to work properly! Encoder mis-configuration can affect the quality of your live stream and cause issues like artifacts, audio/video sync issues, freezes, etc. Make sure you read your encoder's manual and configure it correctly, If you are not sure how, please contact Kaltura Customer Care.
- Configuration instructions for popular encoders and general encoding guidelines are available. please refer to Kaltura Live Supported Encoders.
-
Monitor your system's health.
The Kaltura Live Dashboard information can be used to monitor the system health before and during the broadcast. For more information see Monitoring Your Live Stream Using the Real Time Analytics.
- Start streaming & validate your live broadcast.
-
After the encoder setup is complete, start streaming and validate that the encoder is successfully broadcasting.
-
It is important to verify that the encoder is capable of pushing the encoded stream to Kaltura servers, If you do not have sufficient bandwidth or the CPU is exhausted on your encoding device, your live broadcast may look choppy. You will need to wait around 5 minutes for the stream to initiate, before you can move on and visually test the output.
- Check in your encoder logs that there are no errors and no frames are dropped.
- Check the CPU usage of your encoding device. Make sure it's below 85%.
- What about the Preview and Embed?
Visually inspect the live stream:
-
Notes:
Do not stream video to Kaltura in your area while testing. Since you are connected to the same Internet connection that your broadcasting device will be using, this will affect the test results.
Configure concurrent uploads according to the number of streams you are planning to broadcast to Kaltura.
For example:
If you send a single Live RTMP or SRT stream (single bitrate) and use Kaltura cloud transcode, choose 1 concurrent upload.
If you send 3 multiple bitrate RTMP or SRT streams and use pass-though (no cloud transcode), choose 3 concurrent uploads.
Allow the up-link test to run around 5 minutes and write down the upload speed.
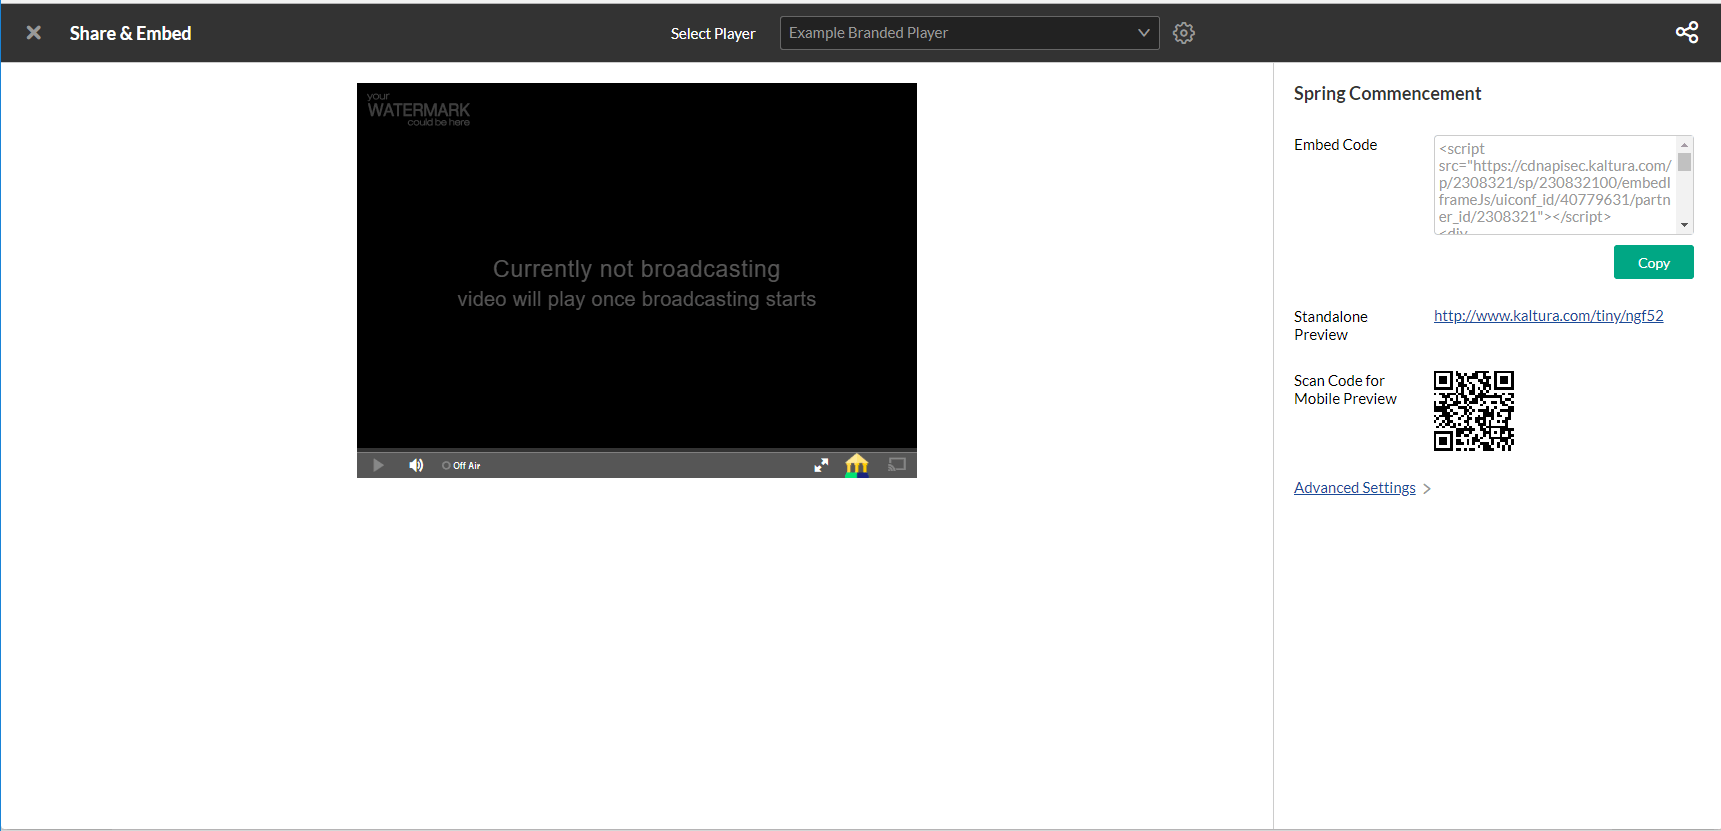
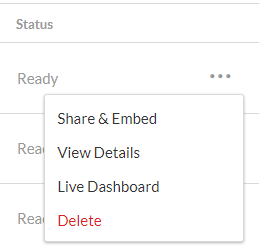
- In the Rich Media CMS Entries Table, select Share & Embed from the Actions drop down menu for the Live Stream Entry.

The Share & Embed screen provides a way to preview how the stream will look on different web based players, a QR code that allows you to preview your live video on a mobile device, and a simple copy/paste of the player embed code to use to embed it in your website.