About
The Gallery module controls how galleries are displayed and behave in the Video Portal.

For instructions on creating galleries and sub-galleries, see Create categories in KMC.
Configure
1. Go to your Configuration Management console, and click the Gallery module. You can also navigate directly using a link: https://{your_KMS_URL}/admin/config/tab/gallery.
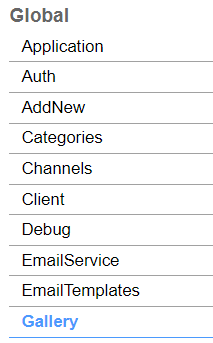
The 'Gallery' page displays.

2. Configure the following:
pageSize - How many entries should be loaded onto the display for the initial gallery page. (The default is 16, max is 150). You may scroll down to view all of the entries.
pageSizeWide - How many entries can be displayed on each gallery page in the Wide gallery view, e.g., search results, playlists (the default is 24).
defaultGalleryType - Select the default gallery type when creating a new gallery (the default is private):
- Open
- Restricted
- Private
galleryCreatorOpen - Select the minimal role that can create open galleries (the default is viewer role):
- No role - System admin only
- Viewer role
- Private only role
- Admin role
- Unmoderated admin role
- Specific users / groups
galleryCreatorRestricted Select the minimal role that can create restricted galleries (the default is viewer role):
- No role - System admin only
- Viewer role
- Private only role
- Admin role
- Unmoderated admin role
- Specific users / groups
galleryCreatorPrivate - Select the minimal role that can create private galleries (the default is viewer role):
- No role - System admin only
- Viewer role
- Private only role
- Admin role
- Unmoderated admin role
- Specific users / groups
sortMediaBy - Set the default media sort for all categories: Channels, Galleries in KMS, and Media Galleries in KAF Applications. Choose from the drop-down list:
- Creation date
- Update date
- Alphabetical
- Views
- Plays
- Likes
- Comments
- Webcast start / end date
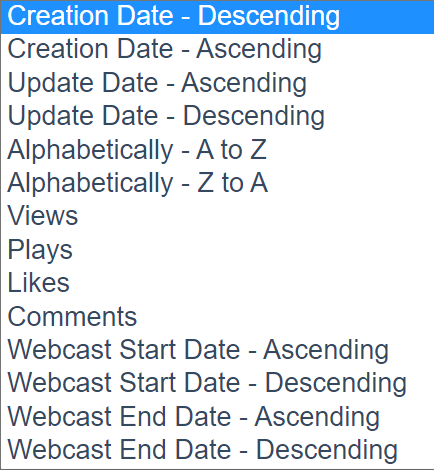
globalSearchSortMediaBy - Select the default sorting method for media results in the global search. Choose from the drop-down list:
- views
- recent
- alphabetical
- likes
thumbnailRotator - Enable thumbnail image rotation on mouseover in galleries.
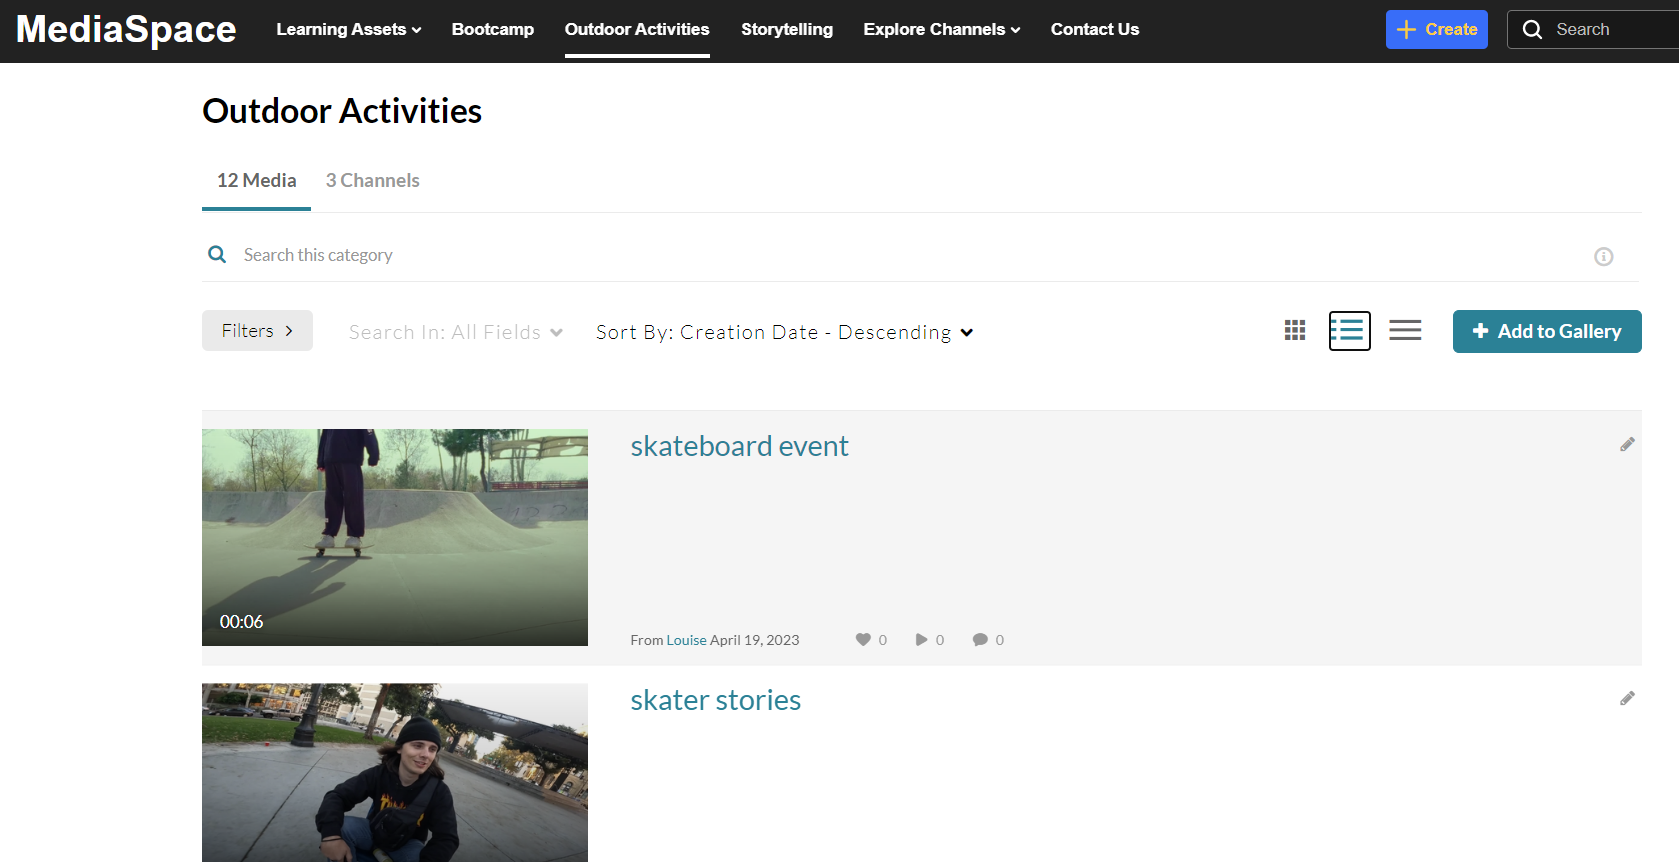
categoryDefaultView - Default view for categories. Select from Grid, Collapsed View or Detailed View.
The example below shows Detailed view.
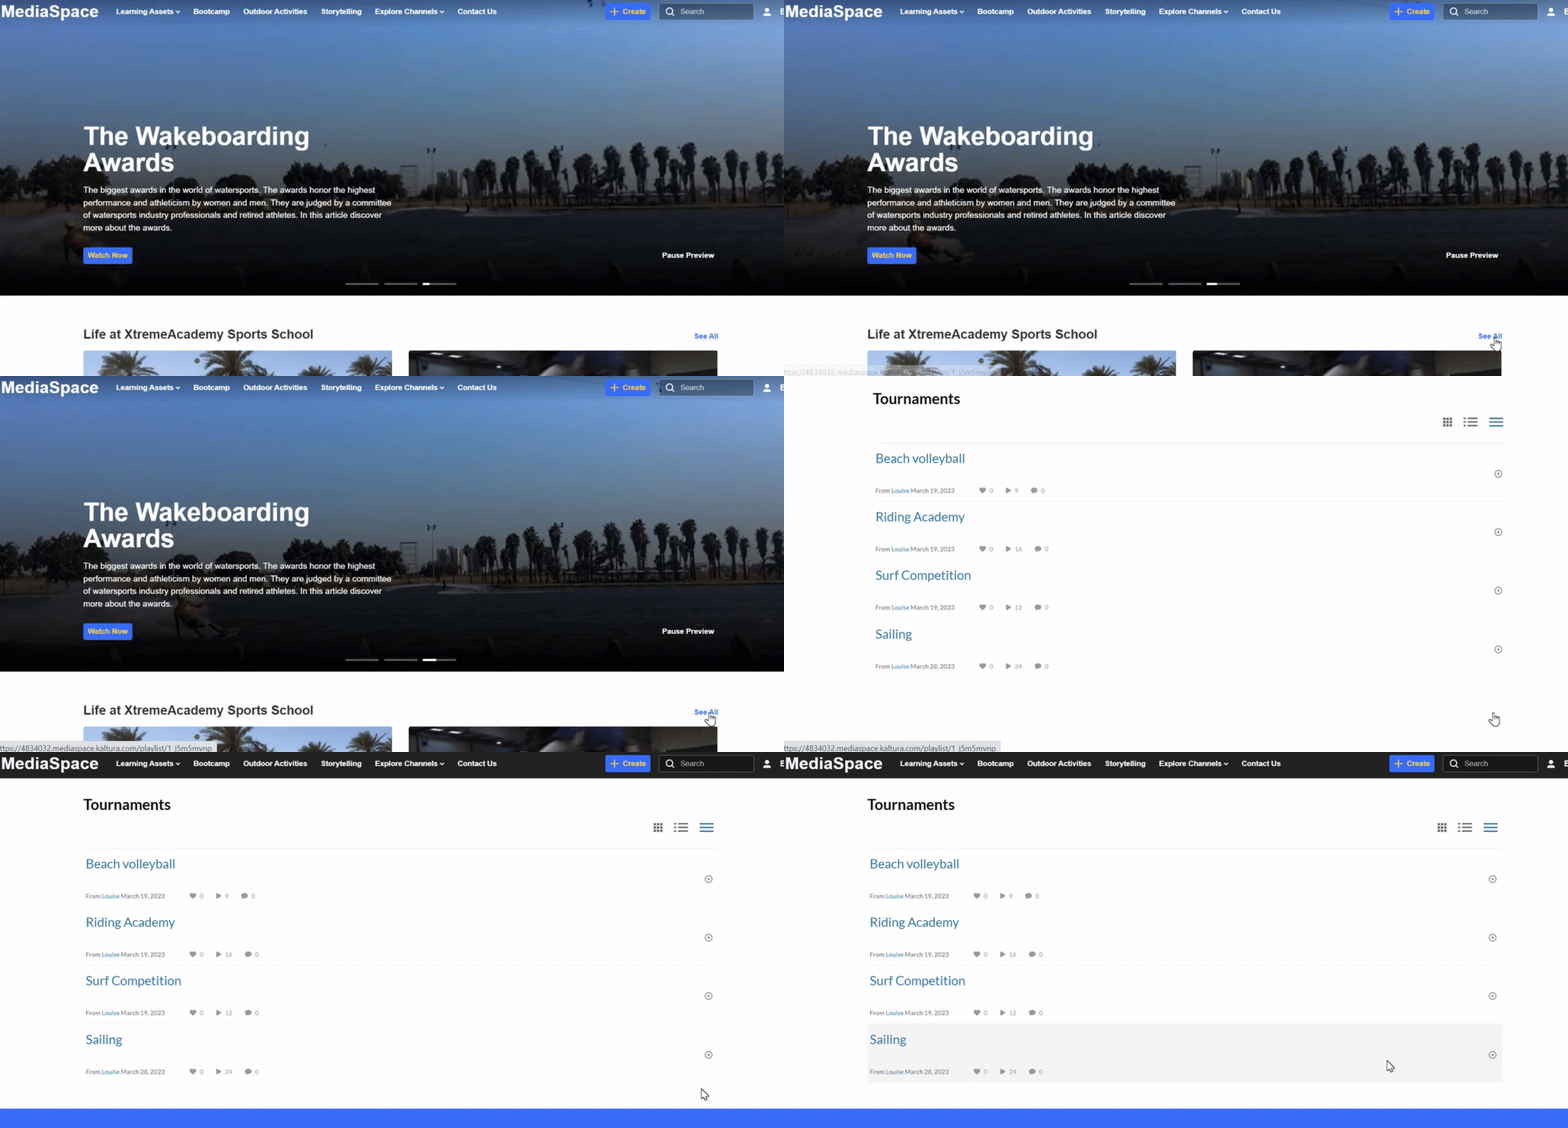
playlistDefaultView - Choose the default view for playlist page (gallery-like page) that is linked from the homepage. Select from Grid, Collapsed View or Detailed View.
The example below shows Collapsed view.
firstTabLoad - Select the tab you want to load first in categories: media, categorymoderation or channelcategories.
In the example below, the channelcategories has been selected and displays as a Channels tab.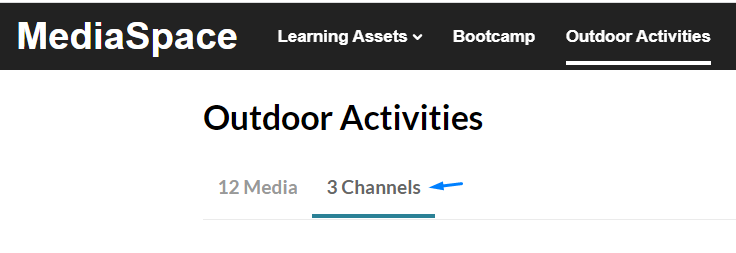
tableView - Set to 'Yes' to add the table view to all Channels. When enabled, this will be the default view on any channel for all users.

This view is not currently available with the Theming design system.
disableCategoryFullNameInURL - Set to 'Yes' to display only the category name, without its parent categories hierarchy in the URL. By default, the full category name is used, including the full hierarchy.
In the example below, the setting is 'Yes'.

In the example below, the setting is 'No'.

3. Click Save.
