About
You can edit a rule-based playlist in the Rich Media CMS to update its name, description, or the rules that define which entries appear.
Changes take effect after you save the playlist.
Access your playlist
- Log into your Rich Media CMS.
- Click the Playlists tab at the top of the page.
- Click the desired playlist.

The Playlists page displays.


The Metadata tab displays by default.

Edit playlist metadata
- On the Metadata page, update the following as needed:
- Name – The display name of your playlist.
- Description – Optional text describing the playlist.
- Tags – Add keywords to help categorize and find the playlist in search. Type a tag and press 'enter' after each one.
2. Click Save at the top right.
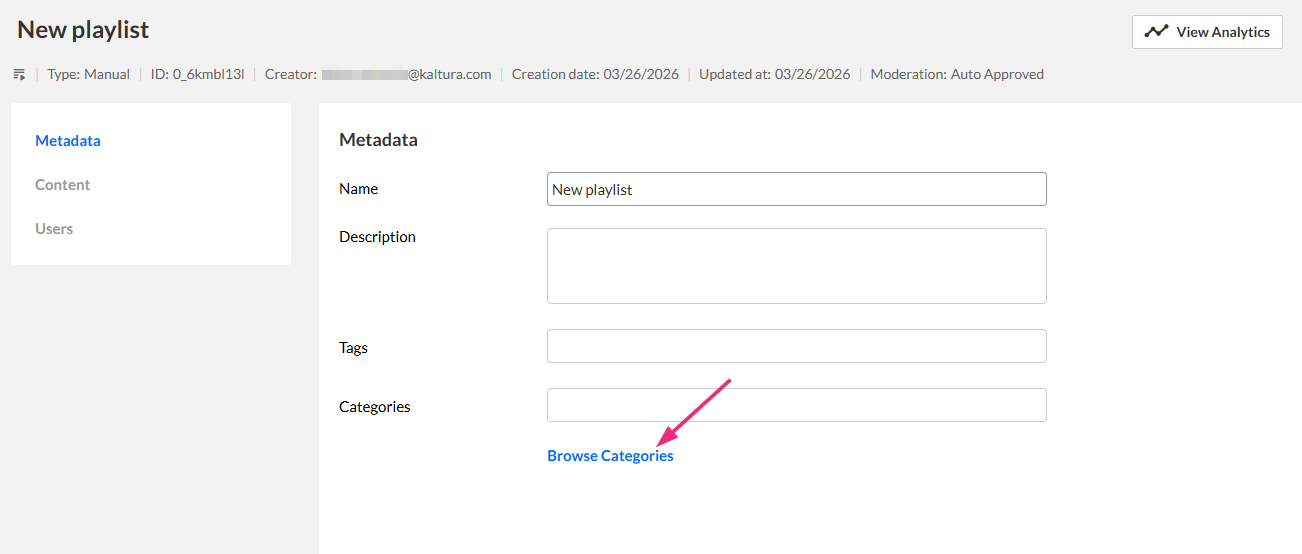
Change playlist categories
You can update the categories assigned to a playlist to control where it appears.
- In the Categories field (below Tags), click Browse categories.
- Select or clear categories as needed.
- Click Change categories.
- Click Save at the top right.
The 'Select categories' window opens.

Add or modify content
- Click the Content tab.
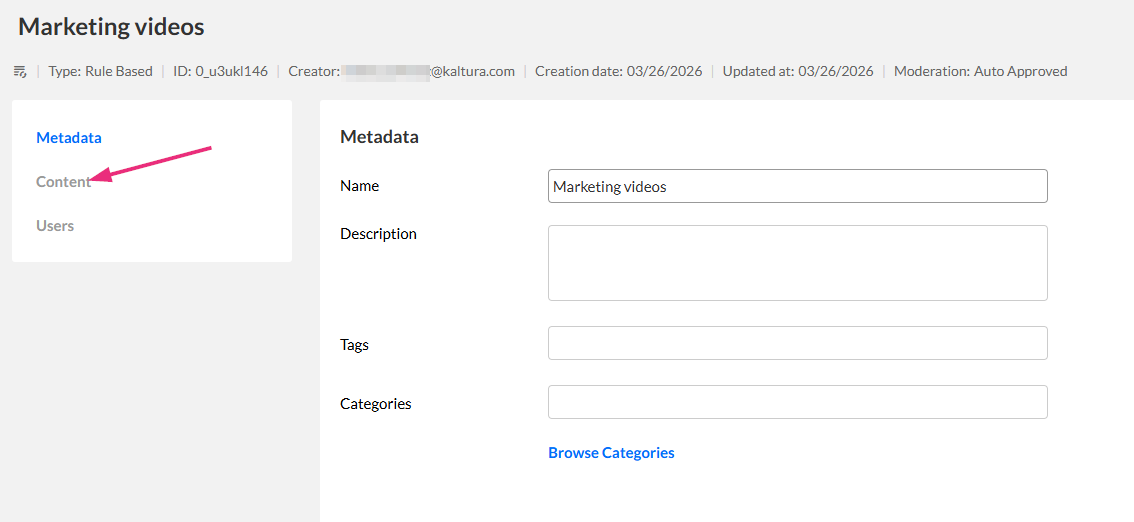
The 'Content' page displays.
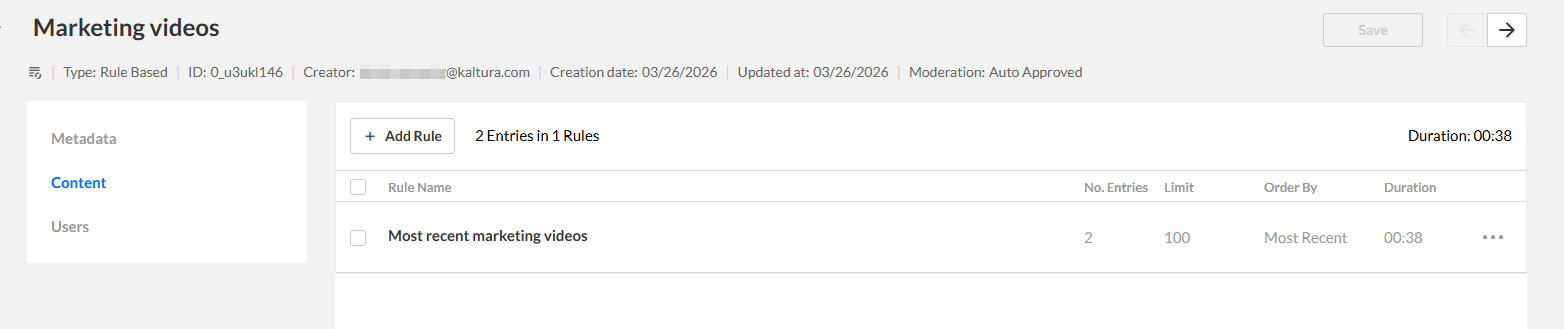
Add entries
- On the Content page, click Add Rule.
- Configure the rule:
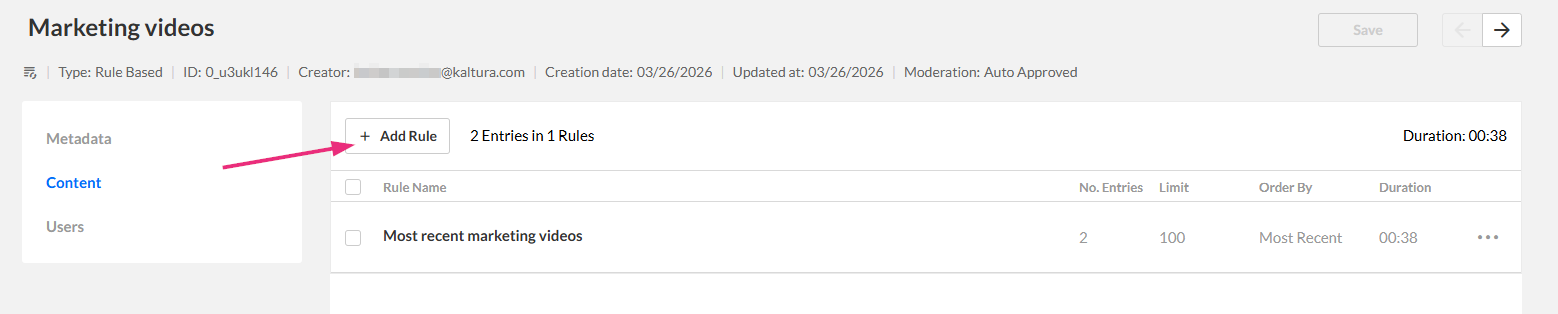
The 'Add a rule to your playlist' window opens.

- Rule name - Give the rule a clear, descriptive name.
- Results Limit - Use the slider to select how many entries the playlist should include (1–200; default is 200).
- Order By - Choose how to sort entries. The following options are available:
- Most Played
- Most Recent
- Highest Rated
- Entry Name
- Filter Categories - Use this function to choose which category(ies) will be associated to the playlist.
- Refine - Narrow results using filters such as media type, creation date, or custom metadata.

The active filters you applied show at the top.

3. Click Add at the top right.
The rule appears in the rules table.

4. Click Save to exit.
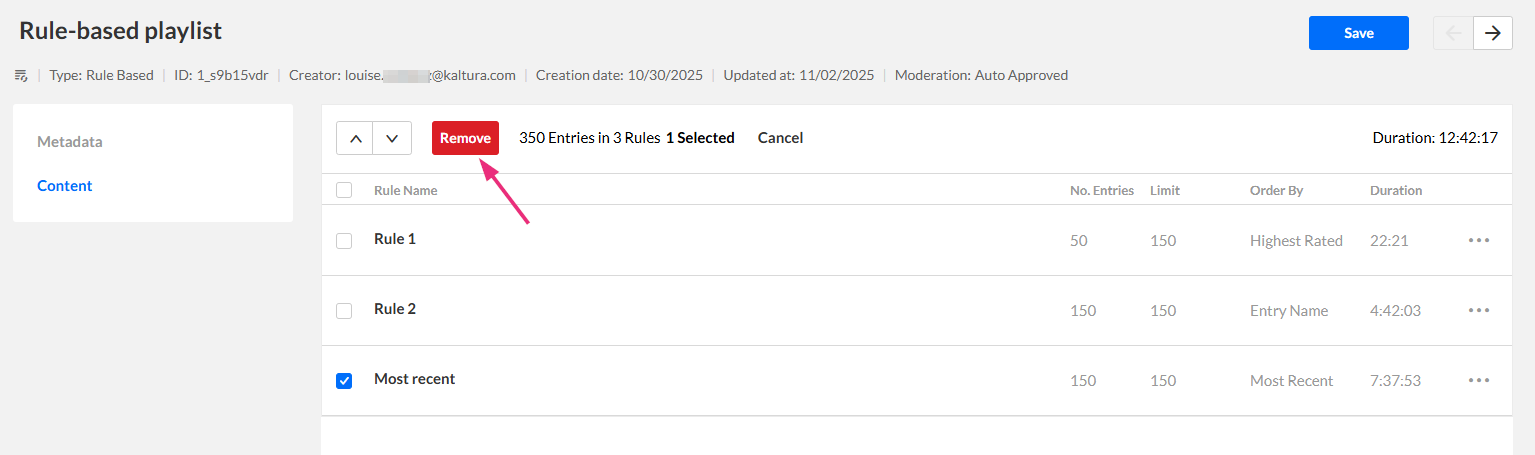
Remove entries
- On the 'Content' page, click the box(es) next to the entry(ies) you want to remove.
- Click Remove at the top.
- Click Save.
Removing a video from a playlist does not delete it from your content library.
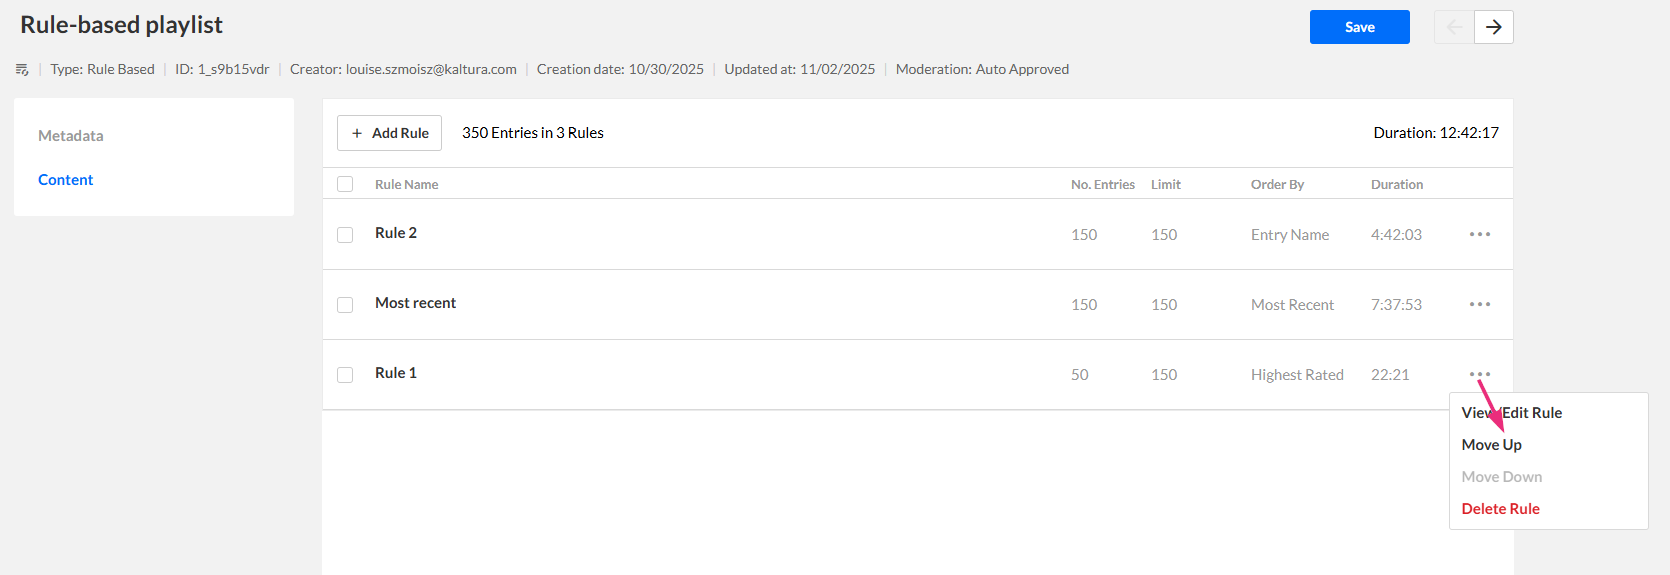
Edit a rule
- On the 'Content' page, click the three dots to the far right of the rule and select View/Edit rule.
- Update any of the following:

The 'Add a rule to your playlist' window opens.
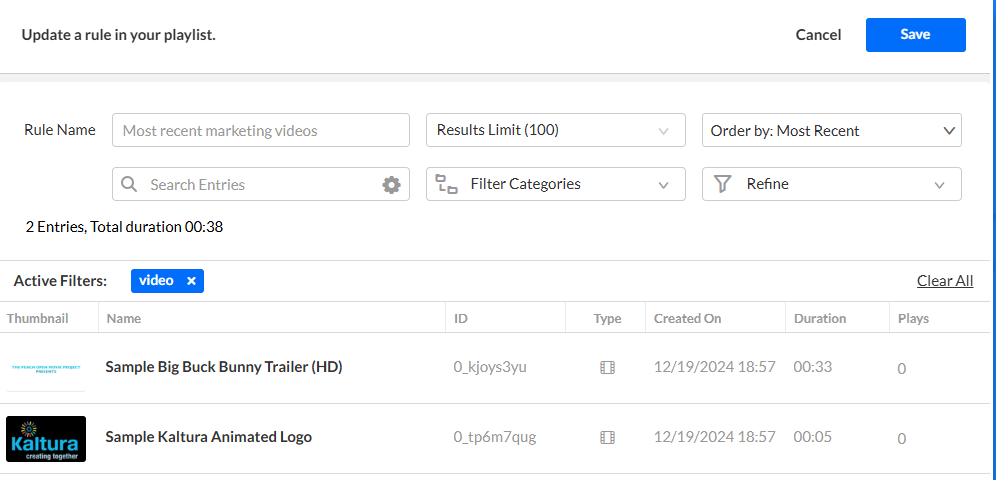
- Rule name
- Results Limit - Use the slider to select how many entries the playlist should include (1–200; default is 200).
- Order By - Edit how to sort entries. The following options are available:
- Most Played
- Most Recent
- Highest Rated
- Entry Name
- Filter Categories - Use this function to choose which category(ies) will be associated to the playlist.
- Refine - Narrow results using filters such as media type, creation date, or custom metadata.
3. When you’re done editing, click Save.
Change order of entries
- Click the three dots to the far right of the entry and select Move up or Move down.
- Click Save.