About
Automation Manager rules define how and when your media is processed. This article explains how to create rules, configure general settings, and manage existing rules from the Rules page.
Please note a single rule cannot manage multiple lifecycle stages over time. If you want to apply different actions at different points (for example, archive content first and delete it later), you must configure separate rules for each stage.
Access the Rules page
- Log into your Rich Media Content Management System.
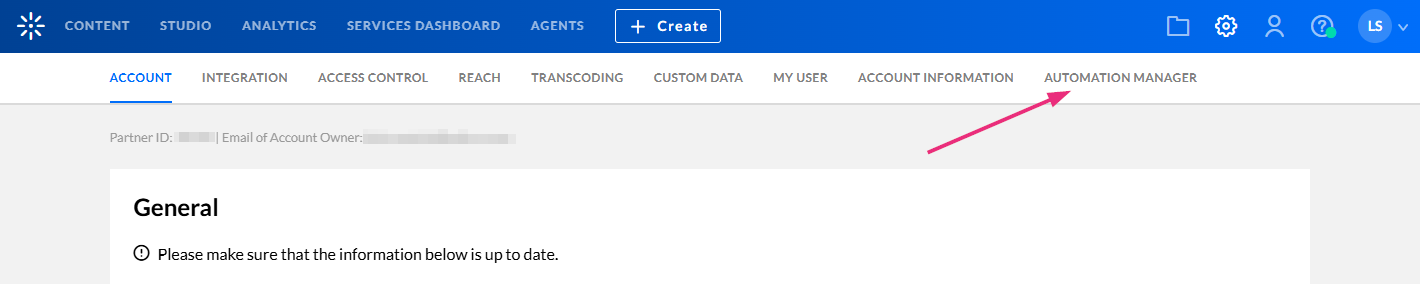
- In the top navigation menu, click the settings icon at the far right.
- Click the Automation Manager tab at the far right.

The Account settings page opens.
If you don't see the automation manager tab in your Rich Media CMS, you need to enable it on your account. In addition, only users with certain roles can access the automation manager.
The Rules page displays. Here you can view any rules that have already been set up on your account.
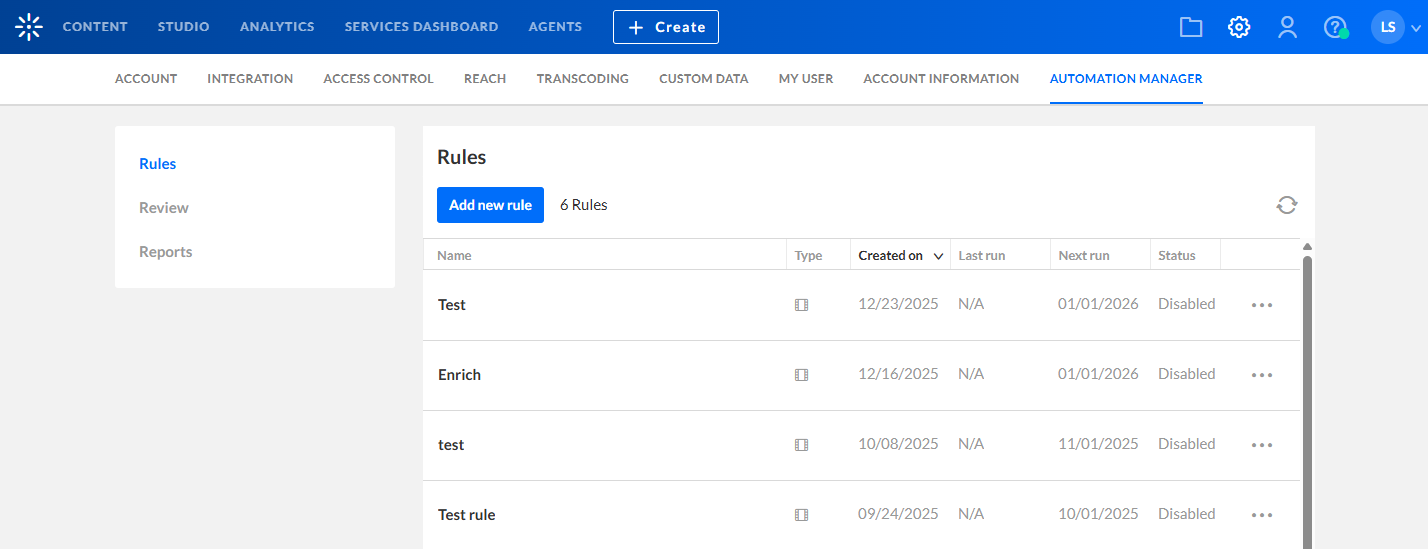
Rules page overview
The Rules page is the main workspace for managing Automation Manager rules. Each rule appears as a row in a table with the following information:
- Name - name of rule
- Description - description of rule
- Created on - the date that the rule was created on
- Last run - the last time MR ran this rule
- Next run - the next scheduled date that MR will run this rule
- Status (enabled / disabled)
The columns are sortable by Name, Creation on, Last run, Next run and Status.
Create a new rule
1. On the Rules page, click Add new rule.

The 'Add new rule' window opens.

2. In the 'Add new rule' window, enter:
- Name (required)
- Rule type – Select VOD rule or Live rule (the rule type can’t be changed after creation)
- Description (optional)
3. Click Next.
The rule configuration screen opens with the General tab selected by default.

Edit an existing rule
On the Rules page, click the three-dot menu at the end of the row and select Edit.

The rule configuration screen opens, where you can update the following settings:
- General
- Criteria
- Actions
- Notifications

Configure general settings
The General page controls when the rule runs and how selected media is handled.
From this tab, you can configure:
- Rule name and description
- Rule owner
- Schedule
- Start date
- Run frequency
- Review settings
- Review period
- Whether admin approval is required before actions run
If media is selected by a rule but not approved or rejected during the review period, it won’t appear again in future runs of the same rule. To include it again, create a new rule with the same settings.
Define rule criteria
After configuring general settings, define which media the rule applies to. On the Criteria page, you select one or more conditions that media must meet to be included in the rule. All criteria must be met.
For the full guide, see Define rule criteria for Automation Manager.
Configure rule actions
In the Actions page, you define what happens to media selected by the rule. You can configure one or more actions, depending on the action type.
For the full guide, see Configure rule actions for Automation Manager.
Enable, disable, or delete rules
From the Rules page, use the three-dot menu to manage rule status:
- Enable / Disable – Control whether the rule runs on its schedule
- Edit – Update rule settings
- Delete – Permanently remove the rule
Rules without criteria can’t be enabled.
