About
The Chatandcollaboration module adds engagement tools, such as comments, chat, collaboration, and other interactive features, in the right panel of your site.
Supported features vary by entry type. Comments are available on supported media pages, while Chat and Collaboration features are available for Kaltura Rooms and webcasts.
- The Theming module must be enabled with the
mediapagefeature set to Yes. - For webcasts, the Kwebcast module must be enabled.
- For Kaltura Rooms, enable:
- Newrow module
- Meetingentry module plus advanced room templates
Contact your Kaltura representative to enable the necessary options.
Configure
1. Go to your Configuration Management console, locate the Chatandcollaboration module in the left panel, then select it. You can also navigate directly using a link: https://{your_site_url}/admin/config/tab/chatandcollaboration
The Chatandcollaboration page displays.

Ensure the module description states that it is a Video Portal module.

2. Configure the following:
- Enabled - Set to Yes to enable the module.
- moduleMode - Displays the currently enabled Chat and Collaboration features. This field is informational only and updates automatically based on your configuration.
- Comments - Enable comments on your site. Select one of the following options:
- Available - On by default - Comments are enabled by default for supported media items. Media owners can disable comments for individual media items.
- Available - Off by default - Comments are disabled by default for supported media items. Media owners can enable comments for individual media items.
- Disabled - Comments are unavailable throughout your site.
The Comments feature requires the Theming module to be enabled, with the
mediapageandmediaeditfeatures set to Yes. - CustomTranslation (optional) - Upload a JSON file with all custom translations for the Chat and collaboration. Divide the file by language, using each language's short name (for example, “en” for English, “fr” for French). For each language, include the key value with its custom translation.
This action overrides all the existing translations.
- Click Upload custom translation, and then select a JSON file.
- To delete the file, click Remove.
- DefaultUserSettings - Configure the default user settings for chat features. These settings determine the initial preferences for end users.
- Show full name - Set the default option for end users to show or hide their last name. Select Yes to display the last name by default, or No to hide it.
- DefaultEntryModeration - Select On to enable Q&A threads on entry pages, Off to disable them, or According to schedule to enable Q&A based on the media schedule.
- EntryGroupChat - Enables group chat for all entries on your site. Disable group chat, or enable it in one of two views: a comments thread or a group chat view. Select from the following options:
- Disabled
- Comments
- Group chat
- According to schedule
- ToastTimeout - How long toasts stay on screen, in milliseconds, before they close. The default is 20000 milliseconds (20 seconds), but you can change it.
- ExcludePath - Excludes the Chat and collaboration from specific paths on your site. You can exclude specific paths, media entries, and channels.
Click +Add "ExcludePath" to add more URLs.
Another field appears.
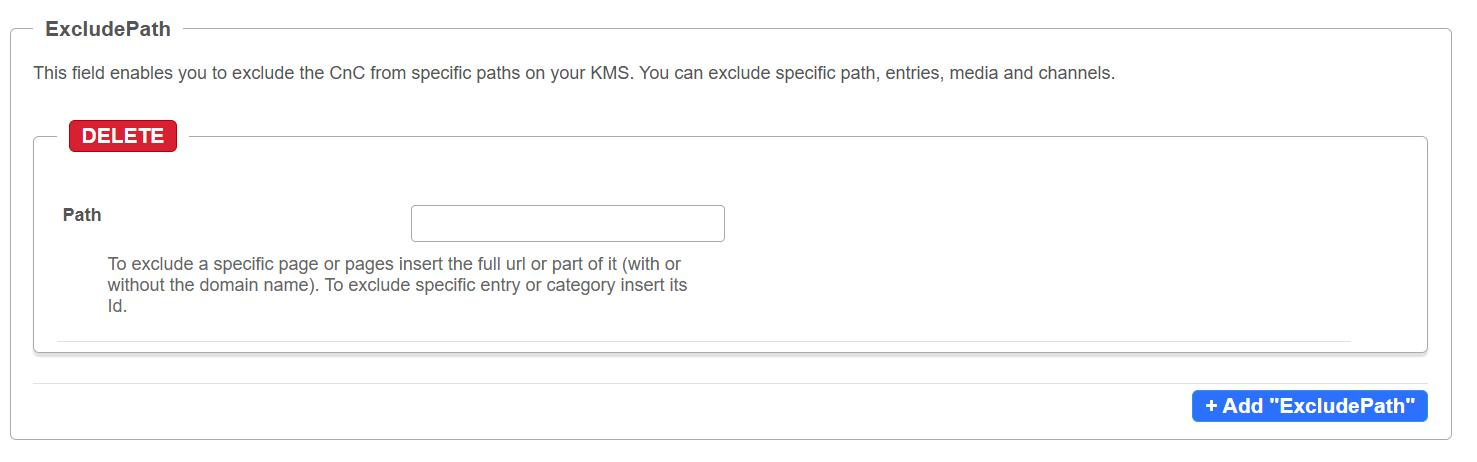
- To exclude a specific page or pages, enter the full URL or part of it (with or without the domain name). To exclude a specific entry or category, enter its ID.
- OpenByDefault - Set to Yes to launch the Chat and collaboration panel in an open state by default for all users. The tool opens on the first item in the list. Users can still close it.
- liveStageSvgIcon - Click Upload icon file to upload a custom SVG icon file to replace the "Live chat" icon. To delete the file, click Remove.
3. Click Save.
