About
Kaltura Express Capture lets you record video and audio directly from a supported desktop browser—no additional software required. You can record your camera, microphone, screen, or a combination of these sources.
These instructions are for non-Theming users. If Theming is enabled on your account, see Create a recording with Express Capture for Theming users.
Express Capture is not supported on mobile devices or tablets, including iPhones and iPads.
Before you start
- Make sure you’re using a supported desktop browser. For details, see Express Capture supported browsers and devices.
- Your site must use HTTPS. Express Capture doesn’t work over HTTP.
- The Recorder module must be enabled in the Configuration Management console. When the module is enabled and saved, a V7 player is created automatically.
- Allow your browser to access your camera and microphone when prompted. If you previously blocked access, see What to do if you get locked out of Express Capture.
Open Express Capture
-
From the Add New menu, select Express Capture.
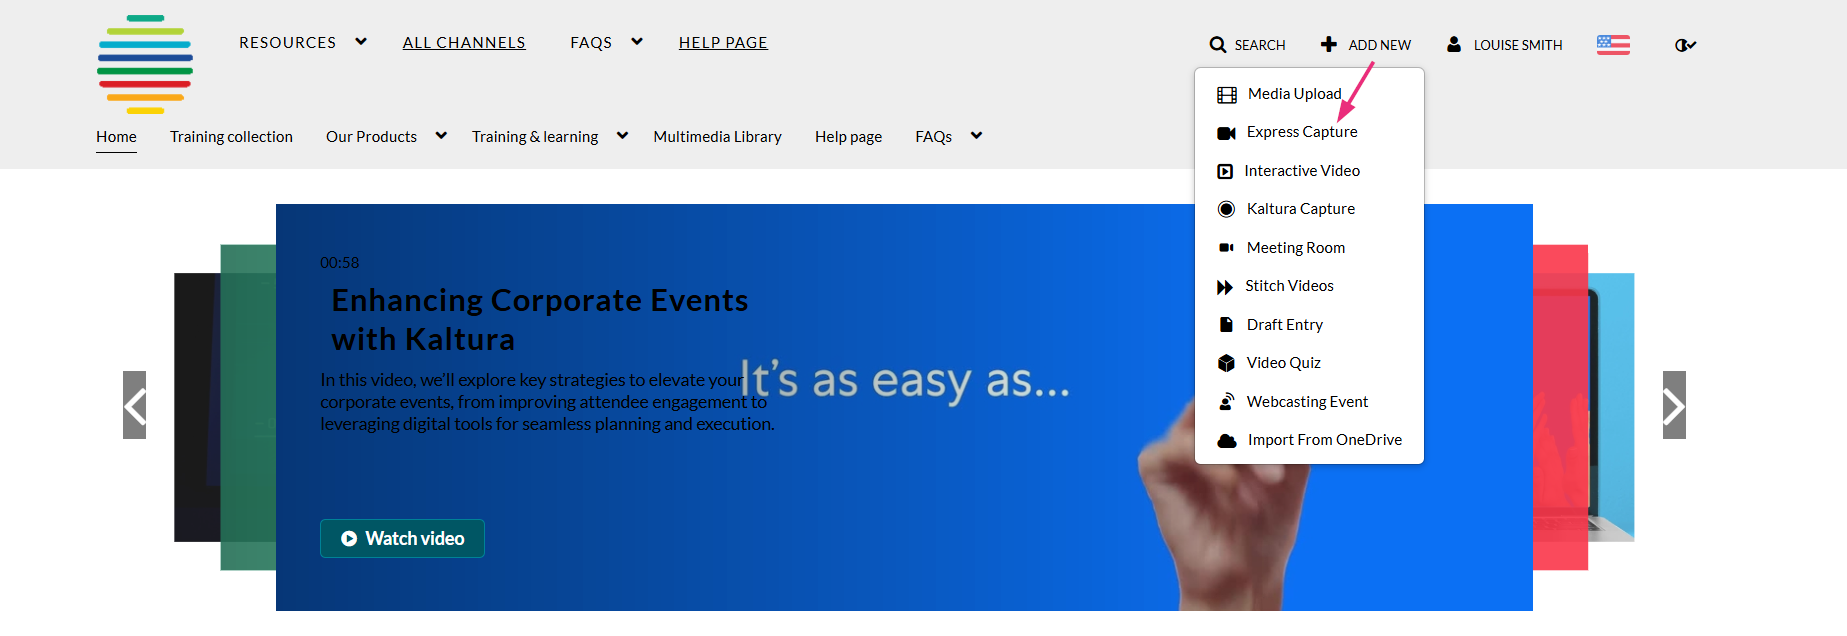
The record media page displays.


Choose what to record
By default, Express Capture uses your computer’s webcam and microphone. You can select different input devices or turn individual recording sources on or off.
Camera
-
Click the arrow next to the camera icon to display the available cameras and the camera toggle.
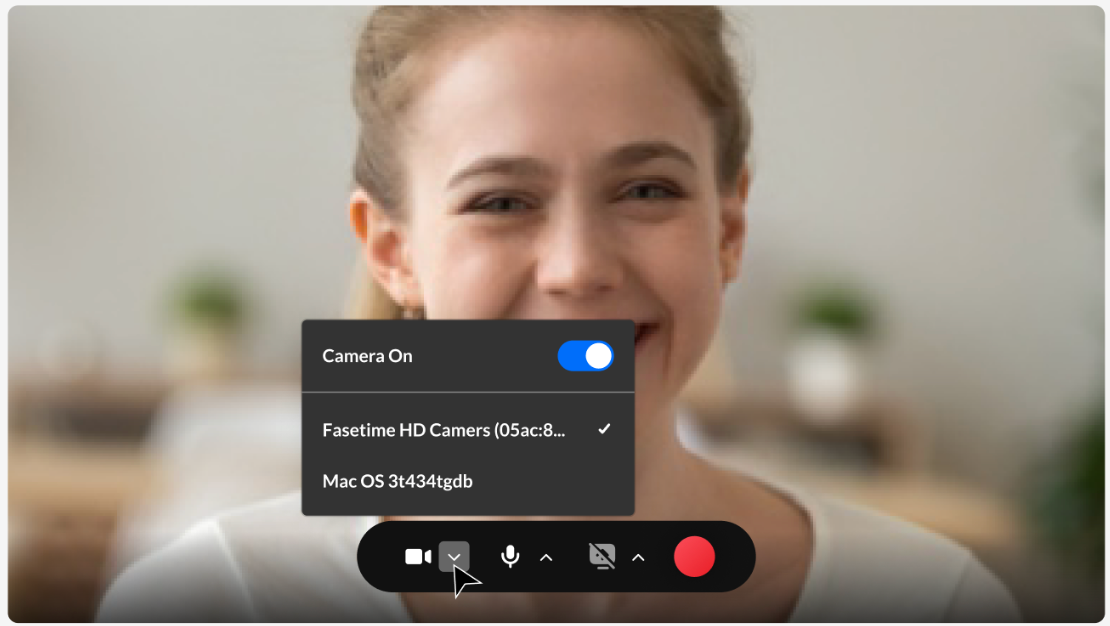
- Select the camera you want to use, or turn off the camera if you don’t want to record video from it.
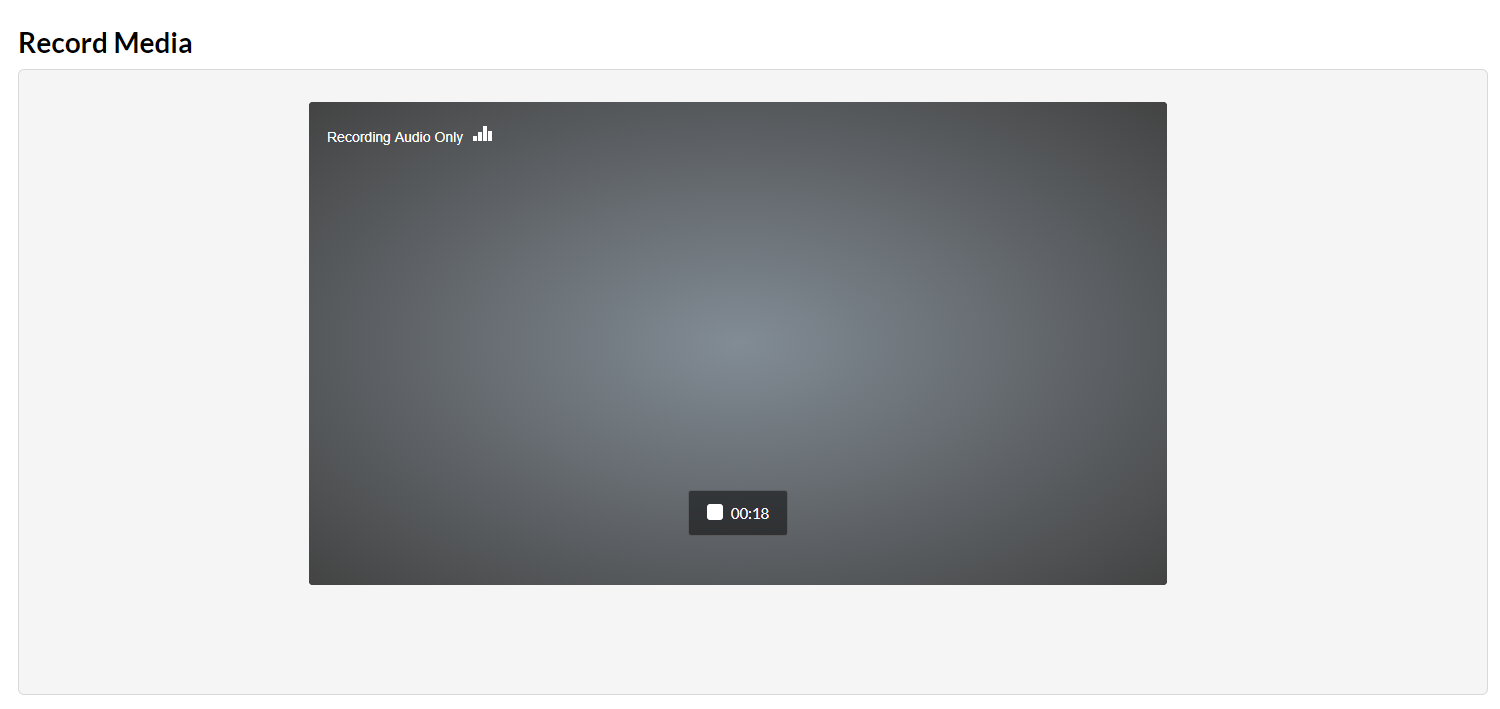
If you turn off the camera and record audio only, an audio indicator displays in the upper-left corner.
Microphone
- Click the arrow next to the microphone icon to display the available microphones and the microphone toggle.
- Select the microphone you want to use, or turn off the microphone if you want to create a video without audio.
The camera and microphone can’t both be turned off at the same time.
Screen
- Click the arrow next to the screen icon to display the screen-sharing toggle.
- Turn on screen sharing and select the browser tab, window, or entire screen you want to share.
- Screen capture can be enabled only when the camera and microphone are enabled.
- Express Capture recordings that include screen sharing have a maximum duration of 1 hour.
Record and preview
-
Click the red record button.
A three-second countdown displays.
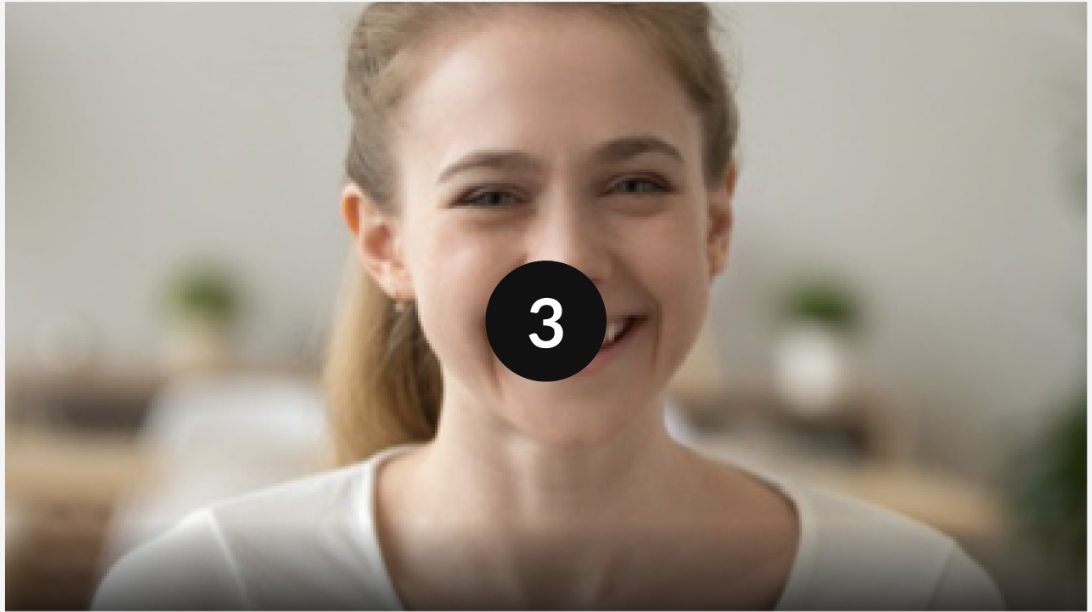
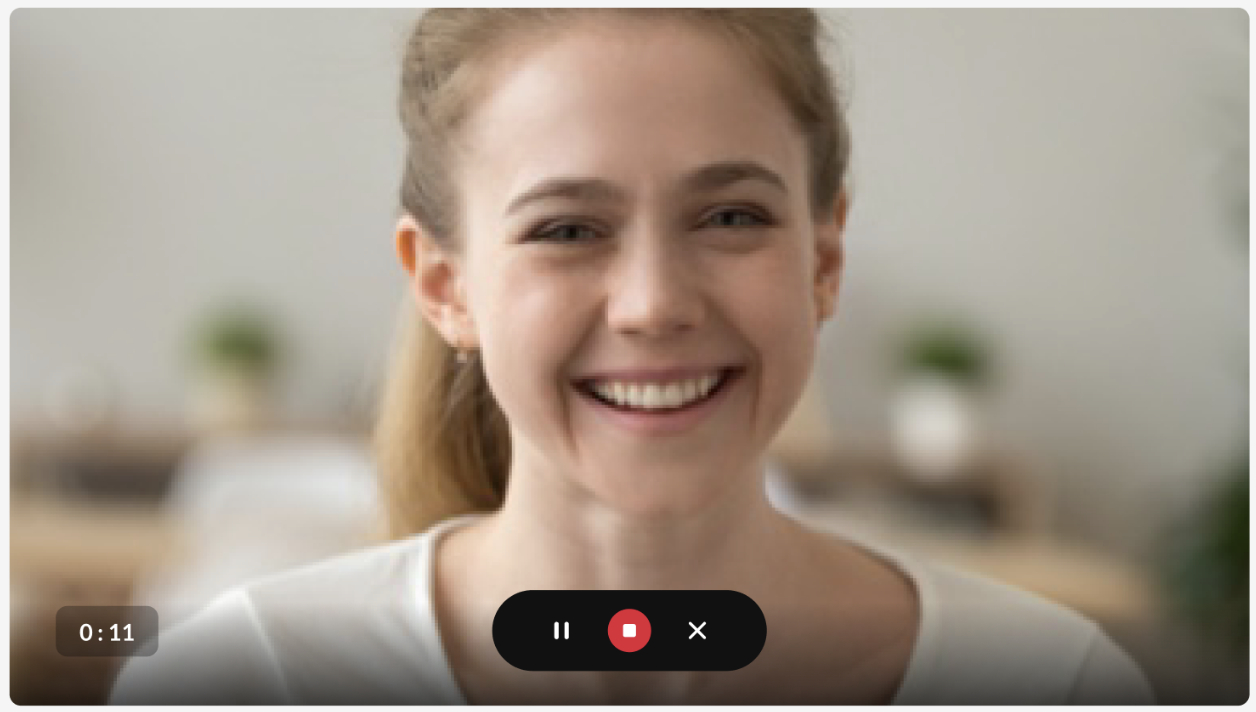
During the recording, a timer displays next to the stop button.
-
Click the red stop button when you finish recording.
The preview page displays the following options:
- Record Again
- Download a Copy
- Use This
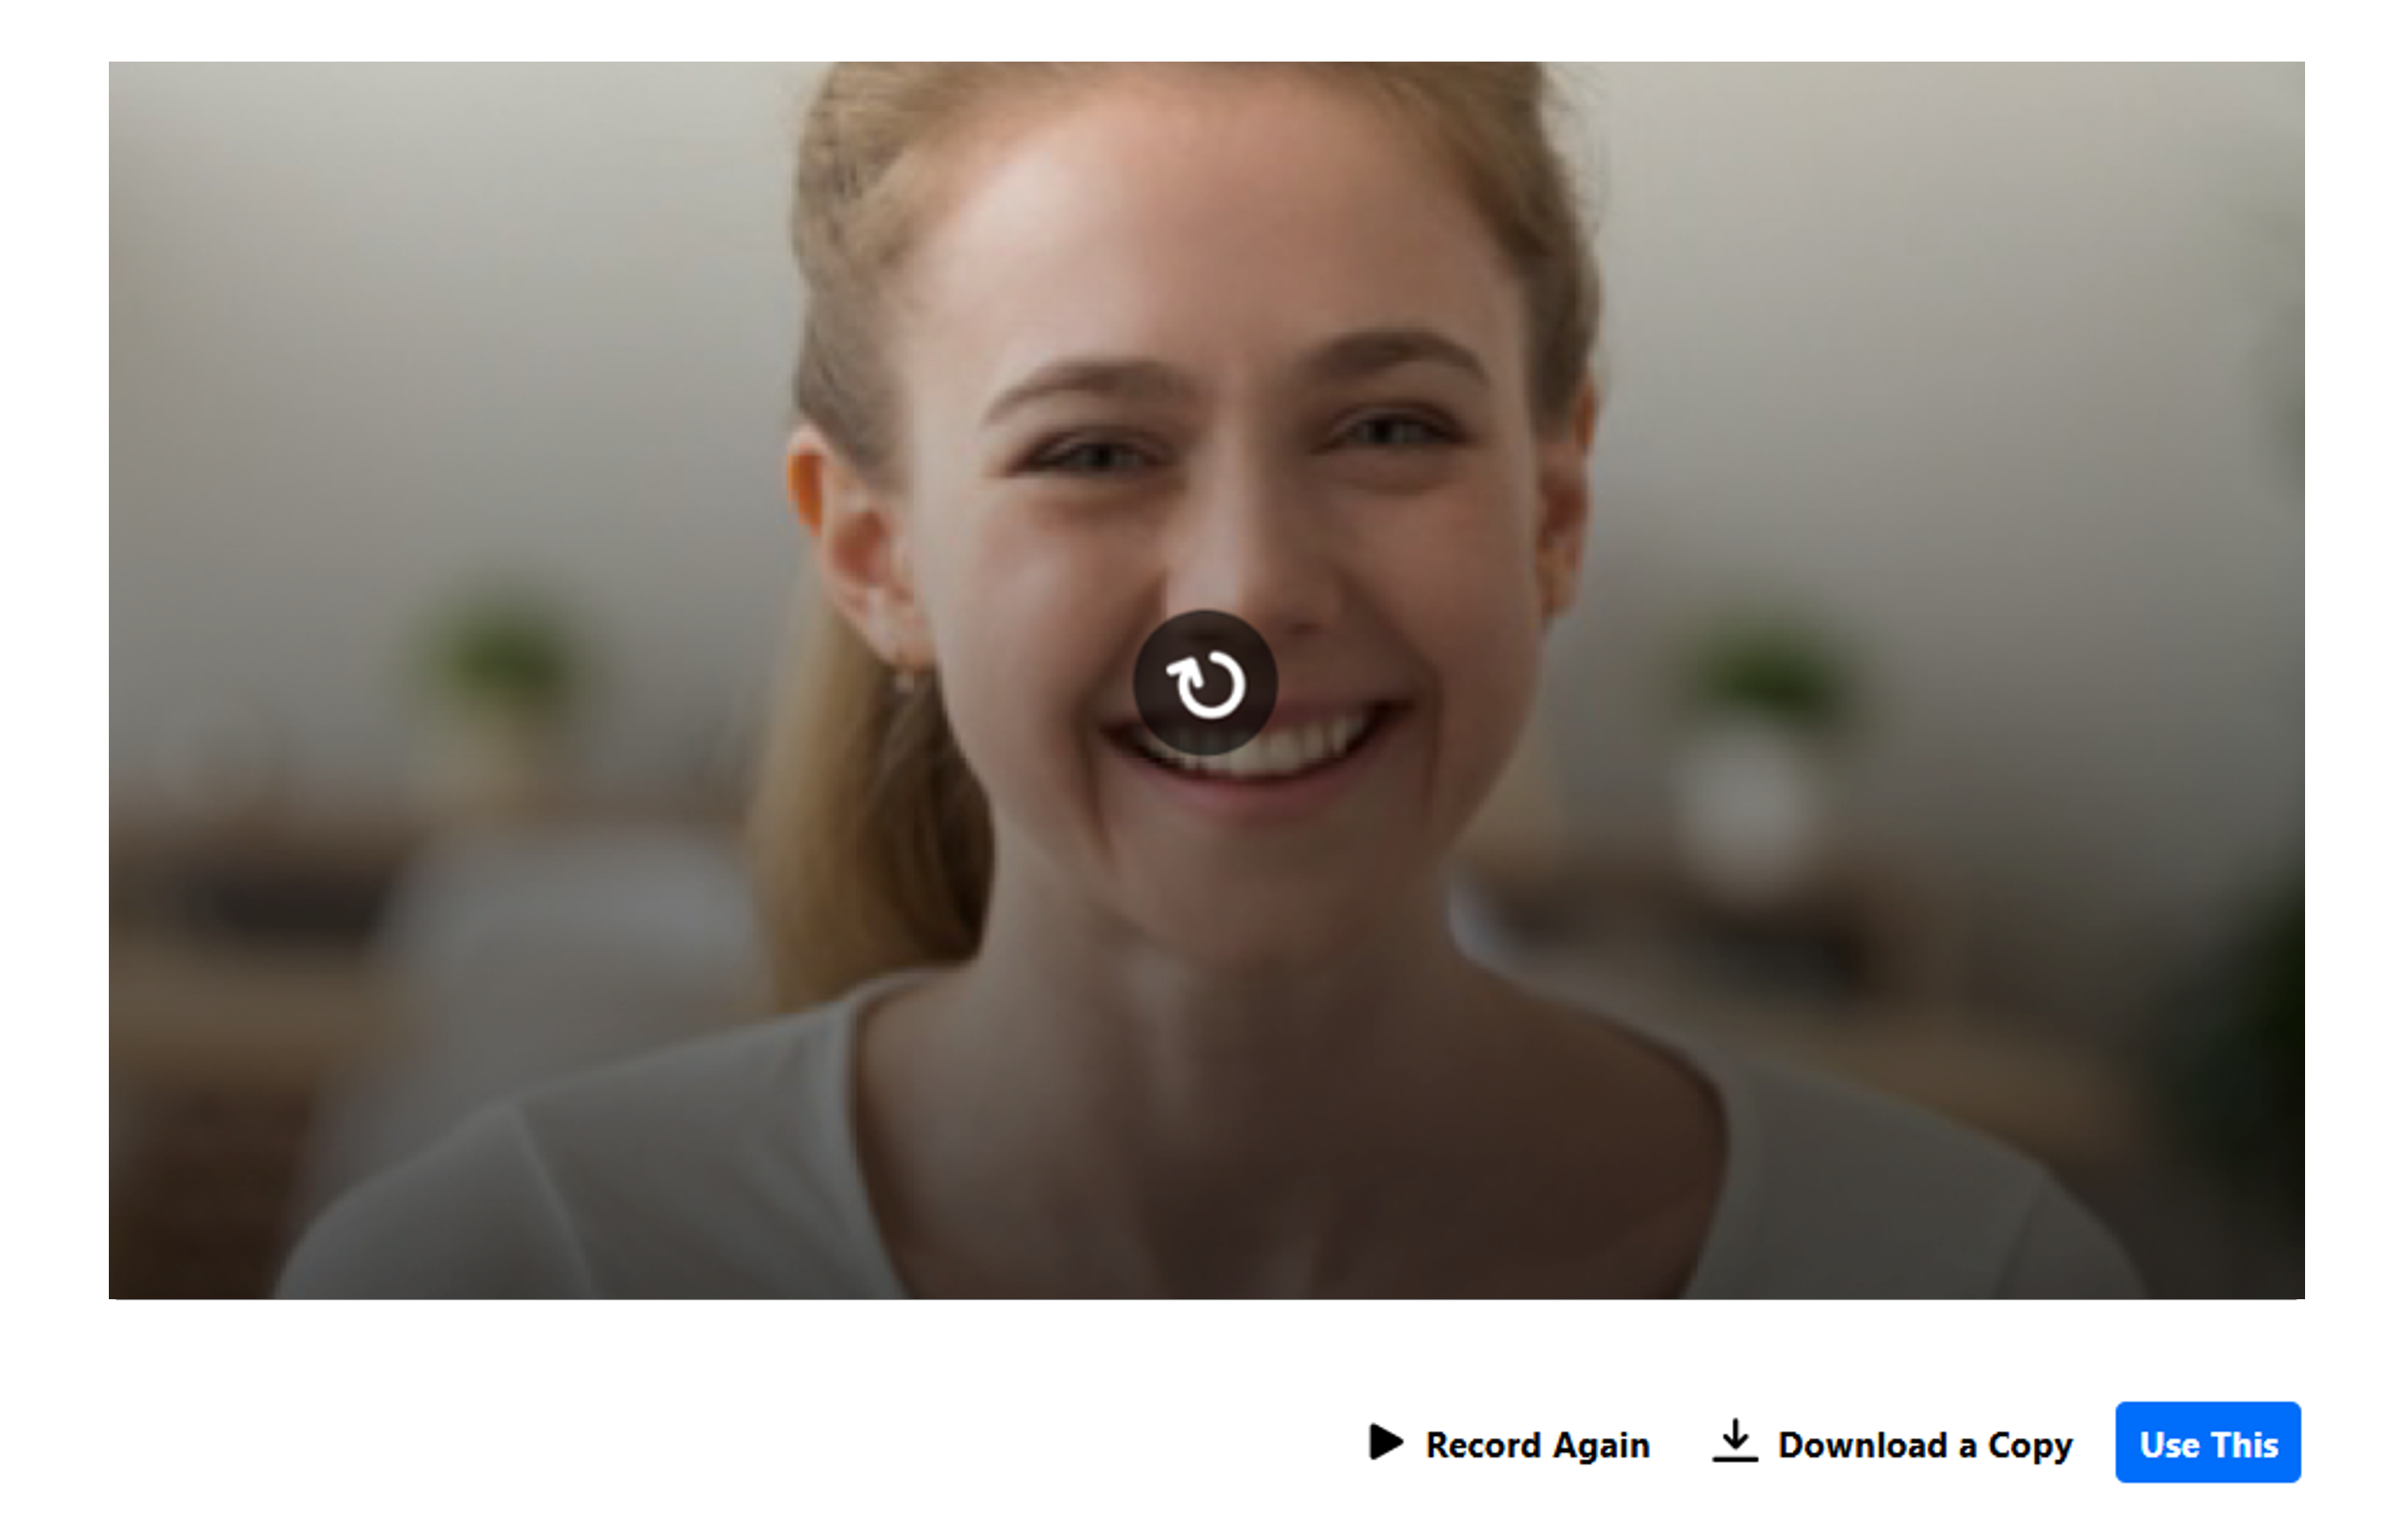
- Click the play button to preview your recording.
If you recorded both your camera and screen, the two streams display one above the other on the preview page and use the same playback controls.
Download or upload your recording
After previewing your recording, choose one of the following options:
- Record Again – Discard the recording and start again.
- Download a Copy – Download the recording to your computer before uploading it.
- Use This – Upload the recording to Kaltura.
View your recording
After the upload is complete:
- Open My Media.
-
Find your recording. It is assigned a default name, such as:
- Video Recording - July 23, 2022 7:43pm EST
- Audio Recording - July 23, 2022 7:43pm EST
The available options depend on where you created the recording:
- If you created it from My Media or elsewhere, the upload page includes a Publish option.
- If you created it using Add to Category or the Browse and Embed (BSE) tool, the Publish option isn’t available on the upload page.
Keyboard shortcuts
| Action | Windows/Linux | Mac |
|---|---|---|
| Start recording or record again | Alt + Shift + R | ⌘ + Option + R |
| Stop recording | Alt + Shift + S | ⌘ + Option + S |
| Pause or resume | Alt + Shift + P | ⌘ + Option + P |
| Use recording and upload | Alt + Shift + U | ⌘ + Option + U |
