About
Enhance your channel's layout, appearance, and functionality with Kaltura's versatile editing features. Craft a professional and engaging channel page effortlessly, showcasing your desired content in your preferred style. Customize playlists, choose CTAs, and adjust layouts to captivate your audience effectively. With our flexible editing options, you can create a tailored viewing experience that resonates with your viewers.
The following instructions depend on having the Theming module enabled.
Access the edit page
- From the user menu
 , select My Channels.
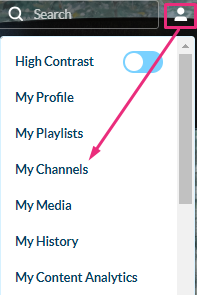
The My Channels page displays. - Click on the pencil icon on the thumbnail of the channel you want to edit.

The Edit page opens on the Details tab by default.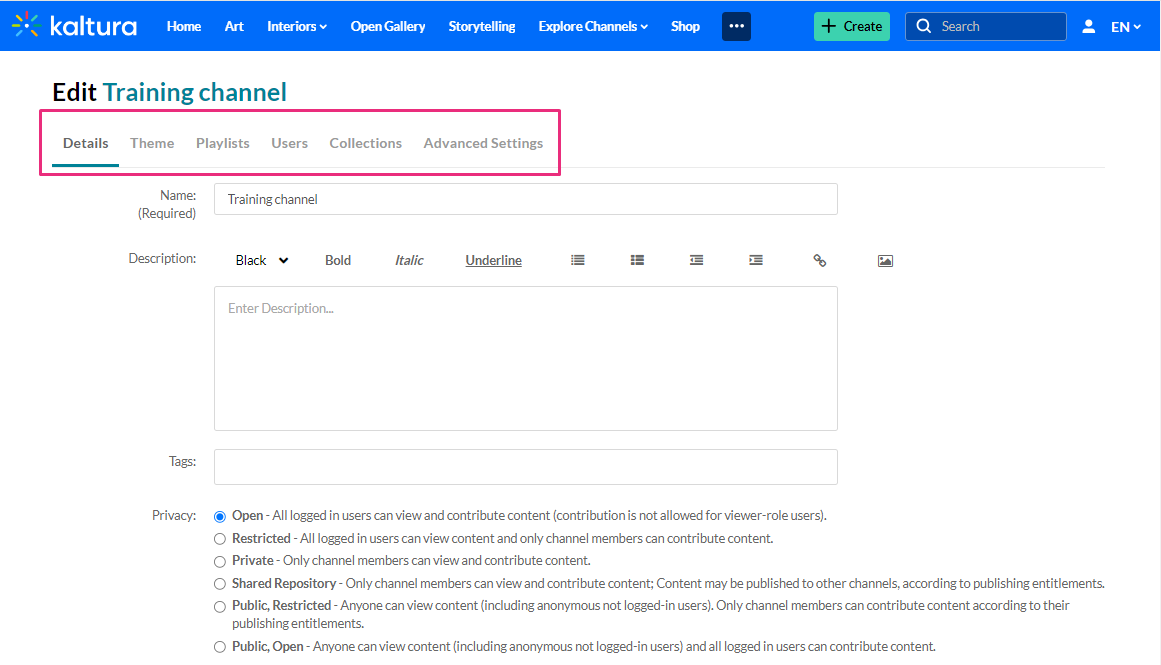
 , select My Channels.


You have a few options for configuring your channel under the following tabs:
Details tab
Under the Details tab, enter / edit values for:
- Name
- Description
- Tags
- Privacy Settings
- Options
For more information about the details tab, see Create a channel.
Theme tab
In the Theme tab, you can activate the channel carousel to showcase playlists, select the default player for entries in the channel and set a theme preference for entries published to the channel.
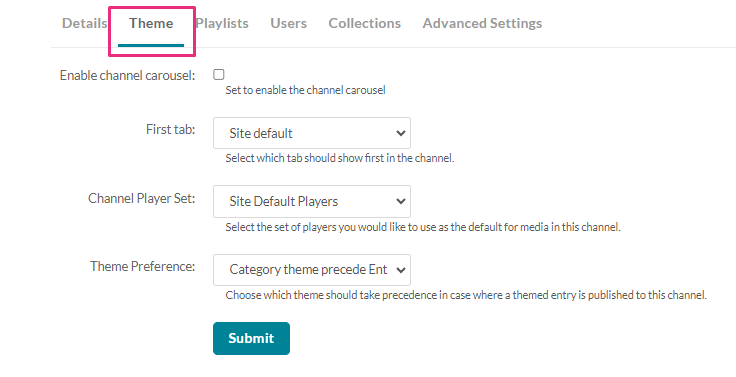
- Enable channel carousel - Select to enable the channel carousel. When selected, the channel carousel playlist is displayed.
- Channel carousel playlist - Choose a playlist from My Playlists or Channel Playlists (Note that if you choose My Playlist, only content in the channel is displayed on the carousel.)
The carousel feature isn't currently available in the new Theming Feature Set.
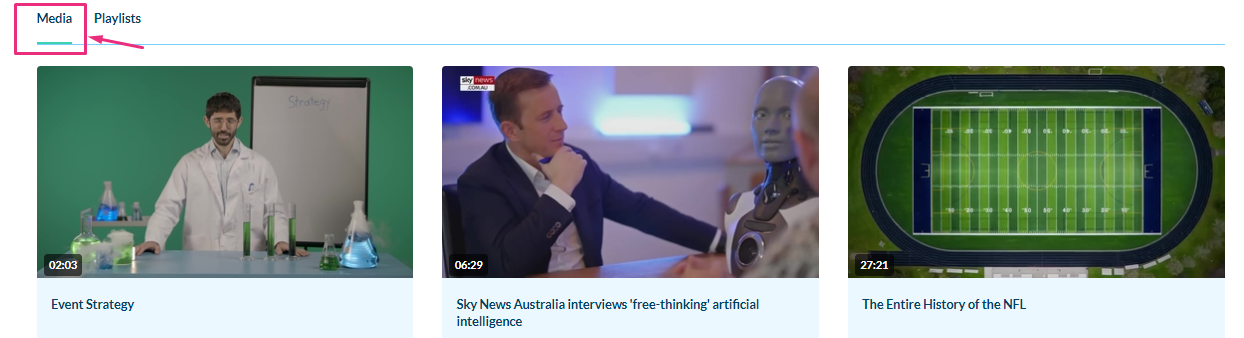
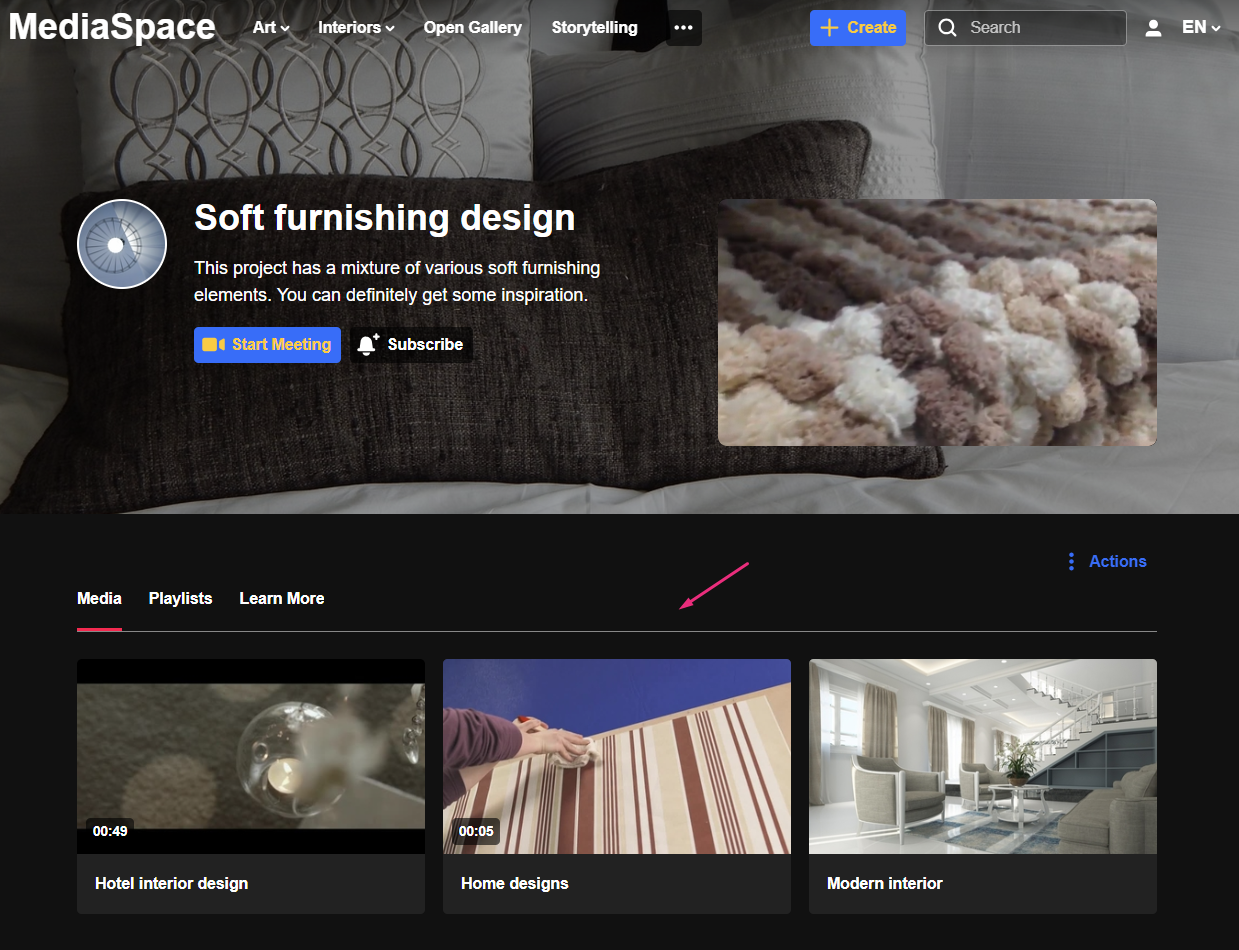
- First tab - Select which tab should be displayed first in the channel. (The image below shows the Media tab as the first in the channel.)
- Channel Player Set - Select the set of players you want to use as the default for entries in this channel. Player sets are preconfigured by your KMS admin.
- Theme Preference - Choose which theme should take precedence if a themed entry is published to this channel. To learn more about a themed entry, please see Entrydesign.
Playlists tab
This tab displays the channel's playlists. 
There are a few options for managing your playlists:
- Click +Create Channel Playlist to make a new playlist. See our article Create a Playlist for more information.
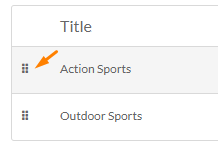
- Click the dots and drag to change the order of your playlists.
- Click the pencil icon to edit your playlist. For information, read our article Edit playlist details.
- Click the trash can icon to delete a playlist.
- Click the
 icon to embed a playlist. For information, read our article Embed a playlist.

Users tab
If you are the channel manager or owner, you can add users to the channel as well as view and edit permissions.

Edit user permissions
- Click the pencil icon in the Actions column next to the user.
A drop-down list appears in the Permission column. - Choose the permission type from the drop-down.
- Click the save icon
 to save your changes.
Add users
- Click +Add Users.
- In the Add Users window, start typing a user or group name to display user names/group names and select a user/group to add.
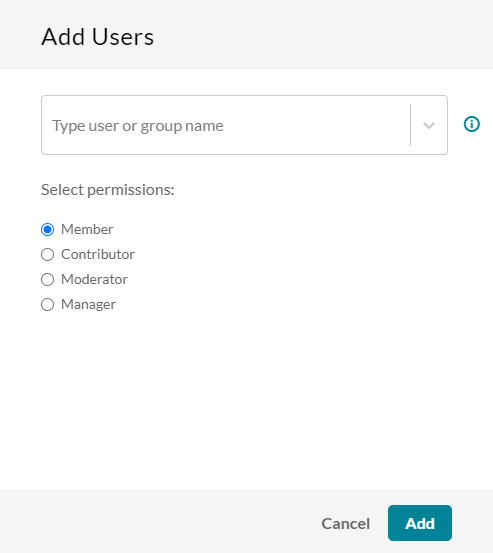
- Under Select permissions, select the user's permission:
- Member - View channel content only.
- Contributor - View channel content and add media to the channel.
- Moderator - View channel content, add media to the channel, and moderate channel content
- Manager - View channel content, add media to the channel, moderate channel content, and manage the channel (delegate managerial rights to additional users). Please note: A Manager cannot edit/modify media metadata inside the channel.
- Click Add to add the selected user with the specified permission.
- Click Save to apply your changes.

Delete users
- In the list, locate the user you want to delete.
- In the same row, go to the Actions column and click the remove icon
 .
.
The user is removed.

Set a user as owner
- Locate the user you want to assign ownership to on the list.
- In the same row, go to the Actions column and click the key icon.

If there is already an owner assigned, a warning message will display: 'Only one owner can be assigned. This change will make the selected user/group the new owner and you will be set as a manager for this category. Would you like to proceed?'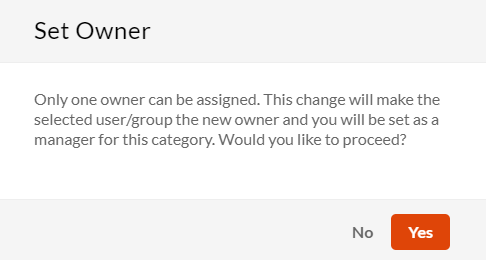
- Click 'Yes' to proceed (or 'No' to cancel).


To download a CSV list of channel users, click the Download List button.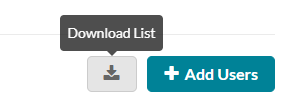
Collections tab
Associate your channel to one or more channel collections, as well as associate filtering values for searchability. Read more about it in our article Add channels to a channel collection.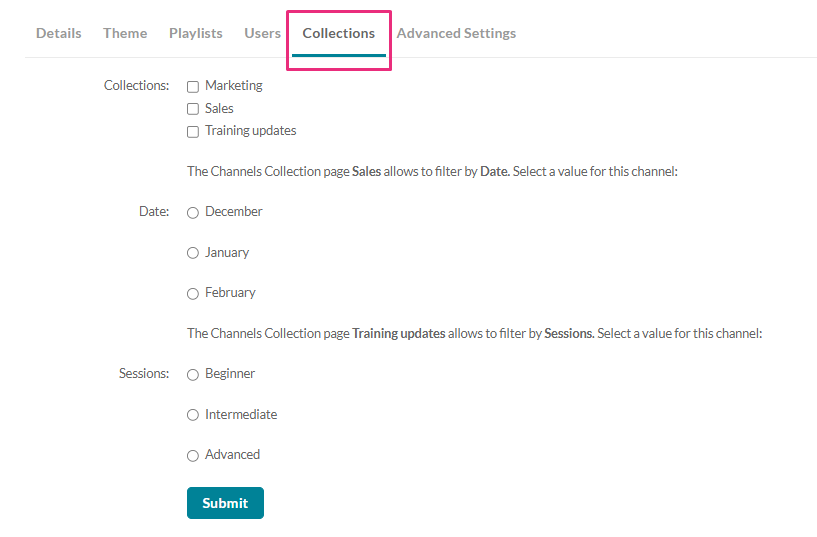
Before you begin adding channels to a channel collection, your administrator needs to configure the channelcollections module with the channel collections and filtering options.
Advanced Settings tab
The Advanced Settings tab offers a range of customization options to enhance the presentation and functionality of their channels. From selecting layouts and view modes to adding CTAs and uploading images, this tab empowers channel owners to personalize their channels to better engage their audience and align with their branding strategies.
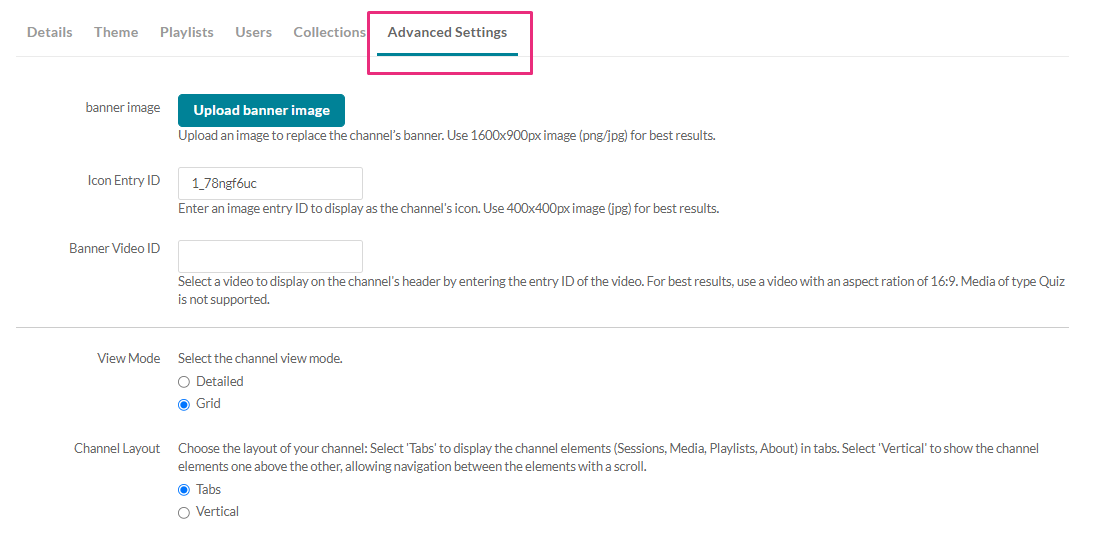
- Upload banner image - Upload a banner image for your channel's main page.
- Icon Entry ID - Enter an image entry ID to display as the channel's icon. You can find the image ID in the image's details in My Media or in KMC.
- Banner Video ID - Add a video as an intro to your channel to highlight special content or anything you like.
- View Mode- Select the channel view mode:
- Detailed - as shown below
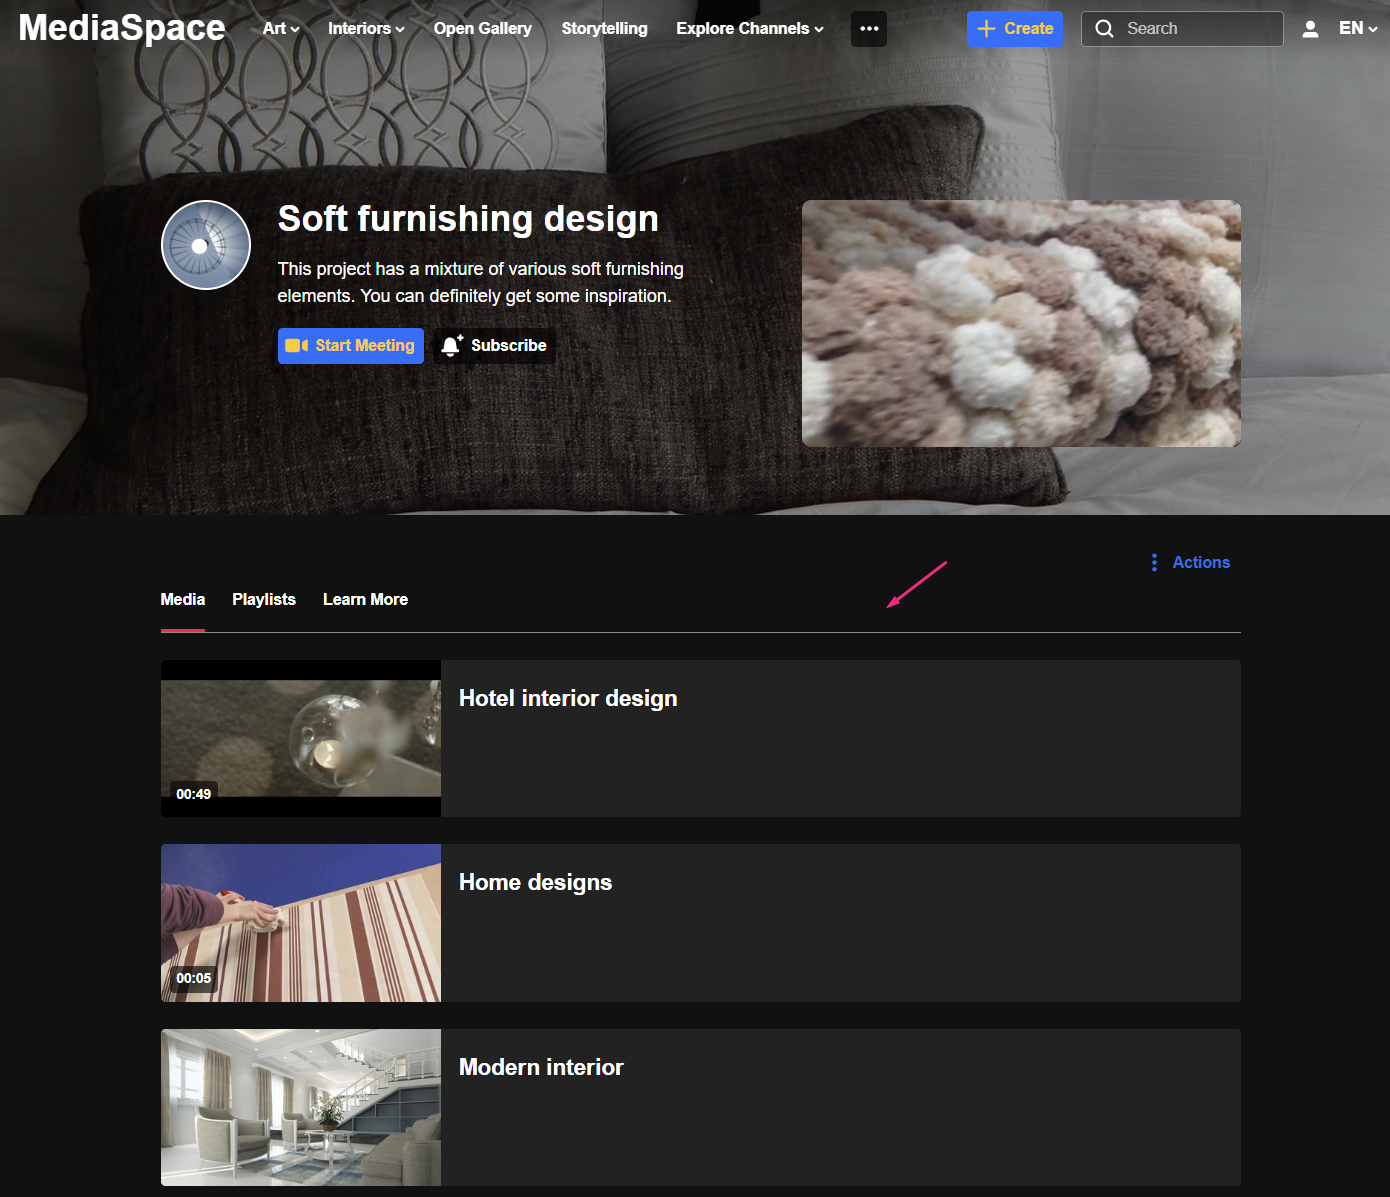
- Grid - as shown below
Please note, the action buttons as shown below in the basic UI are not yet available in the Theming.
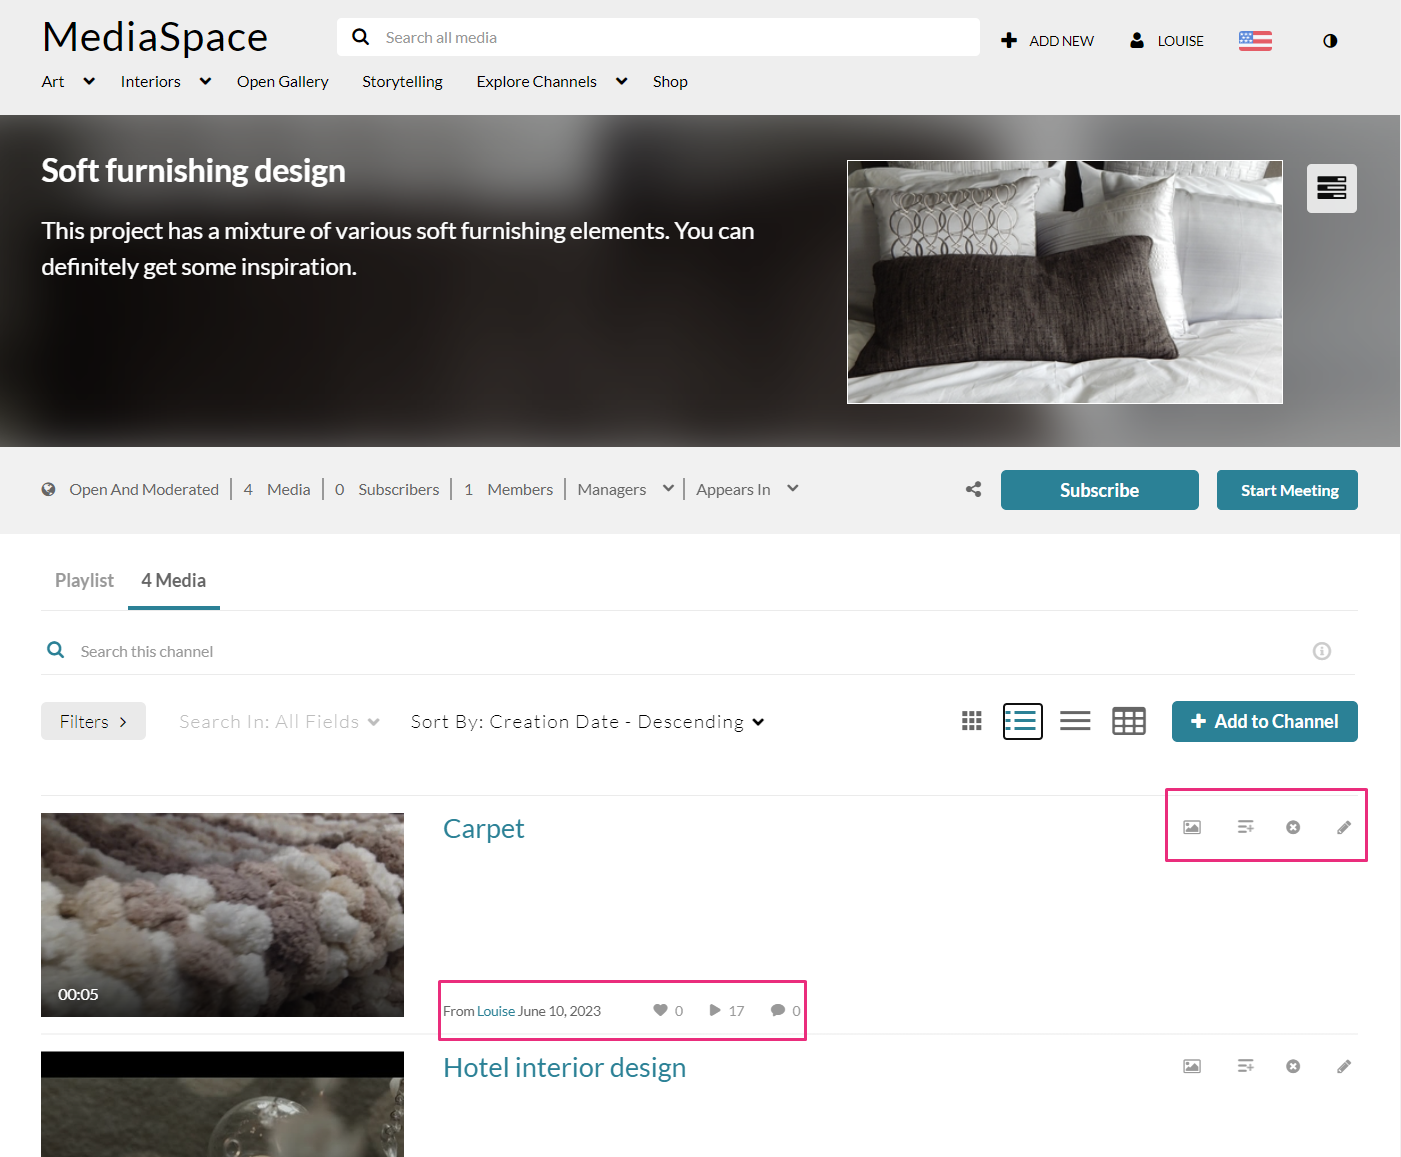
- Detailed - as shown below
- Channel Layout - Choose the layout of channels in the application:
- 'Tabs' to display the channel elements (Sessions, Content, Playlists, About) in tabs.
- 'Vertical' to show the channel elements one above the other, allowing navigation between the elements with a scroll.
- Links/CTA - Select which CTA buttons/links to show. Between the 'Meeting', 'Chat', and 2 CTA buttons, only the first 3 will display on large screens, and only 2 in smaller screens. (Order by priority from top to bottom - 'Meeting', 'Chat', CTA1, CTA2).To display a custom link:
- check the box next to 'Display a custom link' button.
- enter the name that will be displayed on the button.
- enter the HTML link you want users to be navigated to (links will open in a new tab)
- Sections - Select which sections (Sessions, Playlists, Media, About) to show on the channel page. Note that the Sessions and Playlist sections will automatically be hidden if no content is available in either.
- Default Tab - Select which section tab will show up first on the channel page. Note that if the Sessions or Playlists tabs are selected as the default tab but contain no content, the next section available will show instead.
- Channel Rank - Enter a name or label which can be used to identify the channel.
And finally, don't forget to click Save.


