About
In this guide, you'll learn how to create and set up channels in your legacy Video Portal. If you're an organizational group manager or someone authorized by your organization to create channels in your legacy Video Portal, you can also create channels in bulk and customize their settings and member permissions.
For more information, check out our article Channel management in bulk.
Check out the video below for quick and easy instructions on creating a new channel.
Access My Channels page
1. Choose My Channels from the user menu.

2. On the My Channels page, click +Create Channel.

The Create a New Channel page displays.
Details tab
The Details tab displays by default. Here you can configure the details for your new channel.
Metadata
Enter values for:
- Name – Enter the name for the Channels page. The channel name is limited to 60 characters.
- Description – Enter a summary of the channel content to display on the My Channels page.
- Tags – Enter a descriptive tag(s) to use in searches.
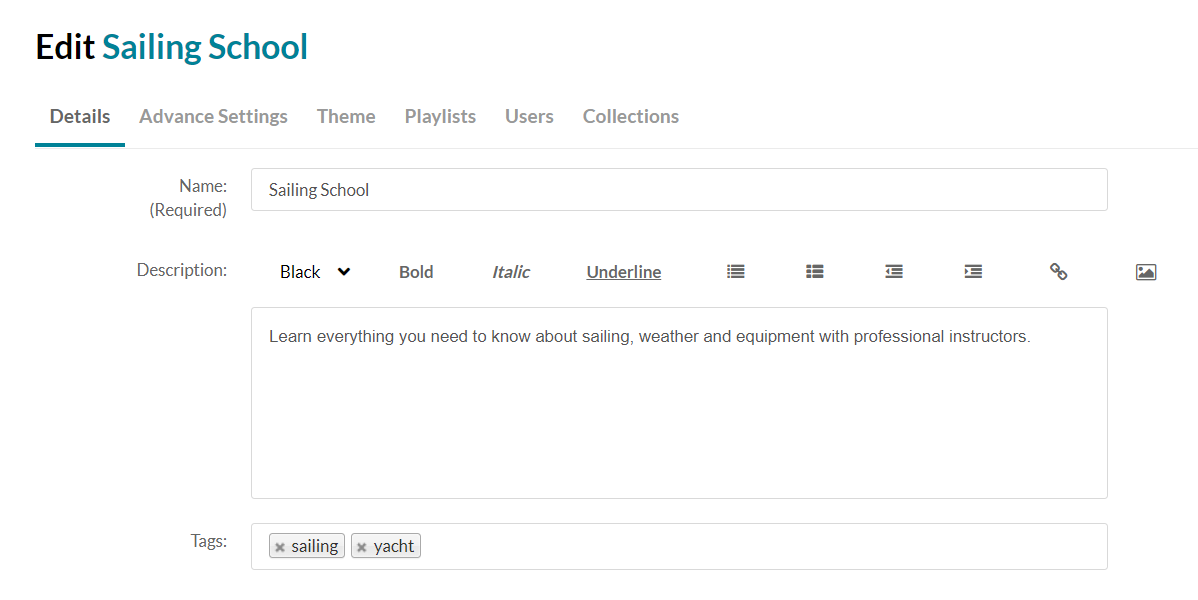
A formatting toolbar appears above the text field. Use it to style text, add links, images, and more to your description.

Privacy
Choose the Privacy settings for the channel.

- Open – All logged-in users can view and contribute content (contribution isn't allowed for viewer-role users).
- Restricted – All logged-in users can view content and only channel members can contribute content.
- Private – Only channel members can view and contribute content.
- Shared Repository - Only channel members can view and contribute content. Content can be published to other channels according to publishing entitlements.
- Public, Restricted - Anyone can view the content (including anonymous, not logged-in users). Only channel members can contribute content according to their entitlements.
- Public, Open - Anyone can view the content (including anonymous, not logged-in users) and all logged-in users can contribute content.
Options
Choose the Options settings for the channel.
- Moderate content - Select this option if you want to approve media before it gets published. (Media won't appear in the channel until the channel manager approves.)
- Enable comments in channels - If enabled, Comments are displayed when the media item is accessed through a channel. To manage comments made via the media page, see Disable comments and Close Discussion.
- Keep comments private to channel - Select this option to keep comments private to the channel
- Force scheduled media in this channel to be played in the context of the channel - If media is in only one channel on the site, it will automatically gain that channel's context, even if accessed through a direct link or search. Example: If a user goes to a media entry URL such as “base_URL/media/t/1_abcdefghij", and that media is only in one channel on the site, the URL will change to include the channel context: “base_URL/media/t/1_abcdefghij/12345678“.
- Enable subscription to channel - This option lets users subscribe to your channel and get an email notification for new items. The link to subscribe is provided: https://4834032.mediaspace.kaltura.com/channel/Training+channel/336930422/subscribe)
- Enable Newrow Live Room - Select this option to enable Kaltura Meetings.
Categories
Depending on your entitlements, choose the galleries that this channel will be associated with, for example, these are the gallery options of this Video Portal site.
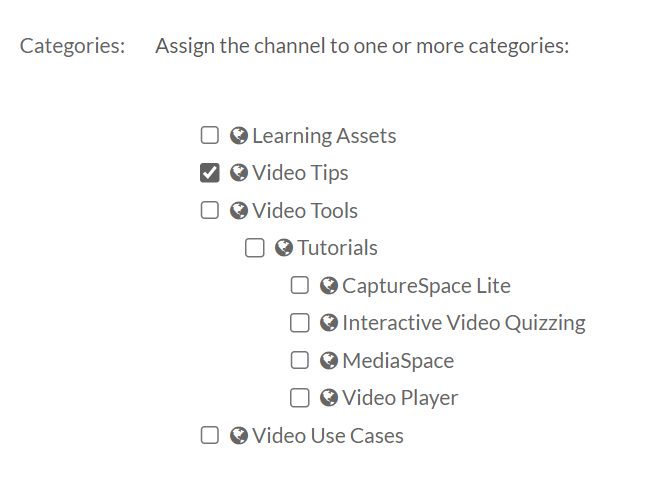
Click Save. A message appears saying your information was saved.
